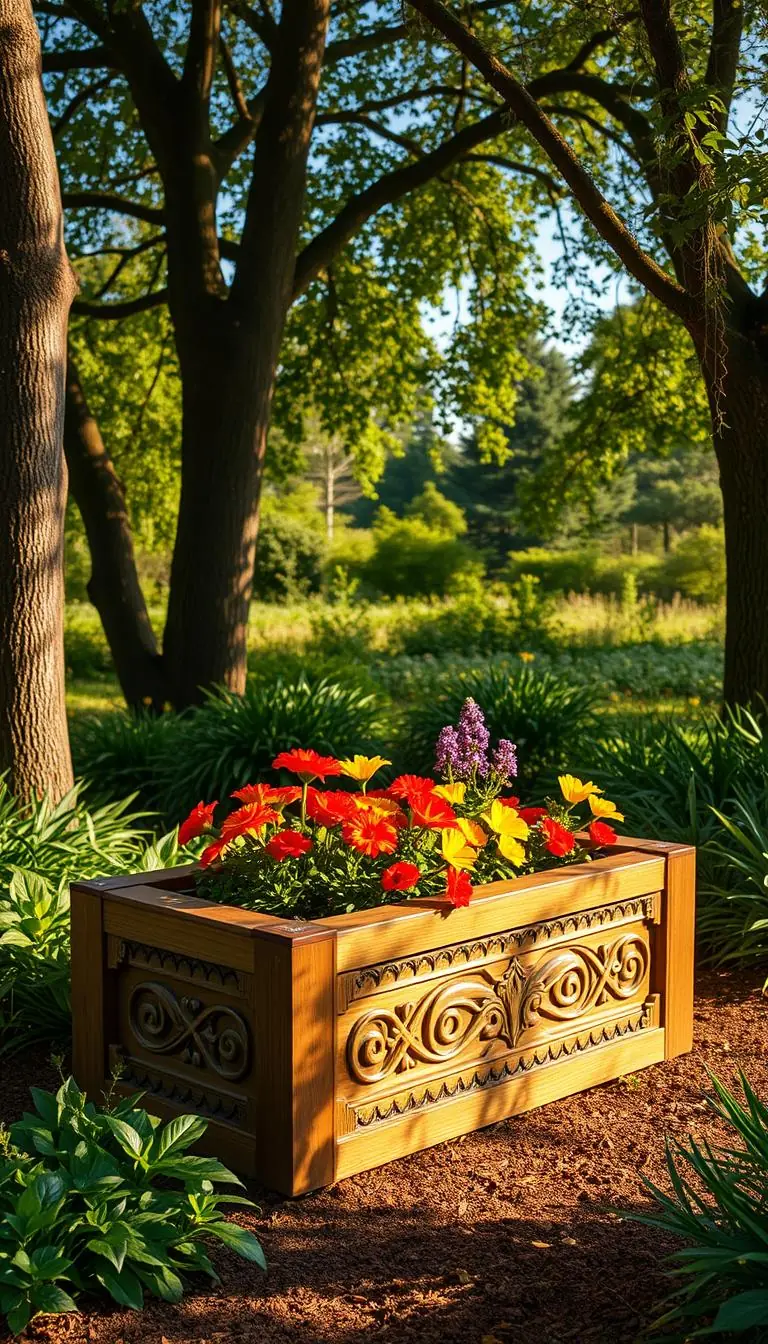
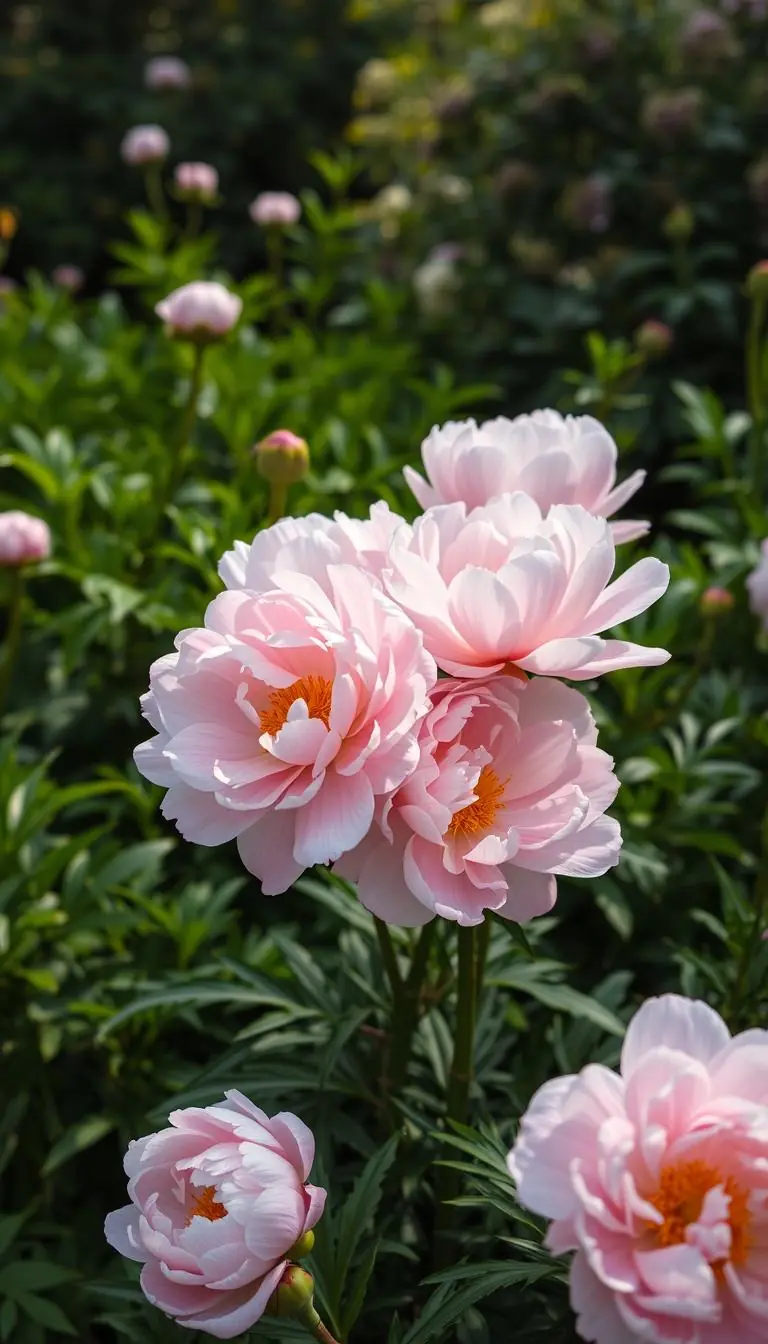
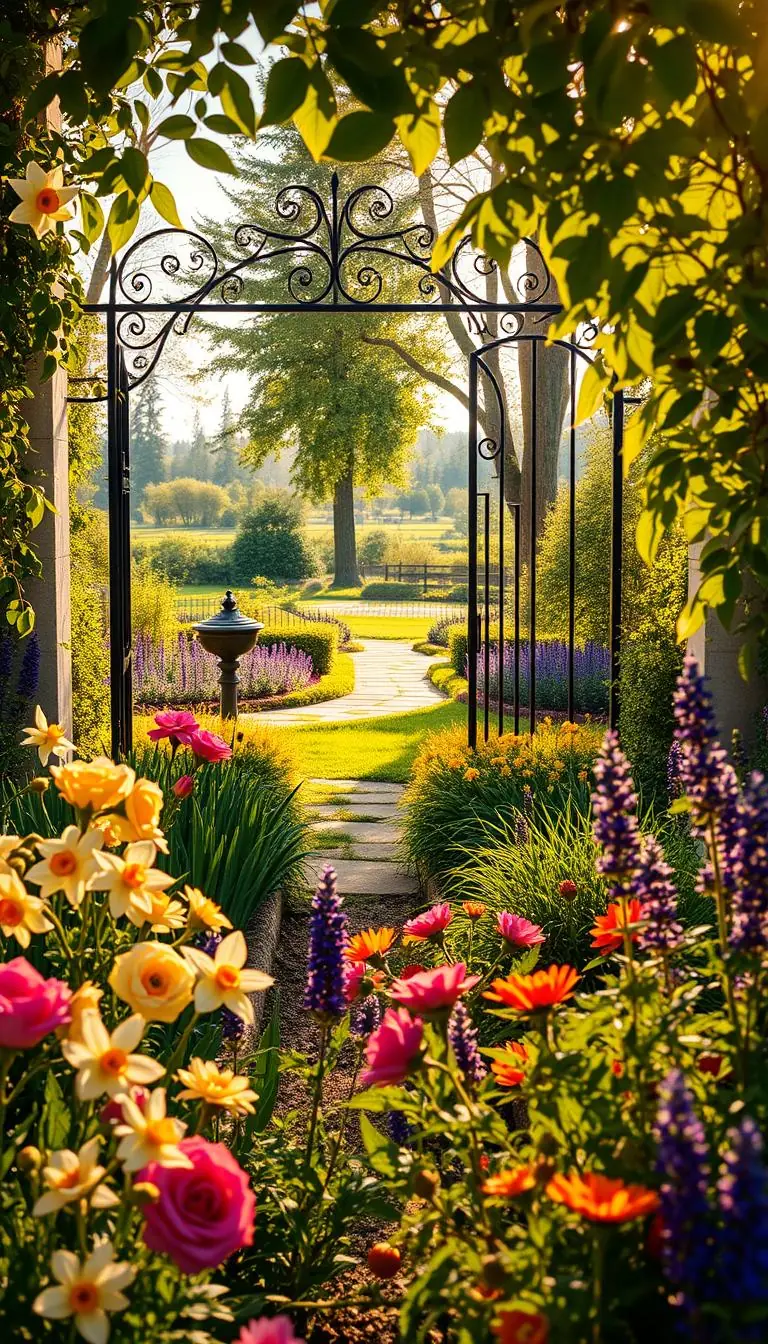
Close your eyes and imagine a sunlit corner outside your kitchen window: lush color, the scent of lavender, and soft grasses that whisper when you walk by.
You can make that happen without feeling overwhelmed. Start small: sit with graph paper, lay a hose to test curves, and notice sun and soil where you work.
We’ll help you build a simple plan that fits your location and season. Learn to group plants for impact, stagger heights so every bloom shows, and pick varieties that thrive in your USDA zone and soil type.
Practical tools—soaker hoses, mulch, a spade—and timing tips for the year keep chores easy. Avoid single, lonely specimens; instead, use drifts and odd-number groupings for calm cohesion.
By the end, you’ll have clear ideas, confident steps, and quick tips to plant this season and enjoy a professional-looking garden that grows more beautiful with time.
Key Takeaways
- Start with the site: sun, soil, and shape before choosing plants.
- Sketch with a hose, then refine on graph paper to visualize size.
- Layer heights and use groups, not single specimens, for fuller results.
- Use simple tools and timing tips to plant and mulch for success.
- Begin small, observe, and divide perennials to expand over time.
Start with Your Site: Sun, Soil, Water, and Scale
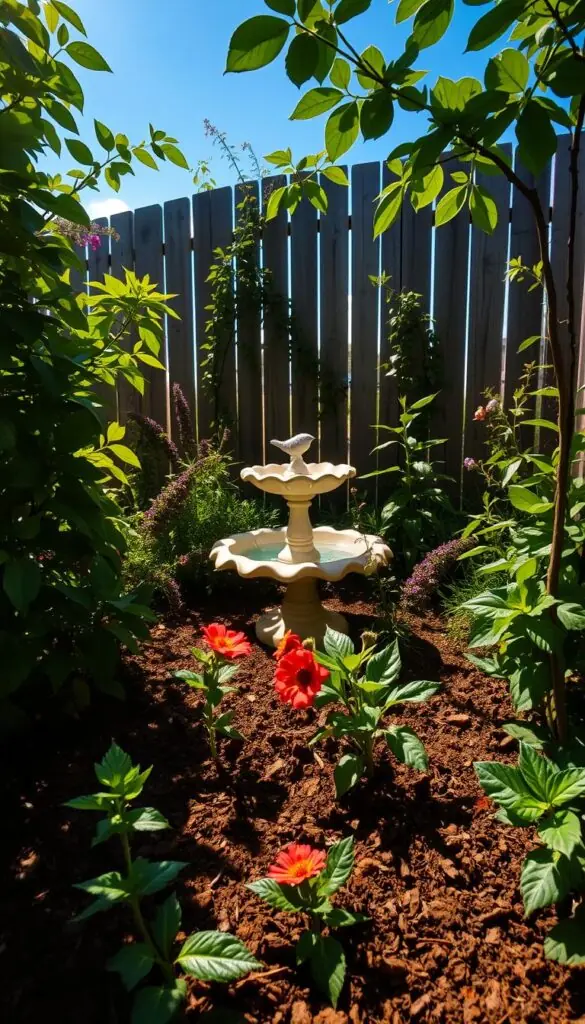
Start where you are: observe the sun, soil, and how easy it is to water the space. Spend a few days at different times to note warm afternoon sun, cool morning light, and the smell of damp soil after rain. A phone light‑meter app and a small notebook make this quick and reliable.
Read the light
Full sun usually means 6+ hours; part sun/part shade is around 3+ hours. Track light now to predict summer patterns and choose plants that match each location.
Soil and moisture check
Squeeze a moist handful: a sticky ribbon points to clay, crumbly feels like loam, gritty means sand. Notice how long moisture lingers after rain—this guides amendments or raised soil needs.
Water access and reach
Lay a hose to test reach. Can you water without dragging through shrubs? If not, plan a soaker hose or splitter to save time and keep thirsty areas healthy.
Right-sized beds for beginners
Start small—about a 10’x10’ area or a single curve along a path. You’ll learn care routines faster and avoid overestimating how much you can maintain.
- Make sure to check your USDA zone and last frost dates when you plant.
- Quick tip: place beds where you see them daily so tending becomes part of your routine.
Sketch Your Flower Bed Layout Like a Pro
Lay a hose and walk around your space to test curves and sightlines before you dig. This simple act shows how a new edge will flow with your landscape and where paths feel roomy or tight.
Take a photo from the street and from the porch so you can sketch with the right view. Transfer the shape to graph paper at 1 square = 1 foot for an easy planting guide.
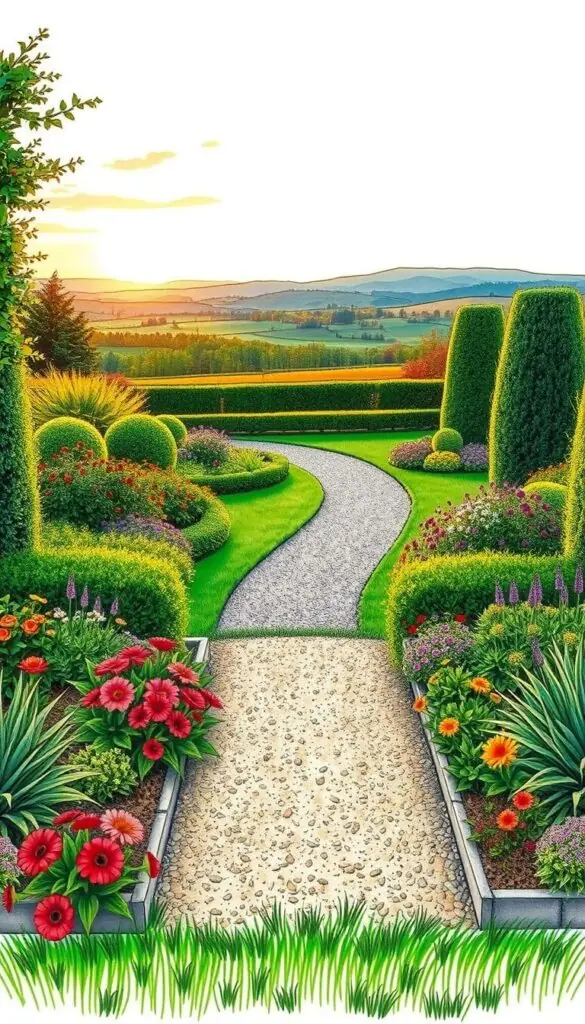
Map layers—place taller anchors like hydrangeas, trellised clematis, or Karl Foerster grass at the back so they frame without blocking views.
"Stagger plants in gentle triangles rather than straight rows for a fuller, natural look."
- Leave 24–36 inches where a wheelbarrow will pass.
- Note wet or sandy soil on your sketch to match plants to micro‑areas.
- Add open pockets so large clumps read intentional.
| Tool | Use | Quick measurement |
|---|---|---|
| Hose | Outline curves | Visual fit from street |
| Graph paper | Scale plan | 1 sq = 1 ft |
| Measuring tape | Paths & spacing | 24–36 in for access |
Flower Bed Planning: Choose a Focused Plant Palette
Pick a limited list of plants and repeat them so your garden reads as intentional, not cluttered. Keep choices to reliable performers you know will thrive in your soil and light.
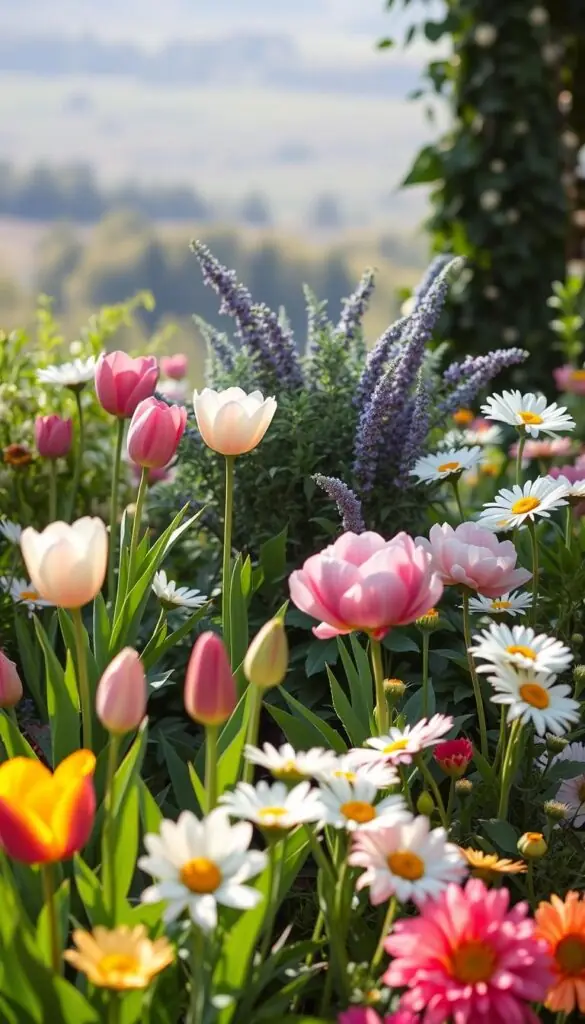
Avoid the “onesies.” Professional gardens use drifts and odd-number groupings (3, 5, 7) to create visual waves of color and texture. Give each plant a partner or a small clump rather than a single, lonely specimen.
A simple role system
Assign each plant a role: anchors, fillers, and accents. Anchors are taller shrubs or grasses that set structure. Fillers carry season-long color. Accents add surprise and sparkle at peak bloom.
Restrict the palette for rhythm
Edit ruthlessly: remove high-maintenance or off-color choices so the area feels calm. Repeat your best performers—think waves of lavender or sweeps of heuchera—to guide the eye along the bed.
"If you fall in love at the nursery, buy three instead of one; your drift will thank you."
- Make sure you group the same plants together for stronger impact.
- Divide mature perennials to expand swaths without extra cost.
- Use plant tags and a notes app to keep an allowed list and stay focused.
Quick tips: Edit out what doesn’t fit, stick to several different reliable choices, and repeat color and texture to create a calm, confident garden that’s easy to maintain.

Color, Texture, and Seasonal Bloom Times
Start by deciding how you want the space to feel—cheerful, calm, or lively—and choose a clear color story that matches.
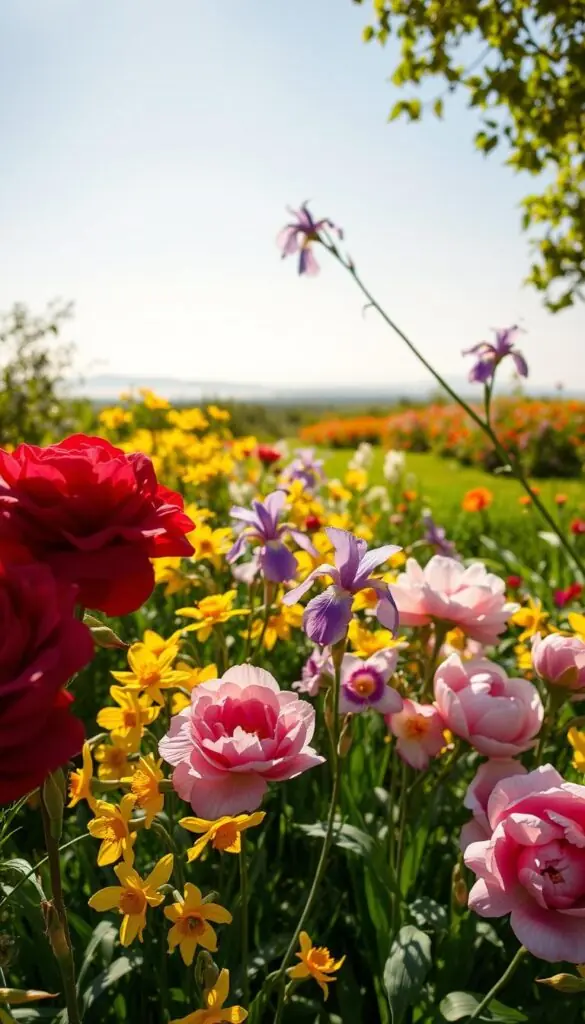
Color stories: bold primaries vs. soft pastels
Bold primaries—sunny yellows, cherry reds, and clear blues—feel energetic and bright.
Soft pastels—blush, lavender, and buttercream—lend a calm, romantic mood.
Tip: Limit yourself to two dominant hues and one accent so the garden reads as intentional, not chaotic.
Foliage first: foundation for year-round interest
Use foliage as the backbone. Hostas, heucheras, and grasses like Karl Foerster add steady texture and movement.
Leaves hold color and shape between blooms, making the area feel full even when flowers pause.
Bloom calendar by season
Plan for continuous bloom times. Early spring brings tulips, daffodils, hyacinths, and creeping phlox as low edgers.
Spring moves on with brunnera, astilbe, coral bells, and geraniums. Late spring features peonies, clematis, foxglove, and baptisia.
Early summer fills in with lavender, catmint, yarrow, and butterfly weed. Summer brings coneflowers, Russian sage, and tall phlox.
Finish with fall stars: asters, sedums, anemones, and Joe Pye weed. Match choices to your zone and last frost dates so timing is reliable.
"Aim to have at least two things blooming in every season so your garden never feels empty."
- Quick pairing: cool catmint with orange butterfly weed for contrast.
- Common pitfall: too many colors at once—edit down for clarity.
- Use foliage repeats to unify mixed blooms across the season.
Prep, Plant, and Place: A Simple Step-by-Step
A neat edge and healthy soil make the rest of your work feel easy and worth it. Start with clear actions so your garden takes shape without guesswork.
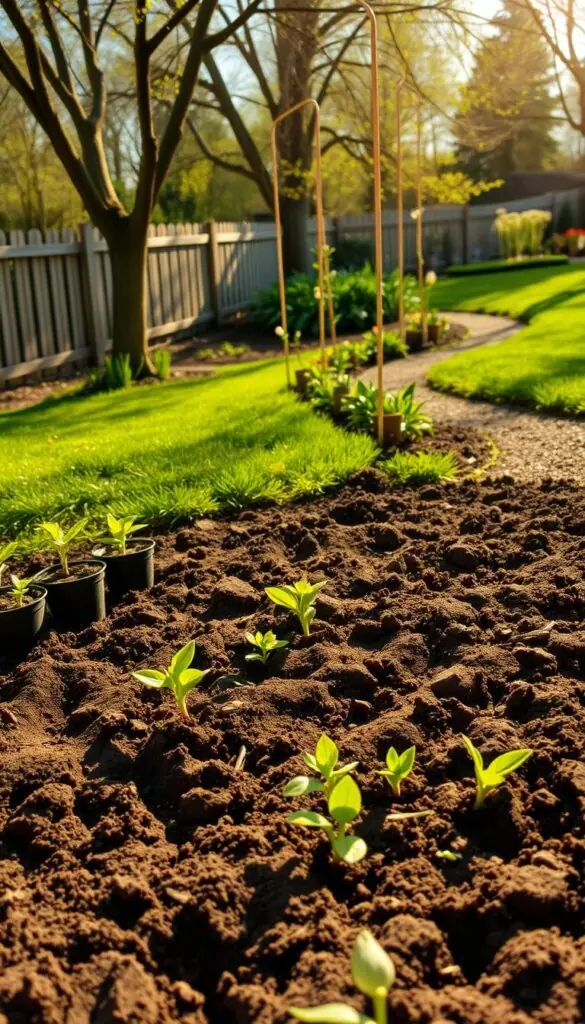
Bed prep basics
Outline and edge the area first. A flat spade or steel edging creates that freshly cut line you see in good gardens.
Remove sod or smother with cardboard, then blend in compost to improve soil texture. Sandy sites hold water better with organic matter; clay benefits from added drainage and compost.
Set your plants
Dry-fit pots on the ground so you can tweak spacing and flow. Group in odd numbers and place tallest at the back.
Follow plant tags for spacing. Plant crowns at the same depth they sat in the pot and gently tease circling roots.
Watering-in and mulch
Water each new plant deeply to settle soil and remove air pockets. Lay a soaker hose and cover with 2–3 inches of mulch to retain moisture and cut weeds.
"A good first season is mostly about soil, spacing, and watering-in."
- Tools: flat spade, edging tool, wheelbarrow, compost, rake, soaker hose, 2–3 inches of mulch.
- Quick beginner tip: add a few flat stones as step pads to avoid compacting soil while you tend.
- Common mistakes: planting too deep and skipping the watering-in step.
| Task | Why it matters | Quick cue |
|---|---|---|
| Edge the outline | Defines shape and holds mulch | Freshly cut line |
| Amend soil | Improves drainage and nutrient holding | Earthy compost smell |
| Set spacing | Prevents crowding and future rework | Pots dry-fit on ground |
| Water & mulch | Locks moisture and suppresses weeds | Soaker hose laid, 2–3" mulch |
Maintain, Edit, and Multiply for Years of Beauty
Keep a gentle eye on your garden through the seasons so small fixes add up to big rewards.
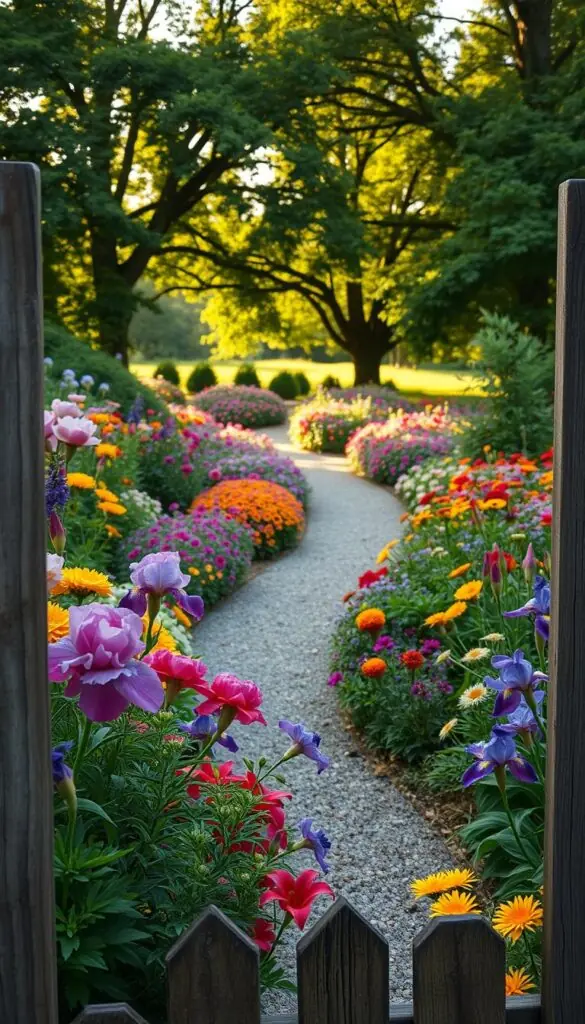
Observe and note: photos, bloom times, and gaps to fill
Walk the perennial garden often and snap quick phone photos. Jot dates when favorites peak so you learn seasonal patterns and see bare spots at a glance.
Divide and relocate: turn one great plant into several
Most perennials want dividing as they enlarge. Split fall‑bloomers in early spring and spring‑bloomers after they finish. Replant divisions near their "family" to build drifts and fuller swaths.
Seasonal tweaks: add bulbs, annuals, and late color without clutter
Top‑dress with compost, refresh mulch, and tuck in bulbs in fall for early spring sparkle. Add a few annuals where you want instant color and stake tall bloomers early.
- Quick tips: label divisions, water new splits well, and give them a season to settle.
- Edit lightly each year: remove underperformers and share extras with others.
"Small, seasonal steps keep your garden thriving for years."
Conclusion
Let your garden grow in easy stages—start with one spot, learn its sun and soil, then expand with confidence.
Begin with a single bed and a few plants you truly love. Test curves with a hose, check your USDA zone, and pick plants that suit the soil and sun.
Use drifts, layer tall to low from back to front, and repeat color and texture for a calm look. Water with a soaker hose and add mulch to keep care simple.
Over years, divide strong perennials, edit what underperforms, and tuck in bulbs each fall and early spring. Small, steady steps make gardening a peaceful, rewarding craft you’ll enjoy all season long.
FAQ
How do I decide where to place a new garden area in my yard?
Start by observing sun patterns for a few days so you know which spots are full sun, part sun, or shade. Check soil drainage by digging a small hole and filling it with water; if it drains within a day it’s likely well-drained. Consider hose reach and where you’ll water from. Finally, choose a scale you can manage—start small so you can learn and enjoy success quickly.
What simple soil tests and fixes work for beginners?
A quick texture test is to moisten a handful of soil and see if it forms a loose ball (good) or a sticky lump (too much clay). Add compost to improve structure and drainage, and use garden lime only if a pH test shows acidity. For compacted areas, double-dig or add several inches of compost and turn the soil to loosen it.
How do I sketch a pleasing layout without fancy tools?
Use a hose or rope on the ground to experiment with shapes and curves. Step back and view from different angles, then trace the outline on graph paper or a simple notebook. Block in tall plants at the back, medium in the middle, and low at the front to keep sightlines clear.
What’s the easiest way to choose plants that look cohesive?
Pick a limited palette of two to three repeat plants and add a couple of accents. Group the same species in odd-number clusters (3, 5, 7) to create rhythm. Use anchor plants for structure, fillers to soften gaps, and a few bold accents for seasonal interest.
How can I make sure my garden has color through the seasons?
Build a bloom calendar: include early spring bulbs like crocus, midseason perennials such as salvia or echinacea, and late-season bloomers like asters. Add all-season foliage plants—hostas, heucheras, and ornamental grasses—to carry interest when blooms fade.
What are the basic steps for preparing and planting a new plot?
Clear weeds and define edges first. Amend the soil with compost, then lay out plants to check spacing. Plant at the same depth they were in their pots, firm soil around roots, water in thoroughly, and add a 2–3 inch layer of mulch to conserve moisture and suppress weeds.
How often should I water newly installed plants?
Water deeply right after planting, then keep the root zone consistently moist for the first few weeks until plants establish. After that, water based on weather—about once a week for most perennials in dry spells. Adjust more often in hot, sunny conditions and less in cool or rainy periods.
When and how should I divide perennials to increase stock?
Divide many perennials every 3–5 years, ideally in early spring or early fall. Dig up the clump, separate it into healthy sections with roots and shoots, and replant immediately. This refreshes vigor and gives you extra plants to fill other spots.
What are quick maintenance habits that keep a plot looking good year after year?
Take photos, note bloom times, and mark problem areas. Deadhead spent blooms for continuous flowering, cut back perennials in late fall or early spring as needed, and top up mulch annually. Small, regular edits prevent big problems later.
How do I choose plants that suit my USDA hardiness zone and sun exposure?
Look up your USDA zone and pick plants rated for it. Read plant tags for sunlight needs—choose full-sun varieties for sunny sites and shade-tolerant ones for darker areas. When in doubt, visit local nurseries for region-tested recommendations from staff familiar with your microclimate.
Can I mix bulbs, perennials, and annuals without creating chaos?
Yes. Plant bulbs in drifts for spring impact, stagger perennial bloom times for continuous color, and use annuals as seasonal fillers where you want instant, bright pops. Keep a consistent color and foliage palette to maintain harmony.
What are good low-maintenance plant choices for busy gardeners?
Choose clump-forming perennials like daylilies, sedum, ornamental grasses, and native coneflowers. Add evergreen or long-lived foliage plants such as heuchera and hosta for year-round structure. Group plants with similar water and light needs to simplify care.
How do I prevent overcrowding as plants mature?
Follow mature size recommendations on plant labels and leave room to divide or thin later. When spacing, imagine the mature silhouette rather than current pot size. If things get tight, divide and replant or relocate extras to other areas.
What mulch and edging options give a finished, low-effort look?
Organic mulches like shredded bark and composted wood chips retain moisture and improve soil as they break down. For clean edges choose steel, plastic, or stone edging depending on budget and style. A neat edge reduces grass invasion and makes maintenance easier.