Imagine the scent of fresh soil after a cool spring rain and the warm sun on soft leaves. You pause with a trowel in hand and wonder which choices will help your yard feel calm and alive.
You are not alone — many gardeners buy plants on impulse and later wish they had read the tags first. With a little planning and simple tools — a hose, plant tags, and a garden journal — you can avoid common setbacks.
We’ll guide you through easy checks: read labels, test soil at your local extension or with an at‑home kit, and harden off seedlings before they go outside. Learn how sun, soil, and spacing work together so petals open on time and leaves stay glossy.
Across the season, from cool spring mornings to warm summer evenings, you’ll find gentle fixes for the most frequent mistake gardeners make. Follow short, neighborly tips and you’ll enjoy a more lush, thriving yard all year.
Key Takeaways
- Read plant tags and plan placement before you buy.
- Test soil to fix deficiencies early.
- Match pot size and drainage for containers.
- Water deeply and check moisture with a trowel.
- Harden off seedlings and choose sites by sun needs.
A calm start: why flower planting mistakes happen and how you’ll fix them
Bright tags and damp soil feel like a promise, but a hurried choice can slow your garden later.
In spring, racks of color invite quick buys. Many people buy on impulse when time is tight. That leads to common gardening mistakes you can avoid with a few calm checks.
Start by reading plant labels. Match sun needs and spacing to the spot you picked. Walk your beds at first light, noting cool air, damp patches, and sunny corners.
Send a quick soil sample to your local extension or use an at‑home kit. Hardening off seedlings for several days prevents shock from brighter light and cooler nights.
Quick weekly rhythm:
- Plan one evening, plant the next morning.
- Water slowly and check roots with a trowel.
- Label trays and sketch a simple bed map.
| Check | Why it helps | Quick fix |
|---|---|---|
| Sun label | Matches light to the plant | Move to shade or full sun as noted |
| Soil test | Shows nutrients and pH | Add compost or lime per results |
| Hardening off | Prevents leaf scorch | Gradually add outdoor hours over a week |
"A little planning now saves time and keeps your plants steady through the season."
Skipping the plan and planting “where there’s room”
A quick stroll with a notebook can stop a crowded bed before it starts. Spend ten minutes walking your garden, noting sunny edges, cool nooks, and open room where new plants can grow without crowding. Plant labels list spacing and mature size — read them and trust the numbers.
Simple sketches, tags, and a quick walk-through
Make a simple sketch with tall specimens at the back, mid‑height in the middle, and low flowers near paths. Tuck tags or stakes beside new additions so you remember colors and bloom times.
Quick steps:
- Walk with coffee; mark sunny, shady, and open spots.
- Note spread and height from plant tags; sketch positions.
- Group things by water and light to simplify care through the year.
"Give each plant breathing space; resisting the urge to cram reduces leggy growth and yellowing leaves."
Ignoring light needs: full sun vs. shade isn’t a suggestion
Sun and shade shape your beds more than soil does; learn where each corner of your yard really falls on the light scale.
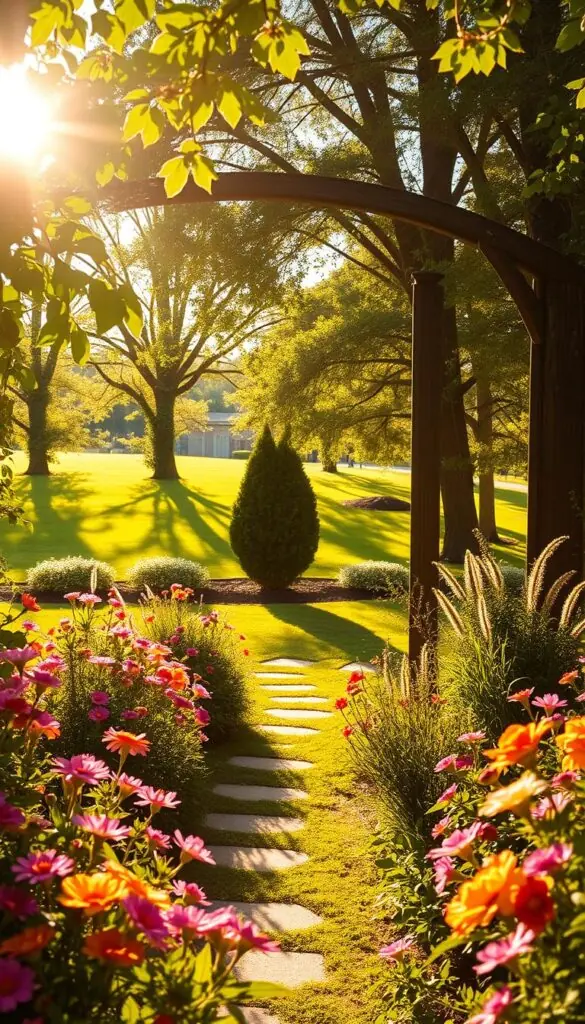
Some plants thrive in deep shade while others demand full sun. Hostas prefer cool, dappled shade and often scorch in strong afternoon heat. By contrast, coneflowers and tomato plants need six or more hours of direct light to set blooms and fruit.
Real matches for common spots
Shade lovers: put hosta, ferns, and heuchera where the soil stays cool and leaves rarely bake.
Sun seekers: reserve open beds for coneflowers and tomatoes; they will reward you with sturdy stems and steady blooms in true sun.
How to read your yard’s light
Stand in each bed at breakfast, lunch, and late afternoon. Note cool morning rays, bright noon light, and the hot summer blast after 2 p.m. that can crisp tender leaves.
Quick moves for stressed plants
Move a struggling specimen on a cloudy day or at dusk. Water the new hole first, slide the rootball gently, and keep the plant shaded for two days. This reduces shock and helps roots settle.
"Use plant tags to confirm what your plants need and group them so care stays simple and predictable."
Soil guesswork instead of soil testing and prep
Good gardens begin below the surface — take time to learn what your soil needs.
Start with a simple test. Take a sample and send it to your local extension or use an at‑home kit to learn pH and missing nutrients. Results tell you how much to add so you avoid overdoing amendments.

Easy tests from extension offices and kits
University extension offices give precise answers and clear suggestions for amendments. At‑home kits help you check mid‑season. Use a trowel and a bucket to collect samples from several spots.
Improving texture: compost, perlite, and drainage you can feel
Scoop a handful: crumbly loam with an earthy scent is what you want. If soil stays slick and clumps, add compost and perlite or coarse sand to loosen it.
Rake amendments in a wide, shallow layer so roots can explore. Test drainage by filling a small hole with water and timing how fast it disappears. If water pools, raise the bed or add a channel to move runoff.
| Check | Tool | Quick action |
|---|---|---|
| pH & nutrients | Extension kit | Adjust per lab results |
| Texture | Trowel, rake | Blend compost + perlite |
| Drainage | Bucket, stopwatch | Amend or raise bed |
"Test first, amend gently, and your plants will thank you with stronger roots and steadier growth."
Watering by habit, not by need
It’s easy to reach for the hose out of habit, not because the soil actually needs it. That small tug of routine can lead to soggy roots or thirsty beds. Learn quick checks that save you time and help steady growth.
Finger test, deep soaking, and best times
Check moisture with your finger: if the top two inches of soil feel dry and cool, it’s time to water. If they feel damp, wait a bit longer.
- Slow soak: Aim for a steady drink at the base so roots get wet, not just the surface.
- Morning time: Water early so leaves dry quickly and plants have moisture through warm summer hours.
- Containers: Stick a finger two inches in. Water until it runs from the bottom, then let the top inch dry.
- Sensory cues: Cool, damp soil and a steady drip mean success; droopy or yellowing leaves can signal too much water.
"Mulch lightly to hold moisture and lift pots to learn their weight — you’ll know when to water without guessing."
Gardening thrives when you match water to need, season, and simple signals from your beds and pots.
Overcrowding and forgetting mature size
When you place new specimens, imagine the mature scene and leave space for roots and leaves to spread.
Give each plant honest room so stems stand upright and blooms get light. Crowded beds force plants to compete for water, nutrients, and sun. That leads to fewer flowers and weaker growth.
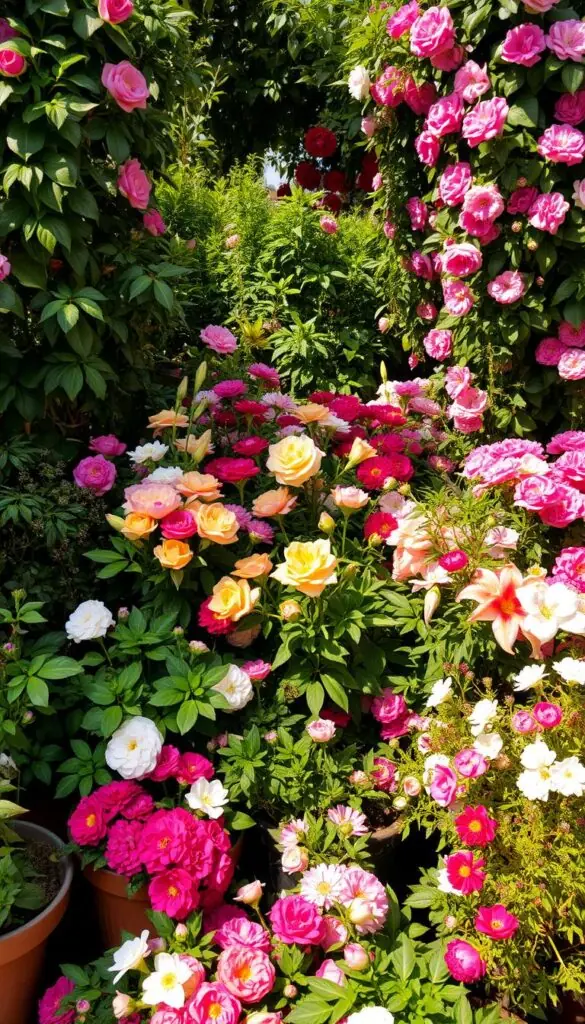
- Read the label for mature width and height before you dig.
- Lay plants on the soil at the label spacing so you can see the future layout.
- Use a tape measure or your boot length as a quick spacing guide.
- Place tall growers at the back so they don’t shade smaller companions.
| Check | Why it matters | Quick fix |
|---|---|---|
| Label size | Shows mature width and height | Space plants to match label |
| Airflow | Reduces disease after rain | Leave gaps and thin dense clumps |
| Tall vs. low | Prevents unwanted shading | Plant tall specimens in back |
| Overcrowded clumps | Limits roots and blooms | Divide and replant in cool weather |
"Resist the urge to fill every inch; small starts knit into lush beds with time."
flower planting mistakes with timing and transition
A calm, staged transition helps tender starts grow strong stems and resilient leaves before they meet open air.
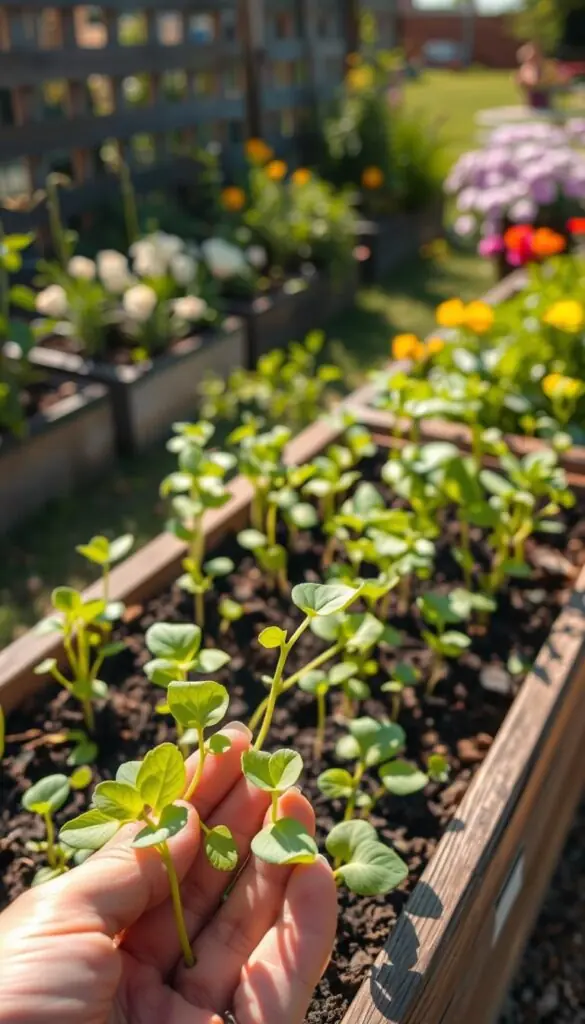
First, check your USDA zone and local frost date so you know the right season and safe time to set out young plants.
Planting windows by season and USDA zones
Use your zone and last-frost date to plan. Warm-season crops wait until nights stay mild. Cool-season crops can go out earlier. Mark calendar reminders so you won’t rush the move.
Hardening off so stems and leaves don’t scorch
Simple 1–2 week schedule:
- Day 1: set seedlings in bright shade for one hour in calm morning air.
- Each day: add an hour outside and include gentle morning sun after a few days.
- Week two: leave plants out most of the day, bring them in if nights drop sharply.
Plant on an overcast afternoon or at dusk so roots settle without harsh light. Water lightly before each move and shield them from strong wind with a small windbreak or shade cloth when needed.
"Watch leaves for silvering or scorch; if you see it, shorten outdoor time and try again tomorrow."
Overlooking pests, wildlife, and invasive spreaders
Small signs can grow fast in a busy season. Walk your beds once a week and flip leaves to catch early pests. Early action keeps tiny issues from spreading and saves time later.
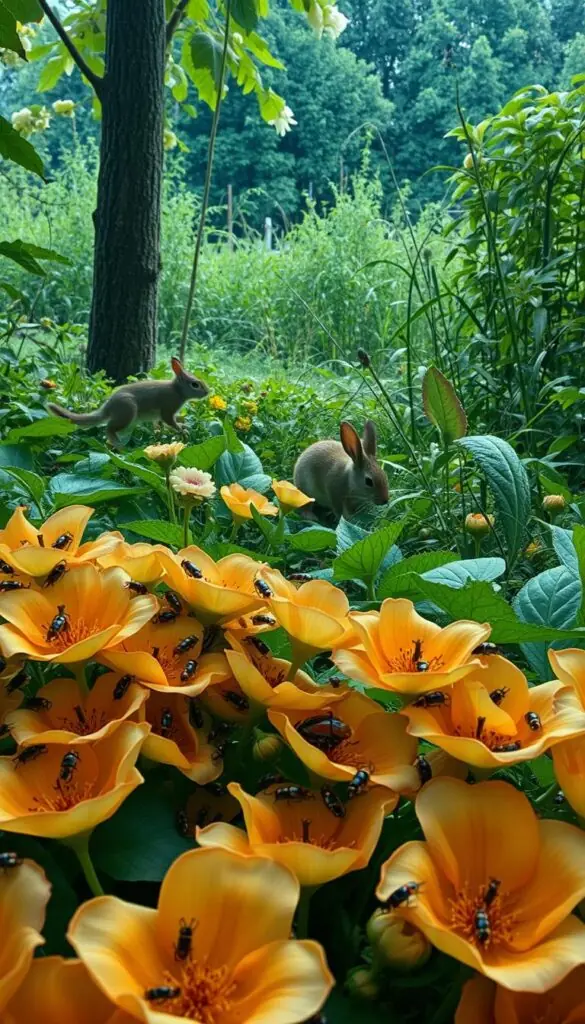
Be kind and low-chemical: hand-pick beetles, use a strong water blast for aphids, and try insecticidal soap for soft-bodied insects. Reserve stronger sprays only when nothing else works.
Gentle defenses and smart plant choices
For hungry wildlife, fencing is the sure protection for vegetables. In ornamental areas, choose deer-resistant plants and varieties animals avoid. Rough leaves and minty scents often discourage nibblers.
- Walk beds weekly to spot early pests before they spread.
- Use proper fencing where vegetables face deer or rabbits.
- Contain aggressive spreaders in buried pots or pull new seedlings after rain.
- Invite beneficial insects by diversifying bloom shapes and seasons.
Clean up spent stems in late season but leave a few seedheads for birds. Healthy plants resist many problems, so choose disease-resistant varieties in trouble spots and spend less time spraying.
"A calm weekly check keeps surprises to a minimum and helps gardens thrive with fewer chemicals."
Container missteps: size, drainage, and mismatched companions
Containers give you freedom, but the wrong pot can hold back even the healthiest plants.
Choose the right size: Most annuals and herbs do best in 10–14 inch pots. Small shrubs and dwarf perennials need 16–24 inch containers so roots can spread without crowding.
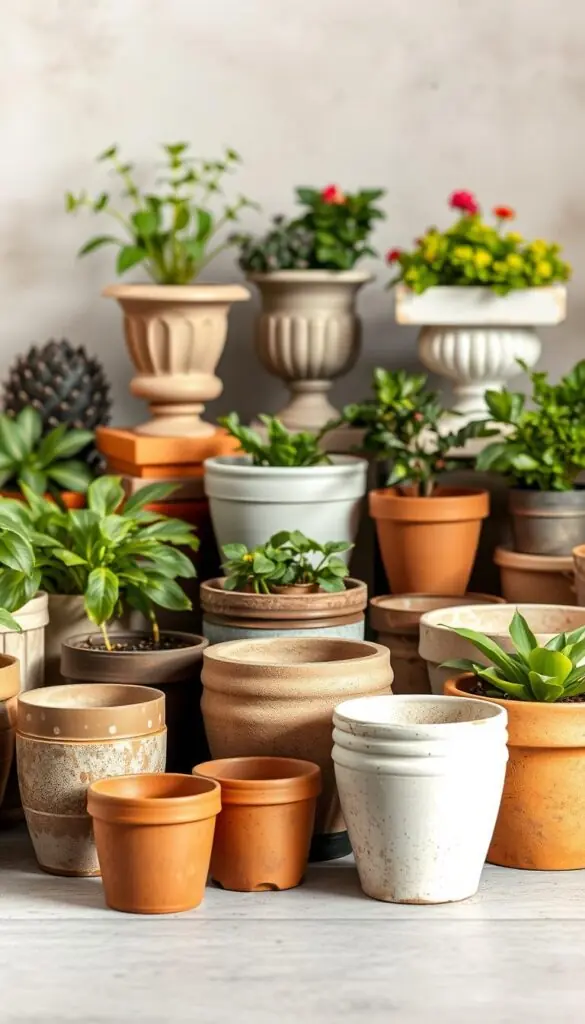
Right pot, right mix
Always use containers with drainage holes. If your favorite decorative pot is sealed, drill one with a masonry bit or use a cachepot and slip in a nursery pot.
Fill tubs with high-quality potting soil that stays light and airy. Avoid garden soil, which compacts and limits oxygen at the roots.
Watering, feeding, and when to repot
Check moisture by sticking a finger 2 inches into the soil. If dry, water until it gently runs from the base. Light pots dry faster; heavier, moist pots feel cool and steady.
Mix slow-release granules at planting and top up with a balanced liquid every 2–4 weeks to support steady blooms.
Repot when roots circle, poke from drainage holes, or when you must water much more often than before.
Design without overcrowding
Use the thriller–filler–spiller way: one focal, one or two fillers, and one trailing spiller. Leave breathing room so varieties grow into their mature size.
| Need | Recommendation | Sensory cue | Quick fix |
|---|---|---|---|
| Pot size | 10–14" for annuals; 16–24" for dwarf perennials | Topsoil dries fast or rootball visible | Repot one size up with fresh soil |
| Drainage | At least one hole; use nursery pot if needed | Water pools on surface or runs immediately | Drill hole or use cachepot with inner pot |
| Feeding | Slow-release + liquid every 2–4 weeks | Fewer blooms or pale leaves | Apply balanced fertilizer per label |
"Group companions by light and water needs so care stays simple on any porch or balcony."
Heavy hands with fertilizer and pesticides
A heavy hand with feed or spray can do more harm than good, even when you mean well. Start by testing soil so you know what your beds actually need. Often, compost alone supplies slow, balanced nutrients and improves structure.
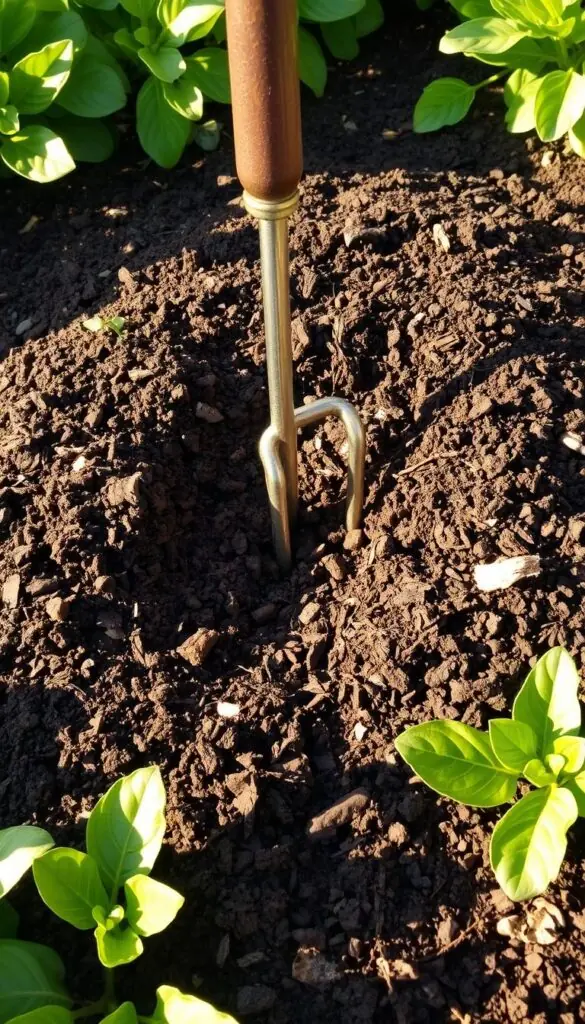
- Begin with compost to build soil and provide a broad range of nutrients slowly.
- If you must use fertilizer, apply at half strength and watch how plants respond.
- Spot-feed just before peak bloom and stop if leaf tips brown or color shifts.
Keep sprays as a last resort
Sprays can harm beneficial insects and the living air and life in your soil. Walk beds weekly and use mechanical controls first — hand removal, water jets, or targeted traps.
"Healthy, patient gardening beats quick fixes. Good hygiene, clean tools, and gentle observation prevent bigger problems."
Simple rules of thumb:
- Sweep spilled granules off paths and water them in gently so roots don’t get burned.
- Trust compost and mulch to feed life below ground and support a natural bloom cycle.
- When in doubt, pause, test, and adjust — many gardening mistakes start with haste.
Conclusion
Take a slow breath and picture your bed on a sunlit morning—this is where steady choices pay off.
You’re ready to plant with calm confidence. Match sun to spot, give each plant honest room, test soil, and water by feel. These simple steps prevent most common gardening issues and free you to enjoy more blooms.
Keep a short checklist by the back door: read tags, space well, test soil, and check pots for drainage. Choose varieties that suit your area and limit sprays so beneficial insects and soil life stay healthy.
When something struggles, try a small move, a sprinkle of compost, or a gentler water routine. With patience and these easy habits, your garden will reward you with brighter mornings, fuller beds, and more flowers all year.
FAQ
What are the most common errors people make when planting flowers?
Many gardeners rush in without a plan, ignore light and soil needs, water by habit instead of by need, crowd plants too closely, plant at the wrong season, overlook pests, and use the wrong containers or too much fertilizer. Start with a simple sketch, check light and soil, and follow spacing and timing guidelines to avoid these issues.
How do I create a simple planting plan for a small garden?
Make a quick sketch of your bed or balcony, note sunny and shady spots, and mark existing plants. Use plant tags or a phone photo to record mature sizes and bloom times. Plan groupings by height and color, leaving room for growth so you don’t need to thin later.
How can I tell if a spot gets full sun or shade?
Walk the yard through different times of day and note how long a spot is in direct sun. Full sun means about six or more hours daily. Shade-loving options like hosta do best in dappled or full shade; sun lovers such as coneflowers and tomatoes need those longer sun periods.
What’s the easiest way to test my soil?
Use an at-home kit or contact your county extension office for an inexpensive test. These show pH and nutrient levels. A simple texture check—squeeze moist soil—tells you if it’s sandy, loamy, or clayey. Amend with compost for structure and organic matter.
How should I water newly set-out seedlings and established beds?
For new transplants, water deeply right after planting and keep the root zone evenly moist while they establish. For established beds, use the finger test or a soil probe—water when the top 1–2 inches feel dry, and soak deeply rather than frequent light sprinklings to encourage strong roots.
How much space should I leave between plants?
Check the mature spread on plant labels and double-check on reliable nursery sites. Space based on mature size, not current pot size. Proper spacing improves air circulation, reduces disease, and lets plants reach their full, lush potential without constant pruning.
When is the best time to plant by season and zone?
Follow USDA hardiness zones and local frost dates. Spring-planted annuals go out after last frost; many perennials can be set in spring or fall. Use local extension or nursery calendars to match planting windows for your region and crop.
How do I harden off seedlings so they don’t get scorched?
Gradually introduce seedlings to outdoor conditions over 7–10 days. Start with a few hours in bright shade, increasing time and sun exposure daily. Bring them in at night if temperatures dip below recommended levels.
What are gentle ways to manage pests and wildlife without heavy chemicals?
Use cultural controls like clean beds, crop rotation, and resistant varieties. Handpick larger pests, employ barriers or netting for wildlife, and apply insecticidal soaps or neem oil sparingly. Encourage beneficial insects with diverse, nectar-rich plantings.
How do I choose the right container and potting mix?
Pick a pot with adequate drainage holes and a size that fits the plant’s mature root ball. Use a high-quality potting mix (not garden soil) with good drainage—look for mixes with compost, peat or coir, and perlite. Match pot size to plant needs to avoid root-bound stress.
Any tips for watering and feeding container-grown specimens?
Containers dry faster—check soil often and water deeply when the top inch feels dry. Feed with a balanced slow-release or liquid fertilizer per label directions, and repot when roots circle the pot or growth slows. Aim for regular light feeding rather than heavy applications.
How can I create a thriller-filler-spiller container design without overcrowding?
Select one taller “thriller,” a couple of mid-height “fillers,” and trailing “spillers.” Allow each plant its mature space in the pot when choosing sizes. This layered approach looks lush without competing for light or nutrients.
What’s the safe way to use fertilizer so I don’t burn my plants?
Start with compost and slow-release formulas. Follow package rates and avoid heavy, frequent feedings. If leaves yellow, test soil before adding more nutrients. Organic options like compost tea feed microbes and lower burn risk.
Can I move a stressed plant without causing transplant shock?
Yes—move on a cool, overcast day and water well beforehand. Lift with a generous root ball, avoid disturbing roots, and replant at the same depth. Provide shade and consistent moisture while the plant recovers for a few weeks.