Imagine warm soil under your hands and the cedar scent on a spring afternoon. Do you want an easy way to add color and order to your yard? This friendly guide shows how to plan, build, and fill a simple frame so your garden feels inviting all season.
You’ll learn the key benefits: frames warm faster in spring, control soil quality, and keep garden beds tidy. Aim for 6–8 hours of sun and a south-facing spot in the U.S. to get the most from each planting.
We cover practical choices—selecting durable wood, the right materials, and hardware like 2x6 cedar boards, 4x4 corner posts, deck screws, and galvanized braces. Expect a weekend build and typical cost between $100 and $300 for lumber and hardware, plus soil.
We’ll also point out common pitfalls: avoid treated lumber, keep spacing from a fence, and line the ground with hardware cloth to block burrowers. By the end, you’ll have a clear plan and the confidence to start gardening in the space you have.
Key Takeaways
- Frames warm faster—pick a sunny, south-facing spot for best results.
- Use durable wood and simple materials listed for a sturdy garden bed.
- Budget for lumber, screws, and quality soil; plan a weekend build.
- Line the ground with hardware cloth to deter burrowing pests.
- Aim for easy access and room to move tools so maintenance stays simple.
Why Build a Raised Bed Garden: Beauty, Comfort, and Better Growth
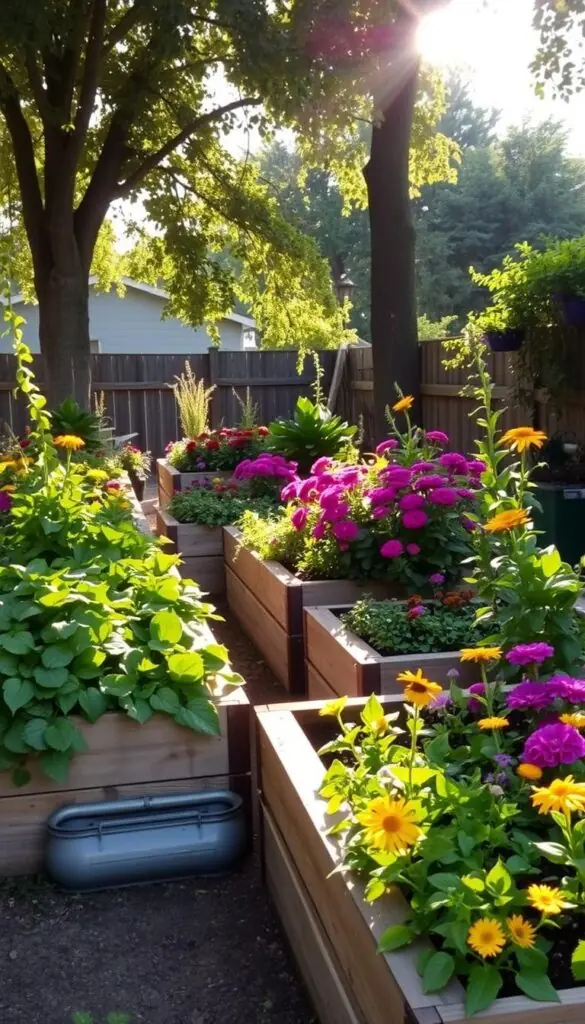
A small rise in height can add weeks to your growing season. Elevated planters warm earlier in spring, which means you can set cool-season crops sooner and keep color later into fall. That extra time helps vegetables and pollinators thrive in a sunlit, tidy space.
Faster spring warm-up and a longer growing window
Warmer soil wakes roots sooner so seedlings get a head start. Better drainage and aeration reduce soggy spots, preventing rot and giving plants steady growth.
Less bending, tidier rows, and easier weeding
You work with less strain because the planting surface sits closer to you. Defined edges mean fewer weeds from surrounding turf, and clean soil lets you skip long weeding sessions.
- Head start each day as the planter warms earlier in spring.
- Less bending makes grooming rows easier on your back.
- Control soil texture: fluffy mix that drains yet holds moisture.
- Simple barriers and netting keep nibblers out without harsh measures.
| Benefit | Practical Result | Best For |
|---|---|---|
| Faster warm-up | Earlier planting, longer season | Cool-season vegetables, early annuals |
| Improved drainage | Less disease, healthier roots | Root crops, herbs |
| Ergonomic height | Less bending, more enjoyment | Seniors and gardeners with back issues |
| Defined edges | Fewer weeds, neater look | Small yards wanting tidy beds |
Plan Your Perfect Spot: Sun, Orientation, and Space You Can Move In
Find a spot in your yard that gets steady sun and fits how you move around the garden. Pick a location with 6–8 hours of direct sun—south-facing in the U.S. is ideal. Choose a level place with good drainage so water won't pool after storms.
Follow the sun and test the layout
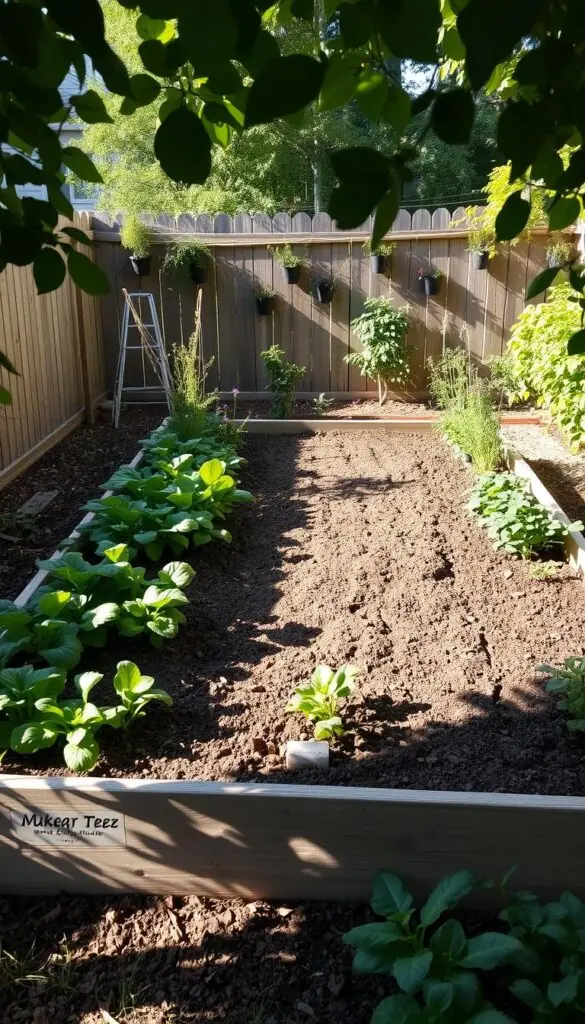
Stand in the chosen place at different times to track light through spring and fall. Lay out ropes or boards to mock the size and test pathways. Mark corners with stakes and walk the routine: water, harvest, and wheel a cart.
Orientation and spacing for healthy rows
Align beds north–south so rows get even sun and tall plants don't cast long shadows on shorter ones. Keep at least 28 inches between beds; 36–48 inches gives room for a wheelbarrow and comfortable movement.
- Avoid placing frames against a fence that casts shade unless the fence is to the north.
- Check nearby trees and rooflines for root competition and drip edges.
- Plan hose routes and an irrigation timer so daily watering is simple.
When you finish this quick layout check, you'll have a sunny, accessible place that makes gardening a pleasure.
Choose the Right Wood: Cedar, Redwood, and Safe Materials
Choose wood that will look good and last through many seasons of gardening.
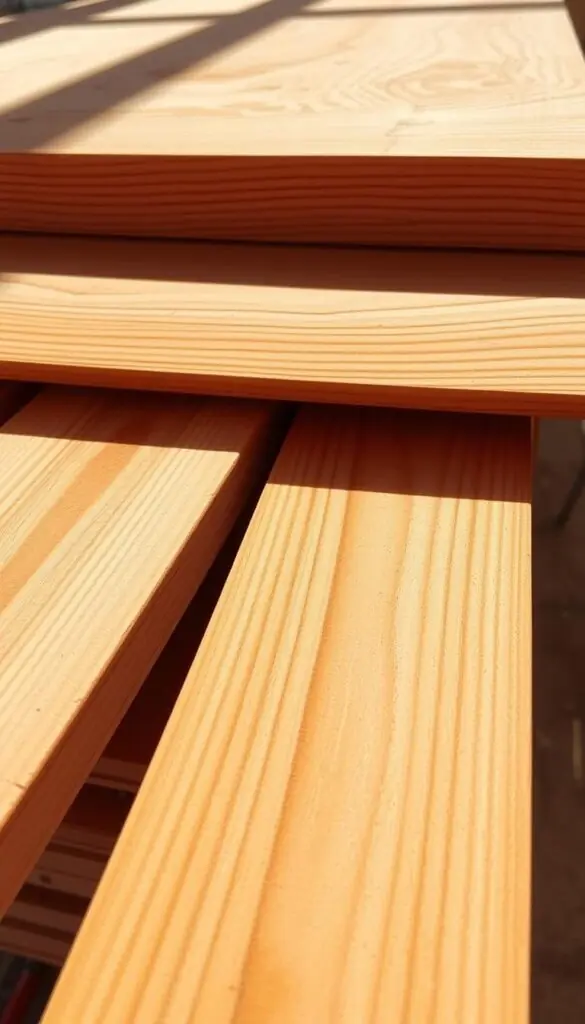
Cedar and redwood are top picks for long life. Both resist rot and pests, and cedar gives a faint resinous scent after rain. In many climates these species can last a decade or more with simple care.
On a tight budget, pine or Douglas fir work well. Expect about 3–7 years depending on moisture and sun. Thicker boards—2x6 or 2x8—and stout 4x4 corner posts help any frame stay square and strong.
Materials to avoid
Avoid treated, painted, or unknown reclaimed wood and old railroad ties. These can leach chemicals into your soil and harm herbs or vegetables in your garden bed.
- Select straight, unbowed boards to speed assembly and keep corners true.
- Consider a non-toxic, food-grade sealer on interior faces to add years without changing the natural look.
- Match species to your region—cedar in the East and redwood in the West are common reliable choices.
Plan quantities before you buy so you don’t make extra trips. The right wood choice gives you a safe, sturdy frame that looks better each season.
Set the Size: Width, Length, and Depth That Fit Your Yard
Pick sizes that make planting and maintenance comfortable, then test the layout on the ground. Good dimensions help your plants thrive and keep work easy.
Width: Keep the planting area between 3 and 4 feet so you can reach the center without stepping in. If the bed sits against a wall, 3 feet is best.
Length and layout: A dependable 4x8 feet footprint works well for many gardens. Longer than 8–10 feet can bow and is harder to manage, so break long runs into modular sections and leave narrow gaps for strength.
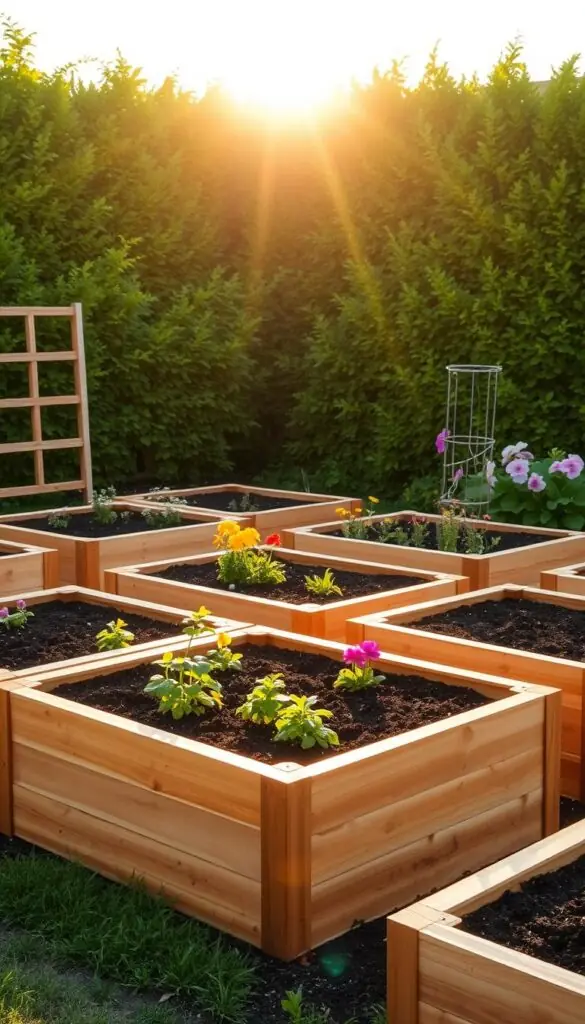
Depth and practical tips
Aim for 12–24 inches of depth to support deep roots and steady moisture. Eight inches is the minimum for shallow-rooted herbs, but most vegetables do better with more.
"Sketch the footprint with string and walk it—adjust until paths, tools, and watering feel easy."
- Match size to your space so paths stay comfortable and tools fit.
- Consider plant habits: tall plants go on the north side, low plants at the front.
- Plan for future additions so you can add another bed without disturbing this one.
Tools and Materials Checklist for a Smooth Build
Gathering the right tools before you start saves time and keeps the build flowing. Lay out everything so you spot missing items and avoid trips to the store.
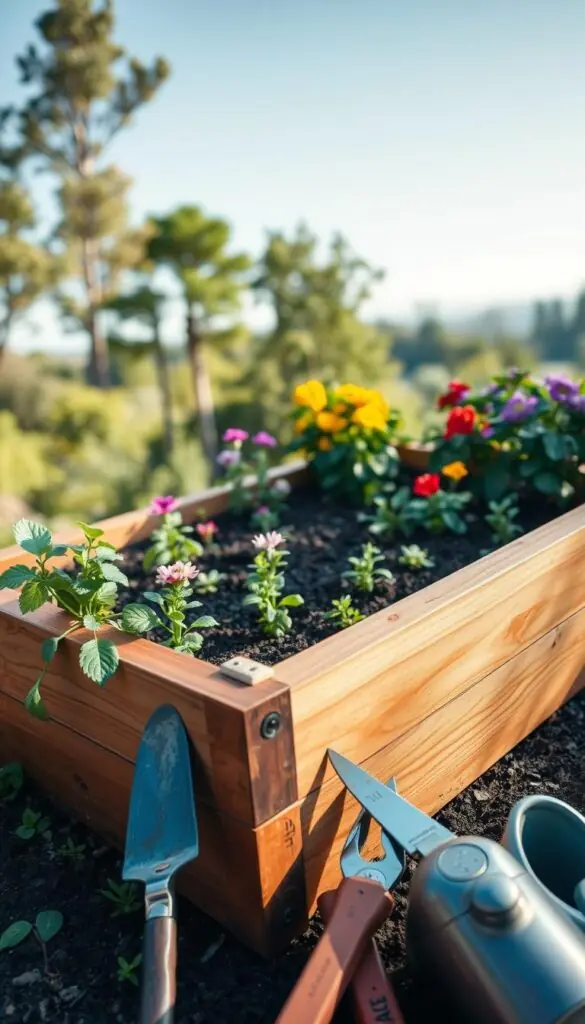
Essential lumber and hardware
Cut list: three courses of 2x6 boards (stacked three high), four 4x4 corner posts, and galvanized mending braces for long sides. Use 2.5–3" 8-gauge deck screws; they bite cleanly and reduce splitting.
Power tools and measuring
Bring a power drill, measuring tape, and a miter or circular saw. A square and pencil save time when marking cuts. Pre-count pieces so each panel and post is ready to assemble.
Pest and weed barriers
Line the bottom with hardware cloth to block burrowing pests and add heavy-duty landscape fabric to slow weeds. Fasten cloth and fabric before you set the frame on the soil.
- Choose durable wood like cedar or redwood when possible.
- Wear gloves, eye protection, and clear a flat workspace with enough space to move pieces.
- Set small parts in a tray and lay tools in order to keep the process calm.
- Double-check measurements for each side and the ends before cutting.
Tip: When every material is on hand, the project finishes faster and with fewer surprises.
Budgeting and Timing: Costs, Soil, and a Weekend Build
A practical budget and a clear schedule make this project feel doable in a weekend. Start by penciling costs and carving out two tidy days: Saturday for cuts and assembly, Sunday for filling and settling.
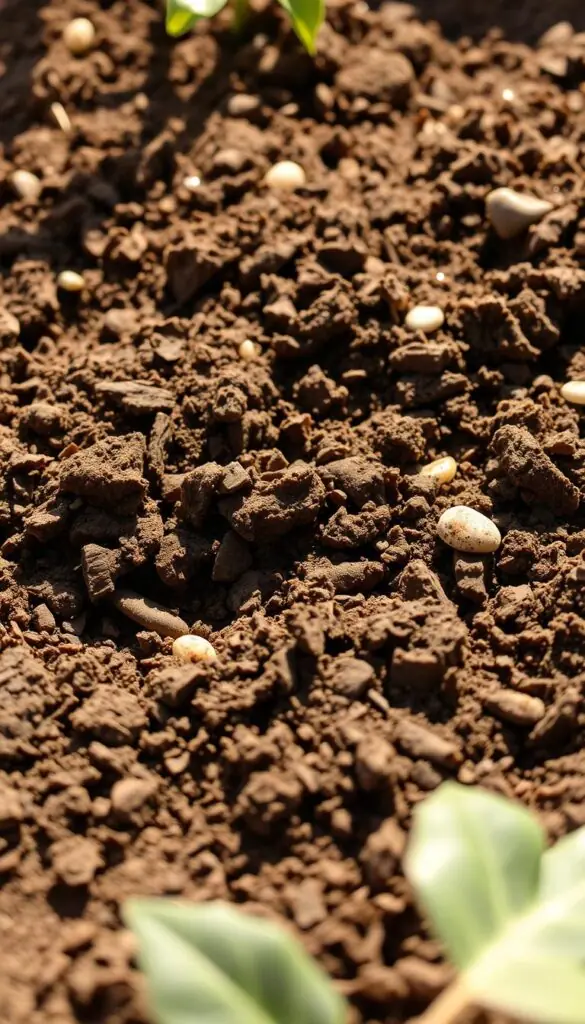
Typical costs and realistic timing
Plan $100–$300 for lumber, screws, and optional hardware cloth. Add quality soil and compost—this is where costs climb. Measure cubic feet before you buy so you order the right volume.
Bagged vs. bulk soil: which to choose
Bagged soil works well for a single frame. For several beds, bulk delivery is often cheaper and faster. Keep delivery access in mind: an easy truck or cart route saves your back and cuts time.
- Weekend plan: cut Saturday morning, assemble by afternoon, fill Sunday.
- Watch for seasonal lumber sales and set alerts to save money.
- Group tasks: cuts first, assembly next, soil last to keep the day calm.
Include small add-ons—trellises for food crops or edging—so your final cost is clear. With smart prep, you finish the project in good time and the new raised garden looks ready to plant.
Sketch, Measure, and Pre-Cut: Set Yourself Up for Success
A careful sketch and true measurements save time and trips to the store. Start by drawing the plan to scale so board counts and cuts are crystal clear. This small step makes the whole process calmer and faster.
Account for true board sizes and corner overlaps
Remember that a 2x6 is actually 1.5 by 5.5 inches. Stacking three gives a finished height of 16.5 inches, so plan your posts and liners to that number.
Cut the short sides 3 inches shorter than the long sides to allow for overlap where the ends are sandwiched. This keeps the outer width exact for liners, hardware cloth, and any top trim.
Cut 4x4 corners to match finished height
Trim four 4x4 posts to the true finished height — often 16.5 inches when using three 2x6 courses. Label each post and each board by side and length so assembly feels like a tidy puzzle.
- Pre-drill near ends on knotty wood to reduce splitting.
- Keep cut ends square; check measurements from the top and the bottom.
- Dry-fit the frame on a flat surface and measure inside corners to confirm center distances match.
- Stage components in order with short sides ready first so the next steps flow.
"Measure twice on paper and once at the saw — it's the best insurance for a calm, accurate build."
When every piece is labeled and pre-cut you start assembly confident that each part fits the next. The small planning work up front makes your garden build feel simple and satisfying.
Step-by-Step: Assemble the Short Sides First
Begin assembly with the short ends; working flat keeps pieces aligned and mistakes easy to fix. This simple start makes the rest of the build smooth and accurate.
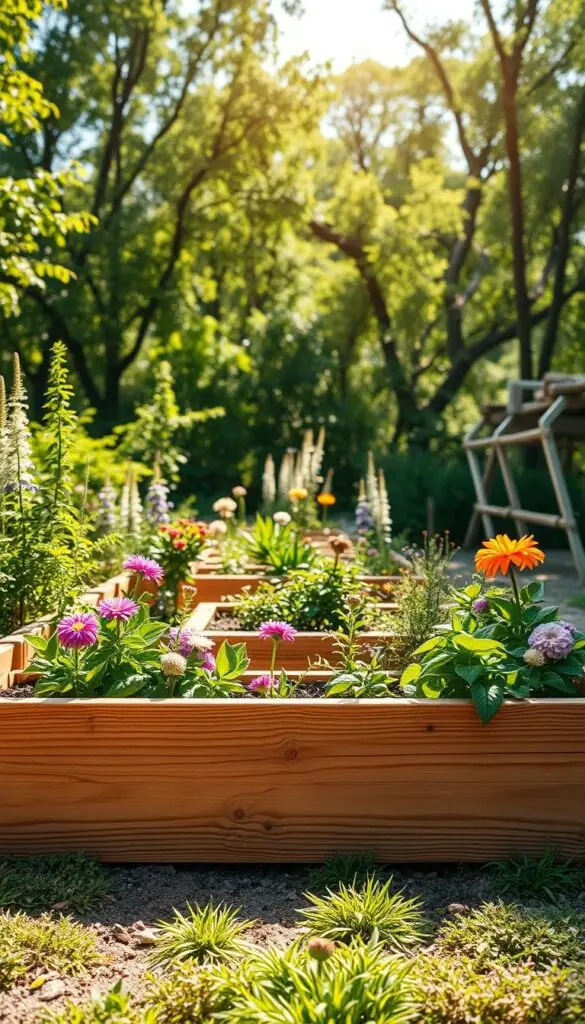
Work on a level surface and lay two 4x4 posts the exact distance apart for the short side. Set the first 2x6 so its end is flush with the outer face of each post.
- Drive two 2.5–3" deck screws into the center of the post per board. Keep screws at least 1" from each end to avoid splitting.
- Stack the next boards, keeping top edges even and sides straight. Check that the ends remain flush as you go.
- Measure the inside distance between posts at both corners to confirm the panel is square before tightening all screws.
Repeat the same process for the second short side, laying out pieces so they mirror each other. Set both finished short sides aside, ready to accept the long side boards.
"A calm, steady pace here sets the tone for a square, solid frame."
- Double-check alignment of ends and adjust lightly before final screws.
- Keep markings tidy so each piece fits quickly during the next step to build raised runs.
Build the Long Sides and Square the Frame
Stand the short ends upright first, then lay the long boards across to form a steady rectangle.
Lift the two end panels and rest each long side on top, aligning the outer faces flush so the corners sit tight. This step makes the whole process much easier and keeps the center true as you work.
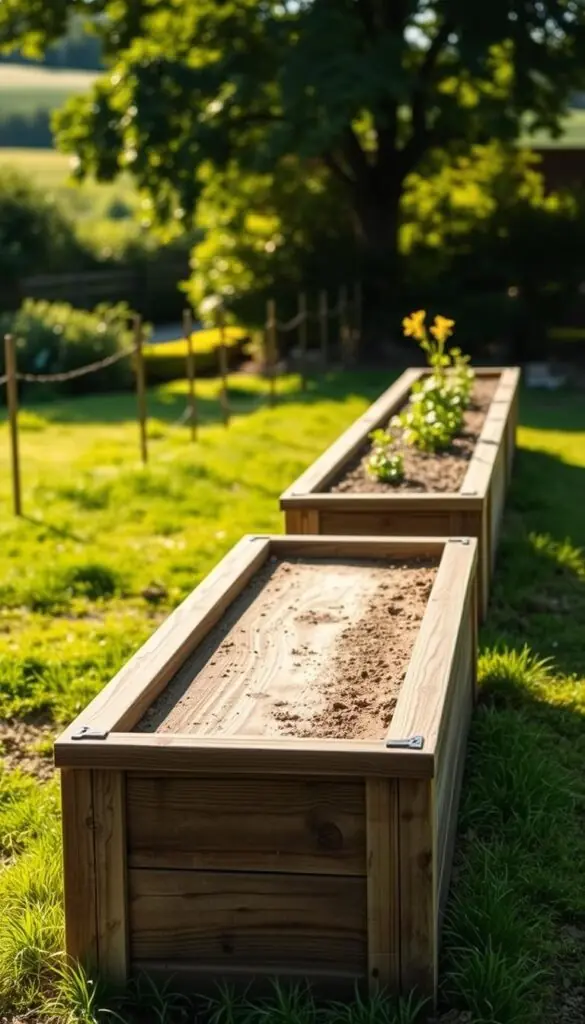
Stand short ends, set long boards, measure inner corners
Measure the inside distance at each corner — top and bottom — before driving screws. Use a tape and check both diagonals for a square frame.
Attach securely and flip to complete the frame
Drive two screws into each board end into the 4x4 post centers. If a side wants to pull, add a temporary clamp to hold alignment while you fasten.
- Confirm the finished length in feet and that your rows will run north–south for even light.
- Choose straight cedar or redwood boards for long sides so panels sit flat without twist.
- Flip the frame gently and repeat on the opposite side, keeping the top edges smooth to the touch.
| Step | Why it matters | Quick tip |
|---|---|---|
| Stand short ends | Creates a steady rectangle | Work on level ground |
| Measure inner corners | Ensures the frame is square | Check diagonals, top and bottom |
| Attach long sides | Secures structure for soil | Two screws per end into posts |
"A firm, square frame makes planting and rows feel simple and inviting."
Strength Matters: Add Mid-Side Bracing on Long Runs
Long sides need a little help to stay straight and steady. When your frame goes past six feet, soil pressure and time can push the middle outward. A quick, well-placed brace keeps the top line true and the whole frame quiet under load.
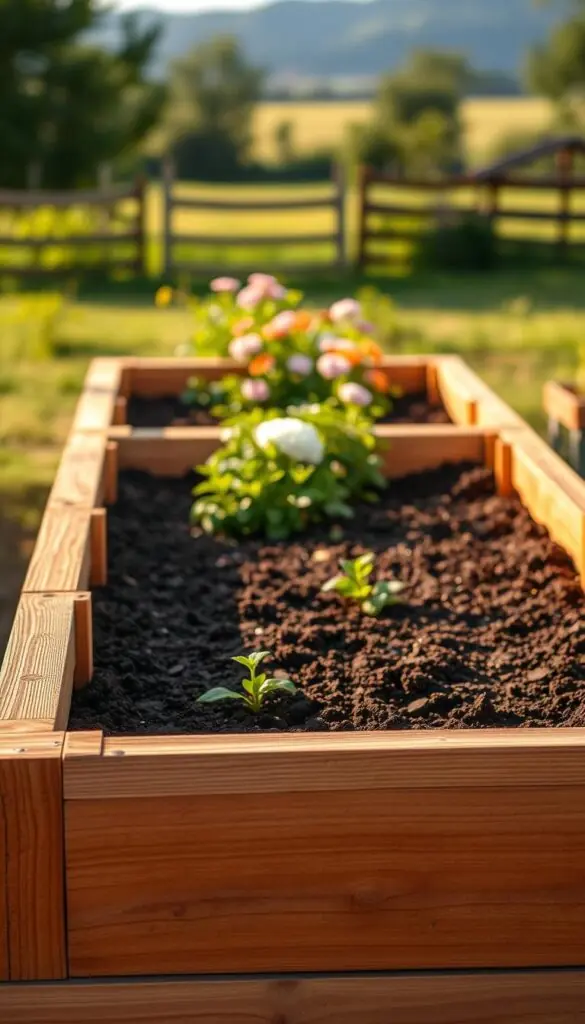
Use galvanized mending braces to prevent bowing
Fit a 12-inch galvanized mending brace across the center of each long side on beds over six feet. The brace spans the three stacked 2x6s on a 16.5-inch tall frame and ties the pieces into one strong panel.
- Mark pilot points so the metal sits flat against the wood and does not shift.
- Snug the screws so all three boards act as one, keeping the top straight and smooth.
- Choose corrosion-resistant materials so strength lasts through seasons of water and sun.
- Install braces on both long runs for symmetry and balanced support.
- Add a second short brace if you plan to fill very deep, heavy mixes.
Finish checks: re-measure diagonals and press each side; the frame should feel tight and rattle-free. Wipe away sawdust and move the bed to its final spot before you add pest barriers and soil.
"A single mid-side brace saves you time and keeps plant rows neat for years."
Keep Pests Out: Line the Bottom with Hardware Cloth
Stop burrowers before they start by installing a metal liner under the frame. Laying hardware cloth at the ground level protects roots and keeps your raised garden beds tidy and secure.
Why hardware cloth beats chicken wire
Hardware cloth is galvanized, strong, and rodent-proof. Small mammals cannot chew through it, and it resists rust far better than chicken wire. That durability makes it the smart materials choice when you want long-lasting protection around a raised garden bed.
Fitting rolls, overlaps, and fastening
Rolls commonly come 2–4 feet wide; measure the interior and cut with aviation snips. Overlap seams a few inches where needed and secure them tightly.
- Roll the mesh across the ground inside the frame so burrowers can’t reach roots.
- Fasten with wide-head screws, galvanized wire, or heavy-duty staples, pinching the mesh to the wood.
- Trim cleanly so edges won’t snag gloves; check corners and each seam end for gaps.
- Near a fence, add a short rise up the inside sides for extra gopher defense.
"A neat liner sits flat and lets you move on to weed barrier and drainage prep with confidence."
You’ll appreciate how secure the bed feels once the mesh is in. With simple tools and a calm process, your garden stays protected season after season.
Weed Barrier and Drainage: Prepare the Ground the Right Way
Start by smoothing the site so the frame sits level and true. A tidy base makes planting easier and saves you work later.
Clear sharp debris and loosen compacted soil so the frame touches the ground evenly. Check for low spots where water might pool; good drainage keeps roots healthy and prevents soggy patches.
Lay a heavy-duty landscape fabric across the footprint to slow weeds without sealing off water flow. Pin seams where they cross and trim the edges flush so fabric sits neat and flat.
- Smooth the ground and remove rocks or roots so the frame won't rock.
- Use fabric — not plastic sheeting — so air and water move freely through the root zone.
- Rake a thin layer of compost under fabric in stubborn weed areas to improve suppression.
- Confirm hardware cloth rests flat on top of the fabric with no bubbles or folds.
| Material | Weed Control | Drainage Impact | Best Use |
|---|---|---|---|
| Heavy-duty fabric | High | Allows water through | General garden beds |
| Hardware cloth | Blocks burrowers | Neutral | Rodent protection under frame |
| Plastic sheeting | Blocks weeds | Blocks drainage (avoid) | Not recommended |
When the ground feels steady and the liners sit flat, you’re ready to fill with a healthy soil mix. Taking this step calmly now saves you lots of time later and helps your garden thrive.
How to Fill Raised Garden Beds with the Right Soil
A light, earthy mix that springs back in your hand will change how well your plants grow.
Start with a high-quality raised-bed mix blended with rich compost. Aim for a mix that feels springy and smells sweet and earthy. This gives structure and nutrients so roots can breathe and reach.
Fill to your planned depth — at least 8 inches, ideally 12–24 inches for most vegetables and larger perennials. Measure in inches as you add soil so you hit the target height for healthy roots.
Practical recipe and layering
Blend commercial raised-bed mix with 25–40% well-aged compost. If you need slight levelling, add coarse material only under the fabric layer; keep the main fill uniform to protect drainage.
- Plant shallow annuals near the edges so they spill prettily.
- Reserve deeper center spots for tomatoes, dahlias, or deep-rooted perennials.
- Tuck herbs like basil and thyme at the front for easy snips and scent.
Water thoroughly to settle the soil and top off as it compacts in the first week. Add a light mulch to keep moisture steady and the surface dark and even. Keep a bag of compost nearby for midseason boosts, especially for hungry vegetables.
"Step back and enjoy the dark, even surface — your garden bed is ready for color."
Planting a Raised Flower Bed: Seasonal Picks and Sensory Appeal
Plan for waves of bloom—early bulbs, midsummer annuals, and late asters—to keep the space bright all season.
Mix seasonally so color arrives in layers. Start with spring bulbs, add zinnias and salvias in summer, and finish with asters or sedum for fall interest.
Spring to fall color: blooms, textures, and pollinator favorites
Choose pollinator magnets like coneflower, bee balm, and native milkweed to invite bees and butterflies. Interplant herbs such as dill and basil for scent and a bit of food.
Place tall accents on the north side so they don’t shade neighbors. Let trailing or cascading varieties sit at the front for layered texture and movement.
Sun vs. part-shade choices and simple spacing
For full sun, pick zinnias, lavender, and salvias. In part shade, tuck in heuchera, foxglove, and astilbe. Leave room for mature width so air flows and foliage stays healthy.
- Keep spacing that matches mature size to prevent crowding.
- Add a simple trellis for climbers like sweet peas without shading nearby plants.
- Water deeply at the root zone and mulch lightly to keep the soil crumbly and alive.
"A lively mix of scent, texture, and staggered bloom times keeps your garden welcoming all season."
Quick Tips to Avoid Common Mistakes with Raised Beds
A quick, calm checklist prevents common missteps and keeps your project on track. Use these simple checks before you assemble so planting season starts easy and steady.
Structure, siting, and materials
- Don’t skip mid-side bracing on runs longer than 6 feet — a center brace stops boards from bowing under soil pressure and makes future maintenance much easier.
- Keep each bed no wider than 4 feet so you never step into the soil and compact roots.
- Site beds for 6–8 hours of sun; poor light is a top reason plants underperform.
- Line the base with hardware cloth to block gophers, especially near a fence or old runways.
- Never use treated, painted, or unknown reclaimed wood — choose safe lumber every time.
Workflow and upkeep
- Plan space for a cart between beds so routine tasks are simple and quick when you build raised frames.
- Mulch lightly to keep weeds down and moisture steady.
- Check level at the start and measure twice, cut once — it saves time and stress.
- If you would like a quick second opinion, pause and sketch again before you screw pieces together.
"A square, level frame makes planting and care far more enjoyable."
Conclusion
A few straight cuts, solid joinery, and the right soil will change how your outdoor space feels and works.
You now have a clear path to build a simple wood frame with pest‑proof hardware cloth and a living soil mix that drains well. Use cedar or redwood when you can, or another good wood that fits your budget.
Keep pathways wide, check square at the center, and add mid-side bracing on long runs. Line the ground to protect roots, fill to the right inches, and plant what brings you joy.
Stand back in the place you chose, breathe the scent of soil and color, and enjoy the calm of your new raised garden — strong.
FAQ
How do I build a raised flower bed without heavy equipment?
Start by choosing cedar or redwood boards and 4x4 corner posts. Assemble the short ends first so corners stay square, then attach long sides. Use 2.5–3 inch deck screws and galvanized braces on long runs to prevent bowing. Line the bottom with hardware cloth to block gophers, add landscape fabric, then fill with a mix of topsoil and compost. Work from pre-cut pieces so assembly fits in a day and you can move soil and tools easily.
Why choose a bed garden instead of planting in the ground?
Beds warm faster in spring, giving you an earlier start and a longer growing window. They cut down on bending and make weeding and harvesting more comfortable. Soil quality is easier to control, which helps vegetables and flowers thrive, and tidy rows make your yard look well cared-for.
How much sun do I need and which orientation is best?
Aim for six to eight hours of direct sun. A south-facing exposure is ideal. Orient beds north–south to reduce shading between rows so taller plants don’t block their neighbors throughout the day.
What spacing should I leave for pathways around beds?
Keep at least 28 inches for comfortable walking. If you plan to use a wheelbarrow or garden cart, go 36–48 inches so you can move tools, soil, and plants without hassle.
Which wood is safest and most durable for a garden bed?
Cedar and redwood resist rot and can last a decade or more without chemicals. Pine or fir are budget-friendly but have shorter lifespans. Avoid treated lumber, painted boards, and railroad ties that can leach harmful substances into your soil.
What dimensions work best for accessibility and plant health?
Keep width to 3–4 feet so you can reach the center from either side. A popular footprint is 4x8 feet; modular end-to-end designs let you add more beds later. For depth, 12–24 inches accommodates most vegetable roots and helps retain moisture.
What tools and materials will I need for a smooth build?
Gather boards, 4x4 corner posts, deck screws, galvanized mending braces, a power drill, measuring tape, and a circular or miter saw. Add hardware cloth and landscape fabric to keep pests and weeds out, plus quality soil and compost for filling.
How much does a typical bed cost and how long does it take?
Lumber and hardware can range widely depending on wood choice and size; cedar and redwood cost more than pine. Soil costs depend on whether you buy bagged mixes or order bulk delivery. Most small to mid-size beds can be built in a weekend with basic tools and help.
Any tips for cutting boards and prepping before assembly?
Sketch your layout, measure twice, and account for actual board widths and corner overlaps. Pre-cut 4x4 posts to match final bed height (for example, cut to 16.5 inches if your finished wall is 12–14 inches high) so corners fit flush.
How do I keep long sideboards from bowing over time?
Add mid-side bracing with galvanized mending braces or internal supports every 4–6 feet. This strengthens the frame and prevents soil pressure from deforming the boards on longer runs.
How do I protect the soil from burrowing pests?
Line the bottom with hardware cloth rather than chicken wire; the tighter mesh stops gophers and voles. Overlap rolls by several inches and secure them to the frame with staples or screws and washers.
What should I put under the bed for drainage and weed control?
Clear large roots and level the ground, then lay landscape fabric to block weeds while allowing water to drain. If drainage is a concern, add a thin layer of coarse material like gravel before fabric, but most garden soils work well with fabric alone.
What soil mix is best for filling a garden bed?
Use a high-quality raised-bed mix blended with compost for structure and nutrients. For deeper beds, layer with loamy topsoil and compost so roots have both air and food. Adjust depth based on whether you’re growing herbs, flowers, or vegetables.
What plants work well for a sunlit bed versus part-shade?
Choose sun-loving vegetables, pollinator-friendly perennials, and annuals for full sun. For part-shade areas, pick leafy greens, herbs like mint and parsley, and shade-tolerant perennials. Mix textures and bloom times for continuous interest.
What are common mistakes to avoid when building and planting?
Don’t make beds too wide for comfortable reach, skip bracing on long sides, or place them in poor sun. Avoid using mystery-treated lumber or skipping pest barriers. Planning pathways, proper depth, and quality soil saves time and headaches later.