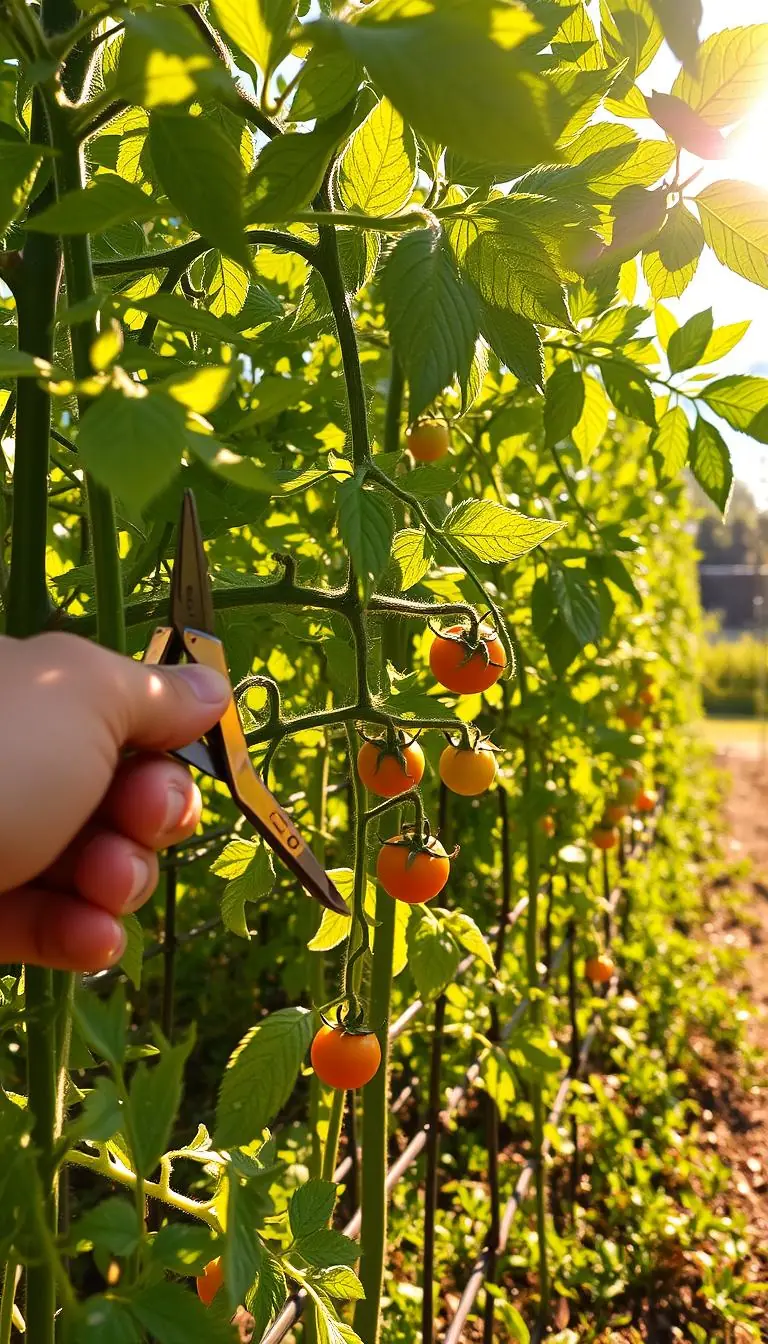
Sun warm on your wrists, the smell of dark, crumbly soil, a row of tiny sprouts peeking up. Have you ever stood at your window and wished your outdoor space felt this calm and productive?
You’re not alone. Many people start too big or pick a shady spot with hard-to-reach water. That leads to wasted weekends and soggy seeds.
In this short guide we’ll help you spot and fix the most common mistakes without judgment. You’ll get step-by-step methods, real examples with USDA zones and inches, and simple tools—planters, a raised bed, a drip line, and a small compost bin—that fit most spaces.
We’ll teach practical rhythms: when to plant sprouts (harvest in about five days), salad greens (around 30 days), and when to wait for fruiting crops. Expect clear tips on layout, soil, watering, mulch, and pest care so your garden stays beautiful and easy to enjoy across seasons.
Key Takeaways
- Start small: one raised bed or a couple of planters makes upkeep simple.
- Check sun and water access first—aim for 6+ hours of sun and reachable water.
- Focus on soil health: dark, crumbly soil and steady mulch help plants thrive.
- Use basic tools: drip lines, compost bins, and good planters to save time.
- Plant quick wins first (sprouts, salad greens) to build confidence over years.
Starting too big and picking the wrong spot undermines beauty and function
Big ambitions planted in the wrong place usually shrink into frustration. Begin with a single, manageable project so you enjoy the process and see wins quickly. One 4x8 raised bed or two 20" planters gives you a tidy, scalable start.
Begin small, then scale
Pick one focused space near the kitchen or back door. That visibility makes daily checks natural and saves you time. A single bed helps new gardeners learn fast without overwhelming chores.
Choose sun and water wisely
Sun-test your yard for a full day. Aim for 6–8 hours of direct light; morning sun is gentler on leaves. Place beds within easy hose reach or next to a rain barrel spigot so watering happens on schedule.
- Sketch a path so you can reach all edges without stepping into beds.
- Leave 18–24" walking space for a wheelbarrow and weeding.
- Add a trellis or obelisk to lift vines and save ground space.
| Start Option | Size | Best for | Maintenance |
|---|---|---|---|
| Single bed | 4 x 8 ft | Mixed veggies, quick wins | Low, focused |
| Planters | Two 20" pots | Herbs, salad greens | Very low, portable |
| Focal item | Trellis/Arch | Vining crops, visual interest | Sparse, lifts yields |
Thinking soil doesn’t matter: build living soil for years of harvests
Healthy soil turns small efforts into big harvests over the years. Start by treating the ground as a living system. Good structure, steady nutrients, and protective mulch make a garden resilient and low-effort.
Test first
Send a sample to your local extension every 2–3 years or use a kit for a basic read. Labs report pH, nutrient levels, and organic matter so you can follow their rate recommendations instead of guessing.
Layer raised beds the right way
Fill beds with roughly 50% screened topsoil, 30% finished compost, and 20% organic matter like leaf mold or fine bark. Add a handful of compost when you transplant to ease stress and feed soil life.
Mulch as a non-negotiable
Top with 2–3" of shredded leaves, straw (seed-free), or arborist chips. Keep a palm’s width from stems to prevent rot. Mulch saves moisture, tempers swings, and feeds the microbes that support your plants.
- Test every 2–3 years to learn pH and nutrient needs.
- Top-dress 1–2" of compost each spring to refresh nutrients.
- Look for dark, crumbly soil that smells earthy and feels springy underfoot.
Planting at the wrong time or crowding plants steals time and yield
Timing and space matter more than you think when it comes to planting success. Check your USDA zone and local last/first frost dates before you sow or set out transplants. That simple step saves you weeks of lost effort.
Follow your USDA zone and frost dates for cool vs. warm season crops
Look up your zone and mark last spring frost and first fall frost on a calendar. Plant cool-season crops like peas, lettuce, and spinach in early spring and again in fall. Wait until frost danger passes for peppers, tomatoes, and squash.
Spacing that works: read seed packets; give roots and leaves room to breathe
Trust the packet. Thin carrots to 2", beets to 4", lettuce to 8–10", and give tomatoes room — 18–24" is ideal for good airflow.
| Crop | Spacing | Why it matters |
|---|---|---|
| Tomatoes | 18–24" | Airflow reduces disease and boosts fruiting |
| Beets | 4" | Allows roots to swell |
| Carrots | Thin to 2" | Prevents stunting and crowding |
Avoid bolting: cilantro, dill, and spinach prefer cool shoulder seasons
Herbs and greens like cilantro, dill, and spinach will bolt when heat hits. Plant them in cool shoulder seasons or succession sow every 2–3 weeks for steady harvests.
- Use a ruler or square-foot grid to layout beds.
- Thin by snipping at soil level to avoid disturbing neighbors.
- Overcrowding traps humidity and invites disease like powdery mildew.
Give each plant a little room and the right timing, and your garden will reward you with healthier growth and fuller beds.
Watering the wrong way: shallow sips vs. deep drinks
Shallow sips from a hose do more harm than good — deep drinks build strength below ground. When you water too often and too lightly, roots stay near the surface. That makes plants fragile in heat and drought.
Check before you water. Press a finger about 2" into the soil or use a moisture meter. If it feels cool and damp, wait a day. For new seedlings, peek every day or two until roots settle.
Switch to deep, infrequent watering
Aim to soak the soil so roots chase moisture downward. In most gardens, target about 1" of water per week, more in heat waves. Water at dawn when winds are calm and evaporation is lowest.
- Use drip lines or soaker hoses for slow, even wetting at the base of plants; add a simple timer for steady routines.
- Mulch 2–3" to lock moisture and keep soil cooler so your watering goes further.
- For containers, water until you see a steady trickle from drainage holes, then let them rest.
| Action | How to do it | Why it helps |
|---|---|---|
| Finger test | Press 2" into soil; feel for cool/moist | Prevents unnecessary watering and root shallowness |
| Deep soak | Water 1–2 times weekly at dawn; aim 1" total/week | Encourages deep roots and drought resilience |
| Drip/soaker | Run for 30–60 minutes depending on soil and flow | Delivers slow, even moisture to roots without wetting leaves |
eco gardening mistakes to skip for healthier plants and soil life
Protecting soil and helpful insects starts with simple, consistent steps. Tilling and routine sprays can harm the very life that makes a garden thrive. Make sure your way of working builds structure, not harm.
Overtilling: try a no-dig setup
Tilling brings up dormant weed seeds and breaks soil layers. A no-dig bed keeps those layers intact and invites worms to work for you.
- How to build: lay down corrugated cardboard over grass, soak it, then add 4–6" of finished compost. Plant right into the top layer.
- Let soil organisms and time do the turning. You’ll see fewer weeds and better soil texture.
Overusing pesticides harms allies
Even organic sprays don’t spare bees, ladybugs, lacewings, and parasitic wasps. Avoid routine spraying and use targeted methods first.
- Hand-pick, trap, or cover plants before reaching for a sprayer.
- If you must spray, do it at dusk and target only the affected area.
Neglecting daily observation
Spend a little time each day and you’ll save a lot of time later. A five-minute walk catches small problems before they grow.
- Lift leaves, look for holes or sticky residue, check new growth, and feel soil moisture.
- Leave habitat—flowers, herbs, and a shallow water dish—for natural pest control.
- Keep a rinse bucket near your beds so tools stay clean and you avoid spreading issues.
| Issue | Simple fix | Benefit |
|---|---|---|
| Overtilling | Cardboard + 4–6" compost no-dig bed | Fewer weeds; intact soil life and structure |
| Routine spraying | Hand-pick, cover, trap; spray only as last resort | Protects pollinators and beneficial insects |
| Neglect | 5-minute daily loop: lift, look, feel | Early detection saves time and yield |
Seeds, starts, and seedlings: set yourself up for success
Healthy seedlings begin with a few deliberate steps you can easily master. Start by choosing quality seed sources and keeping a simple garden journal. Over the years, that record helps you learn which suppliers and varieties give the best germination and flavor for your site.
Good airflow, gentle light, and careful watering make fragile starts into sturdy plants. Use a small fan on low to prevent damping off and edema. Keep trays dry on top by bottom-watering so stems stay clean and strong.
- Choose reliable seeds: note germination rates and supplier on each entry in your journal.
- Lights: set grow lights 2–3" above seedling tops; raise lights as they grow to keep stems stout.
- Bottom-water: water from the tray to avoid wet foliage and reduce disease risk.
- Airflow: run a gentle fan across trays to toughen stems and cut humidity.
- Transplant: move when roots fill cells but aren’t circling; root ball should hold together.
- Harden off: 7–10 days from bright shade to full sun, increasing exposure each day.
- Label smart: write with pencil on plastic tags—it lasts longer than permanent marker.
- Start small: grow only the type and number you can pamper well this season.
Small rhythms now save time later. A little journaling and consistent care help you know which seed and plant choices suit your yard and season.
Pests, diseases, and wildlife: protect crops without harming your ecosystem
A few simple defenses help you keep harvests safe without harming helpful life. Invite allies and use gentle barriers so your garden stays lush and balanced. Small actions each day prevent big losses later.
Invite allies
Tuck in nectar-rich plants like sweet alyssum, dill, fennel, calendula, and yarrow to feed bees, ladybugs, lacewings, and parasitic wasps. These visitors patrol beds and cut pest pressure naturally.
Physical protection for brassicas
Cover broccoli, cabbage, and kale with insect netting at transplanting. Use 40–60 mesh for moths and caterpillars. Seal edges with pins, soil, or boards so pests can’t slip underneath.
Birds, tomatoes, and fruit protection
Add a shallow bird bath and refresh it each day. Hydrated birds are less likely to peck fruit. For ripening tomatoes, slip lightweight mesh fruit bags over clusters to stop pecks while sun finishes the sugar.
Deer and trellis strategies
In deer country, install an 8' fence or a double 4' fence for reliable protection. Train cucumbers, squash, and pole beans up a sturdy trellis to save space and keep fruit off the ground. Trellises also make the bed look tidy and reduce slug and rodent damage.
- Hand-pick caterpillars early; drop them in soapy water and recheck after sunset.
- Choose disease-resistant varieties and rotate plant families year to year.
- Use mesh sizes: 40–60 mesh for moths; 1/4" to 1/2" mesh for bird bags; sturdy welded wire for deer gates.
| Problem | Action | Materials/mesh | Benefit |
|---|---|---|---|
| Cabbage moths | Row cover from transplant | 40–60 mesh, sealed edges | Blocks egg-laying and caterpillars |
| Tomato pecking | Bird bath + fruit bags | Shallow bath; 1/4" mesh fruit bags | Less pecking; cleaner fruit |
| Deer browse | Fencing or double barrier | 8' fence or two 4' fences 3–4' apart | Long-term crop protection |
| Ground pests | Trellis training | Sturdy wood or metal trellis | Saves space; reduces pest access |
Compost and fertilizers: feed the soil, not the pests
Healthy plants start below ground—what you add now shapes next season’s harvest. Use finished compost and thoughtful fertilizer choices to build steady fertility, not sudden leafy spikes that attract nibblers.
Use your compost each season
Spread 1–2" of finished compost across beds each spring and again midseason. That top-dress rebuilds soil structure and delivers slow-release nutrients.
Work a scoop into containers each season; potting mixes tire faster and appreciate a refresh.
Choose plant-based fertilizers when wildlife is a problem
Avoid blood, bone, and fish products if coyotes or diggers visit. These can draw animals into beds.
Plant-based options like kelp or soybean meal add fertility without attracting critters. Use slow-release formulas per label.
- Follow label rates: more is not better—excess nitrogen causes floppy growth and fewer flowers.
- Feed by need: leafy crops early; fruiting crops after they set flowers; stop late season.
- Keep a countertop pail and an outdoor compost or worm bin to close the loop and save money over years.
- Check maturity: compost should smell earthy and feel cool before spreading.
Note results in your journal so you can refine timing and amounts year to year.
Choose beginner-friendly crops before tackling divas
Start where you can win quickly: fast-growing leaves and roots teach helpful rhythms. You’ll learn watering, spacing, and timing with small, forgiving plants before tackling finicky varieties.
Start with leaves and roots
Pick salad greens, herbs, radishes, beets, and carrots. These vegetables grow fast and show progress in weeks, not months.
- Quick list: looseleaf lettuce, basil, cilantro (cool seasons), radishes, beets, carrots, and kitchen sprouts.
- Radishes mature in about 20–30 days; many salad greens around 30 days; sprouts in ~5 days.
- Spacing: radishes 2", carrots 2", beets 4", looseleaf lettuce 8–10". Thin early so roots can size up.
Graduate to fruiting crops later
Tomatoes are rewarding but slow and exacting. They crave steady heat, deep soil, even moisture, and pruning.
| Crop | Space | Why |
|---|---|---|
| Radishes | 2" | Fast harvest; easy wins |
| Carrots | 2" | Roots need room to swell |
| Beets | 4" | Better size and yield |
Once you’ve mastered basic care and plant spacing, add tomatoes, peppers, and cucumbers. Choose compact or determinate tomato varieties first. Build skills one step at a time and your plants will repay you with steady harvests.
Conclusion
Begin with one simple action this week and let the rest unfold at its own pace. Start small, pick a sunny spot, and make one tidy change. That calm approach grows confidence and results faster than doing everything at once.
Here are easy next steps:
• Place a single bed or a couple of planters near the door so checking them is easy.
• Lay 2–3" of mulch to protect soil and hold nutrients.
• Set a simple timer for watering and water deeply at dawn a few times each week.
Space plants with care, observe daily, and use gentle pest methods. These small routines add up over years and make your garden both beautiful and useful.
Step outside, breathe the earthy scent, and enjoy what changes. You don’t need to fix every mistake today — one steady tip at a time is the best way forward.
FAQ
What’s the biggest beginner error when starting a sustainable garden?
Starting too big and picking a poor spot. Begin with one raised bed or a few planters so you can learn without wasting time, water, or space. Choose a location with at least six hours of sun and easy access to a hose or drip system.
How do I know if my soil is healthy?
Test first using an at‑home soil test kit or send a sample to your local extension lab every few years. Healthy soil feels dark and crumbly, smells earthy, and springs back underfoot. Build living soil by layering compost, quality topsoil, and organic matter in raised beds.
How should I layer a raised bed for long-term fertility?
Start with a weed‑free base, add a mix of compost and well‑decomposed organic matter, then finish with quality topsoil. Top‑dress annually with compost and mulch to protect moisture, feed microbes, and keep roots cozy.
When is the right time to plant seeds and transplants?
Follow your USDA zone and local frost dates. Plant cool‑season crops in shoulder seasons and warm‑season crops after the last frost and when soil has warmed. Read seed packets for timing and germination details.
How much space do plants really need?
Give roots and leaves room to breathe—use spacing on seed packets or plant tags as a guide. Crowding reduces yield and increases disease risk. For many vegetables, leaving an extra inch or two makes a big difference.
How often should I water vegetables and beds?
Check before you water using the finger test or a moisture meter to about 2 inches deep. Shift to deep, infrequent watering with drip lines or soaker hoses so roots grow downward. Water at dawn and pair with mulch to cut evaporation.
What common practices harm soil life and plants?
Overtilling, overusing pesticides (even organic ones), and neglecting daily observation. Overtilling activates weed seeds and disrupts microbes. Use no‑dig beds when possible, choose targeted pest controls, and check plants often for early signs of trouble.
How can I reduce pest damage without harming beneficial insects?
Invite allies by planting flowers and herbs that attract bees, ladybugs, lacewings, and parasitic wasps. Use row covers or insect netting on vulnerable crops like brassicas, and prefer physical or biological controls over broad‑spectrum sprays.
What are smart choices for compost and fertilizers?
Feed the soil, not the pests. Use finished compost as a top‑dressing and refresh planters each season. Consider plant‑based fertilizers if animal‑based options draw wildlife you don’t want. Apply fertilizers lightly and seasonally to avoid nutrient burn and weak growth.
Which crops are best for beginners?
Start with forgiving greens and roots: salad greens, herbs, radishes, beets, and carrots. These give quick rewards and teach you timing, spacing, and watering. Graduate to heat‑loving or high‑maintenance crops like tomatoes and peppers once you’re comfortable.
How do I prevent seedlings from damping off?
Buy quality seeds, track germination in a garden journal, and give seedlings good airflow—use a small fan if needed. Plant in well‑draining mix and avoid overwatering to keep fungal problems at bay.
What’s the best way to protect fruit from birds and deer?
Use bird netting or bag ripening tomatoes to stop pecks, provide a bird bath to distract wildlife, and install fencing or deer‑resistant barriers where needed. Train vines on trellises to save space and make crops less accessible to ground feeders.
How should I label plants so tags last the season?
Use plastic plant tags and write with a pencil—pencil on plastic often outlasts “permanent” markers. Keep a simple planting map or journal entry to track varieties, dates, and spacing.
Can overfertilizing cause problems?
Yes. Heavy or frequent fertilizer can lead to lush, weak leafy growth and increase pest and disease pressure. Apply compost and fertilizers sparingly and timed to plant needs—more gentle feedings often produce healthier crops.
What daily habit helps prevent larger issues?
Make a quick walk‑through each day or every few days. Early observation catches pests, disease, and water stress before they snowball. Small actions now save time and yield later.