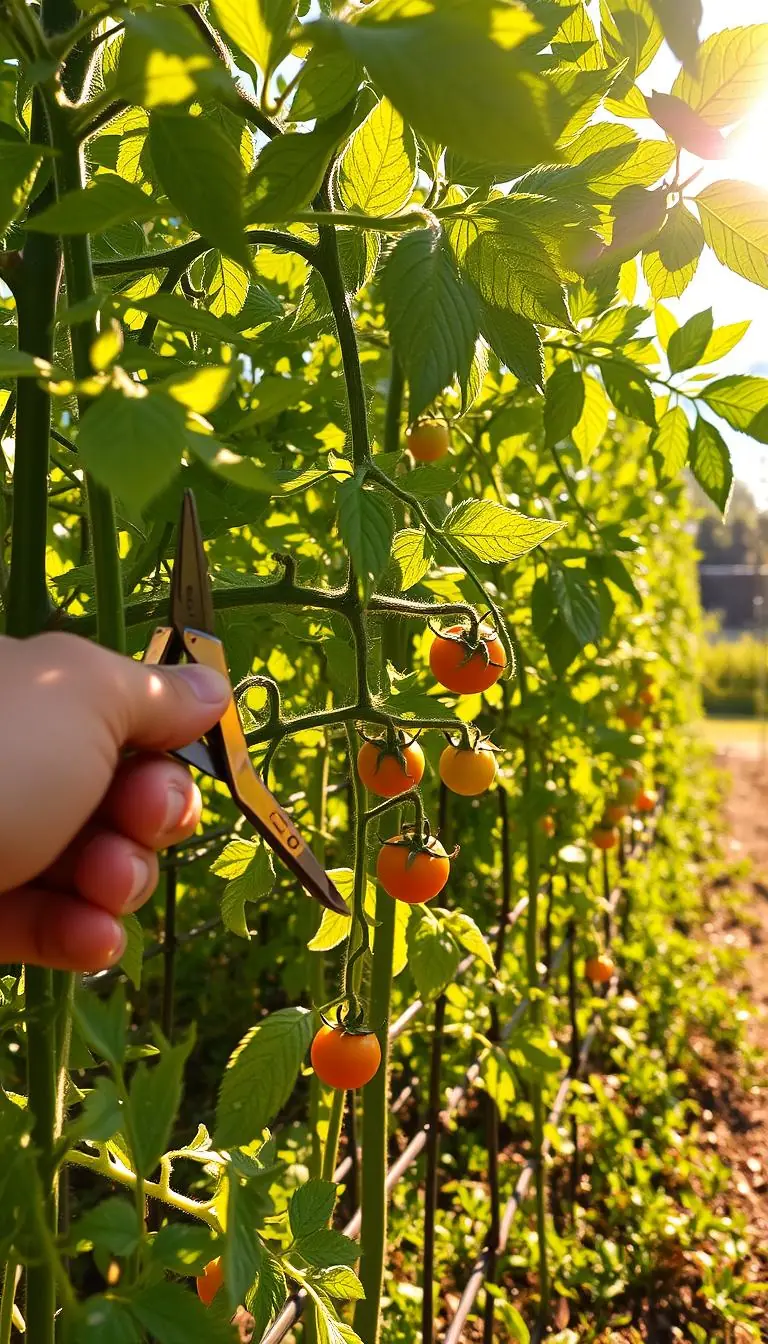
Imagine the earthy scent after a light rain and a dark, crumbly layer on your beds. Do you notice tired soil or patchy grass and wish spring felt easier? You can set your garden up now so roots wake to steady, ready nutrients.
This is a calm, practical guide that shows a clear way to use cooler weather to feed soil and reduce work later. We’ll cover simple steps: how much compost to apply (1–2 inches on beds, 1/2" on lawns), tools to have on hand like a rake or mulching mower, and how to turn leaves into leaf mold.
Expect real examples for USDA Zones 4–9—tomatoes, peonies, and cool-season fescue—and smart pile care through cold months. You’ll avoid common mistakes like overloading fresh grass or turning before heavy rain. By taking small steps now, your yard will stay neat, mulch will suppress weeds, and spring planting becomes a joy.
Key Takeaways
- Top-dress beds with 1–2 inches of compost for steady spring nutrients.
- Apply a 1/2" compost top-dress to lawns every other year for stronger roots.
- Use simple tools: rake, mulching mower, bin or tumbler, and a 1/4" screen.
- Keep piles warm and dry, balance carbon and nitrogen, and turn appropriately.
- Look for STA-certified compost for tested quality and reliable results.
Why Fall Is the Prime Time for Soil Renewal
Late-season work gives you a quiet window to feed soil and set your garden up for an easy spring. A thin top-dress of compost now lets winter precipitation move nutrients gently into the profile, rather than washing them away. That slow action helps the material finish its process of becoming humus over the cooler months.
The science: slower leaching, humus formation, and spring-ready nutrients
As temperatures drop, microbes keep breaking organic matter down more slowly. Over several months that activity firms soft crumbs, improves aggregate stability, and increases water-holding capacity.
- Soil darkens and crumbles; you can smell a sweet, earthy note when you dig.
- By spring, nutrients are plant-ready for spinach, peas, and ornamentals across Zones 4–9.
- Finely screened compost (1/4"–3/8") works well on turf; 1–2" as a mulch on beds suppresses weeds.
pH buffering and healthier soil structure through winter
Compost helps soil buffer pH and raises cation exchange, so roots access nutrients more easily. Leaf mold and decomposed leaves feed fungi and earthworms that move organic matter into the top few inches.
"A thin layer now protects soil from erosion and compaction, and by spring your beds will feel softer and look richer."
Even a small covered pile kept snug through snow will keep breakdown steady. The result: healthier plants, fewer inputs, and a gentler rhythm for your garden season after season.
Composting in Fall: Step-by-Step Methods for Beds, Lawns, and Leaves
A few simple steps now save you hours of spring prep and help tired soil recover. Start with a quick tidy: pull spent plants, remove weeds, and level beds. Work in short bursts so the task feels doable.
Garden beds: top-dress and mulch now for easier spring planting
Spread a 1–2 inch layer of coarse compost over garden beds (Zones 4–9). Leave it as mulch or gently rake the top inch into the soil. Keep compost a few inches away from woody stems to avoid rot.
Lawns: top-dress turf for thicker, greener spring growth
Mow, dethatch lightly, then broadcast a finely screened compost at 1/2 inch. Drag a rake upside-down to settle the material. Water lightly if the soil is dry so particles move toward roots.
Leaf power: making and using leaf mold
Shred leaves with a mulching mower and store in breathable bags or a wire bin. Moisten to a wrung-out sponge feel and let them mellow over months. Screen through 1/2" mesh for a soft conditioner that helps soil hold moisture.
| Area | Depth | Material | Tip |
|---|---|---|---|
| Beds (Zones 4–9) | 1–2" | Coarse compost | Keep off crowns; looks like a chocolate blanket |
| Lawns | 1/2" | Finely screened (1/4"–3/8") | Every other year; don't smother grass |
| Tree rings & paths | 1" | Leaf mold or fine compost | Keep mulch a few inches from trunks |
"Thin, even layers now mean richer, easier-growing beds come spring."
Build and Maintain a Fall-to-Winter Compost Pile
A compact, well-built pile holds warmth through cold nights and gives you usable material by spring. Start by picking a sunny, sheltered spot with good airflow. Lay a pallet or coarse sticks under the base to keep air moving and drainage steady.
Kickoff recipe that heats fast
Layer roughly two parts carbon (shredded leaves, straw, cardboard) to one part nitrogen (kitchen scraps, green trimmings). That mix lands near a 25–30:1 C:N sweet spot and lets the core climb quickly.
Size, placement, and keeping the core warm
Build a pile at least 3' x 3' x 3' so it holds heat; larger stacks can reach internal 135–160°F. Cover with a tarp or fitted lid and tuck straw or pine needles around the sides for insulation.
Turning schedule and weather timing
Turn during dry windows — several times a week when active, pause before rain or heavy snow. During deep cold, add fresh material to the hot middle rather than stirring the whole mass. You may see wisps of steam on frosty mornings when the core is cooking just right.
- Store carbon: Shred leaves with a mower and keep them dry in breathable bags or a covered bin so they don’t mat.
- Starter options: A tumbler by the back door cuts steps. Insulated bins hold heat longer. Adding red wigglers helps decomposition in milder spells.
- Zones and timing: New England and the Upper Midwest need more insulation and fewer turns until thaws. South and West yards should watch moisture and shade during warm stretches.
"A warm core and steady rhythm now mean softer beds and richer soil by spring."
| Option | Benefit | Notes |
|---|---|---|
| Tumbler | Easy turning | Good near the kitchen; use on dry days |
| Insulated bin | Keeps heat | Best where winters are cold |
| Open pile | Holds large volume | Needs more cover and insulation |
Materials, Safety, and Common Mistakes to Avoid
A few smart choices about materials and moisture will keep your pile warm, active, and pest-free. Start by gathering safe items and setting aside problem matter before you add a single layer.
What to add
- Safe materials: fruit and vegetable scraps, eggshells, coffee grounds and filters, tea bags, yard trimmings, grass clippings (thin layers), leaves, hay or straw, sawdust and wood chips, cotton or wool cloth, hair and pet fur, and a light sprinkle of clean wood ash.
- Store dry leaf carbon in breathable bags or lidded totes so you can balance moisture later.
What not to add
- Avoid meat, fish, dairy, greasy food, pet waste from meat-eating animals, walnut parts, diseased or insect-laden plants, used charcoal briquettes, and coal ash — these invite pests, pathogens, or toxins.
Moisture, size, and ratio pitfalls
Keep moisture like a wrung-out sponge. If the pile is soggy or smells sour, mix in dry leaves and shredded cardboard and let it air.
Don’t dump large amounts of wet grass or food; that spikes temperature, collapses air pockets, and stalls the process. Aim for a roughly 2:1 carbon-to-nitrogen balance and a 3' cube minimum, or use an insulated bin to hold heat through cold months.
Quality checks and label tips
Choose STA-certified compost when you buy. Read labels for declared ingredients, maturity, organic matter %, salt levels, and pH so the product fits your garden beds and containers.
| Item | Why it’s okay | When to avoid |
|---|---|---|
| Coffee grounds | Boosts nitrogen and microbes | Use sparingly; mix with leaves |
| Wood ash | Adds trace minerals | Apply lightly; avoid high-salt soils |
| Grass clippings | Fast nitrogen source | Don’t layer thickly — matting causes rot |
| Meat/fish | — | Never: attracts pests and pathogens |
"Balance air, moisture, carbon, and nitrogen — small steady changes let biology do the heavy lifting."
Conclusion
An easy routine—top-dress a bed or stash shredded leaves—builds lasting soil health. Start with a thin blanket of compost and a tidy collection of leaves, then let moisture and time do the rest. This gentle way protects beds and feeds roots so spring arrives with less work.
Keep a couple of bags of shredded leaves on hand. Feed a small bin when you have kitchen scraps and cover piles during cold spells. Stored carbon and light turns during thaws make a steady, usable source for pots, trees, and raised beds.
Choose one step today: top-dress a bed, start a backyard tumbler, or make a corner leaf-mold cage by the fence. We’re cheering you on—your garden and home will thank you with fewer weeds, richer texture, and spring-ready growth underfoot.
FAQ
What makes autumn the best time to refresh garden soil?
Cooler temperatures slow nutrient loss and let organic matter break down into stable humus. Adding organic layers now traps nutrients and improves texture so beds wake up rich and ready in spring.
How does leaf mold help my soil over winter?
When leaves decompose into leaf mold they hold moisture, loosen heavy clay, and increase tilth. Spread a 2–4 inch layer around beds or stash leaves in breathable bags to turn into that soft, soil-building material by spring.
Can I top-dress garden beds in late season, and how deep should the layer be?
Yes. A light top-dress of compost or shredded leaves (about ½ to 1 inch) protects roots, suppresses weeds, and adds organic matter. Thicker mulch is fine around perennials but keep it slightly away from stems to avoid rot.
What’s the right carbon-to-nitrogen mix to get a compost pile heating quickly?
Aim for roughly 25–30 parts carbon to 1 part nitrogen. Combine shredded leaves and straw (carbon) with kitchen scraps, fresh grass clippings, or manure (nitrogen). Balance and moisture let microbes generate heat efficiently.
How big should a backyard pile be to stay warm through chilly nights?
A minimum of about 3 feet wide by 3 feet tall holds heat well. Larger piles retain warmth longer, but make sure air can move through—too compact and decomposition slows. Insulate with a tarp or straw in colder zones.
How often should I turn a fall pile, especially with freezes and thaws?
Turn every 2–4 weeks while it’s actively heating. In midwinter, limit turning—only when the pile thaws and is workable. That timing prevents heat loss during freezes and keeps microbes active during warm spells.
What tools and bins work best for late-day yard work and winter storage?
A sturdy rake, mulching mower, leaf shredder or chipper, and a breathable leaf bag are practical. Tumblers and insulated bins speed breakdown; pallets or wire bins give airflow for larger heaps.
How do I top-dress my lawn for a greener spring without harming turf?
Lightly spread a mixture of screened compost and topsoil at about 1⁄4 inch thickness. Core aerate first for best contact. Avoid thick layers that smother grass—thin, even applications feed roots and improve drainage.
Are kitchen scraps safe to add during cooler months? Any exceptions?
Most fruit and vegetable scraps are fine when mixed with carbon-rich materials. Avoid meat, dairy, oily foods, and large amounts of citrus or onion peel in open piles—those attract pests and slow composting in cold weather.
How should I store leaves if I can’t process them right away?
Shred if possible, then store in breathable burlap or mesh bags in a shaded spot. Keep them slightly moist to encourage partial breakdown. Bagged leaves can be added to beds or piles through winter for steady supply.
What mistakes do home gardeners commonly make with autumn piles?
Common errors include overwatering, piling too densely, adding high volumes of fresh grass without carbon, and letting piles sit anaerobic. Keep a balance of green and brown materials, maintain moisture like a wrung-out sponge, and provide airflow.
How can I tailor timing and methods based on my region—New England vs. the South?
In cold northern climates, start earlier to allow decomposition before deep freezes and insulate piles. In mild southern areas you can compost later into winter; monitor moisture during dry spells. Local extension services offer region-specific schedules.
When is compost or leaf mold ready to use in beds and potting mixes?
Finished compost is dark, crumbly, and earthy-smelling with no recognizable food scraps. Leaf mold is spongy and leaf-like. Both are usually ready in a few months to a year depending on size, shredding, and temperature.
Should I be concerned about pathogens or contaminants in my homemade material?
Avoid adding pet waste, treated wood, and diseased plants. Properly managed hot piles (above 131°F for several days) reduce many pathogens. For high-value crops, use well-aged, fully finished compost or STA-certified products to be safe.
Related: if you want more fall composting tips for enriching your soil, check out “Fall Composting Tips to Enrich Your Soil.”