Imagine the quiet of a sunlit porch, the scent of dry leaves under your feet, and the soft promise of next spring in your mind. You notice thin patches on the lawn or beds that could use a gentle lift. That small, steady work now will pay off when the garden wakes up.
We’ll show you a simple way to feed your soil this season. A light top dressing helps protect nutrients through winter and gives microbes time to build stable humus. You don’t need fancy tools at home — just leaves, kitchen trimmings, and a plan that fits your time and space.
We’ll also cover what materials to add or skip and how to arrange a pile so air and moisture stay balanced. Quality matters, so you’ll learn how to choose products that boost soil structure and nutrient availability.
Key Takeaways
- A light top dressing now protects nutrients and helps soil structure for spring.
- Use leaves and simple kitchen materials to create steady, effective soil food.
- Rake a thin layer on lawns every other year to improve turf and roots.
- Arrange your pile for good air and moisture balance without extra fuss.
- Choose tested products for quality and clear nutrient info.
- Small, regular steps this season lead to lush results next year.
Why Fall Compost Sets Your Garden Up for Spring Success
A light top layer now makes winter work for your soil instead of against it. Apply a modest layer and you create a breathable blanket that slows nutrient loss during storms and melting snow.
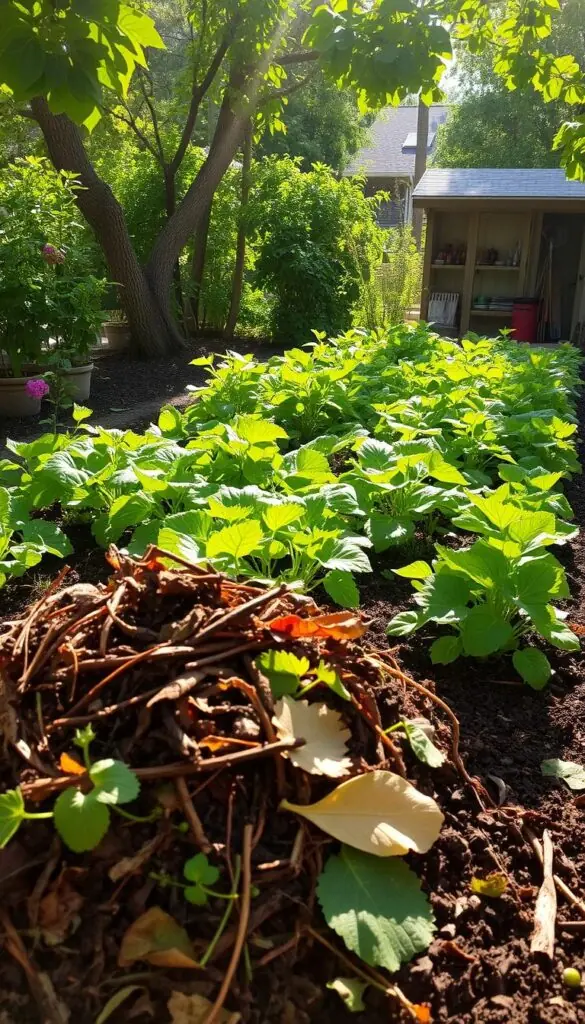
Slow winter nutrient loss with a protective layer
When you spread a gentle layer in autumn, rain and snow carry nutrients downward into the root zone rather than washing them away. This controlled movement helps beds arrive in spring with useful nutrients in place.
Give microbes time to build stable humus and improve soil structure
Cool, quiet months let microbes work steadily on organic matter, turning it into stable humus. That process improves soil texture, increases cation exchange capacity, and keeps nutrients available without quick-hit fertilizer.
- Spread thin and even to protect roots and limit weeds on open beds.
- Use this season to ease work—soil is less muddy, so spreading takes less effort.
- Let your compost pile or bin do steady work over the colder months for ready supply by spring.
Small, consistent steps now help trees, shrubs, and perennials settle into dormancy and wake up stronger. This simple way of caring for your garden pays back time and effort when the sun returns.
fall compost: choosing the right materials and balance
A simple mix gives you steady results. Think of your pile as a recipe: about two parts carbon-rich browns to one part nitrogen-rich greens keeps the process airy and sweet-smelling.
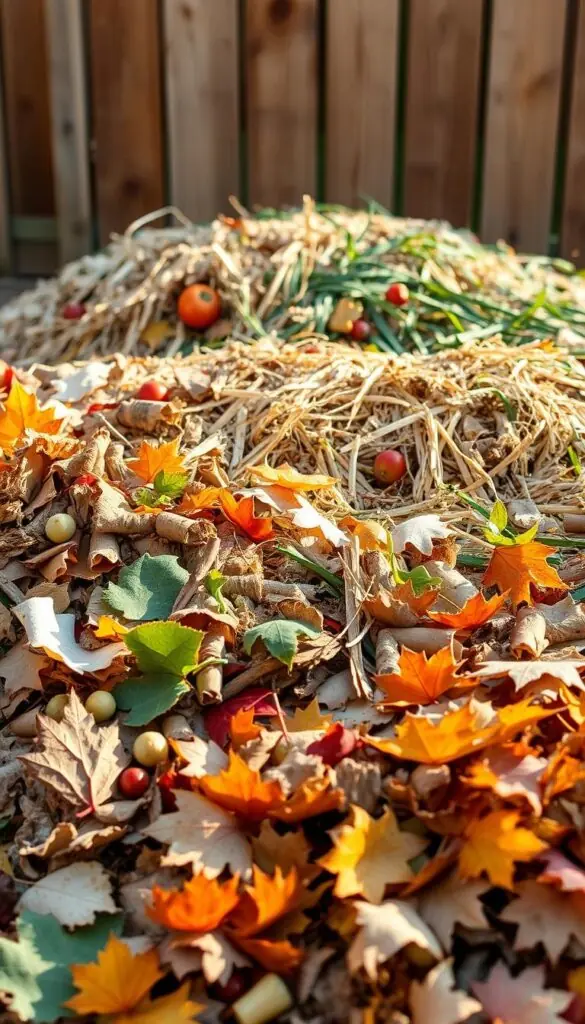
Greens and browns made simple: the two-thirds carbon, one-third nitrogen rule
Two-thirds browns, one-third greens is an easy rule. Browns supply carbon and structure. Greens add nitrogen to feed microbes.
Best fall browns: leaves, prunings, straw, and dried garden waste
Good autumn browns include leaves, twiggy prunings, straw, and other dried garden waste. Chop larger pieces so they break down sooner but leave texture for air.
Smart use of grass clippings and kitchen scraps without matting
"Add fresh clippings in thin, feathery layers and follow with twice as much dry browns."
- Add kitchen scraps and coffee grounds as modest greens.
- Use grass clippings sparingly—thin layers prevent matting.
- If the bin or pile feels soggy, sprinkle dry material and gently mix.
Keep an eye on feel and smell: sweet, earthy, and lightly warm means the mix is working. With a small routine, you’ll build rich soil-ready matter through the season.
Working with Leaves: From Compost Pile Layers to Leaf Mold Gold
Leaves make a quiet, reliable ingredient when you plan layers that breathe and break down.
Start by adding leaves in small batches so they don't mat. A few handfuls at a time mixed with other materials keeps the pile airy and active.
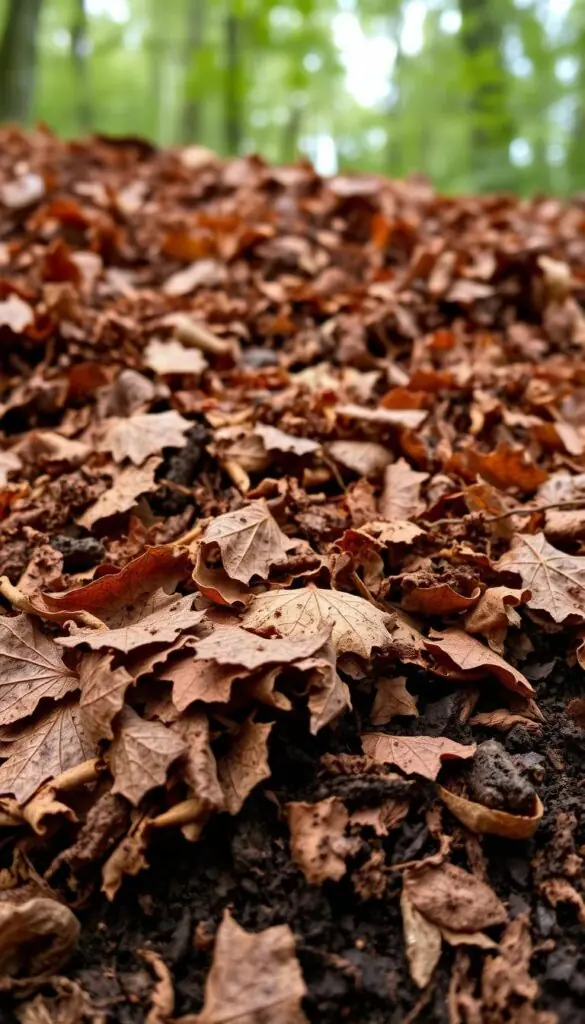
How to layer leaves so they don’t mat and slow the process
Layer lightly between other materials to avoid the wet, wool-like mat that blocks air. Mix each handful in as you go to speed the breakdown.
Make leaf mold for moisture retention and improved soil texture
For leaf-only leaf mold, build a pile at least four feet wide and three feet high. Add a thin layer of soil between each foot of leaves to encourage fungi that turn leaves into soft, crumbly material.
Aim for damp like a wrung-out sponge: when you squeeze a handful, a few drops should appear. Covered loosely with plastic or a breathable tarp, the pile will become dark and crumbly in about 4–6 months.
Storing extra dry leaves for steady winter composting
Tuck dry leaves into burlap sacks and keep them near your bin. Add them through the winter to balance kitchen greens and keep yard waste out of bags.
"Leaf mold is garden gold: it helps soil retain moisture and gently improves soil texture."
- Layer leaves lightly so air can move through the pile.
- Create a leaf-only pile with soil layers for faster leaf mold.
- Keep moisture steady—damp, not soggy—to help microbes and fungi work.
- Store dry leaves in breathable sacks for year-round use in your garden.
| Step | What to Do | Why It Helps |
|---|---|---|
| Add in small batches | Mix a few handfuls of leaves with other materials | Prevents matting and maintains airflow |
| Build a leaf-only pile | 4 ft wide × 3 ft high; soil layer between each foot | Encourages fungi for rich leaf mold in 4–6 months |
| Check moisture | Squeeze handful; aim for a few drops of water | Supports decay without creating soggy, anaerobic spots |
| Cover loosely | Use plastic sheeting or a breathable tarp | Sheds excess rain while avoiding compression |
| Store extra leaves | Keep dry leaves in burlap sacks | Easy supply to balance greens throughout the year |
Step-by-Step: Building and Caring for a Compost Pile in Cooler Months
Pick a flat, accessible spot for your bin or open pile so weekly checks stay simple and calm. Set two small staging areas: one for coarse trimmings and one for finer materials. This makes layering effortless and keeps airflow steady.
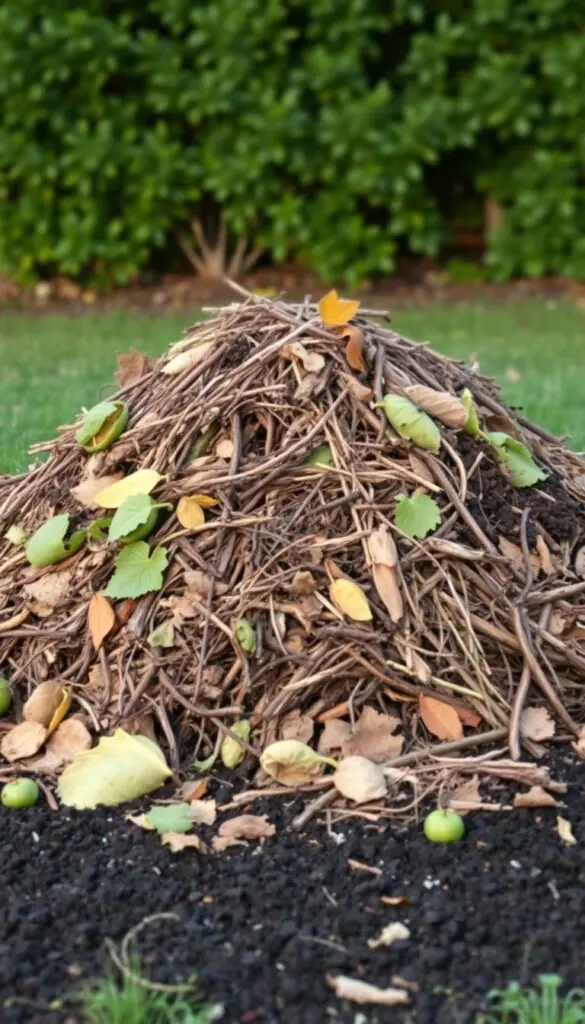
Set up your bin or pile, then alternate layers for airflow
Start with a fluffy base of coarse branches or straw. Alternate a thin layer of browns with a thin layer of greens so the pile breathes.
Separate coarse and fine material before you add them. That helps the pile keep its shape and lets microbes work evenly over the months.
Moisture check: damp like a wrung-out sponge, covered to shed excess rain
Feel the pile: a handful should squeeze out only a drop or two. If it’s dry, add a splash of water and some greens.
Cover open piles with a tarp. An enclosed bin deters pests and holds steady moisture without waterlogging.
When and how to add wood ash safely for nutrient value
Save cool, clean ash and sprinkle it lightly across a layer. Use sparingly so it won’t clump or raise pH too fast.
What to skip: diseased plants, thick woody stems, and evergreen leaves
Avoid diseased plants, large branches, and evergreen leaves like conifers. Chip thick stems or set them aside for future use.
- Mix grass clippings and kitchen scraps in thin layers, then cover with twice as much dry matter.
- If the pile feels heavy, fluff with a fork and add dry materials to restore airflow.
- Check every week or two for gentle warmth and balanced moisture; steady care is enough.
| Step | What to Do | When | Why It Helps |
|---|---|---|---|
| Site & staging | Place bin, set coarse and fine piles nearby | At setup | Makes layering quick and keeps airflow |
| Alternate layers | Start coarse, add browns then greens | Each addition | Prevents matting and feeds microbes |
| Moisture check | Squeeze handful; add water or dry material | Every 1–2 weeks | Maintains active breakdown |
| Wood ash | Sprinkle sparingly across layers | Occasional | Adds minerals without clumping |
How to Use Finished Compost in Garden Beds and Lawns
A light spread of finished material brings calm order to beds and helps your lawn recover next year. This is a simple, low-effort way to feed soil life and suppress weeds before spring.
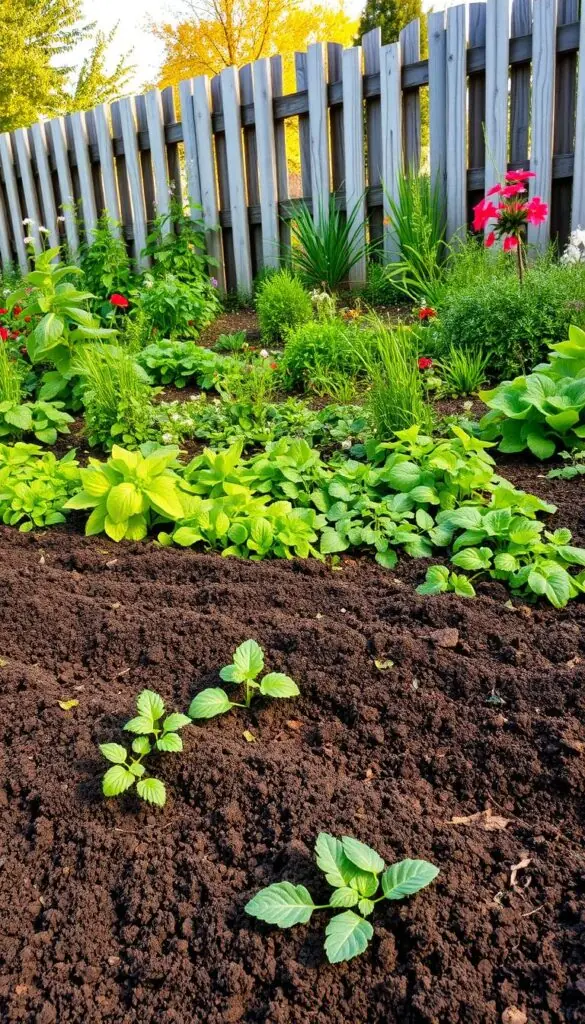
Top-dress garden beds in fall for weed suppression and spring-ready nutrients
Smooth 1–2 inches of finished compost over beds to slow nutrient loss and help suppress weed seeds. Tuck the material gently around perennials and rows so roots wake to an even supply of nutrients.
Lawn love: 1/2-inch topdressing and gentle rake-in for stronger roots
On established lawn, spread a uniform 1/2-inch layer of finely screened material and rake so it sifts between blades. This supports root growth, levels minor bumps, and improves water movement.
Soil pH buffering and nutrient availability made easy
Compost buffers soil pH (typical range 6–8), boosts CEC, and improves soil texture and infiltration. That means nutrients stay available to plant roots without relying only on quick-acting fertilizer.
- New lawn? Mix about 2 inches into the top 6 inches of soil for a strong start.
- Choose STA-tested products for clear quality and maturity data.
- Finish with a light rake pass and a gentle watering to settle the layer so microbes get to work.
"A simple top-dress is an easy way to prepare beds and turf for the year ahead."
Conclusion
, With just a bit of time each week, your efforts turn simple kitchen scraps and leaves into a steady supply of rich compost that strengthens soil and lifts your garden.
Save leaves from your trees and layer mixed materials to speed leaf mold and steady decomposition. This gentle process rewards patient care.
Top-dress beds and turf so the soil holds nutrients through winter. Over the year you’ll notice softer texture, better pH balance, and real benefits in spring growth.
Keep the routine simple and enjoyable. As you tend your yard and home patches, you build a calm loop: materials return to the ground, and the ground returns health to your garden.
FAQ
How does late-season composting help your garden through winter?
Adding a finished or active pile layer before winter protects soil from erosion, feeds roots slowly, and gives beneficial microbes time to stabilize organic matter so beds wake up richer in spring.
What’s the simplest balance of materials to use now?
Aim for about two parts carbon-rich material to one part nitrogen-rich material. Use dried leaves, straw, and prunings with kitchen scraps or grass clippings to keep the mix lively without smells or sliming.
How do I keep leaves from matting and blocking airflow?
Alternate loose leaf layers with coarser material such as twigs or shredded prunings. Lightly fluff or poke the pile occasionally so oxygen reaches the center and moisture drains evenly.
Can I make leaf mold instead of regular pile compost?
Yes. Pile or bag mostly leaves and keep them damp but not soggy. Over months they break down into a dark, crumbly leaf mold that boosts moisture retention and improves soil texture when mixed into beds.
Should I mix grass clippings into the pile? Won’t they mat or smell?
Use thin layers of clippings and mix with dry browns to prevent matting. If you have a lot, let them dry slightly first or alternate with leaves and shredded paper to keep airflow and avoid odors.
How wet should a cooler-season pile be?
Aim for the feel of a wrung-out sponge — moist but not dripping. Cover the pile during heavy rain or snow to prevent waterlogging and slow decomposition too much.
Is it okay to add wood ash, and how much?
Small amounts of cold, well-stored wood ash can supply potassium and micronutrients. Sprinkle lightly and mix in; avoid overuse, which can raise pH too much for many plants.
What materials should I avoid adding to my winter pile?
Skip diseased plants, invasive weed seed heads, thick woody stems, and many evergreen leaves. These items can persist or spread problems rather than nourish the soil.
When is compost ready to use in beds and on lawns?
Finished compost is dark, crumbly, and earthy-smelling with no recognizable scraps. Use it as a top-dress for garden beds or a thin 1/2-inch layer on turf before lightly raking in to help roots and soil structure.
How does finished compost affect soil pH and nutrient availability?
Well-aged organic matter buffers pH gently and releases nutrients slowly, improving nutrient availability and water retention without the harsh spikes of synthetic fertilizers.
Can I store extra dry leaves for steady composting through winter?
Yes. Keep leaves in breathable bags or a covered bin to stay dry yet ventilated. Pull from this reserve to maintain the right brown-to-green balance when you add fresh yard waste.
How often should I turn a pile during cooler months?
Turn every few weeks if you want faster breakdown. In cold weather, less frequent turning is fine; it preserves heat and reduces exposure so microbes keep working slowly through the season.
Related: if you want our guide to fall composting and soil renewal, check out “Fall Composting & Soil Renewal.”