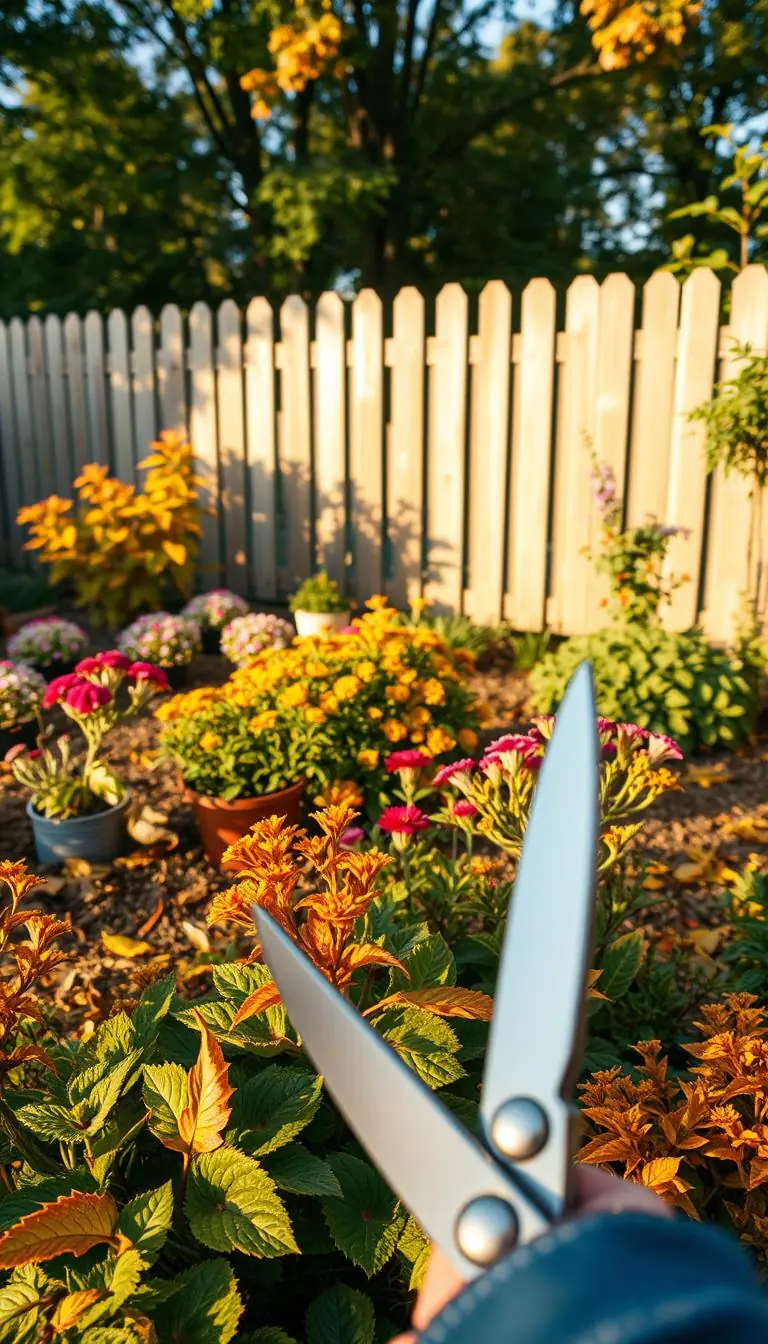
You step outside on a cool afternoon and notice the last sun on your yard — leaves packing in, soil crumbling from a spade, the soft clink of metal as you set things down. Does it make you wish your gear could rest tidy and ready for spring?
With a few calm minutes now, you’ll save time and frustration later. A simple routine — cleaning dirt, disinfecting, drying, and a touch of oil — keeps your tools sharp and healthy year to year.
Choose a dry, well-ventilated shed or garage and arrange things so larger items hang and small implements sit in sand mixed with boiled linseed oil. Clear debris, wipe with rubbing alcohol or a mild bleach mix, then dry thoroughly.
This gentle prep protects metal and wood, saves space, and makes your first warm day outside effortless. Follow these neighborly, practical maintenance steps and your gardening moments will feel smooth and bright when the season turns.
Key Takeaways
- Spend a few minutes cleaning and drying to prevent rust and rot.
- Use dry, ventilated storage so tools stay ready and last longer.
- Store small items in sand with boiled linseed oil; hang larger pieces.
- Disinfect blades to stop disease spread between seasons.
- Simple, regular maintenance saves you time next spring.
Before the frost: Gentle tool care that makes winter prep easy
A small cleaning session now—brisk brushing and a warm rinse—saves you time and worry later. Start by knocking loose dirt off with a steady pass of a wire brush, then rinse under warm water so grime lifts away.
Use soapy water and a nail or small brush on pruners and loppers, paying attention to joints. Always dry fully so metal stays calm through the cold season.
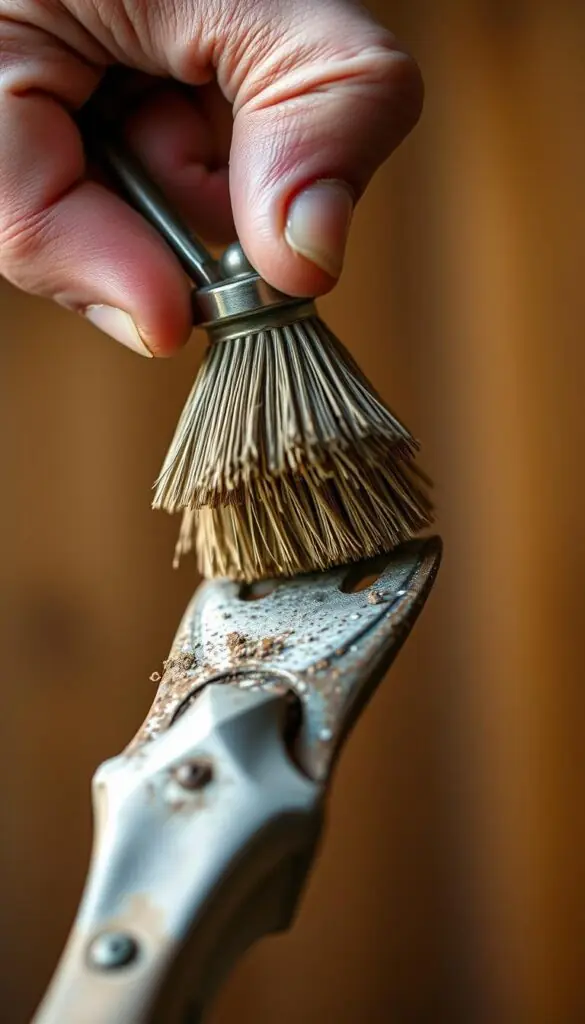
Disinfect, remove sap, and stop rust
- Disinfect: Wipe blades with rubbing alcohol or briefly soak in 2 cups bleach to 1 gallon water, then rinse and dry to protect plants next year.
- Sap removal: Use mineral spirits or turpentine on a rag, wash with soapy water, then treat with linseed oil.
- Rust prevention: Dry every metal surface and rub a whisper-thin layer of linseed or mineral oil. For existing rust, soak in 1:1 vinegar and water overnight, scrub with steel wool, rinse, dry, and oil.
"A little attention now keeps your spring work light and joyful."
| Problem | Quick Fix | Finish |
|---|---|---|
| Caked dirt | Wire brush + warm water | Soapy scrub, dry |
| Sticky sap | Mineral spirits wipe | Soapy wash, linseed |
| Light rust | Vinegar soak + steel wool | Rinse, dry, oil |
Sharpen, tighten, and nourish: tool care that feels good and works hard
Settle in with a steady hand and a sharpening stone; a few patient strokes revive each blade.
Start by securing your pruners and other implements so they won’t shift. With a firm grip, push a file in one direction along the original bevel. Keep the motion steady and match the angle so the edge stays strong.
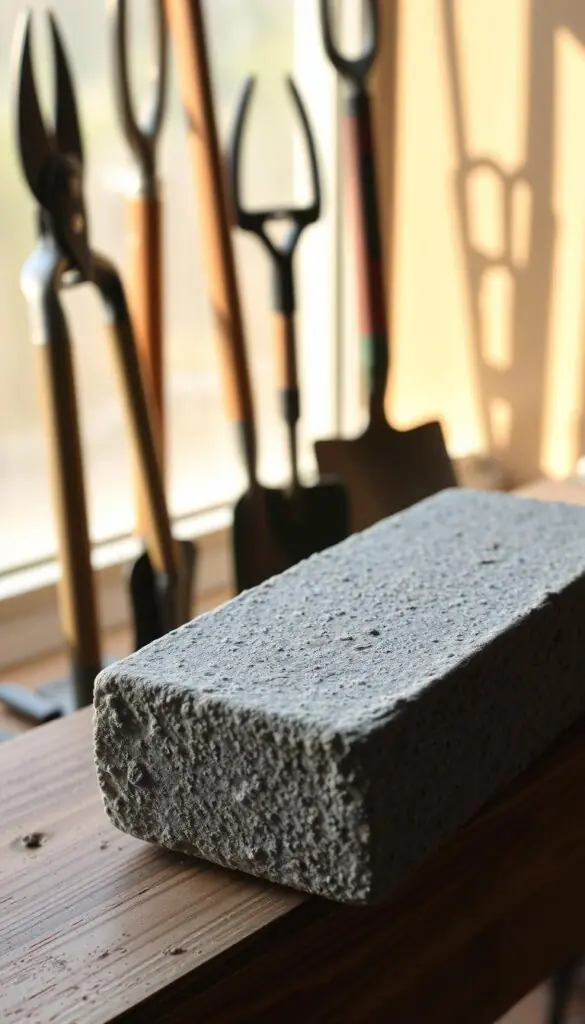
Sharpening pruners, loppers, and shears with a stone or file
After filing, move to a sharpening stone to smooth the fresh edge. A few gentle passes on the stone make pruners and shears cut cleanly and reduce tear on the plant.
Touching up shovels and hoes so they glide through soil
For shovels and hoes, touch the working edge with a file at about a 45-degree bevel. A sharp edge lets metal slice the ground instead of fighting it.
Lubricating pivots and moving parts for smooth pruning
Add a drop or two of multipurpose oil to pivots and moving parts. Open and close pruners a few times so everything moves silky and sure. Tighten any loose screws or nuts as you go.
Caring for wood handles with sanding and boiled linseed oil
Lightly sand rough spots on wood handles, then rub in boiled linseed oil until the grain looks warm and nourished. Replace handles that are badly cracked so the implement stays dependable.
Simple safety: eye protection, steady holds, and safe oil rag drying
- Wear eye protection and heavy gloves when sharpening to block metal slivers.
- Keep a steady hold and work slowly; haste weakens the edge and risks injury.
- Let oily rags dry in open air, flat and alone, to avoid heat buildup and combustion.
"A small tune-up now means smoother, safer work all season long."
Garden storage that keeps tools dry, organized, and ready
Find a sunny, dry corner in your shed or garage where everything can breathe and have a clear place to hang.
Create a dry, ventilated home: Choose a well-ventilated shed or a neat garage niche so items resist damp air and avoid rust. Keep things off the floor to prevent water damage and dulling of edges.
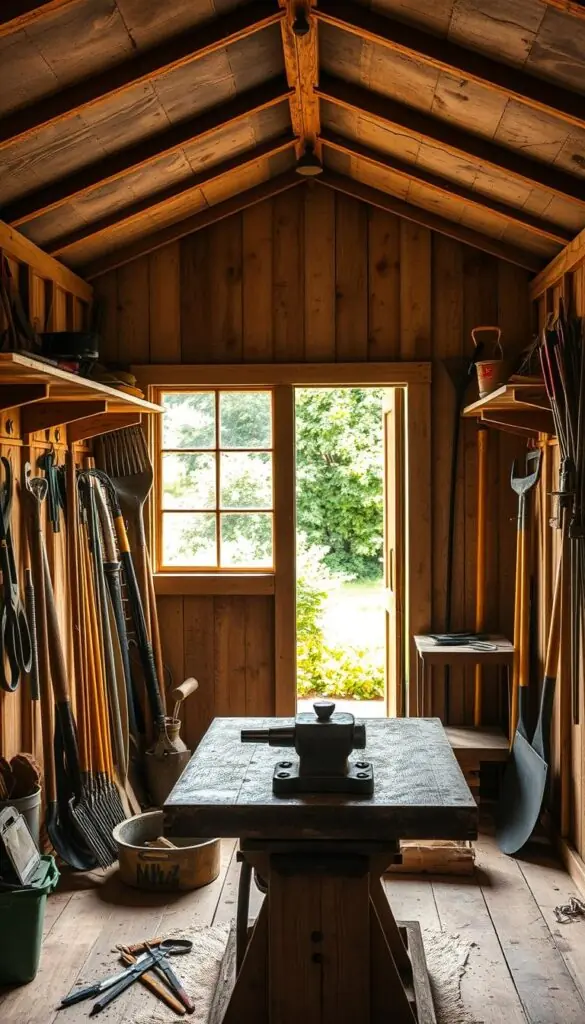
Create a dry, ventilated home: shed or garage storage
Use wall space first. A simple rack or wire hooks keeps long handles upright and saves floor space.
Hang, rack, and pegboard: keep edges up and off the floor
Set up a pegboard with labeled outlines. Hooks and hanging racks let you return each piece to its place quickly. This small habit makes seasonal maintenance easier.
Sand-and-oil buckets for metal parts and small hand tools
Keep a bucket of slightly damp sand mixed with boiled linseed oil near the door. Plunge metal parts and small hand implements before you store them to wick away water and resist rust.
- Wipe items dry before hanging so tools stay dry and ready.
- A light coat of oil protects exposed metal through temperature changes.
- If a machine stays outside, use a waterproof cover and elevate it a few inches.
| Need | Simple fix | Why it helps |
|---|---|---|
| Moisture on metal | Wipe, hang, oil | Prevents rust and extends life |
| Cluttered floor | Install racks/pegboard | Frees space and avoids damage |
| Small parts | Sand-and-oil bucket | Dries and protects metal pieces |
"A tidy corner makes spring work feel effortless and calm."
Conclusion
A few small steps now will keep your gear ready and bright when the thaw arrives. Take a calm pass: wipe with a brush or wire brush, wash with water, and dry each piece. These simple tips save you time and worry come spring.
Keep the routine light: sharpen pruners and blades, oil pivots, and treat wood handles with boiled linseed oil. If rust appears, soak in vinegar and scrub with steel wool, then seal the clean metal with a thin coat of oil.
Hang longer items to save space, keep heavier pieces off the floor, and choose a dry corner for winter storage. With steady maintenance and small habits, your gardening season starts smoother and more joyful next year.
FAQ
How should I prepare tools before the first freeze?
Remove dirt and plant debris with a stiff wire brush and a rinse of soapy water, then dry every piece completely. Wipe metal parts with a light coat of mineral oil or boiled linseed oil to block moisture. Store items indoors or in a well-ventilated shed to keep them from freezing and rusting.
What’s a quick cleaning routine I can do in 15 minutes?
Use a wire brush to knock off soil and old sap, scrub blades with soapy water, rinse, and dry with a clean cloth. For stubborn sap, rub with a little vegetable oil or white vinegar on a rag, then wash and dry. Finish by oiling metal joints and blades to prevent rust.
How do I disinfect tools to avoid spreading disease next season?
Wipe cutting edges and blades with isopropyl alcohol or a 10% bleach solution (1 part bleach to 9 parts water), then rinse and dry. For pruners and shears, open them and dip pivot areas briefly. Avoid soaking wooden handles in bleach—wipe only metal parts.
What’s the safest way to remove sticky sap from blades?
Rub sap with a cloth dampened with vegetable oil, mineral spirits, or white vinegar. Let it sit a minute, then scrape gently with a plastic scraper or old credit card. Wash with soapy water, dry thoroughly, and oil the blade to restore protection.
How can I stop rust and remove light rust if it appears?
Prevent rust by keeping metal dry and lightly oiled. Remove existing light rust with steel wool or a wire brush, then sand with fine-grit paper. Wipe clean, apply a thin coat of oil, and store tools off the ground in a dry spot.
Which oil should I use on metal parts and wooden handles?
Use mineral oil or a light machine oil on metal parts and pivots. For wooden handles, boiled linseed oil soaks in and protects the wood—apply, let absorb, then wipe away excess. Avoid heavy vegetable oils that can become sticky.
How do I sharpen pruners, loppers, and shears properly?
Clamp or hold the blade steady, then use a sharpening stone or fine file at the original bevel angle. Make smooth, even strokes away from the cutting edge. Finish with a few light strokes on a fine diamond stone and wipe clean before oiling.
What’s the best way to sharpen shovels and hoes?
Use a flat file or bench grinder to restore a crisp edge on shovels and hoes. File at a low angle, keeping the edge even along the face. Remove burrs with a rasp or fine file, then wipe and oil the metal to prevent flash rust.
How should I lubricate pivots and moving parts?
Apply a drop or two of light machine oil or a silicone spray to pivot bolts and moving joints. Work the tool open and closed to distribute oil, then wipe away excess. Regular lubrication keeps pruning smooth and reduces wear.
How do I care for wooden handles to keep them strong and smooth?
Sand rough or splintered handles with medium then fine sandpaper, clean off dust, and rub in boiled linseed oil. Let it soak in and apply a second light coat if needed. Store tools off damp floors to prevent swelling and rot.
Any quick safety tips for maintenance time?
Wear eye protection and gloves, keep a steady hold on tools when filing or sharpening, and clamp blades when possible. Lay oily rags flat to dry outside or store them in a metal container with a lid to avoid fire risk.
Where should I keep tools so they stay dry and easy to find?
Hang long-handled items on wall racks or pegboards in a dry shed or garage to keep edges off the floor. Use shelves or labeled buckets for small hand implements. Good ventilation reduces condensation and rust.
How can I store small metal parts and hand implements to prevent damage?
Place small metal parts and hand tools in sand-and-oil buckets or sealed bins with silica gel packs. A thin layer of damp sand mixed with a little oil coats parts and stops moisture contact—great for blades and loose metal items.