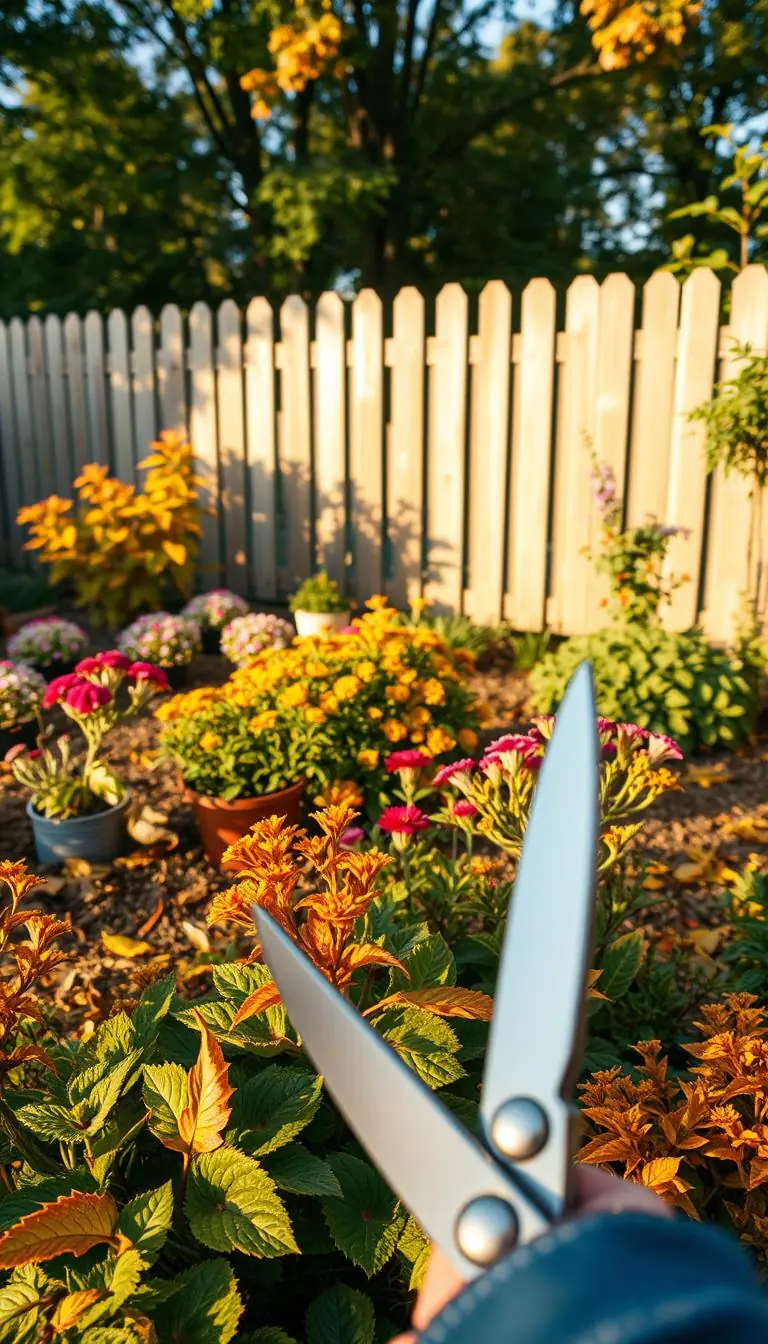
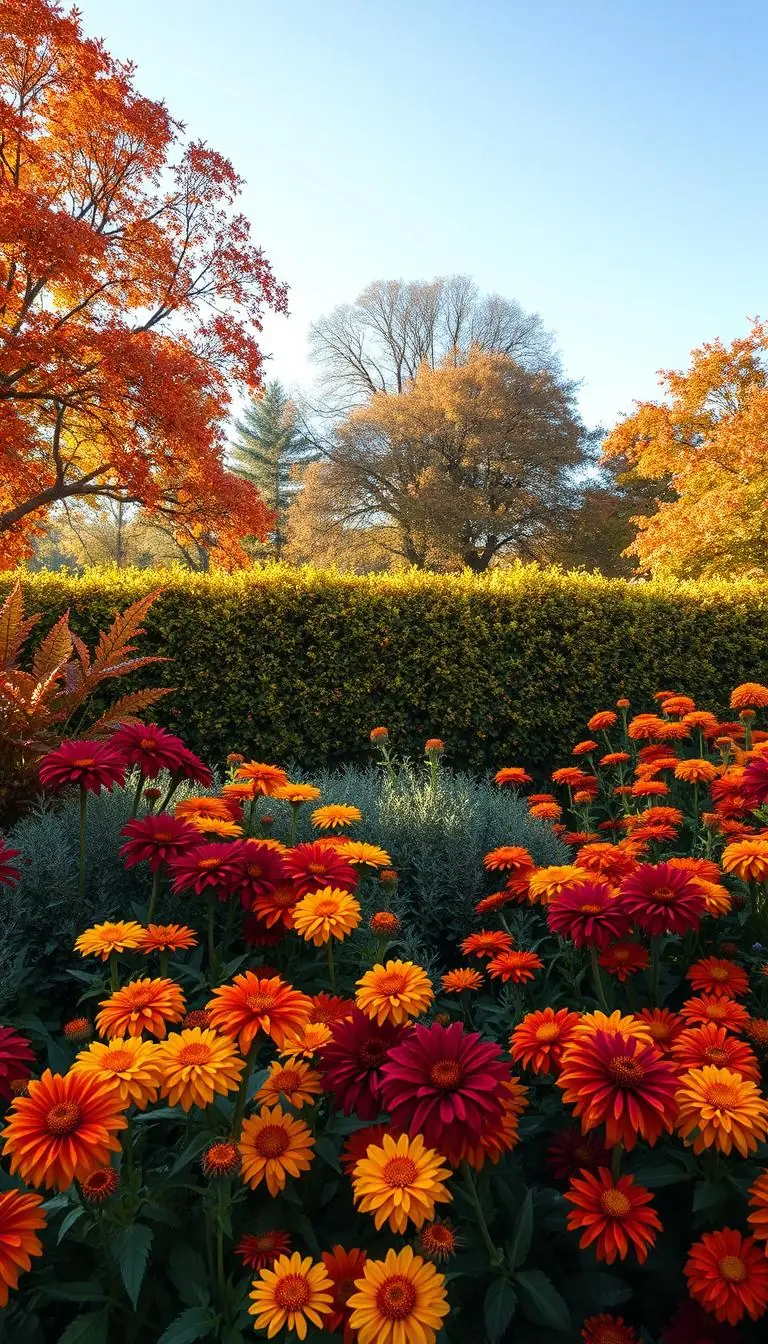
You step onto the porch and notice the soft orange glow of gourds warmed by late afternoon sun.
You wonder how to bring that calm, lived-in look to your entry without a big budget or hours of work. We’ll guide you in a warm, neighborly way so you can make a cozy seasonal display that feels natural in your home and garden.
This short guide pairs simple ideas with practical tips. You’ll learn to reuse summer plants and existing pots, know when a carved option needs more attention, and see how a faux choice can save you time.
The steps are gentle and clear. You decide the level of effort and we’ll match a method to your schedule and style. By the end, your porch or yard will have a layered, welcoming look that feels peaceful and made to last.
Key Takeaways
- You can create a calm, budget-friendly seasonal display using what you already own.
- Choose real or faux options based on how long you want the display to last.
- Reuse summer plants like ornamental grasses to save money and add texture.
- Simple swaps and thoughtful placement make the whole decor feel unified.
- Clear, step-by-step methods let you pick a no-mess or classic carved pumpkin approach.
Start Here: A calm plan for your pumpkin planter, fall decor
Start with a simple plan so your seasonal display feels calm and easy to maintain. Take a breath and think about how much time you want to spend caring for it. That choice will guide whether you pick a carved or faux option.

Choosing real vs. faux pumpkins for your timeline
Real pumpkins give a warm, lived-in look but a carved one often lasts about a week after cutting, depending on weather. Faux pumpkins let you display the piece all season and reuse it next year with no rush.
Where your planter will live: porch, table, or garden path
Think about your daily route. Place the focal container where you’ll see it most — a larger 18-inch piece at the porch top is welcoming. A medium size works well on a table for closer views.
- Match container weight to windy spots so the display stays steady.
- Keep plants like alyssum and ornamental grasses from summer if they tolerate light frost.
- If short on time, choose a no-carve approach with inserts and moss for fast swaps.
We’ll walk you through choices gently, so you can pick what fits your life today. No pressure—just practical, neighborly advice to help your entry feel steady and warm.
Your simple supply list and budget-friendly swaps
Gather a few smart items and you’ll create a welcoming display with little stress. Keep the kit short and choose one or two standout pieces. That way you save time and money while still getting a finished look.
Essentials
- One main pumpkin and a snug plastic bowl or container insert so nursery pots sit steady.
- Reindeer moss to hide gaps and soften the rim for a tidy finish.
- Keep plants in their nursery pots for fast watering and an easy end-of-season swap. Try mums or small grasses as your feature.
- A bit of potting soil or extra pots if you prefer planting directly into a small container.
Nice-to-have accents
- Mini pumpkins or gourds to tuck around existing planters.
- A length of ribbon, some dried wheat, or a few plastic spiders for a playful touch.
- Buy purple fountain grass in spring when it’s cheaper and save it for this season.
- Simple tools: a sharp knife, pruners, and a hot glue gun for light accents.
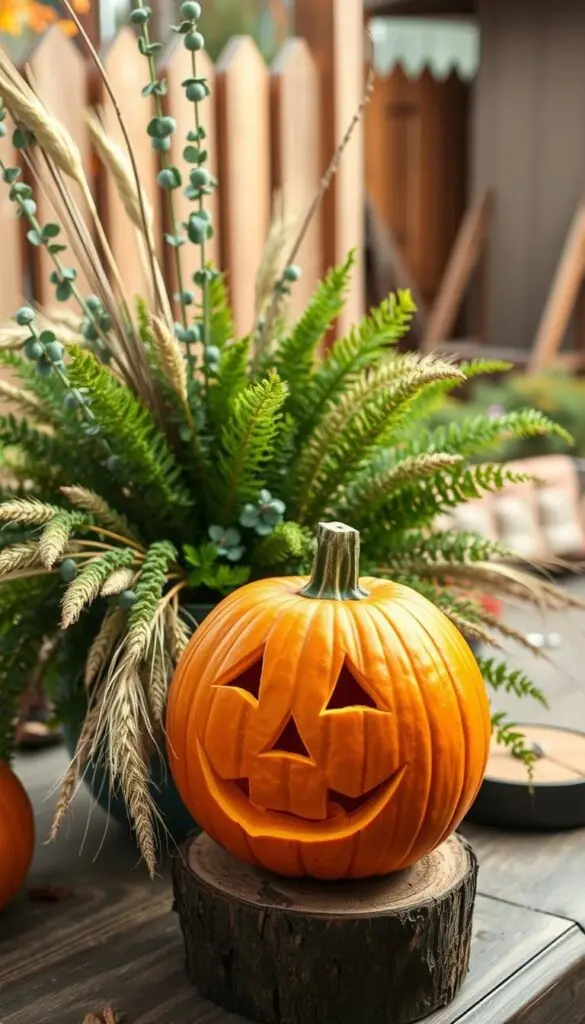
Shop smart: spend on one attractive focal piece and keep the rest minimal. A small upgrade goes a long way and makes the whole post feel calm and intentional.
How to make a classic carved pumpkin planter step by step
A careful cut and a small liner turn a seasonal shell into a tidy home accent.
Hollow, stabilize, and plant: Mark a wide opening near the top so a bowl or small inner container fits comfortably. Scoop out seeds and fibers; a drier interior slows softening and keeps the shell sturdy.
Place a shallow plastic bowl inside to stabilize pots and keep the arrangement neat. Tuck nursery pots into the liner and surround them with moss so you can lift and water with minimal mess.
Plant picks that shine in fall
- Choose hardy options: mums for color, alyssum for soft edging, and ornamental grasses for height and movement.
- Keep root balls in their nursery pots when possible to reduce mess and extend display life.
- Water lightly and away from the walls to slow breakdown; expect about a week of freshness after carving.
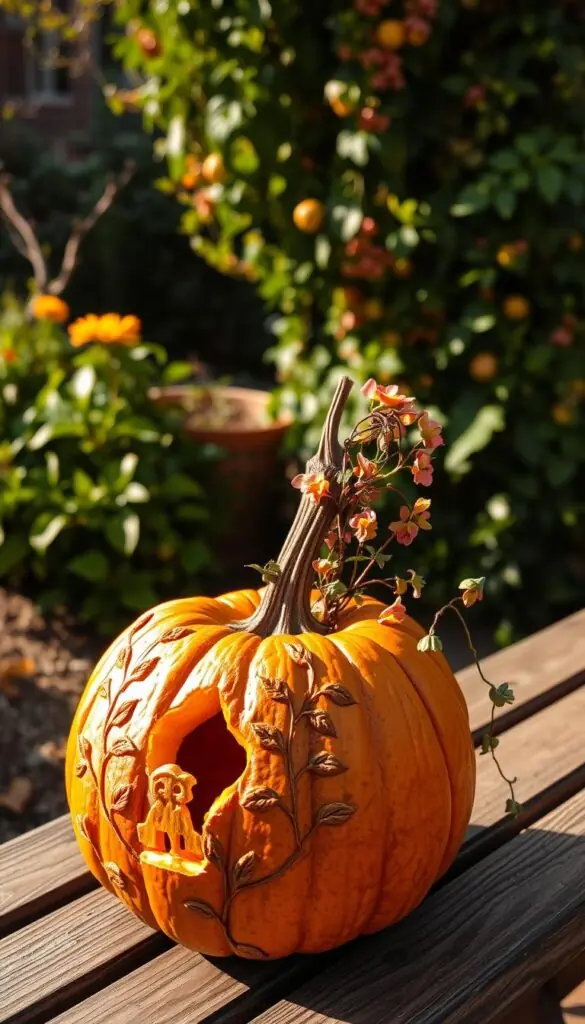
Fast porch refresh: tuck small pumpkins around existing containers
For a quick centerpiece, place small pumpkins around a summer container filled with fountain grass. When the display fades, compost the shell and rehome your plants.
| Method | Stability | Prep Time | Best Use |
|---|---|---|---|
| Liner + pots | High (bowl stabilizes) | 20–30 minutes | Short events, neat display |
| No-liner (direct fill) | Medium (prone to moisture) | 30–45 minutes | Full planting for same-week use |
| Quick tuck | High (no carving) | 5–10 minutes | Fast porch centerpiece with existing containers |
No-carve succulent pumpkin planter (clean, quick, and modern)
A no-carve succulent display gives you a clean, modern look with very little fuss.
Cut a lid, then set a shallow bowl or plastic container upside down inside to make a steady platform. Keep succulents in their nursery pots so you can water and reuse them with ease.
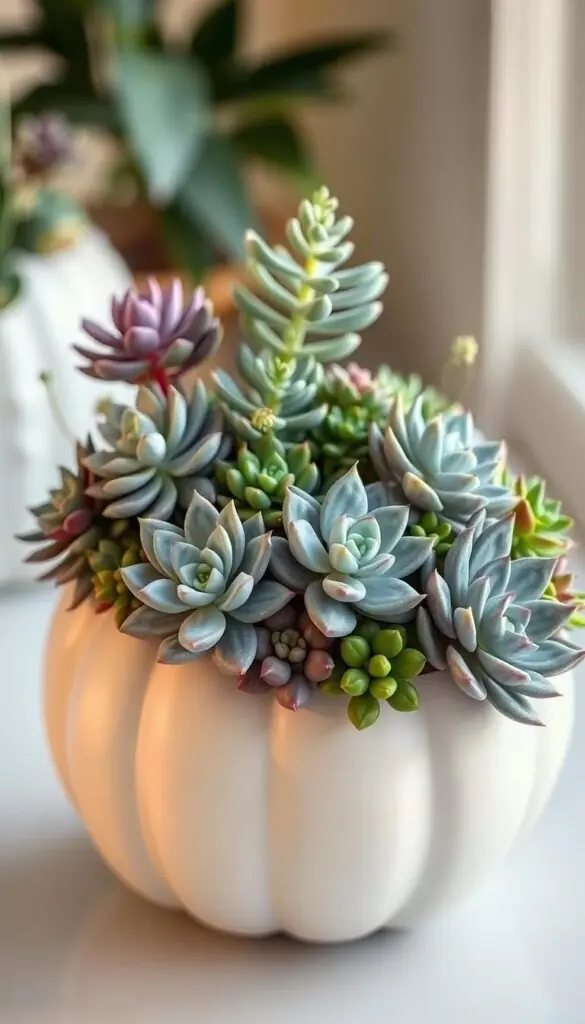
Insert a bowl, keep succulents in nursery pots, and tuck in moss
Stabilize: Place the bowl so potted succulents sit close and do not shift.
Hide edges: Tuck reindeer moss around each pot for a soft, finished rim.
Watering: Lift pots to water lightly, then return them; succulents like dry feet and bright, indirect light.
Style options: chic minimal vs. a touch of spooky with glued accents
Keep the look minimal with a few rosettes in similar tones for a modern container. Or add a subtle nod to Halloween by hot-gluing a couple of small black spiders to the surface.
| Approach | Longevity | Maintenance | Best for |
|---|---|---|---|
| Real shell with succulents | About a week after heavy cutting; shorter if wet | Lift pots to water; keep shaded and elevated | Short displays, compostable end |
| Faux shell | Season-long, reusable next year | Wipe clean, store flat | Low effort, long-term use |
| No-carve quick tuck | Depends on shell type | Minimal; pots stay in place | Fast diy centerpiece |
When to choose which way: Go faux for a display you want to reuse next year. Pick a real shell only if you plan to compost it soon.
Design ideas to try this week: color, texture, and height
A few well-chosen flowers and foliage make a layered, balanced look that reads intentional. These quick ideas help you mix color and texture without fuss.
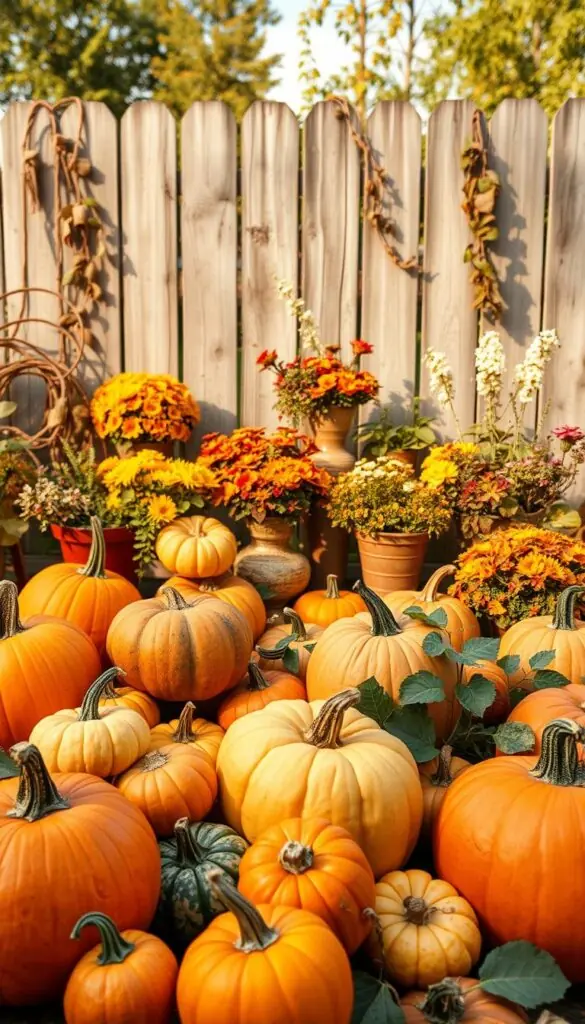
Bright and bold
Place sunflowers at the back and black-eyed Susans in front for a sunny, layered effect. The strong yellow color pops at the entry and works well in a large pumpkin or reusable shell.
Moody and textured
Pair coral bells’ burgundy leaves with upright ornamental grasses. The contrast adds depth and keeps movement even on still days.
Soft and airy
Let eucalyptus drape while roses sit upright in the center. The silver-green and blush tones feel calm and elegant on a table or porch step.
Edible-meets-ornamental
Use hydrangeas as the anchor and ring the rim with flowering thyme or oregano. This mix looks cottage-y in the garden and smells lovely when brushed.
Compact cuties
Group mini pumpkins each holding a single succulent for a cohesive tabletop centerpiece. Keep succulents on a dry base and use well-draining soil so they thrive.
Tip: Add a few wheat stems to extend height and life without daily watering. If you love mums, tuck one pot in the center and edge with trailing greens for a classic finish.
Make it last: care, placement, and timing in fall
Keep care simple and calm so your seasonal display stays fresh longer with little fuss.
Expect a carved pumpkin to look its best for about a week. Temperature and humidity change that time. If you need a display that lasts all season, choose a faux option you can reuse next year.
Outdoor placement matters. Gentle shade slows softening and keeps plants from wilting. Bright, direct sun shortens the life of both shells and living material.
Elevate the base on feet or a tray so moisture does not collect underneath. A dry bottom keeps the container tidy and reduces rot. Give your display airflow—avoid tight corners so humidity won’t build up around the arrangement.
Water plants lightly at the soil line and keep the pumpkin walls dry. Use frost-tolerant alyssum and ornamental grasses to extend color deeper into the season. On the porch, cluster your container with a few dry accents like wheat for a fuller look without extra care.
| Care Step | Why it helps | When to do it |
|---|---|---|
| Shade placement | Slows fading and softening | All daytime hours |
| Elevate base | Prevents moisture buildup | At setup |
| Light watering | Keeps plants healthy, walls dry | Once or twice weekly |
| Swap to faux | Season-long display, reusable | If you want low maintenance |
Easy ways to decorate your porch, steps, and table
A few small swaps can turn a plain stoop into a warm, intentional welcome in less than 15 minutes. These moves feel easy and calm. They help your home look put-together without extra work.
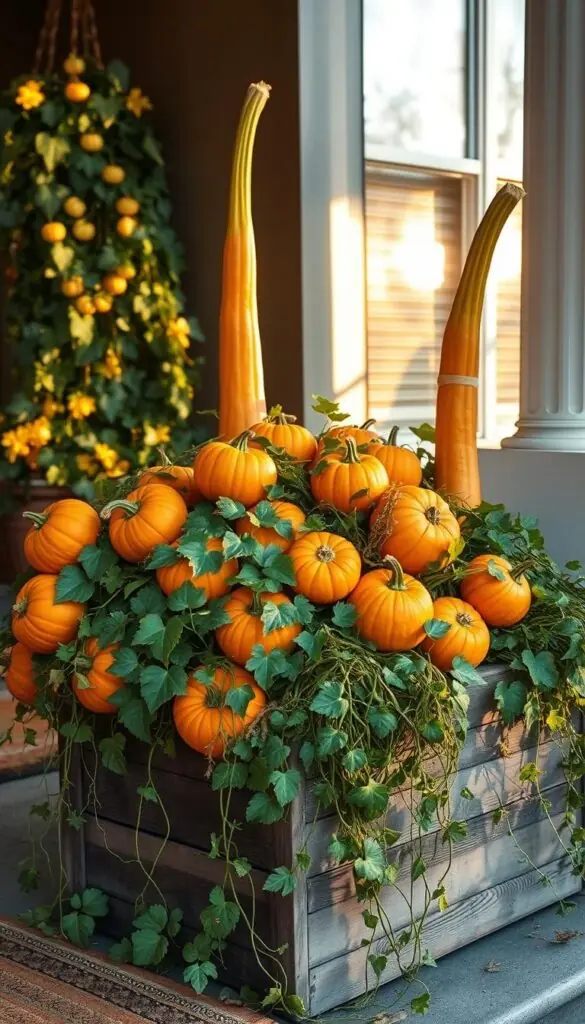
Try simple groupings and repeat one or two colors to make the scene cohesive. Use dried wheat or tall stems for height that needs no watering.
- Porch: Flank your main container with a few small pumpkins in mixed sizes to create layered interest.
- Steps: Stagger heights—largest at the top, smaller pieces down the risers—to guide the eye naturally.
- Table: Place a low arrangement in the center so conversation flows; add dried stems for vertical interest without blocking views.
- Inside, group three mini pumpkins holding succulents on a console or coffee table for a sweet, low-maintenance accent.
- Use a short runner or wood tray under a cluster to contain moss and make moves quick and tidy.
When you finish, step back and check sightlines from the post and living areas. Adjust spacing until everything feels calm and welcome. Save favorites in a seasonal post so you can recreate the look next year with ease.
Conclusion
Start with one simple container and build from there—little choices add up fast.
, You have everything you need to create a peaceful seasonal moment. Choose a real shell for a short, striking display or a faux option to enjoy the look all season. Succulents stay tidy in nursery pots and move easily to new homes.
Start small with a single pumpkin planter and a couple of sturdy plants. A single pot of mums or a ring of alyssum and ornamental grasses delivers color and texture with very little fuss.
Refresh a bit as weeks pass, save this post, and try the same approach next year with new colors or textures. Trust your eye—when it feels balanced to you, it’s just right.
FAQ
What’s the easiest way to decide between real and faux pumpkins for my porch planters?
Real gourds give a natural look and can be carved or hollowed for live plants, but they need more care and last a few weeks outdoors. Faux options last all season and tolerate indoor warmth. Choose real if you want a seasonal, organic feel and are willing to replace them; pick faux if you want low maintenance and reuse year after year.
How do I keep a hollowed gourd sturdy after I cut it for planting?
Stabilize the base by leaving a rim of flesh where possible, set the gourd on a shallow saucer for drainage, and add a small container or plastic liner inside before filling with soil. For extra support, nest the gourd in a slightly larger pot or use floral foam under the insert to prevent tipping.
Can I plant succulents directly in a real gourd without a liner?
It’s better to use a small nursery pot or liner inside the gourd. That protects roots from rot, makes watering easier, and keeps the gourd from breaking down quickly. Add reindeer moss or decorative bark around the pot for a finished look.
What are budget-friendly swaps for supplies on the simple list?
Use plastic bowls or thrift-store ceramic dishes as liners, replace commercial reindeer moss with dried Spanish moss, and swap premium potting mixes for a basic blend amended with perlite. Mini gourds can be grouped instead of buying large statement pieces.
Which plants work best for a carved gourd centerpiece that will sit on a table?
Compact mums, pansies, white alyssum, and small ornamental grasses are great choices. They tolerate cool weather, offer color and texture, and won’t overwhelm the space. For height, tuck a few sprigs of eucalyptus or wheat to add movement.
How do I protect real gourds outdoors from early frost and pests?
Move displays into a sheltered spot during cold nights or cover them with frost cloth. Keep bases dry by elevating containers and avoid direct ground contact. To deter animals, use a light mesh cover or spray a mild, pet-safe repellent around the display.
What’s a quick no-carve method for a modern succulent display?
Cut a small hole in the top of a faux or real gourd just big enough for a nursery pot, insert the pot, and conceal the rim with moss. Group varied succulents in shallow pots and tuck them into the opening for an instant, tidy arrangement with minimal fuss.
How often should I water a succulent arrangement in a gourd liner?
Water sparingly — usually every 10–14 days depending on temperature and light. Let the soil dry between waterings. Overwatering speeds decay of natural shells, so err on the side of dryness and use well-draining mix in the liner.
Can I combine edible herbs with ornamental flowers in a gourd planter?
Yes. Group herbs like thyme, rosemary, or chives with compact flowering plants such as pansies or small marigolds. Keep herbs’ watering needs in mind and place sun-loving mixes where they’ll get adequate light for both beauty and use.
How do I arrange small gourds and mini accents for a layered porch display?
Create levels using crates, stools, or stacked boxes. Place the largest container at the back, then add medium pots and scatter mini gourds and potted succulents in front. Use varying textures — woven baskets, ceramic bowls, and soft moss — to make the display feel lush and intentional.