Imagine the scent of basil and lemon peel drifting from a sunlit shelf by your coffee maker. You want a neat, thriving garden that fits your counter and your weeknight rhythm.
We’ll walk you through clear choices for indoor herb containers and a simple setup that works in small kitchens or on a bright windowsill. You’ll see real examples — slim units that measure about 12 x 4.75 x 9 inches, modest boxes like a 10.5 x 6.125 x 11-inch model, and pod systems with timers and vacation modes.
Along the way, we name herbs you’ll enjoy most — basil, mint, cilantro, parsley, rosemary — and show how a built-in grow light or a sunny spot can change what you can grow. Expect practical tips on watering, pruning, and keeping things tidy so you actually use those fresh herbs in weeknight meals.
By the end, you’ll know which options fit your space and how to start with confidence.
Key Takeaways
- You’ll learn which indoor setups fit counters or windowsills so you can start small and stay tidy.
- We compare pod-based units and add-your-own-seed kits to match your comfort level.
- Built-in lights expand possibilities; south-facing windows work for many common herbs.
- Measurements and brand examples help you choose a size that suits your home.
- Simple daily routines—check water, prune, wipe—keep your garden clean and productive.
Quick Buyer’s Guide: How to Choose Containers for a Thriving Indoor Herb Garden
A quick check of light, size, and maintenance level gets you a thriving garden in minutes.
Start by testing light: hold your hand near a south-facing window. If it casts a crisp shadow, you can often grow herbs without a lamp. If the shadow is soft, choose a system with a reliable light and simple controls.
Measure the spot with a tape. Compare to real dimensions like 12 x 4.75 x 9 inches or 10.5 x 6.125 x 11 inches so the unit fits under cabinets and lets the light arm rise.
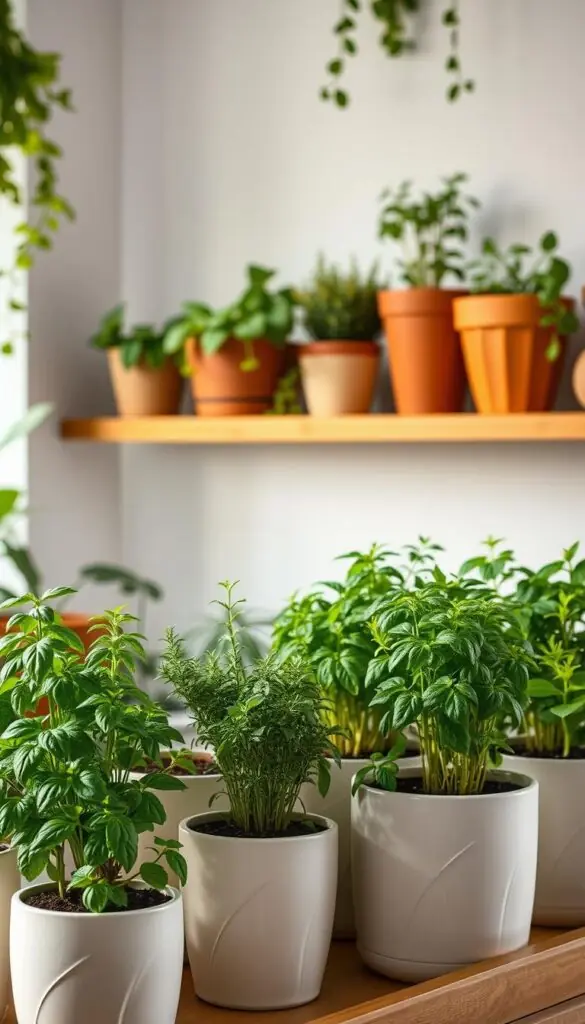
What to prioritize
Match your time and skill. For easy use, pick pre-seeded pods and automated reminders. If you enjoy tinkering, choose a model where you add seed for full variety control.
Look for cleanup-friendly design: removable tops, drain ports, and smooth interiors make weekly wipe-downs faster. Check water indicators or side windows so you can see levels at a glance.
Real examples and a quick checklist
- Lights: iDOO and AeroGarden have adjustable arms; EDN’s fixed light still grows well. Click & Grow runs 18 hours on, 6 off and the 3-pod model fits narrow counters.
- Plants: Pick herbs you’ll cut twice a week — basil, mint, cilantro — to keep growth compact.
- Checklist: size, light strength/adjustability, water access, cleanup, and weekly time commitment.
Understanding indoor herb containers
Choosing between water-based and soil systems shapes how you plant, prune, and enjoy your kitchen garden.
Hydroponic systems grow roots in dissolved nutrients and water. The tank keeps moisture steady and often uses sponges or net pots. A clear dome helps humidity during early germination. Many kits include a compact LED light, a starter bottle of plant food, and power adapter.
Step-by-step hydroponic basics:
- Add water and measured nutrients to the tank.
- Insert pods or sponges with seeds into net pots.
- Place domes until sprouts appear, then set the light cycle.
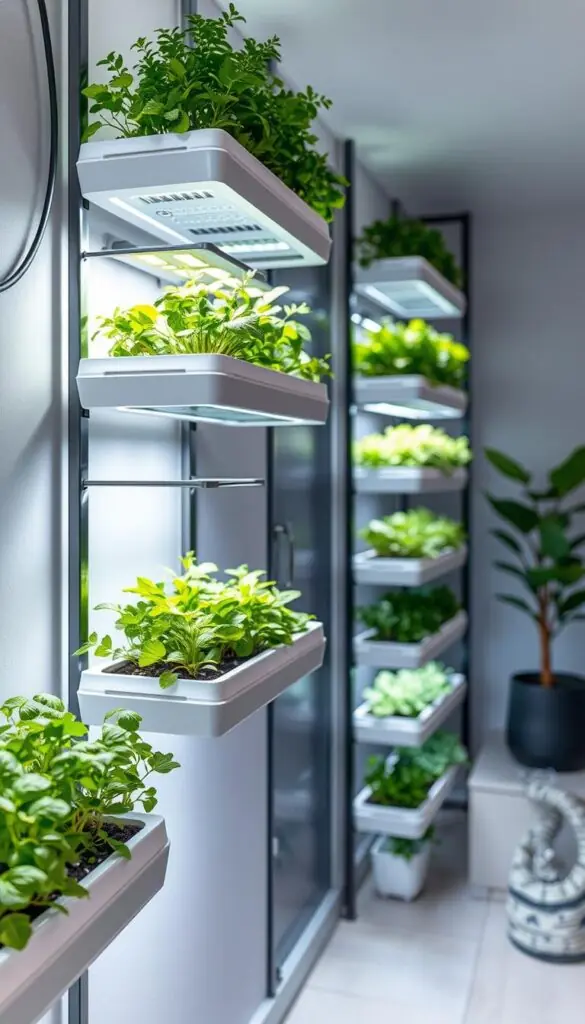
Soil-based planters and what to expect
Self-watering planters use a reservoir that wicks water into potting mix. The soil itself acts like a sponge, so you refill less often. These kits may include empty pods, labeled seed packets, a small light bar, and simple instructions.
Soil steps at a glance:
- Fill reservoir and the potting mix as instructed.
- Sow seeds or drop in pre-seeded pods and mist the surface.
- Place near a bright window or under a grow light when daylight is short.
Practical tools to keep nearby: a small funnel or measuring cup for tidy water fills, measuring spoons for plant food, and a misting bottle for seed starts.
- Hydroponic tanks speed germination and give sturdy roots.
- Soil planters feel forgiving and suit gardeners who like traditional potting mix.
- Label each pod so you track sprout dates and stagger harvests for steady use.
Top pick hydroponic systems tested in the present market
We tested popular tank and pod systems so you can pick the right one for your counter.
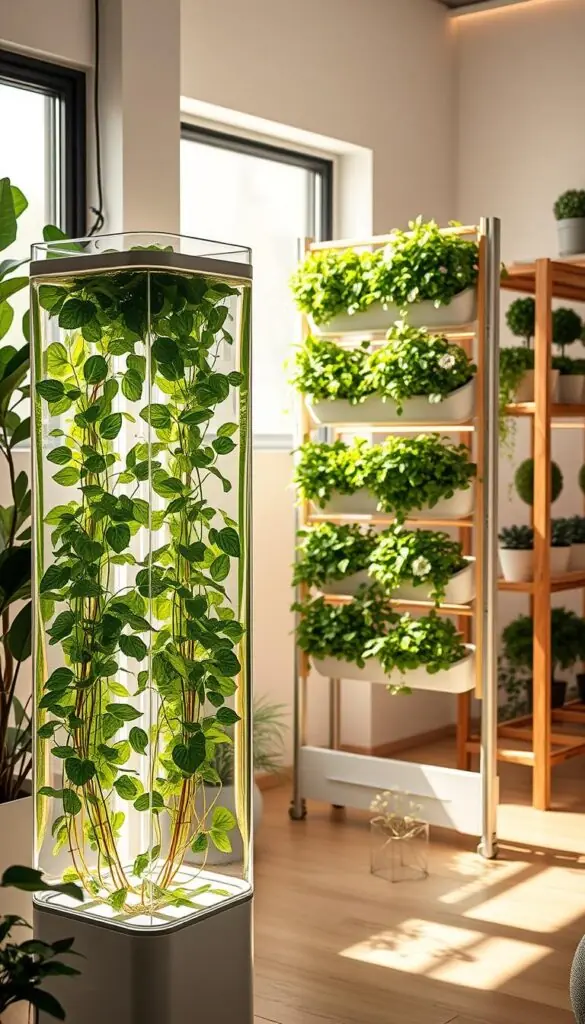
AeroGarden Harvest Elite
Why it stands out: digital display, vacation mode, and clear reminders make upkeep easy.
Specs: 6 pods, 10.5 x 6.125 x 11 in, 1-year warranty, guaranteed germination.
Quick setup: insert pods, add water to the fill line, add plant food, pick a plant mode, set the light a few inches above leaves.
iDOO Hydroponics Growing System
Why it stands out: 12-pod capacity and true seed customization for gardeners who want choice.
Specs: 6.3 x 11.8 x 15.4 in, telescoping light arm, rear drain hole, removable top, nutrients included.
Tip: use tweezers for seeds, cap with domes, and raise the light as plants gain height. Change water monthly and wipe the base during swaps.
EDN SmallGarden
Why it stands out: walnut base, app controls, and fast basil growth — sprouts ~1 week, harvest ~3 weeks.
Specs: 10 pods, fixed-height light, iOS app, 1-year warranty, guaranteed germination.
Click & Grow 3-Pod
Why it stands out: compact footprint with capillary watering and easy cartridge swaps.
Specs: 12 x 4.75 x 9 in, 18/6 cycle, floating water bobble, 2-year warranty, guaranteed germination. For best results, keep the led grow panel near the canopy and add arm extensions as plants grow.
"Pick a system that matches how often you’ll tend it — set-and-forget models save time; add-your-own-seed kits reward curiosity."
- Who it's for: cooks wanting steady basil and greens, makers who value design, and hobbyists who like custom seeds.
- Maintenance: top-up water weekly, swap nutrient monthly, wipe roots and clean every month.
- Harvest timing: expect sprouts in 5–10 days; first snips around 3–4 weeks for fast growers like basil.
Stylish small-space options: mason jar and countertop kits
A single mason jar can deliver months of fresh flavor right by your window.
Modern Sprout Garden Jars: immersion hydroponics in glass
What’s inside: a 6" high by 3.5" wide mason jar with a removable sleeve, recycled HDPE net pot, lava rock medium, plant food, coaster, and simple instructions.
The seed choices include basil, mint, cilantro, rosemary, and parsley. Seeds sprout in about 5–10 days and reach a gentle first snip in 2–3 months. Expect useful yields for 6+ months under 6–8 hours of direct sun. The Thrive Promise backs germination.
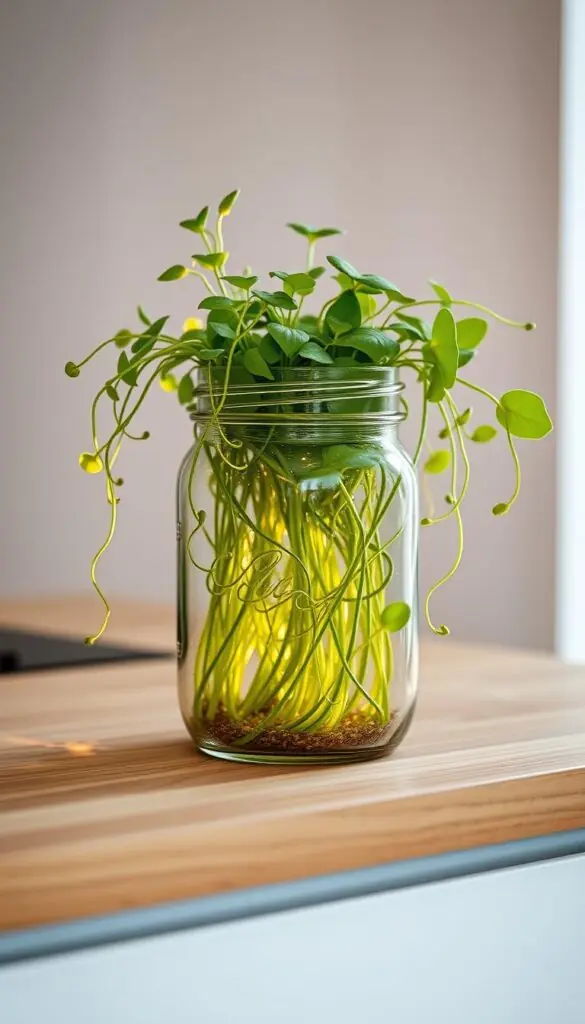
When a 3-pod bar fits better than a 9-pod “jungle”
A slim 3-pod kit like Click & Grow sits on narrow counters and keeps routines simple. Top up water when the bobble sinks and raise the light as leaves near the panel.
- Placement: south-facing window for 6–8 hours, or add a light bar in winter.
- Care tips: mist the surface during the first week, use a small measuring cup to refill, and wipe the sleeve with a microfiber cloth weekly.
- Flavor notes: group mint and basil near where you brew coffee for a burst of menthol and spicy clove in the morning.
The glass jars bring a sunlit sparkle to a sill, while the 3-pod bar fits busy spots. Choose one to match your space and the kind of fresh herbs you reach for most, and the content of your kitchen will feel more alive.
Soil planters with self-watering tech for herbs
If you want a low-fuss growing system, choose a soil planter that feeds roots from a hidden tank.
How they reduce guesswork: Vego-style planters use a built-in reservoir and capillary tubes to pull water up into the mix. This steady supply cuts down on both dry stress and waterlogging.
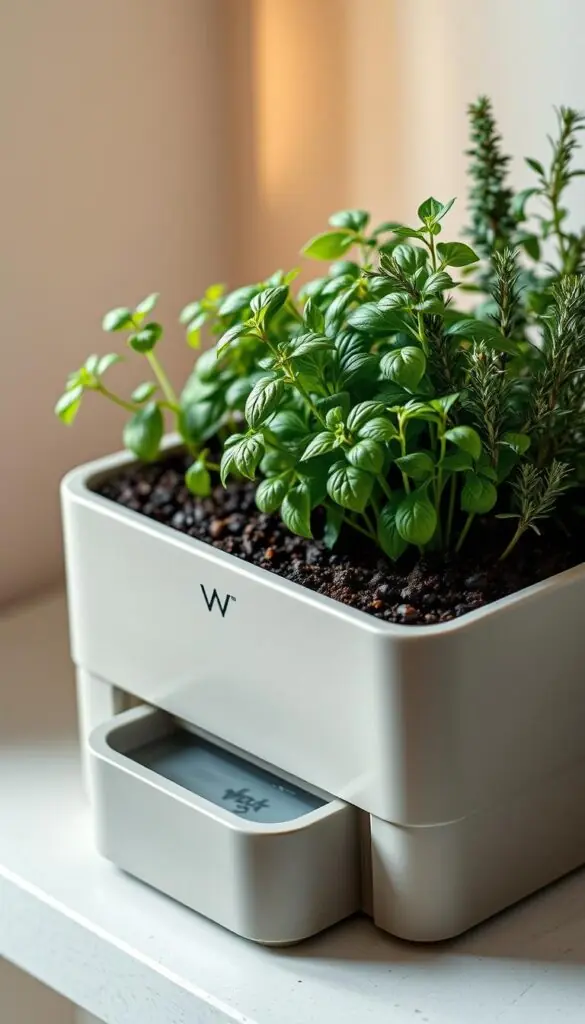
Vego features that matter
The AirEase ventilation window adds oxygen to the root zone so plants stay healthy and avoid root rot. A clear water gauge shows when the tank is low, and a water level regulator stops overfilling.
Simple setup and care
- Assemble the insert and pre-moisten a premium potting mix.
- Fill mix to the fill line, then add water to the chamber until the gauge reads “OK.”
- Plant seedlings or seeds, set near a bright window, and top up weekly.
"Self-watering planters give steady moisture and make garden care truly easy use for busy cooks."
- Many models use recycled or bioplastic parts for a cleaner footprint and modern look.
- Turn the planter occasionally for even light, and choose depth by plant size — shallow bowls for chives, deeper pots for rosemary.
Compare setups: plug-and-grow pods vs. start-from-seed systems
Deciding between ready-made pods and sowing seeds comes down to convenience versus choice. Plug-and-play kits fast-track setup and reduce guesswork. Seed-based systems give you full control over varieties and timing.
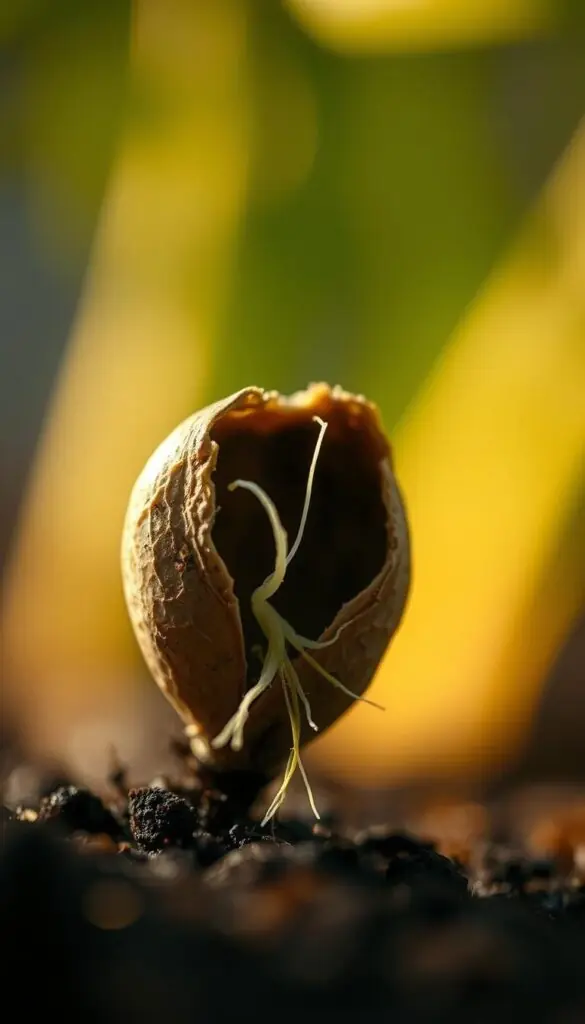
Speed to germination and first harvest
Plug-and-grow pods often germinate faster. Brands like EDN and Click & Grow match seed quality to a sponge, so basil sprouted in about a week and was ready to harvest near three weeks in tests.
Start-from-seed systems may add a few days but reward you with variety. Parsley and slow growers take longer before steady growth picks up.
Control over varieties: basil, mint, cilantro, parsley, rosemary
Choose pods for ease and built-in plant food. Pick seed when you want Genovese basil, specialty mint, or a slow-bolt cilantro. Running fast growers like basil next to rosemary can cause shading, so separate them.
- Keep the light a few inches above leaves to tighten internodes and speed fullness.
- Plan your first trim when stems show 4–6 leaf sets; topping promotes branching and fuller plants.
- For steady weeknight use, try two basil pods and one parsley in a small indoor garden.
Light matters: built-in LED grow lights and bright windows
Good light is the single biggest factor that turns a hopeful seed into a lush, usable plant. A quick hand-check at plant height tells you a lot: a crisp shadow means you have strong sun; a faint shadow means a built-in lamp will help.
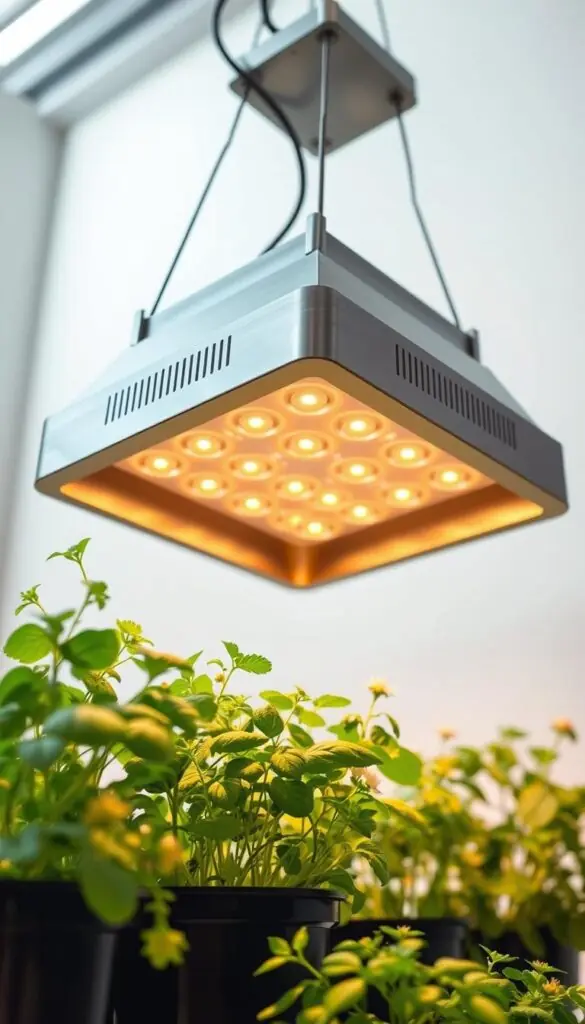
Adjustable vs. fixed-height lights
Adjustable arms on iDOO and AeroGarden keep the lamp 2–4 inches above the canopy as your seedlings grow. That tight distance prevents legginess and keeps leaves compact.
Fixed-height models like EDN work when the output is strong and set at the right default. Click & Grow’s 18/6 cycle and arm segments make extensions easy as plants get taller.
South-facing windows and when to add an LED
South-facing windows can carry a small garden from spring through fall if jars get 6–8 hours of direct sun. In winter or north-facing rooms, an LED grow becomes essential for steady growth.
Step-by-step light adjustments through a plant’s life
- Do the hand-shadow test to decide if you need supplemental light.
- Set panels 2–4 inches above young leaves and raise them weekly as stems lengthen.
- Use 14–18 hours on and 6–10 hours off for leafy herbs; Click & Grow’s 18/6 is a safe baseline.
- Rotate planters weekly so all sides get even exposure.
- If seedlings stretch, lower the lamp or add a short booster to rebuild sturdy stems.
- Wipe dust from lenses monthly and watch heat from under-cabinet lights—move lights away if leaves curl.
"Match hours and distance to the plant’s stage — close and long for babies, raised and steady for mature foliage."
Pair strong light with consistent watering and simple weekly checks. This keeps your garden thriving and gives you flavorful herbs for the kitchen with minimal fuss.
Real-world sizes and placements that fit your home
A small 3-pod bar can sit where a loaf of bread goes; larger systems need real elbow room.
Measure first: check width, depth, and height under cabinets. Leave at least 2 inches so the light arm clears the underside. A Click & Grow 3-Pod acts like a narrow loaf; 9–12 pod models often span 16–24 inches.
Keep gardens away from stoves and hot ovens. Heat, steam, and splatter stress plants and make cleanup harder.
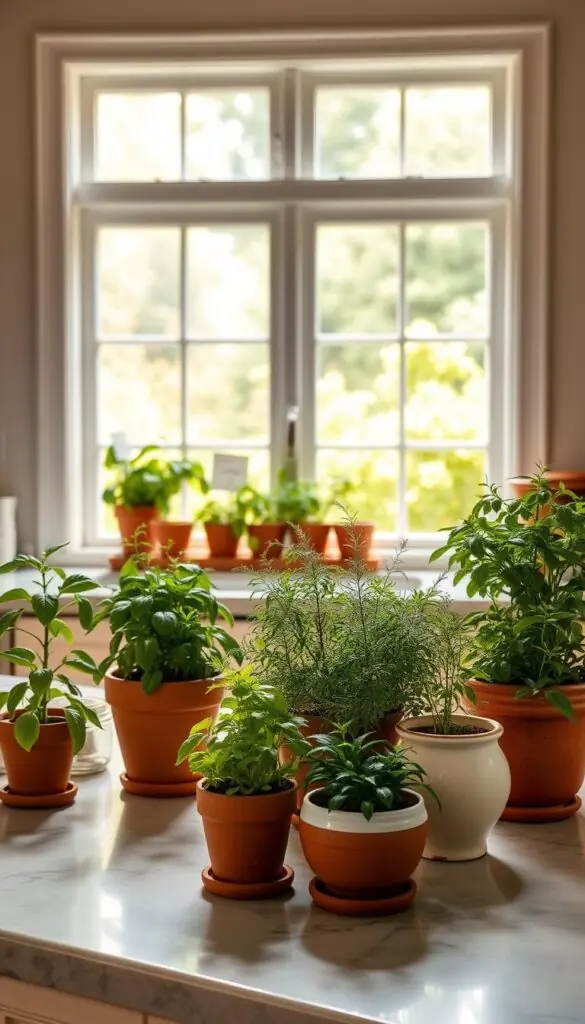
Placement checklist
- Allow 4 inches behind the unit for airflow and rear-fill access.
- Avoid drafty windows that swing from hot to cold; steady temps keep herbs perky.
- Use a switched power strip for tidy cables and an easy hard-reset.
- Set a shallow tray under soil planters to catch drips when you top up reservoirs.
Group short plants at the front and taller ones at the back so every leaf gets light. In tight kitchens, corners work well—the garden nestles in and your prep space stays open.
Tip: If you rent, pick a compact unit with a clean silhouette so the box feels like part of your home, not extra clutter.
Materials and build quality: plastic, glass, recycled blends
Pick the right build and you spend less time scrubbing and more time snipping fresh greens. Choose durable materials that make daily care simple and keep your counter looking tidy.
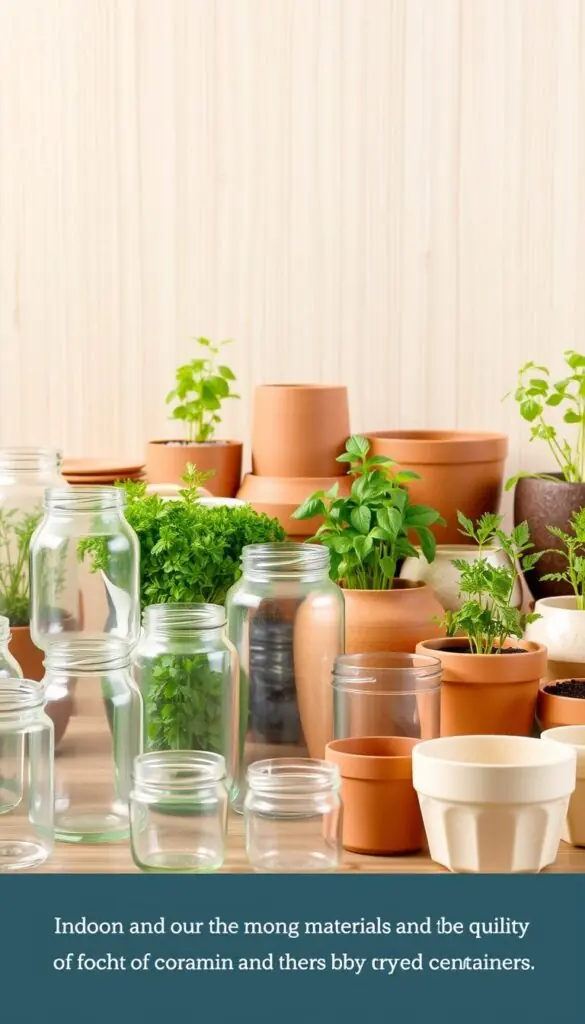
Sturdy plastic housings are lightweight and easy to wipe. They work well in compact systems and resist bumps. Glass jars, like Modern Sprout, showcase roots and brighten a windowsill.
Look for features that make cleaning fast. A removable top and a rear drain hole, as iDOO offers, let you empty and rinse without lifting heavy tanks. Domes speed early sprouting but remove them once seedlings reach the lid to avoid dripping.
- Recycled or bioplastic blends give a lower footprint while still feeling solid on the counter.
- Smooth, rounded corners inside tanks stop debris buildup and make plant root zones easy to inspect.
- Strong hinges, snug light arms, and a stable base provide long-term support as plants fill in.
Keep a soft bottle brush and a microfiber cloth nearby. Rinse water lines occasionally to cut film. These small habits keep your garden healthy and the content of your kit working well.
"Choose a build that helps you care for plants, not one that adds chores."
Hands-on setup: step-by-step for faster success
A simple, stepwise setup gets plants into growth fast and cuts down mistakes. Use the short tools list: small spoon, tweezers, measuring cup, and labels. Watch brand videos if offered to see fills and dome timing.
Hydroponic pod systems
Fill the tank to the fill line and add water-soluble plant food per the bottle. Drop pods in, place domes, and set the light cycle to 14–18 hours (Click & Grow runs 18/6 by default).
Keep the light 2–4 inches above seedlings. Raise it weekly so leaves never touch LEDs.
Seeded sponges and domes
Tuck 2–3 seeds into the top hole of each sponge and barely cover if instructed. Mist daily and leave the dome until true leaves appear or condensation is heavy.
Mason jar immersion kits
Rinse lava rock, fill just under the net pot base, set the net pot, sprinkle seeds, and add water until the wick stays moist. Add plant food at first true leaves and then monthly.
- Check water every 2–3 days; top up when indicators sink.
- Label each spot with herb and start date.
- Weekly five-minute routine: wipe surfaces, inspect roots, trim tall stems, and add water.
"A tidy start and small weekly checks keep your kitchen garden healthy and productive."
Seasonal rhythm indoors: germination windows and harvest timing
A simple rhythm of light, trim, and tidy work keeps your garden on schedule and saves you time.
Present-day timing cues: Expect basil to sprout in about seven days under steady LEDs; EDN tests showed first harvest near week three. Parsley and some slow varieties may take longer, so patience pays.
Days to sprout and months to harvest
Plan a light first harvest around weeks three to five depending on vigor. Trim just above a leaf pair to encourage branching and fuller growth.
“Vacation mode,” pruning, and monthly cleaning
Use vacation mode on compatible systems like AeroGarden to slow growth and cut water use while you’re away.
| Task | Typical timing | Action |
|---|---|---|
| Sprout | ~7 days for basil; longer for parsley | Keep domes until true leaves; steady light |
| First harvest | 3–5 weeks | Trim above a node; harvest light portions |
| Monthly clean | Every month | Empty tank, wipe basin, refresh water & nutrients |
| Weekly care | Every 7 days | Rotate pots, check water, prune little and often |
"Prune little and often; frequent snips keep plants compact and boost flavor."
- Mark calendar reminders for nutrient top-ups per bottle.
- When days shorten, increase lamp hours to help growth.
- If growth stalls, check temperature, light, and water first.
Common mistakes to avoid with indoor herb containers
A few common slip-ups—wrong neighbors, bad light distance, or old seeds—cause most early failures.
Quick checklist: simple fixes you can make today to rescue a struggling garden.
- Mind plant neighbors: Don’t plant fast growers like dill or quick basil next to slow rosemary. Taller, faster stems steal light and stall shy plants—group by growth pace or stagger heights.
- Keep the light close: A high panel makes seedlings stretch and get weak. Move the lamp nearer to build dense, fragrant leaves.
- Avoid heat and drafts: Don’t place units by hot stoves or drafty window cracks. Sudden swings stress plants and can halt growth.
- Use fresh seeds: Old or badly stored seeds lose viability. Check packed dates, store extras cool and dry, and buy replacements when germination drops.
- Remove domes at the right time: Cap seedlings only until they stand on their own. Too much condensation or stale air slows development.
- Water by cues: Follow indicators or check the medium. Water on cues, not guesses, to avoid soggy roots or crispy edges.
- Clean monthly: Empty and wipe tanks to stop algae and debris from competing with roots and creating kitchen odors.
- Use guarantees: If a pod or seed fails, check brand germination promises and request a replacement instead of waiting indefinitely.
- Label everything: Mark each spot so you don’t trim the wrong plant and can track start dates and care.
- Simplify when needed: Fewer plants spaced well under a closer light often outgrow a crowded, dim setup.
"Small adjustments—distance, placement, and fresh seed—often turn a struggling start into a thriving patch."
Final tip: If you store seeds, keep them cool and dry. Good storage and clear labeling protect your investment and the content of your kitchen garden.
Beauty meets function: styling herbs you’ll actually use
Style your kitchen garden so it looks deliberate, smells inviting, and stays useful every week.
Color, scent, and texture: basil’s peppery gloss to rosemary’s pine
Mix glossy basil with feathery dill and piney rosemary for depth and scent. Add a sprig of mint near the kettle to lift the room with a quick pinch.
Pop a few edible flowers like nasturtiums into a pot for color and salad-ready petals. These small touches make the plants feel alive and part of your cooking content.
Planters, trays, and under-cabinet grow light accents
Anchor a set of jars or a slim white unit—Click & Grow’s form or EDN’s warm wood—on a narrow ceramic or slate tray. The tray keeps drips tidy and creates a finished look for your home.
Tuck a compact led grow bar under cabinets for a soft evening glow that also helps when you chop. Watch for heat and keep the bar a few inches from leaves so light helps without stressing stems.
- Group odd numbers—one jar and one small bar, or three jars—for balance.
- Let rosemary stand tall at the back and place basil where you can snip fast.
- Keep scissors in a cup nearby so you actually use the plants and encourage steady growth.
"A pretty, useful arrangement makes you reach for fresh flavor more often."
Value, warranties, and guarantees that protect your investment
Knowing how brands back their kits helps you choose a garden that lasts.
Look for clear germination guarantees and friendly customer care. AeroGarden, Click & Grow, and EDN offer replacements when pods fail. iDOO typically does not guarantee sprouting, so factor that risk into the price.
Many systems carry 1–2 year warranties. EDN pairs warranty coverage with an iOS app that gives reminders and plant timelines. App content makes upkeep easier, but verify device compatibility before you buy.
If a pod fails, follow these simple steps to claim support:
- Find your order number and take clear photos of the kit and pod stage.
- Note water level and start date.
- Contact brand support and attach images; request a replacement rather than replanting blind.
| Brand | Germination & Replacements | Warranty | Shipping orders & notes |
|---|---|---|---|
| AeroGarden | Guaranteed pods; replacement policy | 1 year | Free shipping varies by promo |
| Click & Grow | Guaranteed pods; easy swaps | 1–2 years | Shipping orders often free over threshold |
| EDN | Guaranteed pods; app-guided help | 1 year | Retail and online; check store stock |
| iDOO | No formal sprout guarantee | 1 year typical | Restock costs depend on seller |
Compare total costs: factor pods, nutrients, and occasional parts. If you value peace of mind, pick a brand with clear guarantees and prompt support. If you prefer lower long-term spend, a DIY route with your own seeds may suit better.
"Keep receipts and photos handy—brands resolve replacement claims faster when you show the kit and growth stage."
Indoor herb containers
Pick a system that fits your rhythm—easy, fast, or fully customizable. Below is a short, practical shortlist so you can buy what works for your kitchen and cooking style.
Best picks by priority
- Easiest use: Click & Grow 3‑Pod — pre‑seeded cartridges, capillary watering, and an 18/6 cycle take most guesswork out of the setup. It’s perfect if you want steady greens with minimal fuss.
- Fast growth with controls: AeroGarden Harvest Elite — adjustable light, digital modes, vacation mode, and reminders speed early growth and keep leaves thick and vibrant.
- Full customization: iDOO Hydroponics — sow any cultivar you like, use the telescoping arm and rear drain hole, and tweak schedules as plants develop.
- Design-first option: EDN SmallGarden — warm wood base and app guidance for a neat, living accent that also helps you track growth and care.
Fast-start steps work for any pick:
- Unbox and set on a level counter.
- Add water to the fill line and add plant food if the brand calls for it.
- Pop in pre-seeded pods or sow seeds, then set the light cycle.
Keep water in the indicator’s sweet spot and raise lights as plants thicken. A reserved pod for flowers like calendula adds color to plates without a trip to the store.
Styling and stocking tips: Choose a larger box (6–10 pods) for weekend batch cooking. Store extra pods or seed packets near spices so restocks match pantry runs. Watch retailer shipping orders for bundle deals to save on pods and nutrients.
"Match your choice to how much time you want to spend—set-and-forget models save time; seed-forward kits reward curiosity."
| Priority | Model | Why it fits | Quick tip |
|---|---|---|---|
| Ease | Click & Grow 3‑Pod | Pre‑seeded, capillary watering, 18/6 cycle, 2‑year warranty | Ideal for beginners; minimal weekly checks |
| Speed | AeroGarden Harvest Elite | Adjustable light, digital reminders, vacation mode | Use close light distance for dense growth |
| Control | iDOO Hydroponics | Add‑your‑own seeds, telescoping arm, rear drain hole | Keep seed varieties separate to avoid shading |
| Design | EDN SmallGarden | Wood base, app controls, neat aesthetic | Use app reminders for nutrient and water timing |
Conclusion
,Begin with one simple choice and watch weekly snips turn into a regular harvest. Choose a compact system for your light and space, and treat planting as a small, repeatable habit.
Pick a trusted model—AeroGarden Harvest Elite for features, iDOO for customization, EDN for design, or Click & Grow 3‑Pod for compact ease. Jars do well with 6–8 hours of sun.
Keep lights close, water steady, and prune often. A five‑minute weekly routine—wipe, top up, and trim—keeps your fresh herbs lively and your kitchen smelling wonderful.
Start with basil or parsley, place the unit where you cook, and enjoy each little harvest. We’re rooting for you — one pot, steady care, and more flavor in every meal.
FAQ
What are the best containers for a thriving indoor herb garden?
Choose containers that match your light and space. Small hydroponic systems like AeroGarden or Click & Grow work well on counters and give fast growth. For a more natural feel, self-watering soil planters with reservoirs and water gauges reduce fuss. Pick something with good drainage or a reservoir, removable parts for cleaning, and materials you like—glass jars, recycled plastics, or ceramic.
How do I decide between a hydroponic system and a soil-based planter?
Hydroponics speeds germination and reduces mess; you add water, plant pods or seeds, and feed with liquid plant food. Soil planters offer more variety and a traditional feel; choose self-watering models if you want low maintenance. Consider how much control you want over varieties (basil, mint, parsley, rosemary) and how much time you can spend watering and pruning.
Do pod kits include everything I need to start growing?
Most kits include pods or seed cartridges, grow medium (sponges or soil pods), and plant food. Some let you add your own seeds for more options. Double-check whether the kit includes a grow light and if it has vacation mode or digital controls before buying.
How important is a grow light versus a sunny window?
A bright south-facing window can work for many herbs, but built-in LED grow lights ensure consistent results, especially in apartments or during short winter days. Adjustable-height LEDs are best for fast growers; fixed lights suit compact systems. Use LEDs when natural light is weak or inconsistent.
How quickly will seeds germinate and when can I harvest?
Germination varies by species and system: many seeds sprout within 5–14 days in hydroponic kits, while soil can take a bit longer. You can usually harvest leafy herbs like basil and parsley within 3–6 weeks, depending on growth rate and pruning. Check the seed packet or kit guide for specific days-to-sprout estimates.
What maintenance does a hydroponic growing system need?
Keep water topped up, add plant food on the recommended schedule, clean reservoirs monthly, and wipe LED surfaces. Use vacation mode for short trips and prune regularly to promote bushy growth. Removable tops and drain-friendly designs make cleaning easier.
Can I mix fast growers and slow growers in the same unit?
It’s best to avoid pairing very different-growth herbs in the same pod bar. Fast growers like basil can shade and crowd slower herbs like rosemary. If you do mix, place similar light and water-needs together or choose separate units for each growth rate.
What size system should I get for a small kitchen counter?
Measure your counter and choose a footprint that leaves space for prep. A 3- to 6-pod unit fits most small kitchens. If you want a mini display, a single mason-jar immersion kit or 3-pod Click & Grow-style unit is a good choice. For continuous supply, a 9- to 12-pod system works if you have more surface area.
Are mason jar immersion kits a practical option?
Yes—they’re stylish and compact. These kits use net pots and lava rock or similar media and work well for single herbs or small groupings. They need regular water checks and occasional plant food but look great on windowsills and fit small spaces.
Which herbs are easiest for beginners?
Basil, mint, parsley, and chives are forgiving and quick to grow. Mint can spread aggressively, so keep it isolated. Rosemary and cilantro need a bit more light and patience but reward you with flavor when grown well.
How do I avoid common mistakes with indoor herb setups?
Avoid placing units near heat sources or drafty windows. Don’t keep lights too high—seedlings need proximity to grow lights. Don’t overplant different light-need herbs together. Clean reservoirs and replace water regularly to prevent algae and root issues.
What materials hold up best and are easy to clean?
Look for removable tops, smooth plastic or glass reservoirs, and components that detach for rinsing. Recycled-blend plastics and glass resist staining and odor. Drain holes or spouts make emptying and cleaning faster.
Is there warranty or support I should look for when buying a growing system?
Yes—prioritize brands offering germination guarantees, app support, and at least a one-year warranty. Companies like AeroGarden provide clear warranty terms and customer support. App features and how-to videos can make setup and troubleshooting easier.
Can I grow a continuous supply of herbs year-round?
Absolutely. Stagger seedings across pods and rotate harvests. Use vacation mode and plan monthly cleanings and pruning sessions. With LEDs and regular plant food, you can harvest fresh leaves any season.
How do I plant seeds in a pod system for the best success?
Insert seed into the included sponge or pod at the recommended depth, place the pod in the unit, add water to the reservoir, and set the light cycle. Keep domes on seeded sponges if provided to maintain humidity until sprouting, then remove for airflow.