Sunlight warms a leaf while you breathe in the faint, damp soil scent. Have you noticed a droop on your pothos or a pale edge on a monstera and wished for a simple fix?
You’re in the right place. This short, friendly guide gives clear steps and gentle tips to keep your plants lush at home during this bright time of year.
We’ll cover when to water (early or late to cut evaporation), how to test soil with a moisture meter, and why drainage planters and mulch or rocks help steady moisture. You’ll learn to use sheer curtains to shield intense midday light, rotate pots weekly, and keep green friends away from cold A/C vents.
Expect practical tools—moisture meters, humidifiers, NPK fertilizer—and real examples like snake plant maintenance and moving hardy pots outdoors after nights stay above 65°F. Simple routines make growth visible and your space feel calm and sunlit.
Key Takeaways
- Water early or late to reduce evaporation and leaf burn.
- Use a moisture meter and drainage planters to avoid soggy pots.
- Shield intense light with sheer curtains and rotate plants weekly.
- Raise humidity by grouping plants or using a humidifier; avoid A/C blasts.
- Fertilize with a balanced NPK during active growth and acclimate plants outdoors slowly.
Set your summer routine: what changes when days get longer and hotter
Longer, brighter days change what your plants ask from you—here’s a simple plan.
Growth speeds up after spring because more light and warmer temperatures fuel activity. You’ll water more often, adjust placement, and watch humidity. A short, steady routine saves time and keeps foliage healthy.
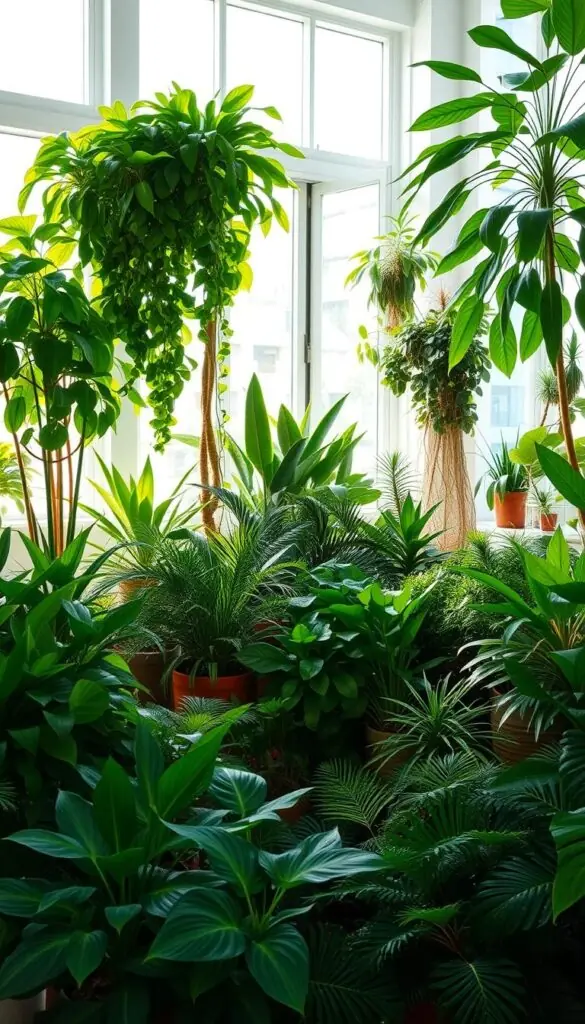
Quick checklist for early season: light, water, humidity, and growth
- Scan your space at the same time each day for a week to map bright spots.
- Update watering: faster-growing plants use more water—check soil with a finger or meter.
- Move pots back 1–3 feet from hot windows or add a sheer curtain to soften harsh light.
- Keep temperatures steady by avoiding vents and drafty doors.
- Raise humidity with pebble trays, grouping, or a small humidifier.
- Rotate each plant a quarter-turn weekly for even growth.
- Feed lightly as growth ramps up; never fertilize dry soil.
| Checklist | Tools | Sensory cues |
|---|---|---|
| Monitor light spots | Timer, hand-held light meter | Warm afternoon glow on leaves |
| Adjust watering rhythm | Moisture meter, finger test | Soil slightly damp an inch down |
| Boost humidity | Hygrometer, pebble tray, humidifier | Air feels a touch more humid around grouped pots |
| Rotate & prune | Marker, stakes, pruning shears | Leaves face evenly; stems grow straight |
Common mistakes to avoid: guessing water from the calendar, leaving pots against hot panes, and over-fertilizing. Note the shift from spring: leaves may enlarge and growth will quicken. Keep a short list—light, water, humidity, growth—so your plants get what they need with a few mindful minutes. This small routine helps houseplants need only consistent checks to thrive through the year.
Watering that works in heat: keep moisture steady without overdoing it
Keep moisture steady by learning one deep-watering routine that fits most rooms and pots.
Step-by-step
- Water in the morning or evening so less evaporates and leaves stay cool.
- Slowly pour around the root zone until you see a steady stream from the drainage hole.
- Pause 30 seconds, then water once more for full saturation.
How to test soil dry-down
- Push your finger 2 inches into the soil or use a moisture meter; tropicals prefer cool, slightly damp soil while succulents like the soil dry near the surface.
- Lift the pot—light weight usually means it’s time to water; dark, cool soil means wait.
Tools & small fixes
Use a narrow-spout can, saucers, pebble trays, and a moisture meter. Add mulch or decorative pebbles atop soil to reduce surface drying and tidy the pot. Never leave pots sitting in full saucers—empty trays 10–15 minutes after watering to prevent root rot.
Pothos or monstera: every 5–7 days. Snake plant: every 2–3 weeks. Succulents: every 10–14 days. Adjust by pot size, light, and room heat.
Common mistakes Avoid shallow sips that wet only the top inch, letting pots sit in water, or ignoring hydrophobic soil—if that happens, bottom-water in a tray for 15–30 minutes, then drain thoroughly.
Light and placement: prevent sun-scorch while fueling growth
Bright windows give life, but a hot pane can scorch leaves fast. Place plants so they get strong but gentle light. Small moves make a big difference.
Quick placement rules
- Hang a sheer curtain on south or west windows to soften sunlight while keeping rooms bright.
- If the midday sun makes the glass feel hot at the spot where your leaves sit, move the pot 1–3 feet back.
- Rotate pots a quarter-turn each week so stems grow upright instead of leaning toward the brightest pane.
Spot tests and signs to watch
Use the hand test at noon: hold your palm at leaf height for 30 seconds. If it’s uncomfortably warm, the plant will likely scorch.
Read the leaves. Bleached patches, crispy edges, or curled tips mean too much direct sunlight. Trim damaged leaves and reposition the pot.
- Raise short pots on stands for gentler, more even light.
- Group bright-indirect lovers near a window but out of direct beams.
- Clean glass monthly to avoid hotspots from dust and grime.
Temperature and humidity balance: AC-smart houseplant care
Find cozy spots in your home where air stays gentle and predictable for your pots.
Ideal ranges: Aim for steady indoor temperatures between 65–75°F for most tropical types, with nights no lower than 60°F. Keep vents clear—give pots several feet of distance from cold A/C output to avoid shock.
Ideal indoor temperatures and keeping pots away from vents
Place houseplants where the air feels calm, not blasting. Corners with filtered light often make a cozy home.
- Aim for warm, steady rooms—avoid big swings in temperature that stress roots and foliage.
- Keep pots several feet from cold vents and drafty doorways.
- Use a small fan on low to keep gentle airflow across the room; it helps prevent fungus without drying leaves.
Boosting humidity: grouping, pebble trays, and humidifiers without wet leaves
Use a hygrometer to monitor humidity levels and adjust as needed during peak A/C time. Most tropical plants prefer 45–60% relative humidity.
- Group like plants together so their natural transpiration raises local humidity.
- Set a pebble tray under pots—water sits beneath the base and increases moisture without soaking soil.
- Run a cool-mist humidifier on a timer near clusters; wipe leaves dry if splashed to keep foliage healthy.
Watch for signs of stress: brown leaf edges or curling mean the air is too dry. Make small, steady adjustments to conditions so plants need fewer rescue moves later.
Fertilizer for summer growth spurts: feed the right way
Think of fertilizer as a gentle boost, not a shortcut to fast, weak shoots.
What NPK means: Nitrogen (N) promotes leafy growth, phosphorus (P) supports blooms and roots, and potassium (K) builds vigor and resilience. Look for balanced mixes like 10-10-10 for mixed collections, or 10-15-10 if you want more bloom support.
When and what to use
- Feed 1–2 times per month during active growth; dilute to half or label strength to avoid leggy shoots.
- All-purpose formulas work for mixed displays; choose bloom boosters for flowering favorites and specialty feeds (palms, air plants) when needed.
- Always water thoroughly 1–2 days before feeding—never pour fertilizer on dry soil.
Step-by-step feeding
- Water the pot a day or two in advance so soil is evenly damp.
- Mix fertilizer to the label rate (or half for potted displays).
- Pour slowly over the damp soil until a little drains out; wipe saucers dry.
"Watch for darker green leaves, steady new shoots, and firmer stems—those are signs your levels are right."
Skip feeding if plants look stressed or have pests. Mark a calendar so your routine stays simple and consistent for healthy plants and steady growth.
Prune and shape for beauty and function
A tidy trim helps your plants look lively and use energy better.
Start small. Remove yellowing or damaged leaves and spent blooms to keep a fresh green crown and steady air flow.
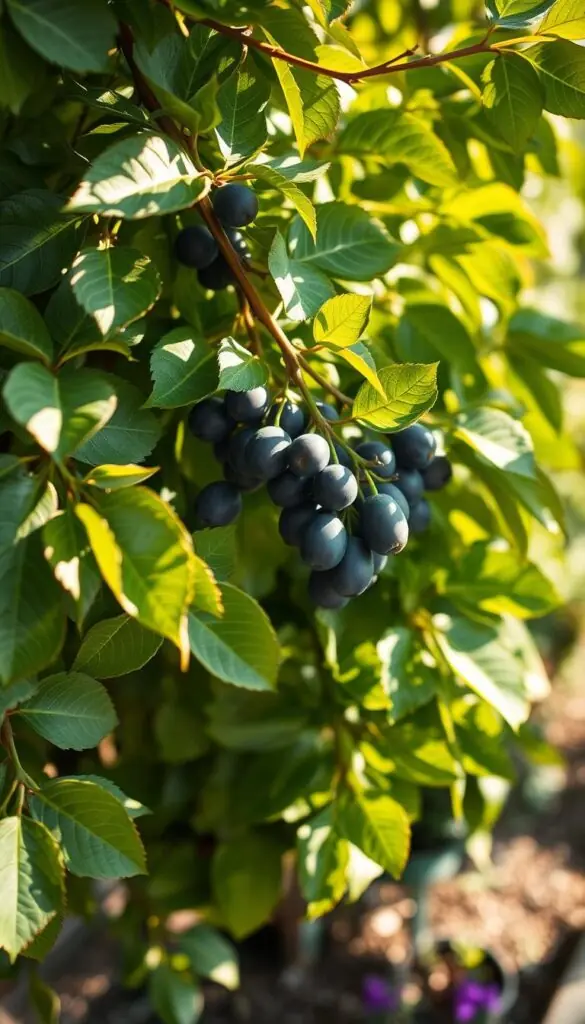
Size control, shaping, and tool hygiene
Limits: For size control, clip no more than 25% of foliage at once. This preserves energy and avoids shock.
Tools: Use sharp pruners. Wipe blades with isopropyl alcohol before and after each session to protect your houseplant from pests and disease.
Spent blooms and encouraging rebloom
Deadhead at the base of the flower stem so energy returns to new buds instead of seed. This simple move helps repeat flowering and steady growth.
- Shape by snipping just above a node to encourage branching.
- Pinch trailing tips to thicken vines and keep edges neat.
- Support tall stems with soft ties after pruning so new shoots stand upright.
| Task | How Much | When | Why |
|---|---|---|---|
| Size control | Up to 25% leaves | Every 6–8 weeks or as needed | Protect energy, maintain shape |
| Rejuvenation pruning | Heavier cuts on leggy stems | Once per major growth season | Stimulates fresh, bright foliage |
| Deadheading | Remove spent flower stems | Weekly tidy | Redirects energy to buds and new growth |
| Tool care | Wipe with alcohol | Before & after each use | Prevents spread of pests and disease |
Make tiny cuts first—you can always take more. Give a quick once-a-week tidy to catch yellow leaves and spent blooms. Step back, assess from all sides, and enjoy the refreshed silhouette.
Stay ahead of pests and disease during summer
Spotting pests early gives you the best chance to fix things quickly and gently. A calm, weekly routine helps you catch issues on leaves, stems, and new growth before they spread.
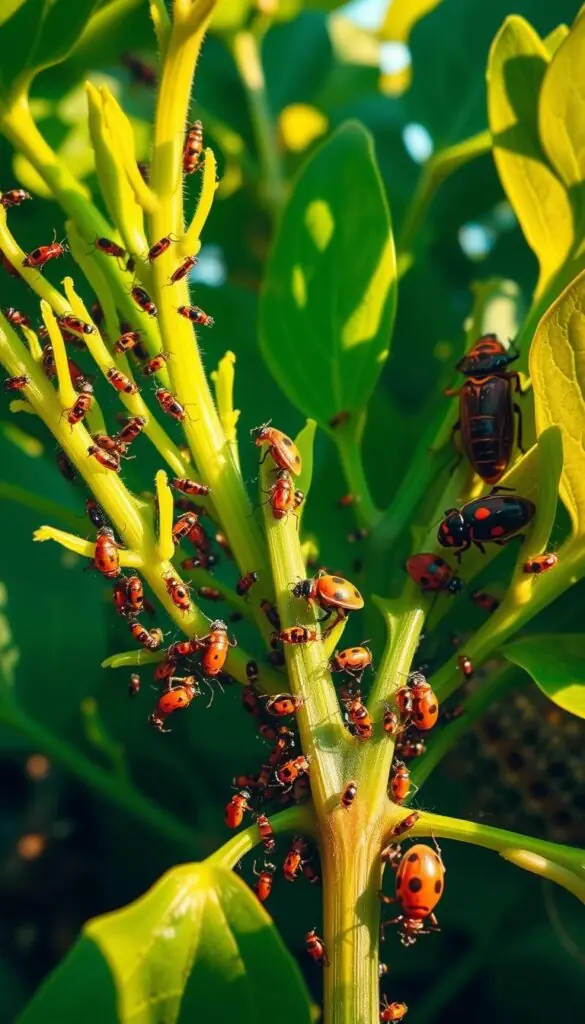
Early detection routine
Set a weekly scan under bright light. Check leaf undersides, stem joints, and new tips for tiny moving specks, webbing, or sticky residue.
Isolate any troubled plant right away to protect nearby houseplants. Quarantine new arrivals for two weeks to keep hitchhikers from spreading.
Treatments that work
Soft-bodied insects (aphids, mealybugs, whitefly, thrips) respond well to insecticidal soap or neem oil. Follow label directions and repeat treatments until pests stop appearing.
For fungal spots, improve air movement and keep foliage dry. Use a copper fungicide as directed for persistent leaf lesions.
Prevention: airflow and watering habits
Adjust watering so topsoil dries slightly between waterings; consistent moisture without soggy conditions limits fungus gnats. Make sure pots do not sit in standing water.
Wipe leaves gently to remove dust and make pests easier to spot. Keep a small fan on low to move air; steady air reduces disease pressure without drying plants out.
| Issue | Signs | Product/Tool | Quick step |
|---|---|---|---|
| Spider mites | Fine webbing, speckled leaves | Insecticidal soap, neem oil, magnifier | Spray, repeat 7–10 days, isolate |
| Mealybugs & scale | White cottony spots or bumps | Neem oil, cotton swab + alcohol, sticky traps | Spot-clean, treat, monitor weekly |
| Fungus gnats | Tiny flies; larvae in damp soil | Sticky traps, adjust watering, sand top layer | Let soil dry, trap adults, replace topsoil if needed |
| Fungal leaf spots | Brown/black spots, often in high humidity | Copper fungicide, fan, hygrometer | Increase airflow, keep leaves dry, treat as directed |
"Stay calm and persistent—most pest issues resolve quickly when caught early and treated consistently."
Moving houseplants outdoors safely for a summer boost
Warm evenings are the signal that some pots are ready for a porch or patio visit. Before you move them, be sure nighttime temperatures hold above 65°F. That steady warmth protects roots and stops shock.
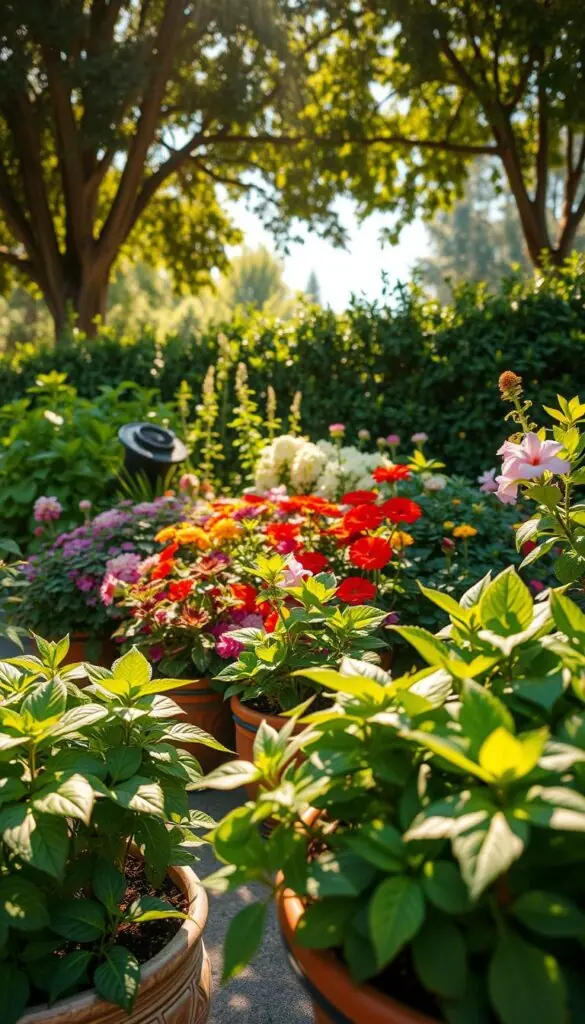
Temperature rules
Only move pots when nights stay above 65°F for several days. Err on the side of caution—cold snaps can undo weeks of good growth.
One-week acclimation plan
Follow this gentle schedule to shift light exposure safely:
- Days 1–3: deep shade—no direct sun, a calm, dappled spot.
- Days 4–5: bright shade—longer morning light, still avoid midday sun.
- Days 6–7: gentle morning sun for 1–2 hours; return to shade midafternoon.
Outdoor adjustments and common mistakes to avoid
Outdoors, pots dry faster. Check moisture daily at first and water more often. Use heavier containers or pot feet to steady pots. Stake tall stems to prevent wind snap.
- Choose a protected spot with a wall or railing as a windbreak and a bit of morning breeze.
- Inspect leaves each day for pests—wipe undersides and treat quickly.
- For succulents and cacti, increase direct exposure in tiny steps over two weeks to avoid sunburn.
- Avoid placing pots near a reflective window or glass table that can intensify sunlight.
| Tool | Use | Why |
|---|---|---|
| Shade cloth | Filter harsh sun | Prevents leaf scorch |
| Stakes & ties | Support tall stems | Stops wind damage |
| Heavier pot or pot feet | Stabilize containers | Reduces tipping in breezy spots |
"Bring plants back inside before storms or heat waves if they look stressed."
Conclusion
With a gentle routine, your pots reward attention with steady new growth.
Keep checking light, water, and soil each week. Test moisture before you water and aim for deep, even watering so roots stay strong. Place pots where light feels bright but not harsh, and shield leaves from direct sunlight when needed.
Feed modestly—use fertilizer once or twice a month at half strength during active growth. Protect plants from A/C drafts and move containers outdoors only after warm nights, following a slow acclimation routine.
Scan for pests weekly and improve airflow to cut disease risk. A few calm minutes each day makes your collection lush: soft sunlight, fresh soil scent, and steady green growth. You’ve got this—one kind habit at a time.
FAQ
How should I change my routine when days get longer and hotter?
Shift to lighter, more frequent checks. Increase monitoring of soil moisture, move plants away from intense afternoon sun, and boost humidity for tropical varieties. Adjust watering schedule to early morning or late evening and rotate pots weekly so growth stays even.
What’s a quick checklist for early-season adjustments to light, water, humidity, and growth?
Check light levels at windows, test top two inches of soil for dryness, group humidity-loving plants, inspect new growth for pests, and note any plants stretching or showing leaf scorch. These small steps prevent stress as temperatures rise.
How do I water deeply without overdoing it?
Water until excess drains from the pot’s bottom, then let the top layers dry to the plant’s preferred level. Use your finger or a moisture meter to test down a couple inches before the next watering. Deep watering encourages roots to grow downward instead of staying near the surface.
When is the best time of day to water and which tools help?
Water in the cool of morning or early evening to reduce evaporation. Use a moisture meter, trays to catch runoff, and decorative mulch or pebbles to slow surface drying. For succulents, allow longer dry-down between sessions.
How often should succulents and tropicals be watered in a typical U.S. home?
Succulents usually need watering every 2–4 weeks, depending on light and pot size. Tropical houseplants often require water every 7–10 days when warm and bright. Always check soil rather than following a strict calendar.
What common watering mistakes should I avoid?
Don’t give shallow, frequent sips that keep roots at the surface. Avoid letting pots sit in standing water or keeping soil soggy. And don’t water on a set day without testing moisture—overwatering causes root rot more than heat does.
How can I protect plants from too much direct sun without stunting growth?
Use sheer curtains or move pots back from south- and west-facing windows during peak hours. Rotate plants weekly so all sides receive even light. Provide filtered light for leaves that show bleaching or crispy edges.
How do I spot if light or heat is harming a plant?
Look for bleached, pale leaves, brown crispy margins, or stems leaning away from bright windows. These signs mean the plant needs less intense light or a short reprieve during the hottest hours.
What indoor temperatures and placement should I aim for near AC vents?
Keep most plants in the 65–75°F range by day and slightly cooler at night. Avoid placing plants directly under cold vents or right next to heaters; sudden drafts and temperature swings stress foliage and reduce humidity.
How can I raise humidity without wetting leaves?
Group plants together, use pebble trays filled with water beneath pots, or run a humidifier on a low setting. These methods increase ambient moisture while keeping leaf surfaces dry to prevent fungal problems.
What fertilizer should I use during the growth spurt months and how often?
Choose a balanced, all-purpose fertilizer (like a 10-10-10) or a formula targeted to flowering if you want more blooms. Feed most plants one to two times per month during active growth. Never apply concentrated feed to bone-dry soil—water first, then fertilize.
How do I pick a fertilizer based on plant goals?
For lush foliage, use balanced NPK or slightly higher nitrogen. For more flowers, opt for a bloom booster with higher phosphorus. Specialty feeds exist for succulents and orchids—use those for specific needs.
How much should I prune to control size and encourage shape?
Remove no more than one-third of a plant’s canopy at a time. Trim long, leggy stems to a healthy node to encourage branching. Always use clean, sharp tools and make cuts above leaf joints to promote tidy regrowth.
Where and how should I deadhead spent blooms safely?
Snip faded flowers back to the nearest healthy leaf or stem junction. For reblooming plants, removing spent blooms redirects energy to new flowers. Clean your scissors between plants to avoid spreading disease.
What early checks help catch pests and disease before they spread?
Inspect undersides of leaves, the growing tips, and the soil surface weekly. Look for sticky residue, tiny specks, webbing, or distorted new growth. Early detection makes treatment simpler and prevents infestation.
Which treatments work best against common summer pests and fungal issues?
Start with insecticidal soap or neem oil for soft-bodied pests like aphids and mealybugs. Use copper-based fungicides for persistent fungal spots. Always test treatments on a single leaf and follow label directions carefully.
How does airflow and watering help prevent fungal problems?
Provide good air circulation by spacing plants and avoiding overcrowding. Water at the base, not on leaves, and let the topsoil dry appropriately between waterings to keep fungal spores from taking hold.
When is it safe to move indoor plants outside for a growth boost?
Wait until nighttime temperatures consistently exceed 65°F and there’s no threat of late cold snaps. Plants tolerate the transition better when outdoor nights stay reliably warm.
What’s a simple one-week acclimation plan for outdoor transition?
Day 1–3: place plants in dappled shade for a few hours. Day 4–6: increase morning sun exposure. Day 7: give several hours of gentle midday light if plants show no stress. Gradual steps prevent sunburn and shock.
How should I adjust outdoor care—watering, wind protection, and pest checks?
Expect more frequent watering in pots, as containers dry quickly. Move fragile plants to sheltered spots during windy days, and check for outdoor pests like snails and slugs daily. Bring vulnerable plants indoors if infested or stressed.