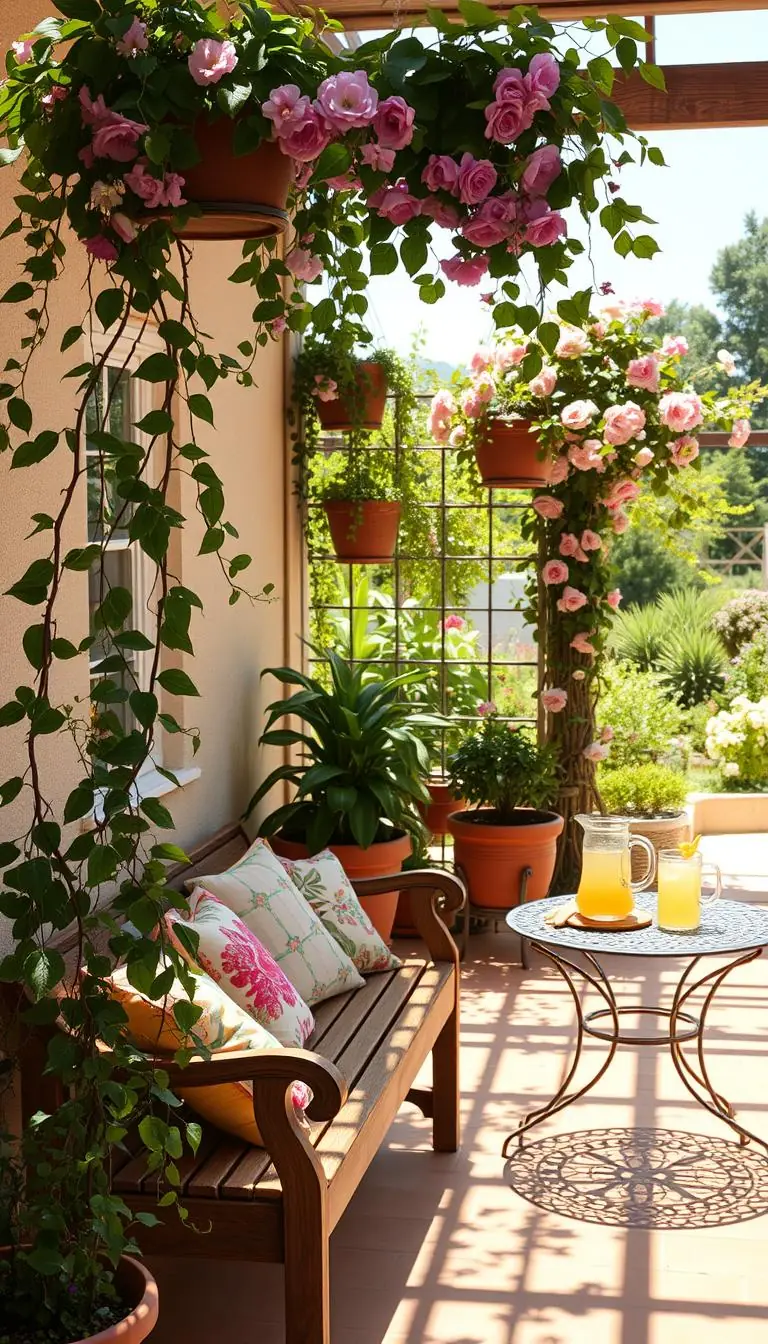
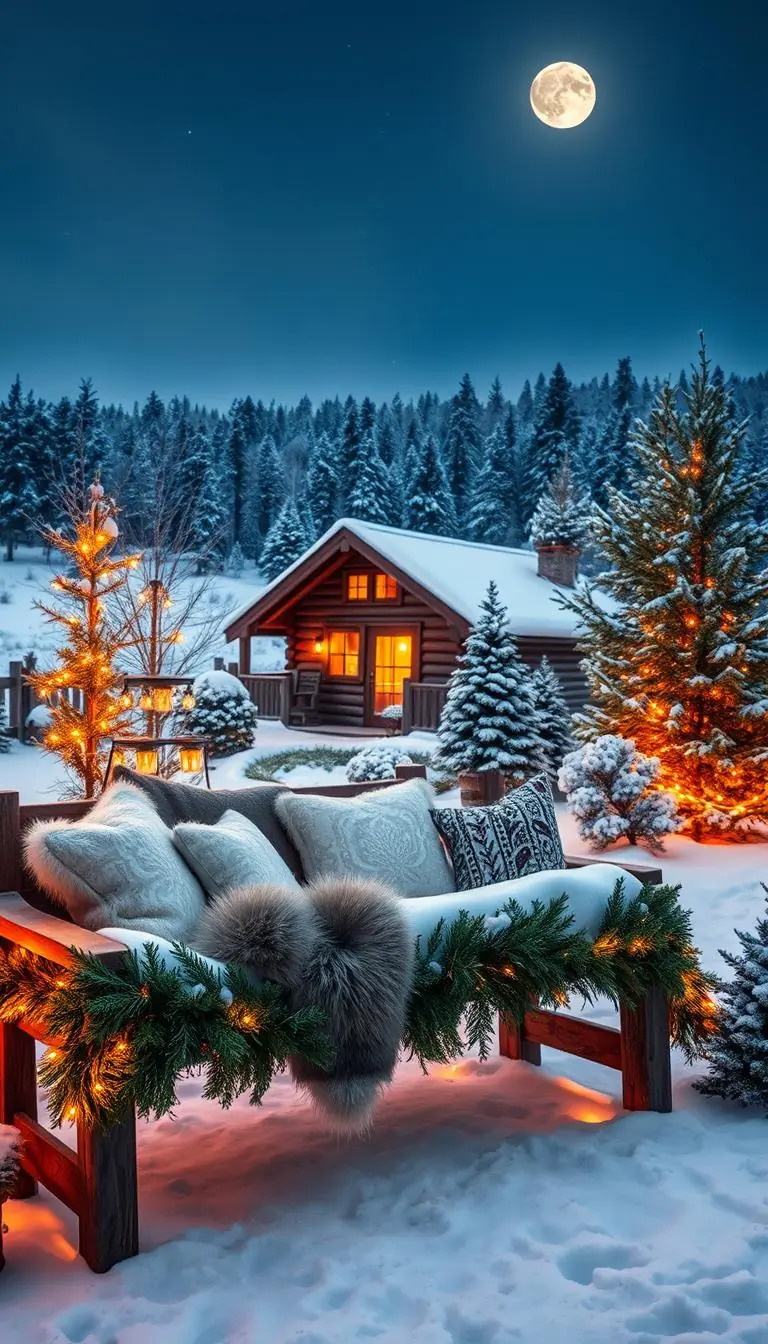
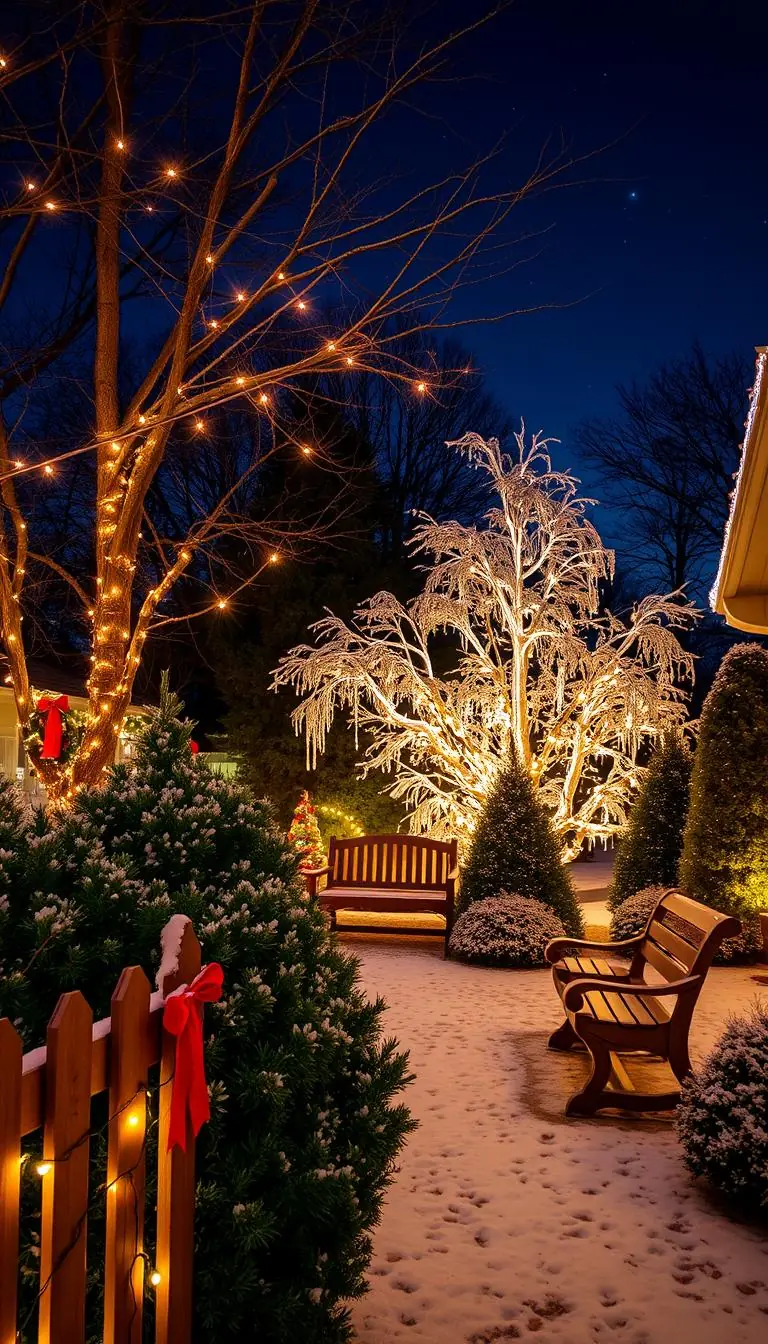
Imagine stepping out at dusk and feeling a soft amber glow on the brick, the scent of rosemary drifting by as a path invites you forward.
Have you ever picked a fixture that felt too bright, or watched glare ruin a quiet evening? You’re not alone. We’ll walk this yard together, like a friendly neighbor, and help you choose simple, calm solutions.
We focus on practical steps: assigning a purpose to each light, choosing the right LED color temperature, and picking fixtures with proper IP ratings so they stand up to rain and dust.
Along the way, you’ll learn which products suit a patio nook, a front step, or a shady bed. Small changes — aiming a beam, using a full cutoff fixture, or choosing 3000K instead of harsh white — make the space feel welcoming, not washed out.
Key Takeaways
- Give each light a clear purpose to avoid overbuying products.
- Choose LED color and brightness to set mood and task clarity.
- Pick weather-rated fixtures (IP65/IP66) for durability.
- Aim fixtures to reduce glare and highlight textures.
- Consider DIY low-voltage kits for quick, neat installs.
Start with a Plan: Map Your Outdoor Spaces Before You Buy
Begin with a simple plan: grab a notepad, tape measure, stakes, and walk the yard at dusk. Mark zones where one goal rules each area — safe steps, a soft conversation glow, or a subtle accent on a tree. This keeps choices clear when you shop for outdoor lighting and avoids extra products.
Sketch zones and note textures
Sketch simple zones: patio seat, path to the gate, wall with vines, and a feature tree. Measure runs so you know cable lengths and transformer needs.
Quick tools and a dusk walkthrough
- Take a slow dusk walkthrough and stake dim steps, the grill zone, and the reading chair.
- Use string or painter’s tape to visualize beam spread and avoid crowding the ground.
- Circle hazards like low branches and uneven pavers so fixtures go in safe spots.
- Prefer wet-location, IP65/IP66-rated products for exposed areas and use knuckle or yoke mounts to angle beams.
| Fixture Type | Best for | Quick note |
|---|---|---|
| Path lights | Safe walkways | Stagger placement to avoid a runway effect |
| Spot/Accent | Trees, walls | Use knuckle/yoke mounts to aim beams |
| Wall or step | Patio edges, steps | Choose wet-rated fixtures near sprinklers |
Finish with a simple list: zone name, goal, estimated fixtures, and cable route. That way you shop with confidence and pick the right products and options for each space.
Choosing the Right Fixtures for the Job
Start by choosing fixtures that serve a clear purpose: soft pools for seats, low markers for paths, and narrow beams to reveal texture.
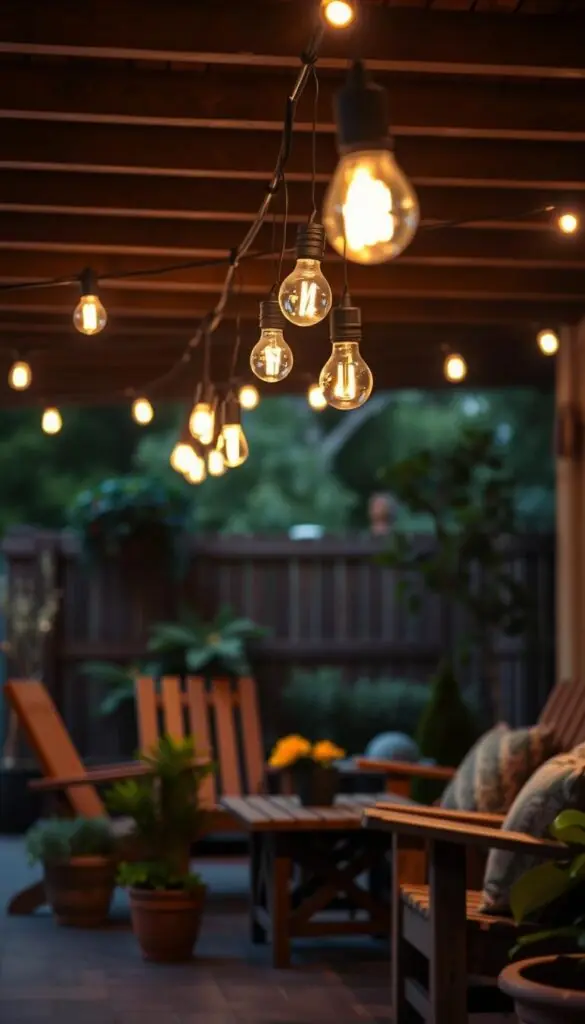
Patio and seating: pick an outdoor hanging piece or wall lights that give a warm, even pool. Aim for 3000K to keep dinners cozy and glass accents gentle. Use mounting hooks and sturdy cable connectors for safe, tidy installs.
Paths and beds
Choose low-voltage landscape lighting with shielded tops so the light falls on walkways and plants, not into eyes. Integrated hardscape products tuck under caps to highlight stone and keep hands safe at night.
Driveways and facades
Use controlled floods or wall packs with full or semi cutoff optics for visibility without spill. Post lights and well-aimed uplights work well; knuckle or yoke mounts let you fine-tune beams to graze stucco or trees.
- Keep counts lean: a few well-placed fixtures beat a lot of bright outdoor light every time.
- Match mount type (wall, pole, trunnion) to your planned height so beams land where intended.
- Pick LED options in 3000K for seating and 4000–5000K for task areas; consider RGBW for seasonal color accents.
LED Lighting Basics You Shouldn’t Skip
A few smart choices about color and output will transform how your space reads after dusk. Start by thinking in lumens, not watts. Lumens tell you how bright a fixture will be; watts only tell you how much energy it uses.
Color temperature matters. For a cozy patio choose 3000K for warm, amber tones. For task areas pick 4000–5000K for crisp, clear vision. Higher CCTs such as 5700K or 6500K can feel stark and are best for security uses.
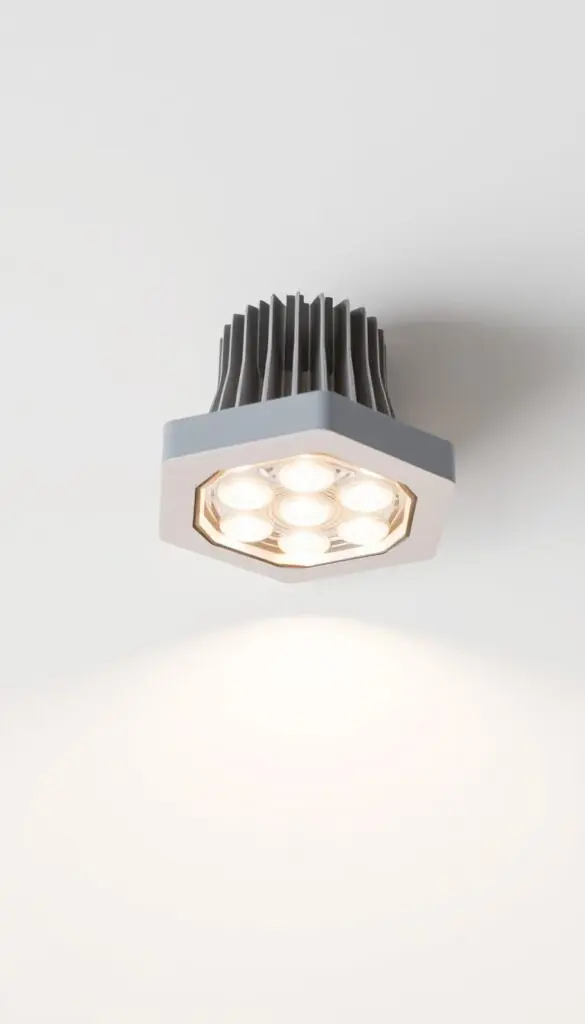
Match lumen ranges to the job. Soft path markers can be low-lumen; steps and work zones need higher output. Read spec sheets for CCT and lumens when comparing any product to avoid surprises.
Smart color and seasonal options
RGBW fixtures give you color plus a dedicated white. That means you can add seasonal hues—soft amber for fall or green for spring—without swapping bulbs or rewiring.
- Focus on lumens first, then color and beam spread.
- Pick narrow beams for columns and wide beams for hedges.
- Keep glare down with shields and angles so the surface glows, not the source.
Practical step: choose one led product for an area, test it for a week, then expand. LEDs save energy and run cool, so small, measured changes pay off fast.
backyard lighting: Avoid Common Placement and Glare Errors
Small shifts in aim make a huge difference to how a wall or tree reads at night. Aim for texture, not spotlighted hardware. When fixtures tuck away, the surface — bark, brick, or gravel — is what draws the eye.
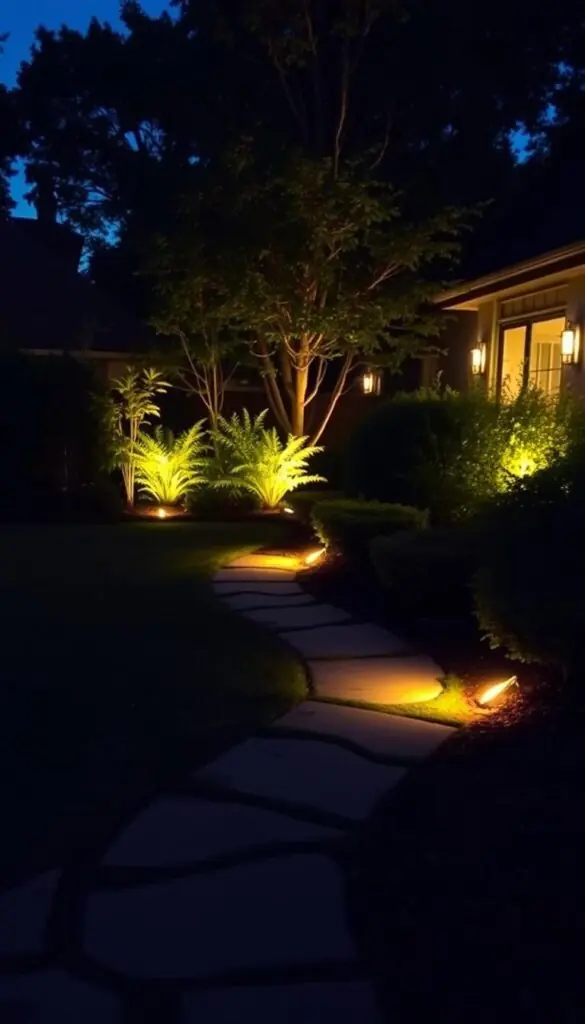
Angle beams to graze, not blind
Do this: aim lights so beams skim a wall and reveal texture. Use knuckle or yoke mounts for precise tweaks; tiny turns change the whole scene.
Not that: pointing at eye level creates harsh glare and ruins the calm glow you want.
Stagger paths and test at dusk
Stagger path fixtures left and right to avoid a runway effect. Keep fixtures a bit back from the ground edge so mowers and feet stay safe.
- Shield the source with full or semi cutoff optics so the product disappears and the surface shines.
- Keep string accents above eye level for a soft sparkle without hotspots.
- Test placements at dusk with stakes; nudge aim until the light kisses the surface.
- If one spot still feels bright, step down lumen output or choose a narrower beam option.
Respect the Night Sky: DarkSky-Friendly Choices
A few small choices let you enjoy the stars and keep neighbors happy. Aim for gentle pools of light rather than bright spread. Friendly, shielded fixtures do most of the work for you.
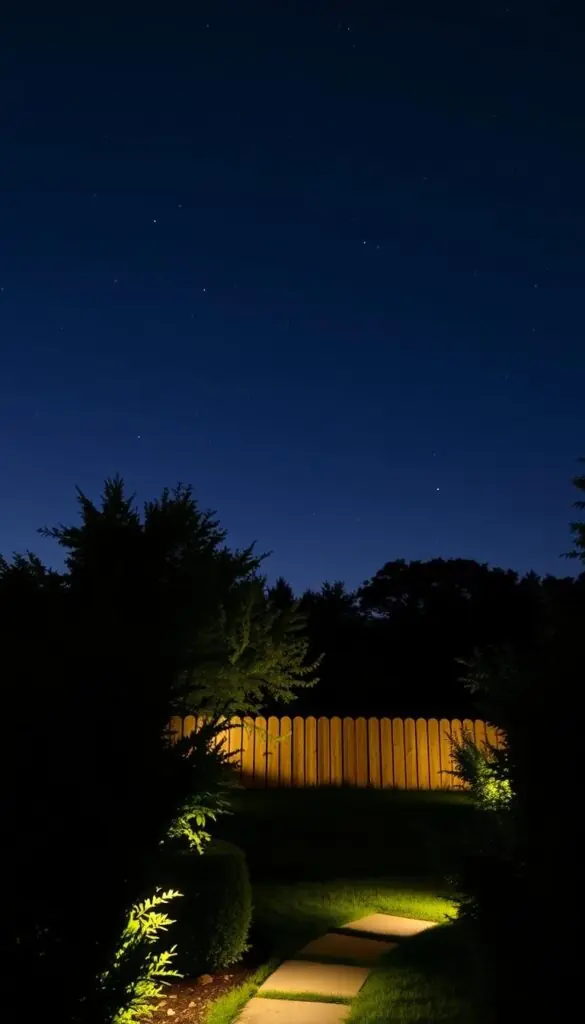
Full cutoff vs. semi cutoff: why shielded beams matter
Full cutoff fixtures block uplight and send useful illumination down where you want it. That reduces glare and prevents light from washing into the sky.
Semi cutoff is a solid upgrade from open floods. It cuts stray glare, improves comfort, and is easier on neighbors and pollinators.
Aim downlight to reduce light trespass
Aim downlights toward paths, plant beds, and the wall faces you want to show. Keep tree uplights tight to trunks and use narrow beams so less light escapes upward.
- Choose full cutoff fixtures when you can; they shield the source and focus the light.
- Add shields or louvers on wall fixtures where sightlines face seating.
- Use warmer CCTs and LED products at night to reduce blue-rich scatter.
- Set timers so lights rest after midnight; wildlife and pollinators benefit.
- Pick product listings that mention cutoff optics and wet-location testing.
When in doubt, dim gently. Soft, contained pools highlight texture without overpowering the dark. You’ll see more stars and enjoy calmer, friendlier outdoor evenings with these mindful options.
Durability Matters: Wet-Rated and Weather-Ready Gear
Pick fixtures that shrug off rain and salt, and your evenings stay calm no matter the season.
Start by checking for a Wet Location label and IP ratings. IP65 resists dust and heavy spray; IP66 adds stronger jet protection for windy storms or sprinkler spray.
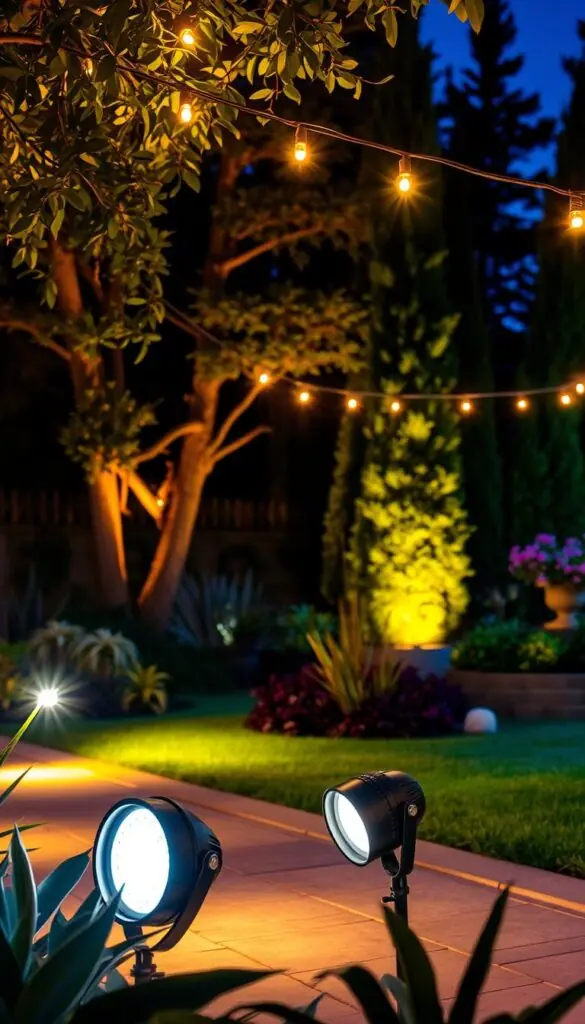
Choose weather-ready details
Weather+ designs resist salt spray and UV fade, so finishes last near the coast. Thicker glass and no-sag housings keep form and function steady through heat and freeze cycles.
- Check gaskets and seals in photos—tight seams mean fewer leaks.
- Pick powder-coated or black brass finishes that age gracefully in plantings.
- Mount wall fixtures with solid backplates and a dab of outdoor sealant to block moisture.
| Feature | Why it matters | What to look for |
|---|---|---|
| IP Rating | Protects from dust and water | IP65 for spray; IP66 for stronger jet protection |
| Materials | Resists corrosion and UV | Powder coat, black brass, Weather+ finish |
| Lens & build | Prevents breakage and sag | Thick glass, sturdy housing, secure gaskets |
| Certifications | Reliability and warranty | Look for UL/ETL, DLC listings and solid warranties |
Keep maintenance simple: wipe lenses each season, snug screws after storms, and favor led products with clear warranties. A few thoughtful choices now make your outdoor space feel cared-for for years.
Voltage, Transformers, and Safe Low-Voltage Installs
A tidy low-voltage plan keeps your installation simple and your evenings peaceful. Low-voltage systems (usually 12V) are built for easy installs and safe daily use. Quality transformers give steady power and longer life.
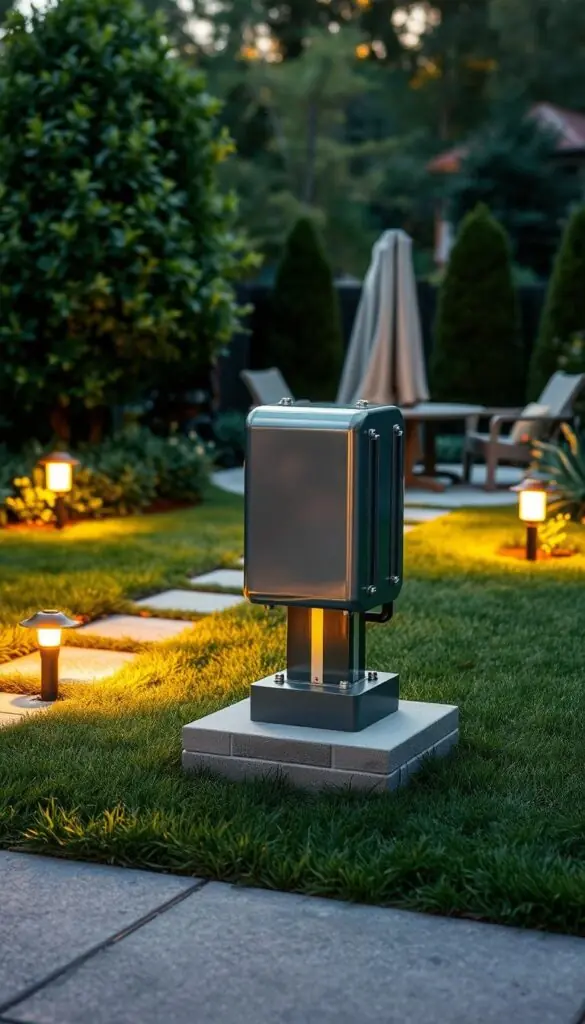
- Add up fixture wattages from each product label so you know the total load.
- Choose a transformer with 20–30% headroom so it runs cool and lasts longer.
- Run direct-burial cable along bed edges, tucking it a few inches under mulch to hide and protect it.
- Split big runs across multiple taps if your transformer supports it to keep brightness even.
Why 12V systems are homeowner-friendly
12V systems are safer around kids, pets, and damp soil. Most homeowners can install them with basic tools and the right product choices.
"Place the transformer near a GFCI outlet and mount it above grade to avoid splash zones."
Practical tips: pick clearly labeled connectors and simple options to reduce troubleshooting. Test every light at dusk before final burial and leave a little slack behind shrubs for future tweaks.
- If you want extra confidence, ask dealer service or a lighting specialist for a quick sanity check.
- With a tidy plan and the right products, install day can feel like a satisfying Saturday project.
Buyers Love Kits: When to Choose Easy-Install Packages
If you want a fast, tidy install that still looks pro, kits are a smart route. Kits bundle matched fixtures, cable, and a transformer so you avoid mixing products and finishes.
Who they fit: a front path, a small patio, or entry steps are perfect for a single-box solution. Many kits install in 1–2 hours with basic tools: a shovel, wire cutters, and a screwdriver.
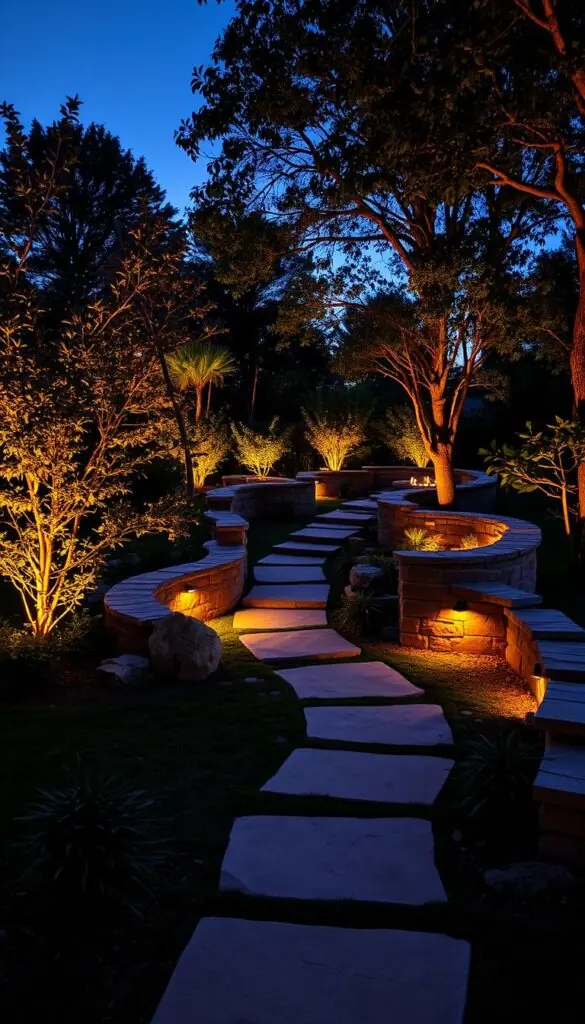
Landscape lighting kits you can install in 1–2 hours
Most easy-install LED kits include fixtures, cable, connectors, and clear instructions. Bundled pricing often beats buying pieces separately.
Smart landscape lighting kits for app control
Smart kits add app control so you can set schedules, scenes, and gentle color for holidays from your phone.
"One small kit can turn a Saturday morning into a polished entryway without stress."
- Pick kits for matched finishes like black brass that blend into planting.
- Look for expansion ports and spare cable if you plan to add a few accents later.
- Pair a small string accent over a bistro table with path pieces for balance.
| Use Case | Typical Kit Includes | Why Choose It |
|---|---|---|
| Front path | 4 path lights, transformer, 25 ft cable | Quick install, consistent beam and color |
| Small patio | 2 wall/step lights, transformer, connectors | Soft pools for seating and safe steps |
| Entry steps + accents | 3 stake lights, 1 accent, smart controller | App control and gentle scenes for gatherings |
Fixture Styles That Elevate Curb Appeal
Small choices in finish and glass change how your entry reads from the street. Pick forms that feel intentional so the house looks cared for day and night.
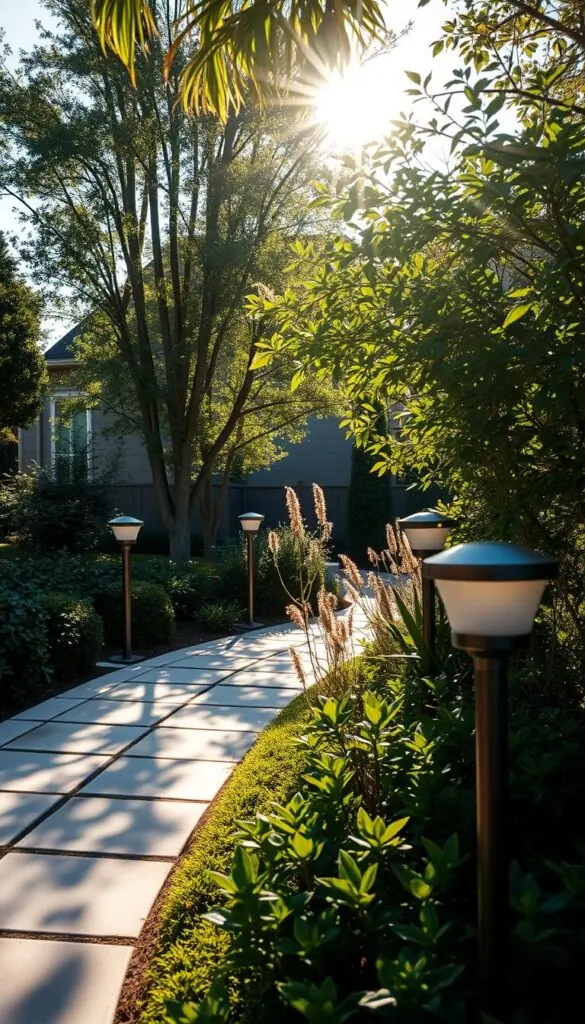
On-trend black brass finishes that blend into greenery
Black brass feels modern and calm. It sits quietly against boxwood and brick by day. At night, the metal fades back so the glow takes center stage.
Seeded and hammered glass for a soft, sparkling glow
Seeded or hammered glass scatters light and hides the bulb. This creates a gentle sparkle near an entry or patio door. Choose thicker glass and sturdy arms to avoid sag over time.
- Pick wall pieces a size up for tall facades; larger scales read better from the street.
- Match metal tones to door hardware for a cohesive design.
- Coordinate wall, post, and hanging fixtures for a unified look.
- Use LED sources inside decorative forms to save energy and cut maintenance.
- If unsure on scale, ask a local dealer to mock up options before you buy.
| Feature | Why it helps curb appeal | What to check in a product |
|---|---|---|
| Finish | Blends with plants and trim | Black brass, powder coat, matching tones |
| Glass style | Softens the source, adds sparkle | Seeded or hammered, thicker panes |
| Scale | Reads well from the street | Height, projection, backplate size |
String Lights Done Right on Patios and Pergolas
A single well-placed string of lights can make your pergola feel like a cozy, amber-warmed room. Start by mapping spans with a tape measure so curves drape gently, not sag.
Choose warm-white LED bulbs for dinner glow and add one soft color accent for parties. Pick product options with replaceable bulbs and Weather+ builds for durability in harsh seasons.
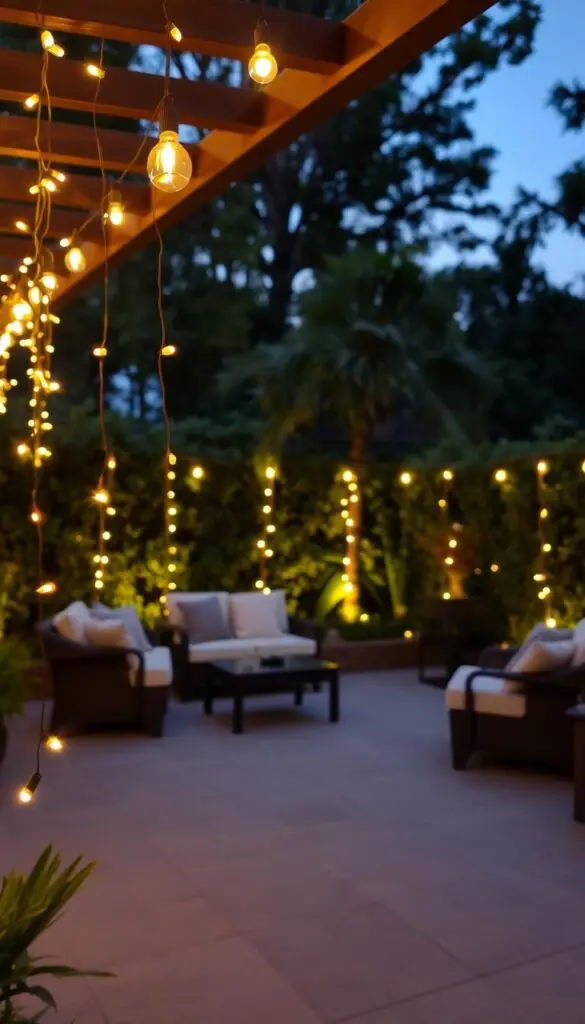
Anchor into studs or solid posts, not just siding. Use outdoor-rated coated wire and rated anchors on a wall or beam so attachments hold through wind and rain.
Keep runs above head height and away from walkways so guests move freely. Dim gently after meals; a softer light keeps conversations comfortable and pairs well with candles.
- Map spans and aim for relaxed catenary curves.
- Secure hanging points with rated hardware into structure.
- Test one temporary run at dusk before committing to a full layout.
- Combine a bistro run over the table with a small path accent for layered effects.
"One or two well-planned spans create more magic than a web of wires."
Hardscape and Step Lighting for Safety and Drama
Well-placed hardscape fixtures can turn stone and steps into welcoming guides at dusk. Integrated 12V LED hardscape fixtures mount under caps and along treads to give a smooth wash that reads like a ribbon of light. They work well on retaining walls, grill islands, and slate steps where even illumination matters for both safety and style.
Integrated LED hardscape fixtures for walls and outdoor kitchens
Mark caps and test at dusk: mark cap stones and step edges with tape or chalk first. Install one fixture and test beam edges so light lands on treads, not into guests’ eyes.
For an outdoor kitchen, run slim under-cap products near prep counters so you see work surfaces without glare. Space lights evenly—often 4–6 feet apart—and adjust for darker stone that soaks up glow.
- Tuck integrated LED hardscape fixtures under wall caps to wash stone faces evenly—no hot spots, just a soft ribbon of light.
- Hide wires in mortar joints or behind caps; neat runs make maintenance simple.
- Choose products with slim profiles and matching finishes so fixtures visually disappear by day.
- Use warmer tones on natural stone to bring out honey and sand hues; cooler tones can flatten color.
- For patios near seating, add a dimmer to ease brightness after dinner.
Practical tip: long-life LEDs are standard here—plan on sealed products rather than replaceable bulbs and keep vents clear for durability. Combine a few step markers with a low wall wash for a safe, elegant path home.
Smart Controls, Timers, and Dimmers You’ll Actually Use
A few smart controls make evenings effortless — no tech skills required. Start small: add one plug-in module or a transformer tap so you can turn lights on from your phone before guests arrive.
Control from anywhere with apps and voice. Many smart products pair with apps like Kichler Connects so you can set scenes or flip a zone on while you’re out. Pair with a voice assistant for hands-free comfort at the patio door.
Set schedules for dusk-to-dawn simplicity
Create a dusk-to-dawn schedule and a “Late Night” scene that dims after bedtime. Vacation mode randomizes a few zones to make the house look lived-in while you’re away.
- Try one zone first — path or patio — then expand as you like.
- Check product listings for app compatibility, outdoor rating, and clear pricing before you buy.
- If setup snags, lean on customer service or a local dealer for a quick walkthrough.
- Gentle scenes — path soft, patio medium, accents low — keep evenings calm and layered.
"A few automations save energy and make your nightly routine effortless."
Energy, Efficiency, and Long-Term Savings
A few simple habits—right lumen choices, timers, and durable fixtures—add up to real savings. Start with efficient LEDs that offer 3000K–5000K options and high efficacy. These units cut energy while lasting years, so you climb fewer ladders to change bulbs.
- Replace old halogens first — they run hot and cost more to operate than modern bulbs.
- Pick the right lumen level, not the brightest default; focused beams use fewer watts and look cleaner.
- Use dusk-to-midnight schedules or smart dimming so zones run only when needed.
- Choose durable product options rated for wet areas so you replace fewer pieces over time.
Check transformer sizing so gear runs efficiently. Combine a warm patio scene with low path levels for comfort and savings. Keep lenses clean each season — a quick wipe often makes fixtures feel brighter without added energy.
"Small choices add up: energy saved, fewer replacements, and calmer, more beautiful outdoor evenings."
Budgeting, Pricing, Shipping, and Service Considerations
Knowing lead times and bundle savings keeps surprises off your weekend to-do list.
Start by setting a simple zone budget for patio, path, and entry. This helps you compare pricing clearly and avoid impulse buys.
Bundle pricing often wins. Easy-install kits usually include matched products, a transformer, and cable at a lower total price than buying pieces individually.
- When you buy piecemeal, line up each product: fixture, mount, transformer, connectors—one missing item can delay the whole plan.
- Check shipping timelines before a big weekend; aim to have everything on site by Thursday so you can test at dusk.
- If you prefer to shop locally, a dealer can confirm sizes for wall placements and suggest in-stock alternatives.
Think beyond purchase price. Durable finishes and wet-rated builds raise upfront pricing but cut replacement costs later.
Prioritize must-haves first: safe steps and entries, then decorative extras. Keep return windows and delivery dates in mind so you can swap quickly if a product doesn’t fit. A little planning around pricing and shipping means a smooth install and faster, happier evenings outside.
Seasonal Tune-Ups and Quick Fixes
Little tune-ups each season save you time and keep your space feeling cared for. A few calm checks in spring and fall keep products working and your evenings peaceful.
- Each spring, wipe lenses with a soft cloth; clear glass boosts output without changing settings.
- After pruning, re-aim accents so beams kiss trunks and walls again—plants move, so light should too.
- Check connectors and stakes; snug any loose product parts to keep runs tidy and safe.
- Replace tired bulbs in decorative pieces and match color so scenes stay consistent.
Sweep leaves from step lights and hardscape runs so edges stay crisp and safe. As days shorten, nudge schedules earlier; in summer, you can dim later for stargazing.
Refresh string runs before gatherings—tighten spans and verify anchors. At night, scan the space; if a spot glares, add a small shield or tilt the head down a touch.
Pro tip: keep a small spares box with extra stakes, a few connectors, and a backup lamp for quick fixes. Weather-ready systems (IP65/IP66) help, but regular care keeps everything performing at its best.
Conclusion
A small plan, paired with the right fixtures, turns night into a warm, calm place to gather. Choose DarkSky-friendly optics, IP65/IP66-rated product, and a simple dusk schedule to keep the sky and your neighbors happy.
With purpose, your backyard has cozy patio zones, gentle path guidance, and accents that celebrate texture. Durable product picks and smart controls mean less fiddling and more evenings outside.
Start small: a landscape lighting kit for the front path and one string accent will give a quick win. When you shop, bring zone notes and measurements so choices fit the first time.
Enjoy soft glows on leaves, safe steps, and easy nights in the spaces you love. Here’s to simple evenings — warm light, good company, and a garden that feels like home.
FAQ
What are the most common mistakes people make when planning outdoor lighting?
Skipping a simple plan is the top error. Without mapping zones for patios, paths, walls, and trees you’ll buy mismatched fixtures and create glare or dark patches. Other frequent mistakes: over-lighting with high color temperature bulbs, aiming fixtures without shields, and neglecting wet-rated gear for exposed areas.
How do I sketch a lighting plan for my patio and garden before buying fixtures?
Walk the space at dusk with a tape measure and stakes. Mark zones for seating, walkways, and focal plants. Note power source locations and obstacles. A basic sketch helps you choose appropriate fixtures—string lights for seating, low-voltage path lights for walkways, and spot or wall lights for vertical accents.
Which fixtures work best for patios, paths, and driveways?
For patios and seating areas, consider hanging lights, string bulbs, and wall-mounted luminaires that create cozy pools of light. Paths and beds do well with low-voltage landscape lights or hardscape insets. Driveways and facades need higher-output options like flood lights, wall packs, or post lights for safe visibility.
What LED specs should I focus on when choosing outdoor bulbs?
Look at color temperature and lumens. Aim for about 3000K for warm, inviting areas and 4000–5000K where clarity is needed. Match lumens to the task—more lumens for driveways, fewer for intimate seating. Consider RGBW if you want seasonal color without swapping bulbs.
How can I reduce glare and avoid blinding guests or neighbors?
Angle beams to graze surfaces instead of pointing at eye level. Use knuckle and yoke mounts to control aim. Opt for shielded or full-cutoff fixtures and stagger path lights to break up uniform, runway-like brightness.
What does DarkSky-friendly lighting mean and why should I care?
DarkSky-friendly lighting minimizes light pollution by directing light downward and using shielded fixtures. Choose full-cutoff or semi-cutoff fixtures and aim lights down to reduce light trespass, protect nocturnal wildlife, and preserve star visibility.
How do I choose weather-ready fixtures that last?
Check IP ratings—IP65 and IP66 are common for resistance to rain, dust, and salt spray. Look for robust materials, thick glass, and weather+ designs that handle freeze-thaw cycles and backyard wear. Wet-rated fixtures are essential for exposed locations.
Why pick a low-voltage (12V) system and how do I size the transformer?
Twelve-volt systems are safer and DIY-friendly. To size the transformer, add the wattage of every fixture you'll run at once and choose a transformer with at least 20% extra capacity. That avoids overloads and gives headroom for future additions.
When should I buy a lighting kit instead of individual fixtures?
Choose a kit if you want a simple, coordinated install—many landscape lighting kits are set up in 1–2 hours and include matched fixtures, wiring, and a transformer. Opt for smart kits when you want app control and easy scheduling.
Which fixture styles elevate curb appeal while blending with landscaping?
Classic black or brass finishes tuck into greenery nicely. Seeded and hammered glass add a soft, sparkling glow that looks high-end without shouting. Pick styles that match your home—modern, rustic, or transitional—to boost curb appeal.
How do I use string lights safely and attractively on a patio or pergola?
Hang string bulbs with proper outdoor-rated sockets and secure mounting points. Keep lengths tight enough to avoid sagging and use weatherproof clips or hooks. Choose bulbs with warm color temperature for an inviting atmosphere and protect electrical connections from moisture.
What hardscape lighting options improve safety around steps and walls?
Integrated LED step lights, recessed wall fixtures, and soft-wash insets work well. Place step lights low on risers or under treads for even illumination. Use warm color temps to avoid harsh contrasts that can hide trip hazards.
Are smart controls worth it for outdoor setups?
Yes—smart timers, dimmers, and app controls make dusk-to-dawn schedules simple and let you control scenes from anywhere. They add convenience and energy savings, especially when paired with motion sensors for security lighting.
How much can I expect to save by switching to efficient LEDs?
LEDs use far less energy than traditional bulbs and last longer, lowering replacement and operating costs. Savings vary with usage and fixture count, but most homeowners see noticeable reductions in their lighting energy bills within the first year.
What should I consider for budgeting, shipping, and service when buying lights?
Compare bundle pricing on kits versus buying piecemeal products. Factor shipping timelines and returns—some places offer local dealer support for faster service. Check warranties and customer service reputation for peace of mind.
How often should I perform seasonal tune-ups on outdoor fixtures?
A quick check each season helps: wipe lenses, tighten mounts, clear debris, and inspect for corrosion or water intrusion. Replace worn gaskets and test transformers and smart controls to keep everything reliable through the year.