You step outside at dusk with a warm mug and notice the maple's rough bark and the gentle curve of the path. That small moment shows exactly where to begin.
Start with one clear focal point—the big tree, the roofline, or the front entry—so your christmas lights feel intentional and the yard reads well from the street.
We’ll walk you through a simple, confidence‑boosting plan: pick that focal spot, test at dusk, and use basic tools like a sturdy ladder, gutter clips, and outdoor‑rated extension cords.
Use warm white along pathways for a cozy welcome, then add a pop of color near the wreath to create a gentle focal glow. LEDs run cooler, cut energy by at least 75% versus old bulbs, and make it easy to leave your lighting on without worry.
Think in layers: outline the roof for structure, wrap one or two trees for depth, and keep connections off the ground for safety. Test as you go and start small this season so your selection grows year after year.
Key Takeaways
- Choose one main area to start so your display feels pulled together.
- Walk the yard at dusk to find natural highlights before you install.
- Gather outdoor‑rated tools: ladder, clips, smart plug, weather cords.
- Use cool‑running LEDs for energy savings and safe, long nights of light.
- Test setups temporarily and layer lighting for depth and balance.
- Build your selection slowly—add a bit each weekend for lasting results.
Shop the Season: A Friendly Guide to Christmas lighting that makes your home shine
Choose a single focal point first; a small move there gives big curb appeal fast. Pick the tree, roofline, or entry and plan one short session to start.
Quick start: choose a focal point (tree, roofline, or entry) for instant curb appeal
One small, deliberate step makes the rest easier. Wrap a front yard tree or trace the roofline and you’ll see clear results in an evening.
- Start with one focal point to get fast results: wrap a tree, trace the roof, or frame the entry.
- Pick options that match your schedule — an hour to wrap a small tree or an afternoon for a single-story roofline.
- Gather a simple kit: gutter clips, an outdoor timer or smart plug, labeled tote, and weather-rated cords.
- Read reviews from other customers to choose strands that are bright and easy to install.
"Modern LED string, rope, and neon-style accents give pro-grade results with less hassle."
Tip: Shop with future growth in mind. Choose connectors that match so you can add matching strands next year.
| Type | Best for | Install time |
|---|---|---|
| String lights | Trees, shrubs, porch rails | 30–90 min |
| Rope lights | Railings, curved paths | 45–120 min |
| Pre-lit displays | Statements, wreaths, stand-alone trees | 15–45 min |
Explore LED Christmas lights: energy‑smart sparkle for every space
LEDs change the way your yard glows — brighter, safer, and far more efficient than old bulbs.
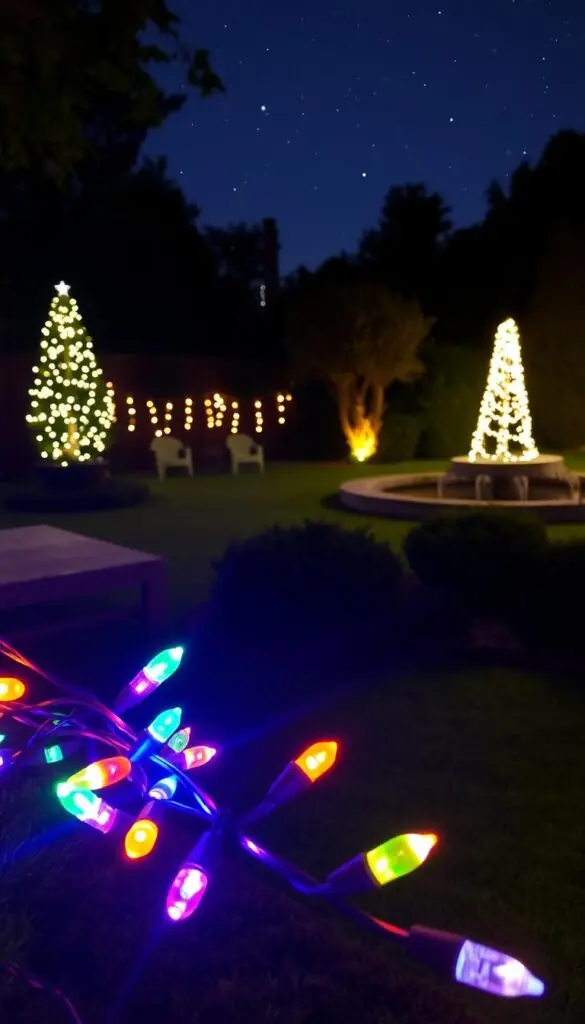
Why LEDs win: They use at least 75% less electricity, run cool, and last for seasons of use. Epoxy lenses resist breaks, and the low power draw lowers the chance of overloading circuits when you connect sets.
Best picks by planting and placement
For a tree, pick strings with even spacing. Wrap the trunk tighter and loosen toward the canopy for a natural sparkle.
For shrubs, weave lights in a zigzag to avoid hot spots. Step back at dusk to adjust coverage.
Railings work best with mini LEDs and clips every 12–18 inches to prevent sagging in wind or frost.
Color and feel at night
Warm white reads like candlelight on cedar, pine, and brick. Cool white shows crisp contrast on stone and white siding. Multicolor adds playful energy near gathering spots.
| Use | Best option | Spacing tip |
|---|---|---|
| Evergreen tree | Warm white LED strings | Tighter on trunk, looser in canopy |
| Shrub beds | Even‑spaced mini LEDs | Zigzag weave to avoid hot spots |
| Railings & banisters | Mini LEDs with clips | Clips every 12–18 in. |
Christmas lightsdecor
Combine simple décor pieces with LED strings to create a cohesive, calm entryway.
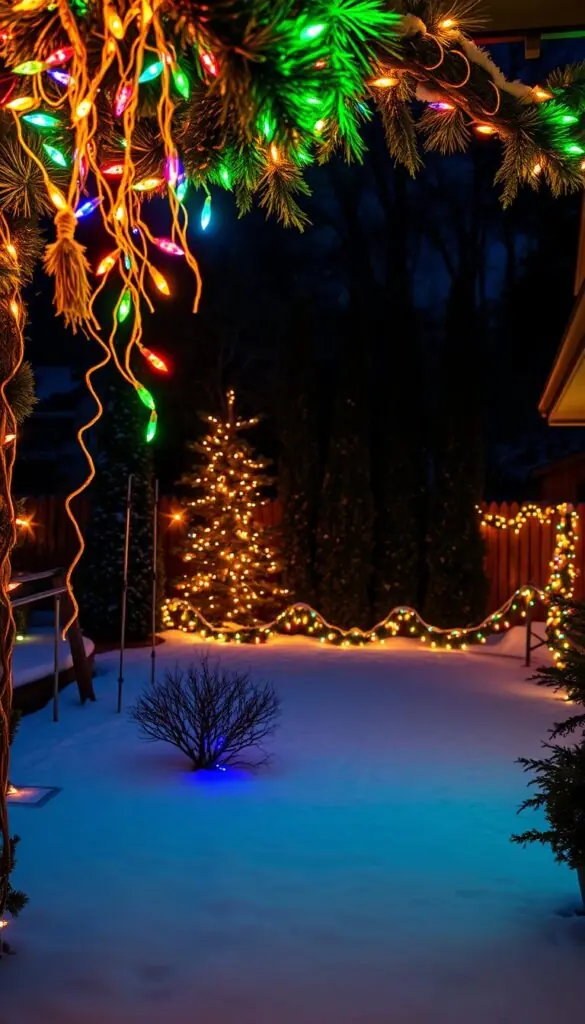
Start by measuring once and testing the look at dusk. Place an evergreen planter, a lit wreath, or a short garland where they balance your doorway. Step back and tweak before you fasten anything.
Use soft, rubber-coated ties to secure strands to garlands and rails. They protect stems and avoid scratching paint. Small ties give a neat finish and are easy to remove in spring.
- Keep color consistent: match warm whites or go bold with a single accent like a deep red ribbon.
- Choose outdoor-rated décor when you shop so pieces resist wind and light snow.
- Tuck cords behind planters or along baseboards to keep walkways tidy and safe.
"LED string lights modernize traditional decorations and can shine for years without burning out."
Finally, plug the scene into a smart outlet so one tap brings the whole entry to life each evening. It’s an easy, energy-smart way to enjoy a polished, welcoming holiday display.
Smart and app‑controlled magic: map, sync, and customize your display
Your smartphone can turn a tree into a moving canvas in minutes. Point the camera, let the app map each LED, and you’ll see every bulb as a pixel ready to paint.
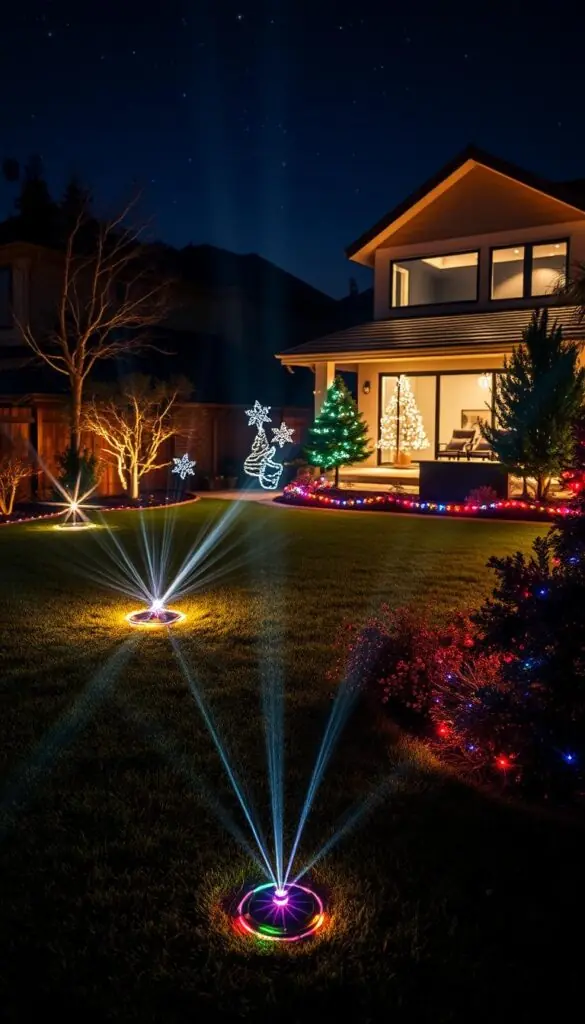
Quick steps: map the tree with your phone, pick a preset, then save a nightly schedule so the scene greets you at dusk without extra time or fuss.
Design presets and custom scenes
Start with candy cane stripes or holiday plaids and tweak the colors to match your door or planters. You can also build your own scenes and save them for easy recall.
Group for big‑yard impact
Group multiple strands so the porch, shrubs, and tree act as one unified display. Grouping gives a tidy, synced result that feels thoughtful and calm from the street.
Sound, sync, and praise
Add a Twinkly Music sensor for sound‑reactive shows; the BPM tracking keeps motion smooth during carols or playlists. Many customers note easy setup, bright output, and Alexa compatibility.
"Mapping turned a jumble of strands into a clean, coordinated display we actually use every night."
- Map in minutes from one vantage point.
- Use multicolor near play areas, slow patterns in quiet spots.
- Save scenes like "Front Tree Warm Mix" to match holiday theme anytime.
Classic rooflines with C9 led lights: crisp lines that define your home
Outline your eaves with C9 bulbs to give your home that classic, defined look.
Professional roofline lighting relies on consistent spacing and the right clips. Measure straight runs and peaks, then pre‑count bulbs so spacing stays even—about one bulb every 12 inches for crisp definition. Start at a GFCI outlet and run in one direction to avoid twisted cords at corners and peaks.
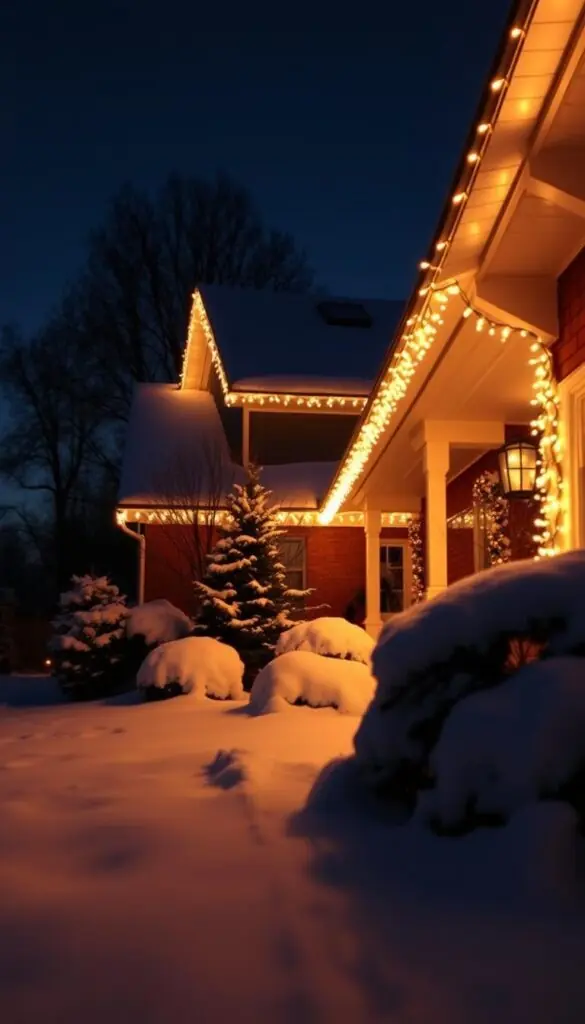
Pro look: spacing, clips, and color choices for clean edges
Choose gutter clips for metal gutters and shingle tabs for asphalt roofs so strands sit straight and secure. Keep bulbs pointed the same way—downward for a soft wash or outward for a marquee feel. Use a sturdy ladder on level ground with a helper and move the ladder often instead of leaning.
Warm glow vs. bold multicolor along gutters and peaks
Warm white flatters brick and wood siding and gives calm, refined results. Bold multicolor suits playful trim or ranch‑style homes and adds energy to simpler facades. Tidy cord management at downspouts—short jumpers and cable clips—keeps the look polished and weather‑ready.
"Tiny tweaks after stepping back from the street make a professional difference."
- Measure runs, pre‑count C9 bulbs for 12" spacing.
- Match clips to roof type: gutter clips or shingle tabs.
- Use a GFCI outlet; run lights one way to avoid twists.
- Keep bulbs aligned and manage cords at downspouts for neat results.
| Task | Recommendation | Why it matters |
|---|---|---|
| Bulb spacing | 1 bulb every 12 in. | Gives crisp, even definition along rooflines |
| Clip type | Gutter clips or shingle tabs | Keeps strands straight and secure in wind |
| Bulb orientation | Downward or outward | Controls wash vs. marquee light effect |
| Safety | Sturdy ladder + helper, GFCI outlet | Prevents falls and electrical hazards |
String light sets for trees and shrubs: full, even coverage without hot spots
A few smart moves make tree wrapping easy, tidy, and spot‑free from the porch to the curb. Start with a clear plan and the right gear so each limb reads as part of the whole.
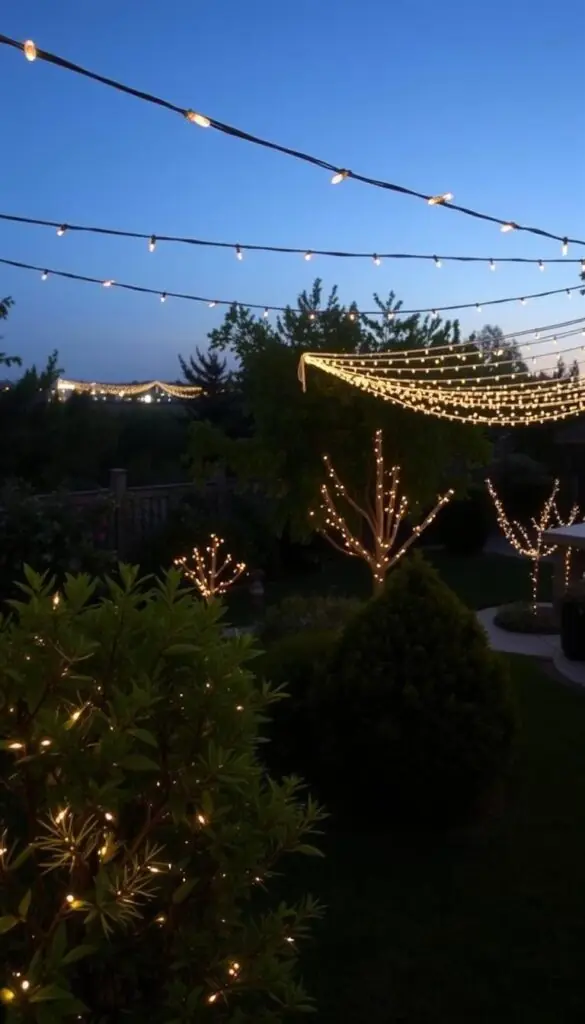
How to wrap a tree like a pro for balanced sparkle
Begin at the base and plug in as you wrap. Lit strands help you see spacing and catch hidden dark spots.
For a medium maple, wrap the trunk tight then widen spacing on main limbs. That gives even sparkle seen from the street and porch.
Use gentle branch clips or soft ties so you don’t pinch bark or new buds. Mark the plug end with tape for easier teardown.
Dense vs. delicate looks for different tree sizes
Spruce and pine benefit from a denser canopy wrap—needles scatter light nicely. Birch looks great with a clean trunk spiral to show off white bark.
- Small ornamentals: wider spacing for an airy, delicate effect.
- Large canopies: break into quadrants and finish each zone before moving up the ladder.
- Choose matching color temperature on sets; mixed whites read patchy under winter skies.
Tip: Rope and string solutions modernize the way you light a yard. Good LED options last for seasons and keep power use low.
Go bold with displays: LED signs, motifs, and 3‑D inflatables
A single, well-placed display can turn a plain lawn into a nightly neighborhood highlight.
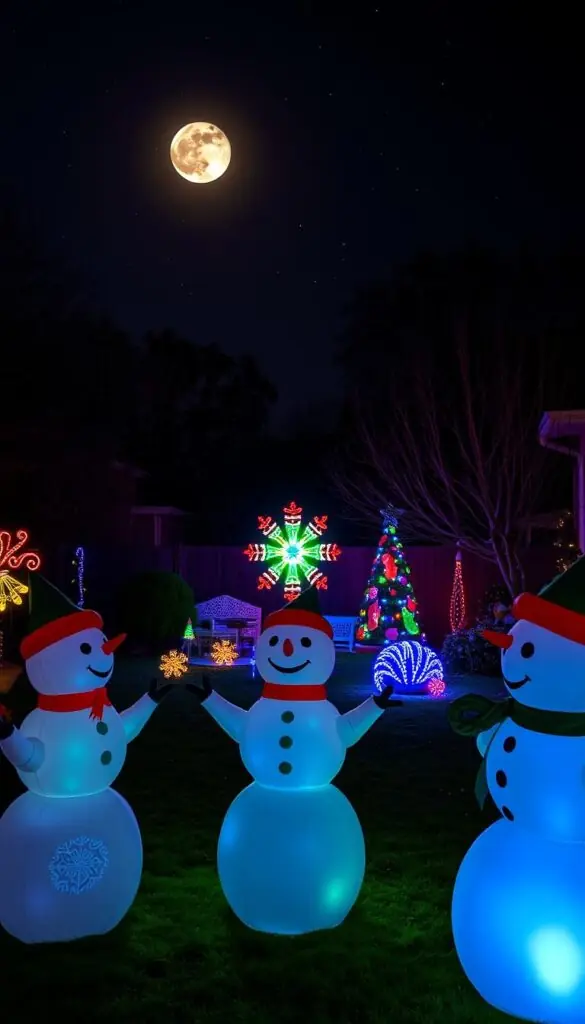
LED rope signs and 3‑D inflatables give big impact with low power draw. These weather-ready pieces handle snow, wind, and repeated use.
From snowflakes and stars to reindeer and Santa: weather-ready choices
Pick one hero display—a snowflake cluster or a reindeer pair—and give it space so the yard doesn’t feel crowded.
Where to place signs for maximum visibility from the street
Place signs where drivers slow: opposite your driveway or centered on a gentle curve. Frame larger pieces with shrubs or an entry vista so they read cleanly by day and night.
- Stake displays with ground stakes and guy lines for gusty weather.
- Tuck cords along edges and use smart plugs to schedule hours and save energy.
- Match colors to nearby siding or brick for a harmonious scene.
- Keep displays back from paths to avoid bumps during busy evenings.
| Type | Best use | Stability tip |
|---|---|---|
| LED rope sign | Messages, snowflakes | Metal stakes + weather clips |
| 3‑D inflatable | Lawn presence | Guy lines + ground anchors |
| Stake lights | Perimeter glow | Low-voltage, buried cords |
"Give one piece room to breathe and the whole display will feel thoughtful and bright."
Rope, strip, and neon‑style lighting: outline paths, railings, and windows
Match your light type to the shape: curves want rope, edges want strip, accents want neon. This simple rule helps you pick the right product fast and keeps the install tidy.
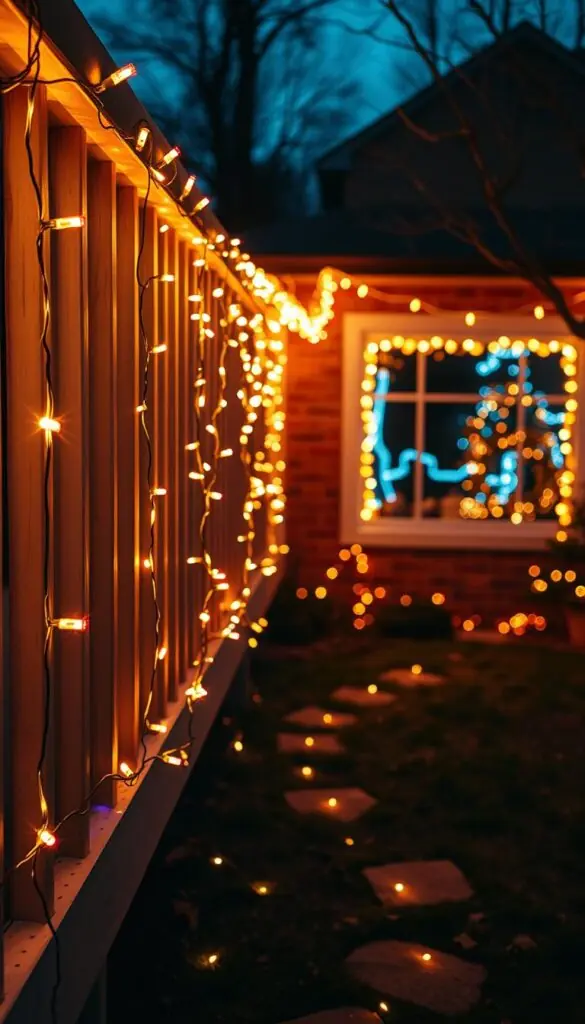
Rope lights for curves and railings
Rope lights bend smoothly, so use them along railings, mailbox loops, and garden edges. They avoid kinks and keep curves consistent at night.
Clip every 12–18 inches to prevent sag. Rope is also great for window sills and low posts where you want a soft, even glow.
Strip lights for sleek, modern lines
Use LED strip lights under steps or along window trim for sharp, photo‑ready edges. Measure twice so corners meet neatly and you don’t end up with extra slack.
Strip runs read as clean, architectural lines and pair well with darker siding or minimalist porches.
Neon‑style accents for playful statements
Neon‑style LED accents add a bold splash around a wreath or porch sign. They install in one continuous line and make a fun focal point without heavy power use.
Durability tip: Use weather‑rated connectors and heat‑shrink tubes at joins to keep moisture out. Label each run when you pack it up so next season is quick.
- Use rope along gentle curves; strip for straight edges.
- Clip railings every 12–18 in.; measure windows carefully.
- Keep brightness modest near neighbors; add a dimmer if needed.
- Mix styles—strip on the house, rope on paths—for clear, layered displays.
| Type | Best use | Mounting tip |
|---|---|---|
| Rope lights | Railings, garden curves, mailboxes | Clips every 12–18 in.; gentle bends only |
| Strip lights | Steps, window trim, under eaves | Measure twice; use adhesive + clips for corners |
| Neon‑style | Accents, signs, wreath outlines | One continuous run; weather‑rated connectors |
"Small connectors and tidy clips make a big difference in durability."
Commercial Christmas trees and statement pieces for high‑traffic areas
A single, well-placed commercial tree can anchor a busy courtyard and draw evening crowds. The Majestic Mountain Pine is built for that day-to-night impact and is the #1 selling commercial tree worldwide.
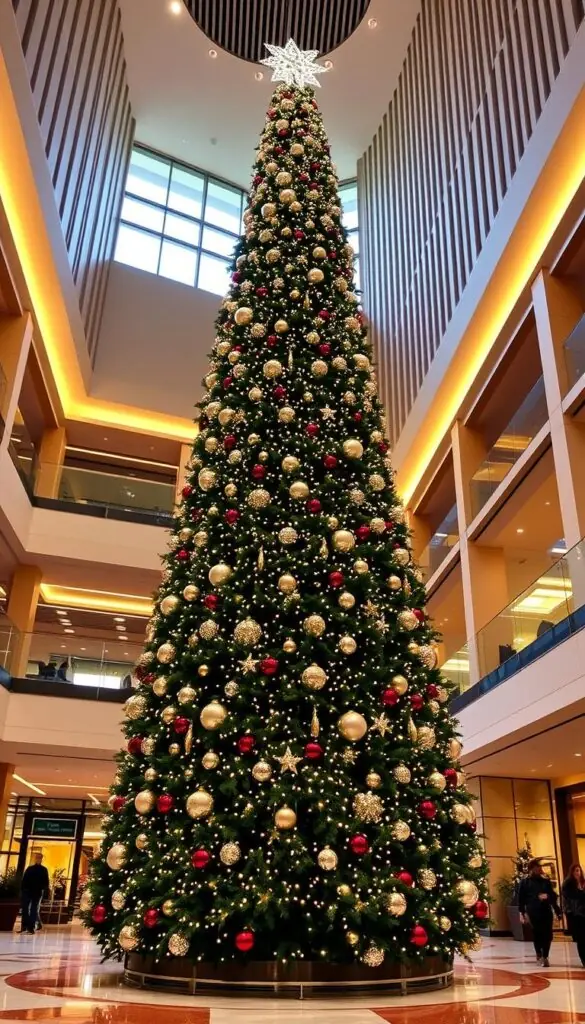
Placement matters: set large trees where sightlines are open from both the street and sidewalk. A 10–20 foot setback often frames the display so drivers and pedestrians see it clearly.
Majestic Mountain Pine: day‑to‑night impact
Durability and performance matter in busy locations. Anchor with rated ground plates and guy lines, especially in exposed spots where winter gusts are common. Choose commercial‑grade products for consistent brightness and long season use.
- Balance daytime fullness with brilliant night sparkle; this tree reads well both ways.
- Add low perimeter shrubs lit in warm white to lift the eye without cluttering the view.
- Set timers so the display comes on at dusk and dims later to be neighborly.
- Provide a safe viewing path with subtle stake lights so customers enjoy photos and linger.
- Store components in labeled bins by crown, mid, and base for faster setup next year.
"Professional suppliers build products for long holiday hours and thousands of satisfied customers."
Color stories you’ll love: warm white, cool white, and multicolor mixes
Let the textures of brick, stone, and foliage guide how you mix warm and cool tones. A small, deliberate palette makes your whole yard feel unified and calm.
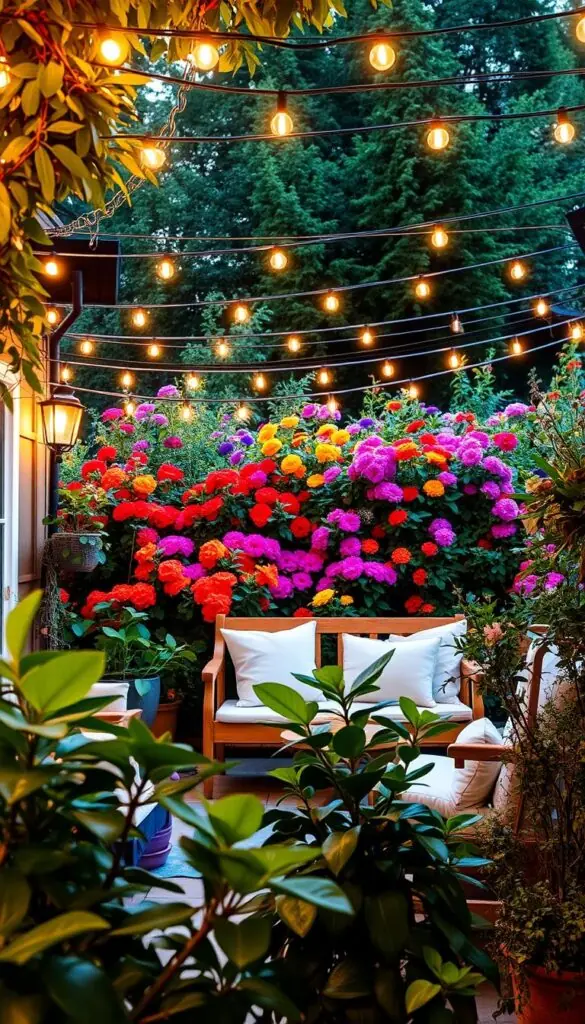
Match your holiday theme: calm and cozy vs. bright and festive
Pick a theme first—calm and cozy or bright and festive—then choose two colors to keep the look harmonious. Modern LED color rendering gives truer whites and richer hues, so matching is easier than ever.
Layering colors for depth: trunks, canopies, and eaves
Warm white on trunks with cool white in canopies adds dimension and a candlelit feel beneath branches. For a lively feel, add a subtle multicolor canopy over warm eaves so the house stays grounded while the yard dances.
- Repeat your color story on the porch—wreath, rail, and lanterns—for a tied-together entry.
- Test near materials: brick warms under amber tones; stone and snow sparkle under cool white.
- Add one accent (soft red on a small tree) to echo ribbons without overwhelming the scene.
- Label reels with temperature (Warm 2700K, Cool 4000K) and save scenes in your app for easy return.
"Two or three coordinated tones give the clearest, most elegant result."
Quality and safety that last all season
A little planning up front keeps your display safe and looking great all season.
Choose quality gear—cool-running LED strings with epoxy lenses reduce breakage and lower fire risk. LEDs use far less energy than old bulbs, so they run cooler and cut the chance of overloaded outlets.
Cool-running LEDs and durable lenses
Why it matters: LED and leds technology cuts heat and saves power. Epoxy lenses shrug off bumps from ladders and branches, which helps your display last through the season.
A simple plan to avoid overloads
Map each run to a GFCI outlet and add wattage to keep the draw well under the breaker rating. Respect connector limits printed on tags—if a strand says “connect up to 20,” stop there.
- Use GFCI outlets and keep plugs off the ground with clips or a brick.
- Create drip loops at every plug so water runs away from sockets.
- Test each run for 10–15 minutes before you secure clips to save time later.
- Coil extra cord and stake it; tidy cords make maintenance easier.
"If a section goes out, check the first connection in that chain—it's often the simple fix."
| Practice | Why | Quick tip |
|---|---|---|
| GFCI use | Protects against shock in wet conditions | Plug into outdoor GFCI or use a protected smart outlet |
| Count wattage | Prevents overloaded circuits | Add strand wattages and stay 20% below breaker |
| Drip loops | Keeps moisture away from plugs | Make a loop beneath each connection |
| Durable bulbs | Less breakage, longer life | Choose LED sets with epoxy lenses |
Installation and electrical supplies: clips, timers, and smart plugs that save time
A quick prep session—measure, label, and choose weather‑rated cords—saves hours later. Start with a short diagram of runs and mark outlets so you know where each circuit begins.
Weather‑resistant extension cords and cord management
Match cord amperage to the load and use outdoor‑rated, weather‑resistant extension cords for every run. Keep connections elevated and make drip loops so water runs away from plugs.
Route cords along borders and under shrubs, secured with stakes. Coil and label each cord by zone—“Roofline West,” “Maple”—to speed troubleshooting and next‑year setup.
Timers, smart plugs, and simple habits
A smart plug or timer set to dusk makes nightly lighting effortless. Set schedules once and enjoy the whole holiday without hunting for switches.
- Choose clips that match your surface—gutter, shingle, or brick—to protect finishes and keep lines straight.
- Keep a small tote with spare clips, fuses, and zip ties so fixes take minutes.
- Before you purchase, count runs and order matching connectors from one website to ensure compatibility.
"Test sets indoors first so you avoid cold‑weather surprises on the ladder."
Pro‑level tips for stunning results on homes and businesses
Pro installers lean on a few steady habits to turn a good plan into consistent, polished results. Use simple prep and the right parts so your lighting reads clean from the street.
Consistent spacing and symmetry for clean lines
Measure once and mark anchor points with painter’s tape so spacing stays even around corners and peaks. Consistent spacing gives crisp results whether you outline a roof or a storefront.
Balancing brightness across yard, roof, and trees
Keep the roofline medium, the main tree brighter, and shrubs softer. That balance guides the eye across your spaces and lets a hero display stand out without glare.
Design once, enjoy for years: modular setups and easy upgrades
Choose modular options—matching connectors, the same color temperature, and standardized clip styles—so additions fit without fuss. Photograph your layout and save notes; next year becomes a quick, satisfying repeat.
- Mark starting points with tape for even runs.
- Dim adjacent runs so the hero piece shines.
- Build one free outlet near the porch for last‑minute touches.
"Small, repeatable habits make pro results easy to recreate season after season."
Care and storage after the holidays: keep your lights bright for next year
Packing up needn't be a chore; a few steady steps protect your gear and your time. Take a calm hour after the last evening to dry, sort, and store. A little care now stretches the life of every strand.
Coiling, labeling, and reels that save hours
Unplug and wipe strands dry before you pack them. Moisture left on plugs can corrode connectors during the off‑season.
- Coil each set on a storage reel or a cardboard slab so you avoid tangles and knots.
- Leave connectors accessible and protect plugs in small zip‑top bags or caps.
- Label bins by zone—“Front Eaves,” “Spruce Tree”—and note color temperature for easy matching next year.
- Store totes on a cool, dry shelf rather than the floor to keep winter damp away.
LED strands can last decades when stored gently. Epoxy lenses and cool running operation help product quality hold up across seasons.
"Pack with purpose now and teardown becomes a quick, simple start next holiday."
Repair or retire any damaged item before you file it away. Add a checklist inside the bin so you know what to restock in fall. A final photo of the lit display makes reinstallation fast and faithful to your plan.
Shop by space: front yard, porch, pathways, and trees
A clear, space-based checklist helps you buy just the right pieces for your porch or lawn. This keeps your purchase focused and prevents clutter while giving real impact.
Quick picks for small, medium, and large yards
Small porch: Warm white around the door, a mini wreath, and one shrub strand. It’s cozy, fast to install, and perfect for weeknights.
Medium yard: Outline the roofline, wrap one feature tree, and add gentle path markers so guests arrive safely. Use a smart plug on the porch outlet to control multiple items at once.
Large yard: Roofline plus two trees, a modest sign or motif near the entry, and dimmer-controlled shrubs for balance. Pick products that match previous strands for consistent connectors and color temperature.
- For pathways: choose low-glare stakes set 3–4 feet apart for a soft, safe glow.
- Always check boxes for outdoor use so items stand up to rain, frost, and wind.
- Read what customers say about brightness and durability for your climate before you hit purchase.
| Yard size | Core selection | Quick install tip |
|---|---|---|
| Small | Door warm white, mini wreath, 1 shrub strand | Use one smart plug; label channel |
| Medium | Roofline outline, 1 feature tree, path markers | Match strand connectors; test at dusk |
| Large | Roofline + 2 trees, sign/motif, dimmable shrubs | Group circuits and use dimmer control |
"Shop by space and buy what fits the area — that keeps your home cohesive and enjoyable."
Warm, bright, and ready: choose the right styles and bulbs for your home
Start by deciding whether you want delicate shimmering or bold, classic outlines—that choice guides every product pick.
Mini strands give fine sparkle on shrubs and railings; C9 bulbs create that strong roofline silhouette. Pick minis for soft depth and C9 for clean architectural edges.
Match finishes and temperatures: clear vs. faceted bulbs change the photo look. Use one color temperature across a zone for harmony, or limit color to two tones for a thoughtful palette.
- Choose led lights with dimming near windows to keep rooms restful.
- Keep connectors consistent — one product family makes expansion easy.
- Test one strand against your siding or brick before you buy the full set.
- Write a short note about what you like so next season is faster.
"When in doubt, start with warm rooflines and add color slowly; it’s a timeless base you can build on."
| Style | Best use | Why it works |
|---|---|---|
| Mini strands | Shrubs, railings, small trees | Delicate sparkle; low power draw |
| C9 bulbs | Rooflines, gutters, bold outlines | Strong definition; classic curb appeal |
| Faceted vs. clear | Photography & street view | Faceted adds shimmer; clear gives even wash |
Conclusion
Finish by savoring the simple glow you made—one quiet evening with a single strand can change the whole yard.
Take it one lit step at a time. Start with the porch, add a roofline this week, then wrap a single tree the next. Small choices build a calm, welcoming scene over the season.
Lean on smart, app‑controlled mapping and durable LED options so your light sets sync, save energy, and stand up to country winters. A gentle multicolor accent by the entry lifts the mood while warm minis on railings keep the rest timeless.
You’ll delight customers, neighbors, and friends with thoughtful displays that feel both simple and polished. Step outside, breathe in the piney air, and enjoy the light you made.
FAQ
What are quick backyard decorating ideas to get instant curb appeal?
Start by choosing a focal point like a large tree, the roofline, or your entry. Anchor with warm white string lights for a cozy base, add a multicolor accent on a secondary tree or shrub, and use a pathway rope light to guide guests. Small layers—uplights, wrapped trunks, and a few well-placed motifs—create a balanced look without a lot of time or tools.
How do I pick the right LED lights for different spaces?
Match the light style to the space: C9 bulbs or rope lights for rooflines and gutters, string light sets for trees and shrubs, and strip or neon‑style LEDs for modern railings and windows. For safety and energy savings, choose LED options with durable casings and check IP ratings for outdoor use.
What are the benefits of LED lighting versus traditional bulbs?
LEDs run cooler, use far less energy, and last much longer. They resist breakage and often have epoxy lenses for weather toughness. That means lower electric bills, safer displays around foliage, and less time replacing bulbs midseason.
Warm white, cool white, or multicolor—which should I use?
Warm white gives a cozy, classic feel. Cool white reads more modern and crisp. Multicolor brings playful festivity. Mix them: use warm white on trees and paths for a serene base, then add multicolor accents on focal points for lively contrast that matches your holiday theme.
How can smart, app‑controlled systems improve my display?
Smart controllers let you map lights, sync patterns, and create presets from your phone. You can paint effects on a tree, group different strands as one unified show, and add music sync for sound‑reactive displays. This makes complex looks feel simple and gives repeatable results year after year.
Are app‑controlled light systems hard to set up?
Most systems walk you through mapping and presets step‑by‑step. Place lights, connect the controller, and use the app to assign zones. Start with built‑in patterns, then tweak colors and timing. Presets like candy cane stripes or sparkling beams get you professional results quickly.
What spacing and hardware create clean roofline looks with C9 bulbs?
Aim for consistent spacing—typically 6 to 12 inches between C9s depending on bulb size and roof pitch. Use roofline clips, gutter hangers, and secure anchors to keep lines straight. Choose a single color or a deliberate pattern to maintain a polished, pro look.
How do I wrap a tree for even coverage without hot spots?
Start at the trunk and spiral outward, keeping equal distance between wraps. For large trees, use several sets with fewer lights per set to avoid overloading a circuit. Fluff branches and step back often to spot gaps and balance density for a full, even sparkle.
What should I consider when placing large outdoor displays or LED signs?
Pick spots visible from the street and away from obstructing foliage. Ensure displays are weather‑rated and anchored against wind. For big yards or commercial setups, place statement pieces like a Majestic Mountain Pine where they create day‑to‑night impact and avoid blocking sightlines.
When should I use rope lights, strip lights, or neon‑style accents?
Use rope lights for curved paths and railings because they bend easily. Strip lights provide sleek, continuous illumination for modern facades and soffits. Neon‑style accents add playful highlights to windows and signage—choose flexible, outdoor‑rated options for longevity.
How do I avoid overloading circuits with multiple light sets?
Check each set’s wattage and the circuit capacity. Spread loads across different circuits and use smart plugs or timers with built‑in surge protection. Never exceed the manufacturer’s connector limits and opt for energy‑efficient LED sets to keep amperage low.
What safety gear and electrical supplies do I need for exterior installs?
Use weather‑resistant extension cords, outdoor timers or smart plugs, and clips designed for gutters and shingles. Keep cords off walkways, tape or secure connections, and use GFCI outlets for outdoor power. Proper cord management reduces trip hazards and wear.
Any pro tips to keep decorations looking great year after year?
Design modular setups so you can reuse and expand them. Keep consistent spacing, balance brightness across yard elements, and label zones. Regularly inspect connectors and replace worn strands before storing to extend life and reduce setup time next season.
How should I store light sets after the season to prevent tangles and damage?
Coil strands neatly on reels or wraps, label each set by zone, and store in a dry container. Remove any burnt bulbs and test sets before packing. Proper storage protects bulbs and connectors and saves time when you decorate again.
What are quick picks for front yards of different sizes?
For small yards, outline the entry and wrap one tree with warm white string lights. For medium yards, add roofline accents and a pathway rope light. For large yards, combine C9 roofline, multi‑zone tree wraps, and a bold LED sign or 3‑D motif for street‑ready impact.
How can I layer colors for depth across trunks, canopies, and eaves?
Use warmer tones at eye level—on trunks and porches—and cooler or multicolor lights higher in canopies for contrast. Keep eaves in a single color or subtle pattern to frame the home. Layering different temperatures creates visual depth and a curated look.