You notice a soggy patch where the sun used to warm your toes, or a pot that smells a little sour after rain. That tiny worry can steal the joy of a sunlit porch or a balcony full of color.
We’ll help you see and feel what healthy growth looks like: crumbly soil that breathes, perky stems after a good rain, and soil that smells earthy instead of rotten.
In plain steps you can use today, you’ll learn how to get water moving so your flowers look lush instead of limp.
You’ll learn quick checks with your hand and a trowel, how to pick planters with the right holes, and why adding perlite or coarse sand helps soil dry evenly.
We’ll show signs to watch for — yellowing leaves, a moldy smell, or brown, mushy roots — and give simple fixes you can do in minutes.
Key Takeaways
- Check moisture by feel and look to spot problems early.
- Choose pots and planters with holes and well-draining mixes.
- Add perlite or coarse sand to improve soil and help water move.
- Watch for yellow leaves or a sour smell as signs of root rot.
- Use raised beds or double potting where yard drainage is poor.
Start Here: A friendly plan to stop root rot and get water moving
Take a few clear steps and your plants will thank you. Start by checking moisture at the bottom of the pot with your finger or a wooden chopstick. If the soil comes up muddy after a day, you need to improve drainage and add more air around the root zone.
One small change first: switch to a planter with a detachable saucer or set existing pots on risers so excess water can clear the bottom. Lift inner pots in double-planter setups after heavy rain to empty any hidden pooling.
Swap compacted mix for fresh potting soil that feels springy and crumbly. Add perlite or coarse grit if you want a fast way to increase drainage and avoid perched water in a single pot.
- Water thoroughly, then let the top inch dry before the next watering.
- Pick one solution this week—add perlite, drill holes, or add an emptyable saucer.
- Keep air moving under pots with risers; this protects decks and speeds drying.
Reassess in two weeks. If plants still droop after watering, consider a larger pot with better holes and adjust your potting approach.
Diagnose Root Rot and Poor Drainage
Start by trusting your senses: sight, smell, and touch tell you if a plant is holding too much water. These quick checks help you decide what to do next without guesswork.
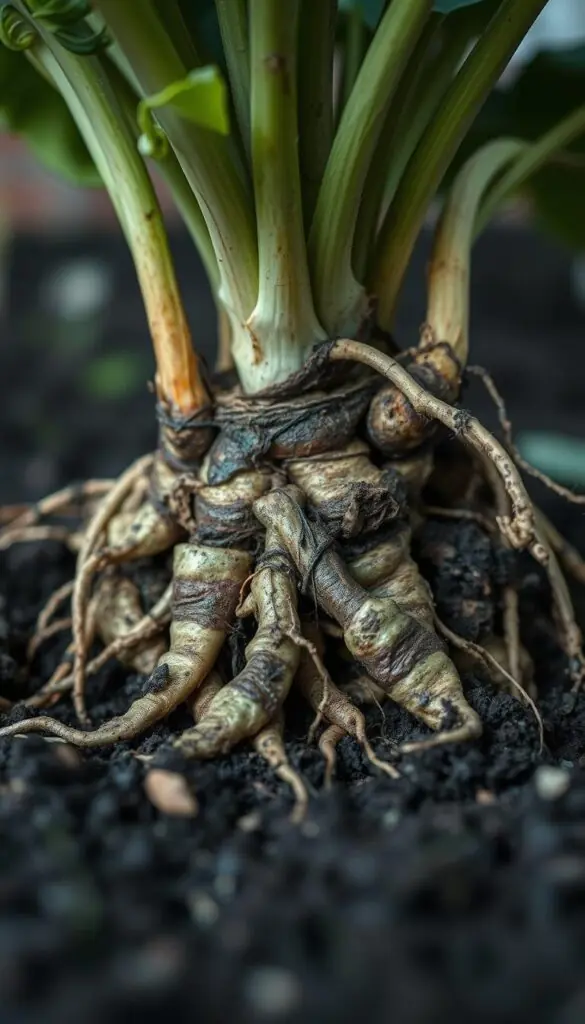
Soggy clues: yellow leaves, moldy smells, and waterlogged soil
Look for soft, yellowing lower leaves and a sour, moldy smell after watering. That is often the first sign that soil stays too wet.
Feel the pot. If it stays heavy and cool days after a soak, excess water is trapped at the bottom and air can’t reach roots.
Root check: brown, mushy roots vs. firm, white roots
Slide the plant gently from the pot and inspect the root ball. Firm, white roots smell earthy and signal health.
Brown, slimy roots and a rotten odor mean root rot. If you see this, trim soft roots and repot into fresh, airy mix.
Container red flags: stagnant water in saucers and planters
Peek under saucers and planters. Stagnant water or a wet line halfway up the pot shows trapped moisture.
Check holes for clogs from old potting mix, fine roots, or a stuck filter. Clear them so water and air can move freely.
Quick steps after a check:
- Set the plant on a towel in bright shade to recover.
- Plan to repot if roots smell rotten or stay soggy.
- Raise pots so air reaches the bottom and water drains out.
| Sign | Likely cause | Immediate action |
|---|---|---|
| Yellow lower leaves, sour smell | Soil too wet; poor drainage | Let top dry, check pot weight, consider fresh mix |
| Brown, mushy roots | root rot | Trim rotten roots, repot into airy potting mix |
| Standing water in saucer | Stagnant water; blocked holes or poor planter design | Empty saucer, clear holes, raise the pot |
flower drainage
A simple balance of wet and air at the root zone keeps petunias and geraniums thriving.
Think of good drainage as giving water a clear path out while leaving just enough in the soil for steady sipping. In porch pots and sunny beds, that balance is what keeps petunias, zinnias, and geraniums lush instead of limp.
Use a light potting mix with perlite, a touch of coarse sand, and a handful of vermiculite for porch pots and hanging baskets. These ingredients speed water movement and help the potting mix dry evenly between soaks.
Choose planters with generous holes or nest a nursery pot inside a decorative planter so you can lift and pour off extra water. If the bottom of a pot feels heavy and cool after rain, lift it on risers or bricks to increase airflow.
For hanging baskets, water gently until it trickles from the bottom—that trickle is your cue that excess water is leaving. Add a coffee filter over holes inside a pot to keep mix in while letting water flow freely.
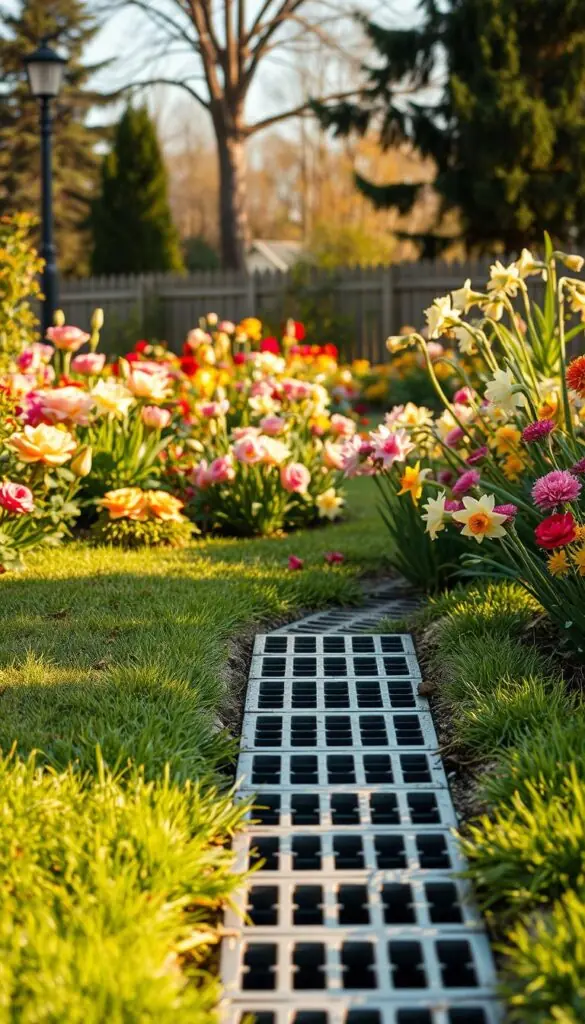
Improve Pot Drainage Holes the Right Way
Give your pots a tiny upgrade: the right holes change how water moves and how roots breathe.
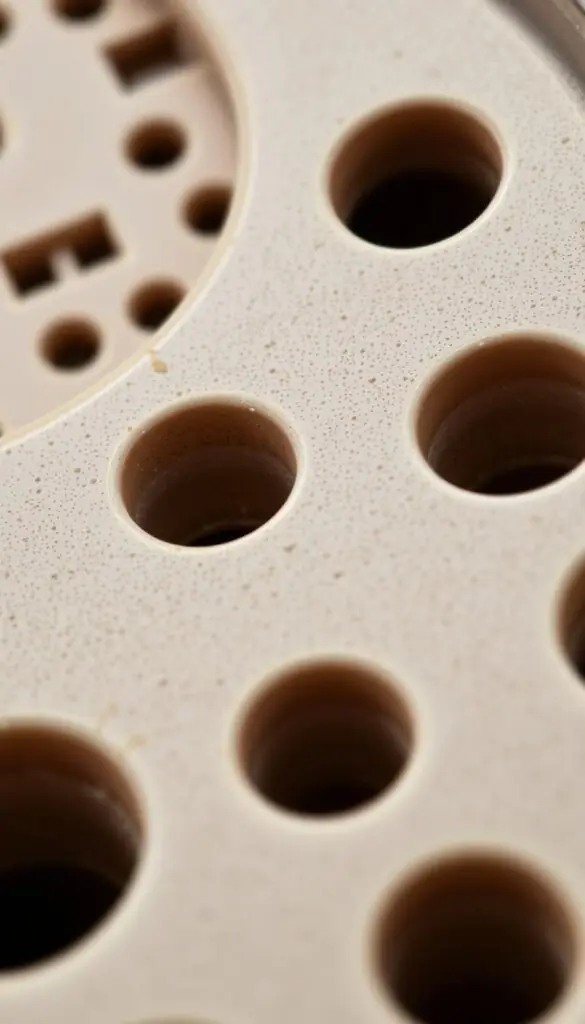
Porous terracotta or unglazed clay usually needs one hole. Non-porous materials — glazed terracotta, fiberglass, plastic, glass, or metal — need one hole for pots 6" or smaller and three or more for larger planters. Space holes evenly near the perimeter and add a center hole for big containers.
Tool-by-tool steps
Mark holes in a balanced order, brace the pot on a towel, and wear eye protection.
- Terracotta/ceramic: use a diamond hole-saw bit, drip water on the mark, start at 45° to score, then go vertical with light pressure until you feel water drain through.
- Plastic/fiberglass: a 1/2"–1" drill bit works; a soldering iron or a hammer and nail are options for thin plastic. Protect yourself from shards.
- Metal or glass: choose the proper bit and low speed, or consult a pro for glazed finishes.
Smart finishing
Sand sharp edges so the rim feels smooth. Place a coffee filter over the bottom pot holes to keep mix from falling out while letting water drain freely.
Quick tips: Skip a gravel layer in single pots — it can trap water above the rocks. Set planters on risers or detachable saucers so you can pour off excess water and protect surfaces.
Better Potting Mixes to Improve Drainage
Good potting starts with a light, airy base you can feel between your fingers. Choose a sterile commercial potting mix as your starting point. That keeps pests and weed seeds out and gives plants a clean, breathable medium.
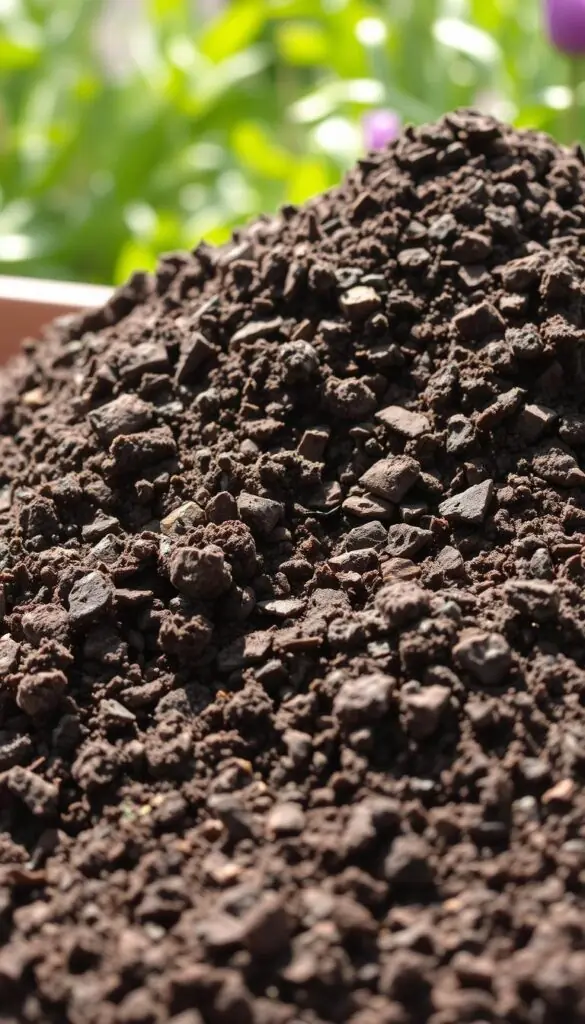
What to use and why
Add perlite and coarse sand to open structure so water moves through and does not linger around roots. Mix in vermiculite when you want gentle moisture retention for thirsty annuals.
Match the mix to the plant
Succulents need a gritty, fast-draining blend: two parts potting, one part coarse sand, one part perlite. Blooming annuals do better with a balanced potting mix plus a handful of vermiculite to hold a light sip of moisture.
Why garden soil fails in containers
Garden soil compacts in a pot, blocks airflow, and can harbor pests. That leads to poor drainage and stressed potted plants. Use garden soil only for beds, not for pots.
| Type | Key ingredients | Best for |
|---|---|---|
| Gritty mix | Potting + sand + perlite | Succulents, lavender |
| Balanced mix | Sterile potting + perlite + vermiculite | Petunias, geraniums, annuals |
| Garden soil | Heavy loam | Not recommended for pots—compacts and holds water |
Refresh each spring: remove a third of old mix, add fresh potting mix and perlite, then water to settle. Let the top inch dry between waterings so roots stay healthy.
Solutions for Planters Without Drainage Holes
You can keep favorite containers without holes by changing how you water and manage the space beneath the inner pot.
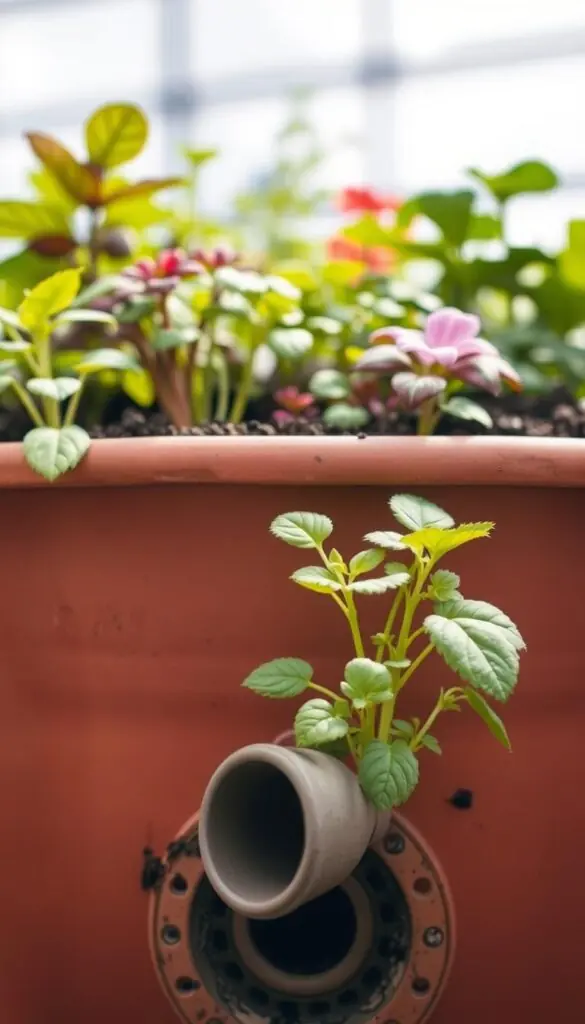
Double potting (cachepot) is the gentlest solution. Keep your plant in a plastic nursery pot with holes and nest it inside the decorative planter.
Water the inner pot at the sink. Let excess water drip out, then lift and set the inner pot back into the outer container.
Gravel, charcoal, and layers
If you use gravel or small rocks, place them only in the outer planter. A gravel layer under soil in a single pot can trap perched water.
A thin layer of horticultural charcoal in the cachepot helps control odors and keeps the space fresher between waterings.
Internal shelves and risers
For tall containers, add an internal shelf so the inner pot sits higher. This reduces pooling at the bottom pot and saves fill material.
Place planters on risers or a small trivet to boost airflow under the pot. That little tunnel of air helps water drain and protects decks.
- Tip the outer planter after watering to pour off any hidden water; stagnant water can sour and stress roots.
- Water slowly and stop when you see a bit collect in the outer container, then pour it away.
- Do a weekly check: lift the inner pot, feel for dampness beneath it, and let things air for a minute before nesting it back in.
Quick reminder: pick a care routine that fits the material of your containers. This simple approach keeps pots you love usable and your plants healthy without drilling holes.
Pick the Right Pot Material for Easier Drainage
Different materials change how much air reaches the root zone and how often you need to water.
Porous options: terracotta and clay breathe. They let air pass through walls and shed moisture faster. That makes them forgiving if you forget a watering or two.
Non-porous choices: plastic, fiberglass, glazed pots, glass, and metal hold water longer. Use these when you want slow-drying containers, but add extra holes for better drainage and plan your watering cadence.
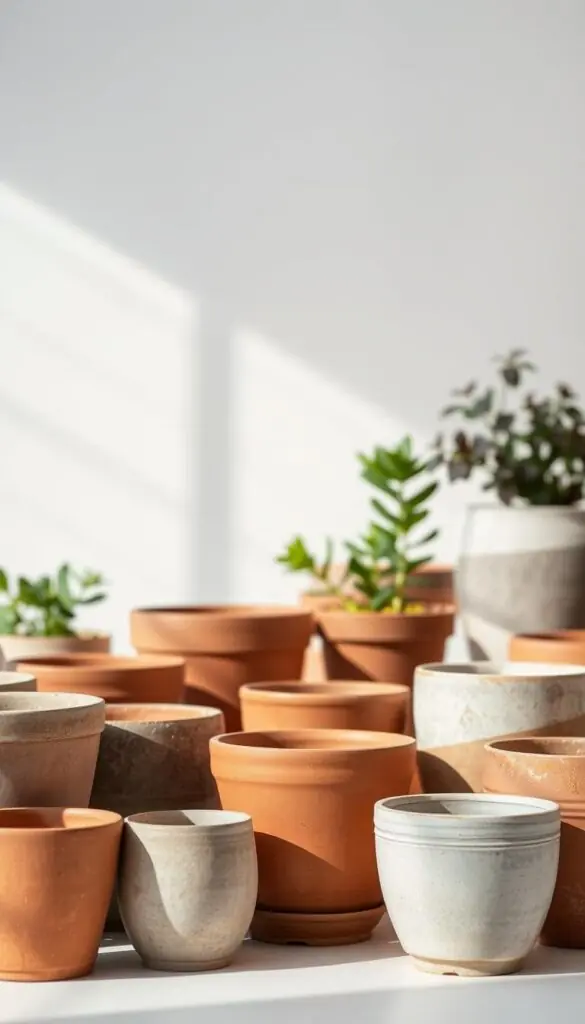
Practical cues: a warm, chalky pot signals it is drying and likely needs water. A cool, glossy pot will feel damp longer and asks for patience between soaks.
"Match the pot to the plant: let thirsty, drought-tolerant species enjoy porous clay; keep shade-loving ones in plastic or fiberglass."
- Line metal planters with a plastic inner pot to buffer temperature swings and control drainage.
- Use risers so air can move under containers and keep the bottom from staying wet.
Outdoor Beds and Raised Beds: Increase Drainage
Turn soggy corners into productive beds with a few simple soil fixes and seasonal timing.
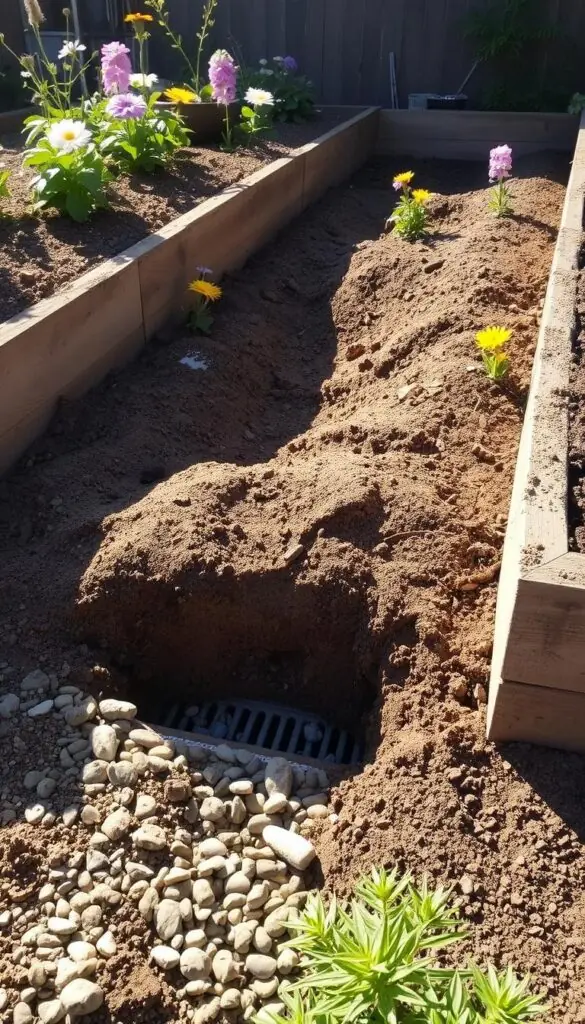
Start with a test patch after a rain. If soil stays sticky and heavy, it likely has too much clay. If it falls apart like dust, it needs more moisture retention.
Clay-heavy soil fixes
Work in fine bark (fir or hemlock) and compost across the top 6–8 inches. This mix opens air pockets so water moves through and roots breathe.
How to do it: use a shovel and wheelbarrow, fork the area in spring or fall, then blend amendments until the texture feels crumbly.
Sandy soil tweaks
For fast-draining sand, add compost and coconut coir or peat to hold steady moisture between rains.
Mix these into planting holes and the top soil so water stays available where roots need it most.
Raised beds and containers for wet spots
Raised beds lift roots above the soggy bottom and give excess water somewhere to go. Build them with a well-draining blend and line the bottom with coarse material only if you plan for an inner pot with holes.
Space planting holes a little wider and backfill with your amended mix. Plants like coneflower (echinacea) and salvia prefer leaner, quicker-draining spots. Hydrangeas do best in moisture-retentive, well-aerated soil; their bloom color also links to acidity, so test before big changes.
- Fork compacted soil in spring to break pans, then rake smooth.
- Water deeply and less often to encourage deep roots and better long-term soil structure.
- Top with a light mulch so rain can filter in without sealing the surface.
| Problem | Quick fix | Best season |
|---|---|---|
| Clay-heavy, sticky soil | Add fine bark + compost; fork top 6–8" | Spring or fall |
| Sandy, quick-draining soil | Mix compost + coir/peat; backfill planting holes | Spring |
| Soggy low spot | Build raised bed or use containers with inner pots | Any dry week in spring or fall |
Self-Watering and When to Avoid It
A built-in reservoir can be a helpful shortcut when you need plants to stay evenly moist. Self-watering planters pull water up through a wick, a soil column, or a porous terracotta wall so mixes keep a steady sip instead of flooding the roots.
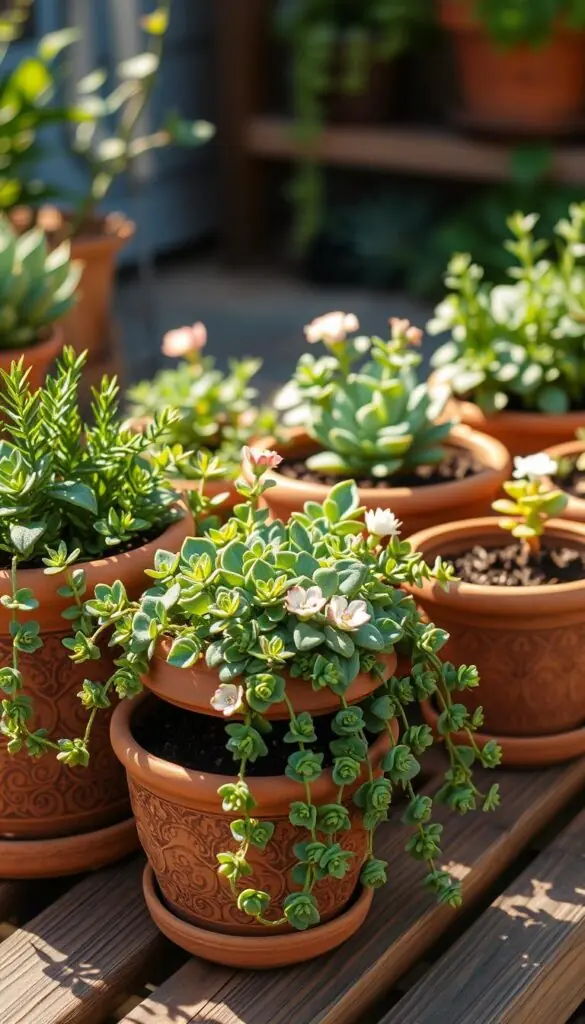
How reservoirs, wicks, and terracotta barriers work
Reservoirs hold extra water below the soil. Capillary action moves that water into the root zone as the mix dries.
Fabric wicks and soil columns act the same way. Sensors or simple indicators tell you when to top up. Use a light potting mix so the moisture moves freely and does not stagnate.
When to skip self-watering
Skip this way for succulents, cacti, orchids, and other drought-loving potted plants. They need the soil to dry fully to avoid rot or root rot.
In very rainy sites, reservoirs can flood. Choose planters with an overflow or set them under cover. If an insert lacks holes, add one overflow hole so excess water can escape instead of pooling unseen.
- Great for vacation homes and busy schedules when you need steady watering.
- Always check the indicator weekly and let the system run dry if leaves look swollen or pale.
Seasonal Watering and Weather Smarts
Let the weather tell you when to pause or pour—it's the easiest way to protect roots.
Spring: Ease up on water during long rainy stretches. Empty detachable saucers so the soil can pull in air between storms. This helps prevent overwatering and keeps the root zone lively.
Summer: Water early in the day and soak until you see a brief runout. Let the top inch of soil dry before the next round. On windy days containers dry fast; move thirsty shade-loving plants nearer the house where air is calmer.
Fall: Cooler nights slow drying. Check soil with your finger instead of following a fixed schedule. A lighter, drier pot usually means it's time to water; a heavy, cool pot means moisture remains.
- Lift the pot—lighter feel = water now; heavy = wait.
- If roots circle and dry unevenly, upsize one step so water moves through more evenly.
- After heatwaves, trim spent blooms and water deeply once; then return to your normal rhythm.
- Watch self-watering systems in humid, rainy spells—overflow or remove water so the mix gets air.
Quick Mistakes to Avoid
A few small mistakes can undo weeks of good care—spot them early and save your plants.
Keep it simple and steady. Small habits change how water moves through the pot and whether roots stay healthy.
- Don’t rely on a gravel or rocks layer at the bottom of a single container. That layer can create perched water and invite rot.
- Don’t skip drainage holes. If your decorative planter lacks holes, keep the plant in an inner nursery pot so excess water can drain freely.
- Avoid scooping garden soil into pots. Yard soil compacts, blocks air, and stops proper pot drainage.
- Empty saucers after watering. Let the bottom pot breathe so water drain away and the soil can dry a bit.
- Resist overwatering. Check the mix at knuckle depth before you water again; a quick feel prevents repeated soggy cycles.
- Add a handful of perlite or vermiculite when you refresh mix. Lightening the blend is the fastest way to restore good flow.
- Don’t seal every hole with tape. If you plug one for indoor use, water lightly and monitor moisture closely.
- Support plastic pots that bow under weight when you drill pot drainage holes—this prevents cracks and keeps holes clean.
Quick wrap: fix one habit this week—empty saucers, add perlite, or check for proper holes—and you’ll give your plants the best way to let excess water drain.
Warm tools-and-materials checklist to get water to drain
Set everything out in order so you can focus on the plants, not the search for bits.
Lay a tidy workspace: a sheet of cardboard, a towel, and a clear area make the job calm and fast. This keeps pots and planters clean and gives you space to sort materials.
- Drill with a diamond-tipped hole saw bit for ceramic and terracotta; a standard bit or soldering iron works for plastic and fiberglass.
- Safety glasses, painter’s tape, and a towel to steady pots while you cut holes.
- Fine sandpaper to smooth edges so the rim feels soft, not sharp.
- Coffee filters to line holes, plus planter risers or a small trivet to lift pots and let air move under them.
- A fresh bag of commercial potting mix and additives: perlite, vermiculite, and coarse sand to blend the right texture on the spot.
- Scoop, hand fork, watering can with a rose, a measuring cup for water amount, and a moisture meter or wooden chopstick for quick checks.
Tip: lay tools in the order you’ll use them. That small habit saves time and keeps the project pleasant. With the right materials and a clear order, you’ll help soil dry more evenly and keep your plants thriving.
Conclusion
Small fixes today can keep your containers healthy all season long.
With good holes, airy soil, and patient watering, you set your plants up to thrive. Watch for early signs of root rot and act quickly to save a pot. These simple moves help improve drainage and protect roots.
Pick planters with holes or use a cachepot wisely. Raise pots, pour off standing water, and blend a little perlite into fresh mix to increase drainage and give roots air.
Do one thing now: check the bottom of your favorite planter, lift it, and empty any lingering water. Enjoy the calm of a healthy garden and the bright reward of thriving plants.
FAQ
What are the first signs that roots are rotting in a potted plant?
Look for yellowing or wilting leaves, a musty or moldy smell from the soil, and soil that stays soggy long after watering. Gently lift the plant from its pot: healthy roots are firm and white, while rotten roots are brown, slimy, or foul-smelling.
How can I test whether my pot has enough holes for proper draining?
Water the pot thoroughly and watch how quickly water exits the bottom. If water pools on the soil surface or drains only slowly, you likely need more or larger holes. As a rule, larger pots and heavier materials like ceramic need more and/or bigger holes than small plastic pots.
Can I drill drainage holes in terracotta, ceramic, or plastic pots safely?
Yes. Use a masonry bit and steady pressure for terracotta and ceramic, keeping the pot wet to reduce cracking. For plastic, a standard drill bit works; go slowly to avoid melting. For metal or fiberglass, use the appropriate bit and protective gear. Sand rough edges so the mix doesn’t snag.
Does adding gravel or rocks to the bottom of a pot improve drainage?
Contrary to common belief, a layer of rocks often causes water to sit at the soil-rock interface, which can keep roots wetter. If you prefer a bottom layer, use coarse, chunky material or charcoal and ensure the mix above is well-aerated. Often the better fix is improving the potting mix itself.
What potting mix changes will help water move through faster?
Mix in coarse perlite, coarse sand, or chunky pumice to increase pore space. For many plants, blend a quality sterile potting mix with 20–40% perlite or pumice. For succulents, use a grittier mix with even less organic matter. Avoid garden soil in containers—it's too dense and holds water.
How should I water when using a cachepot or planter without drainage holes?
Double-potting works well: set the planted inner pot inside a decorative outer pot. Water the inner pot and let excess drain completely before returning it to the cachepot. If water collects in the outer pot, empty it promptly so roots don’t sit in stagnant water.
Are self-watering pots bad for some plants?
Self-watering containers are great for consistent moisture but can be too wet for succulents and for plants in very rainy climates. Use them for moisture-loving houseplants and avoid for species that prefer to dry between waterings.
Which pot materials dry out fastest and which hold moisture longer?
Unglazed terracotta and clay breathe and lose water faster, which helps prevent overmoisture. Plastic, glazed ceramic, fiberglass, and metal retain moisture longer. Choose material based on the plant’s water needs and your watering routine.
My garden bed has heavy clay. What simple fixes improve drainage there?
Incorporate coarse organic matter like bark fines and well-rotted compost to open soil structure. Lift planting areas into raised beds or mounds and mix in coarse sand or grit only when combined with organic matter to avoid creating a cement-like texture.
How often should I adjust my watering schedule through the seasons?
Reduce frequency in cooler, cloudy months and increase it during hot, dry spells. Check soil moisture with your finger or a moisture meter; water only when the top inch or appropriate depth for the plant feels dry. Timing prevents both drought stress and root rot.
What common mistakes cause persistent waterlogging in containers?
Using garden soil in pots, too-small drainage holes, planting in pots without letting the mix settle, and overwatering on a fixed schedule rather than checking moisture are all frequent errors. Match mix, pot, and watering to the plant’s needs.
Can I save a plant with root rot, and what steps should I take?
Yes, often you can. Remove the plant, wash roots, and trim away mushy, dark tissue with clean shears until only firm, white roots remain. Repot in fresh, well-draining mix and a clean pot with adequate holes. Water sparingly at first and keep the plant in bright, indirect light while it recovers.
What tools and materials should I keep on hand to improve pot draining right away?
Keep a drill with assorted bits, coarse perlite or pumice, coarse sand, a quality sterile potting mix, a moisture meter, gloves, and a few terracotta or plastic pots in different sizes. Coffee filters or landscape fabric can help keep mix from escaping while still allowing water through.