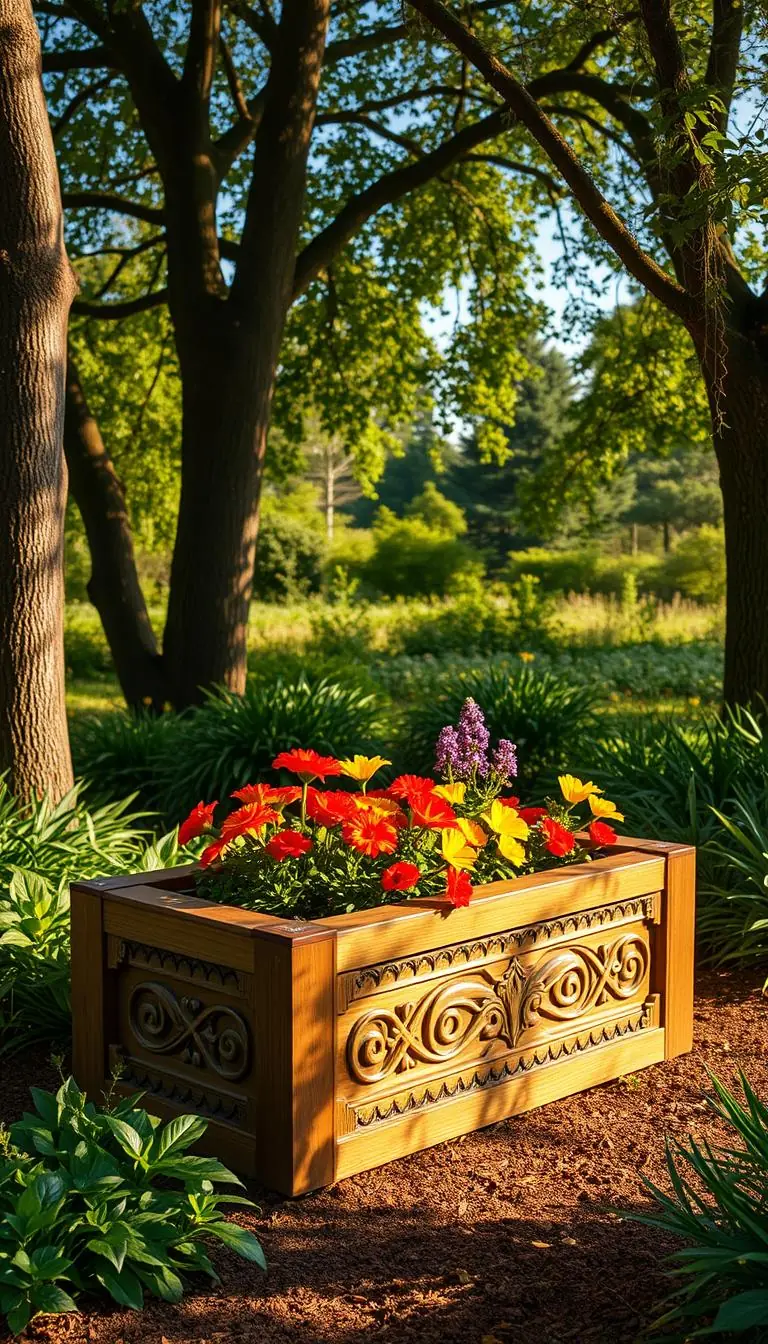
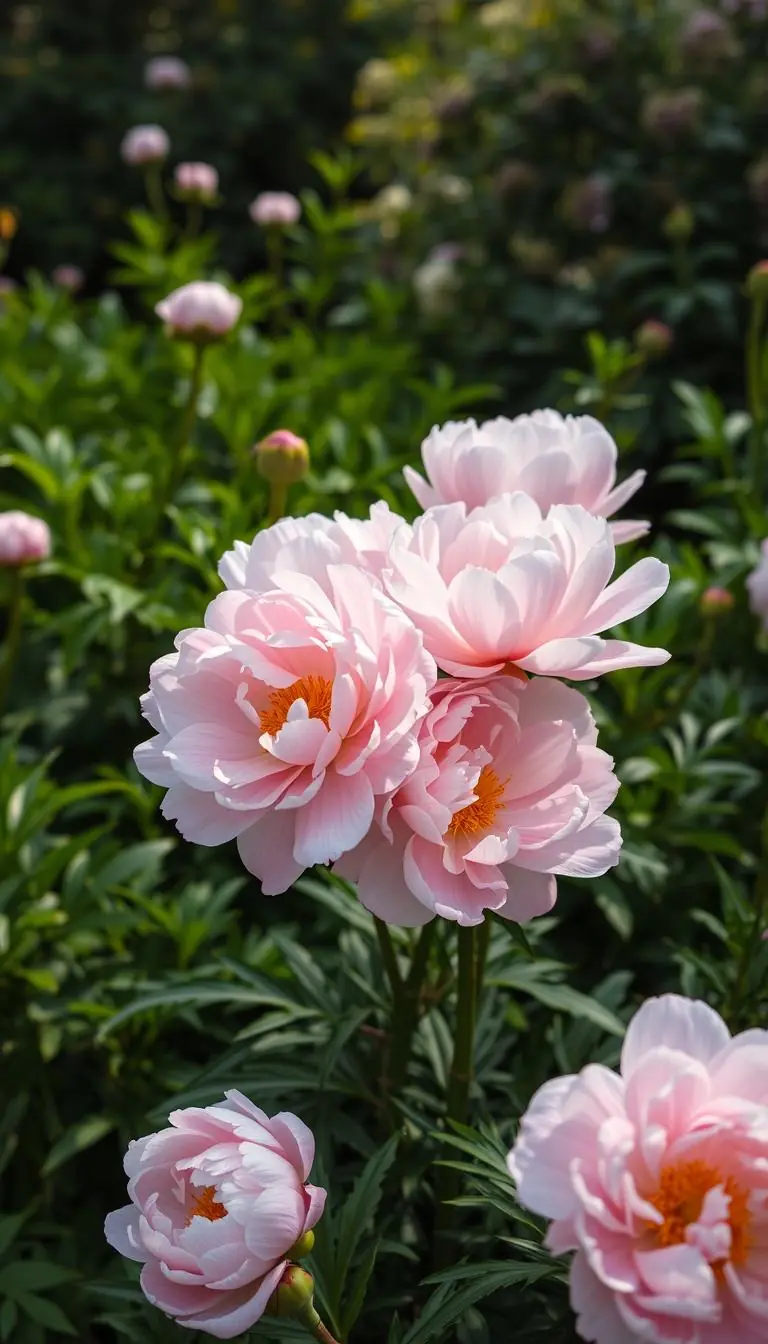
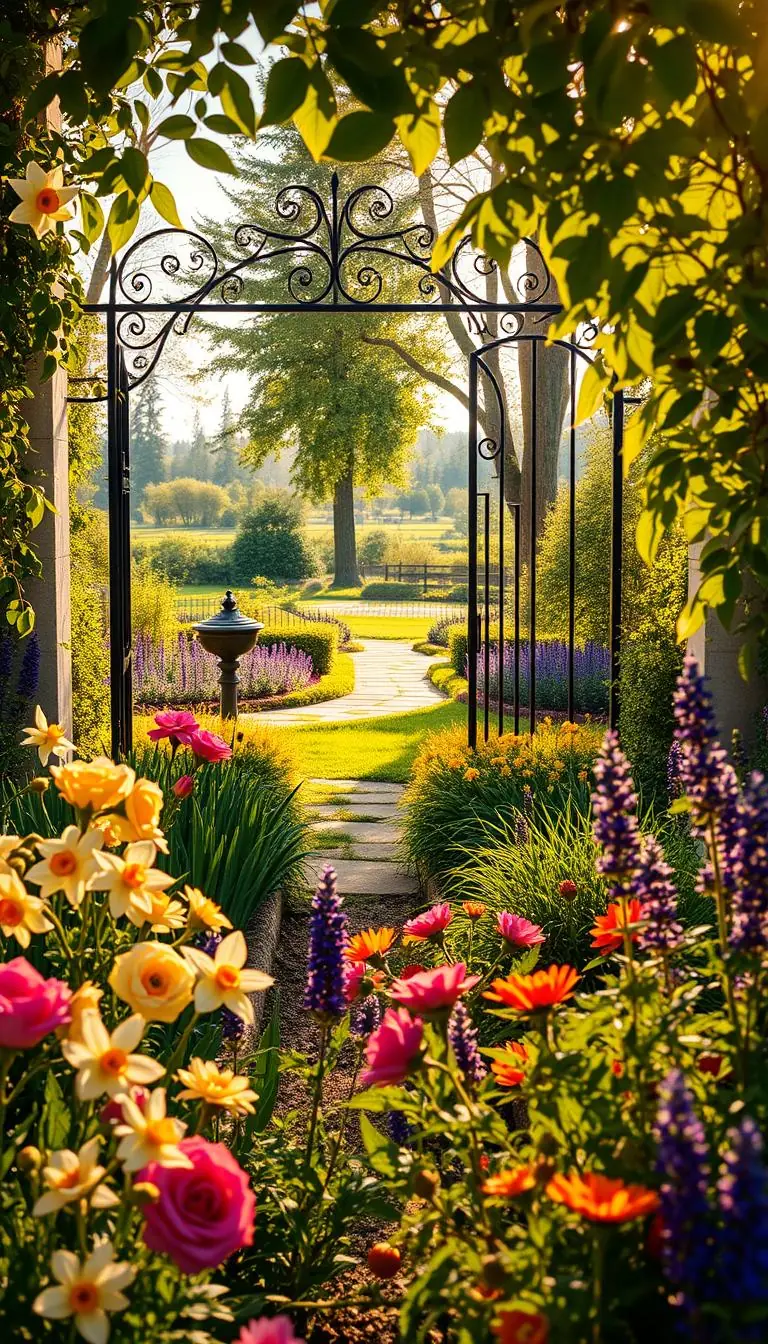
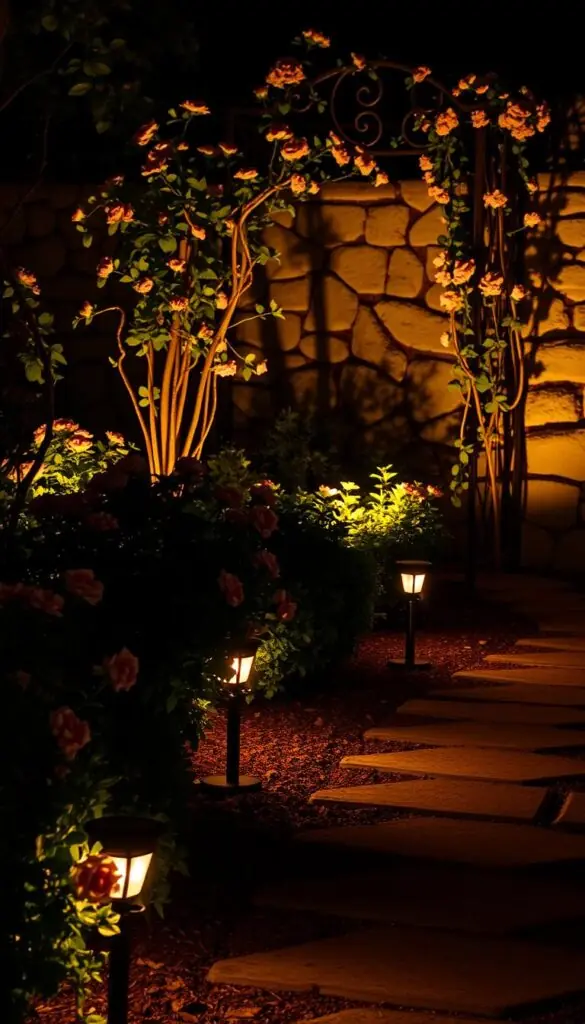
Imagine warm amber pools on petals as dusk settles and a soft path of light leading you to the back door.
Have you ever paused at twilight and wished your outdoor space felt both safe and gently alive? We’ll help you do that simply and kindly, with step-by-step ideas that respect neighbors and wildlife.
Start with warm, ambient tones to make petals glow, and keep brighter cues nearby for visibility. Aim most fixtures at or under a 40W equivalent and favor LEDs to save energy and cut maintenance.
We’ll point out practical tools — low-voltage transformers, outdoor-rated timers, smart plugs, a rubber mallet and sturdy extension cords — plus seasonal moves, from spring repositioning to winter texture accents.
Key Takeaways
- Use warm, low-angle light to accent blooms and protect night vision.
- Keep most fixtures at or below a 40W equivalent; choose LEDs.
- Balance ambient glow with brighter spots for safe walking.
- Simple tools and timers make setup easy and reliable.
- Adapt placements each season to highlight bloom cycles and form.
Start Here: A Neighborly Plan for Lighting Your Garden at Night
Take a calm walk outside at dusk with a notepad. Move slowly so shadows and highlights reveal themselves. Note dark corners, favorite spots, and places you trip.
Set three clear goals:
- Beauty — soft accents on the beds you love.
- Visibility — safe paths and steps for walking after dark.
- Welcoming glow — a warm, peaceful view from indoors and out.
Circle the views that make you pause and smile. Mark where you hesitate. Look back from your windows so the scene feels balanced inside and outside.
Use warm ambient light near plants for color and calm. Reserve cooler, brighter fixtures for gates, side paths, or corners where extra visibility discourages unwanted visitors.
| Task | Why | Quick note |
|---|---|---|
| Walk at dusk | Shows real shadows and tripping points | Bring a notepad and flashlight |
| List goals | Keeps the plan focused on beauty and safety | Limit to three items |
| Sketch a map | Helps spread fixtures instead of clustering | Mark X for lights and arrows for aim |
| Consider neighbors & wildlife | Prevents glare and protects nocturnal life | Angle lights down; avoid ponds |
Keep this simple plan as your first step. Small moves now save time and make your outdoor space feel safe, welcoming, and quietly beautiful.
Warm vs. Cool Light: Create Atmosphere and Clarity
A few simple choices about color temperature and wattage will turn dusk into a calm, usable space. Decide where you want cozy mood and where you need clear sight, then match fixtures to purpose.
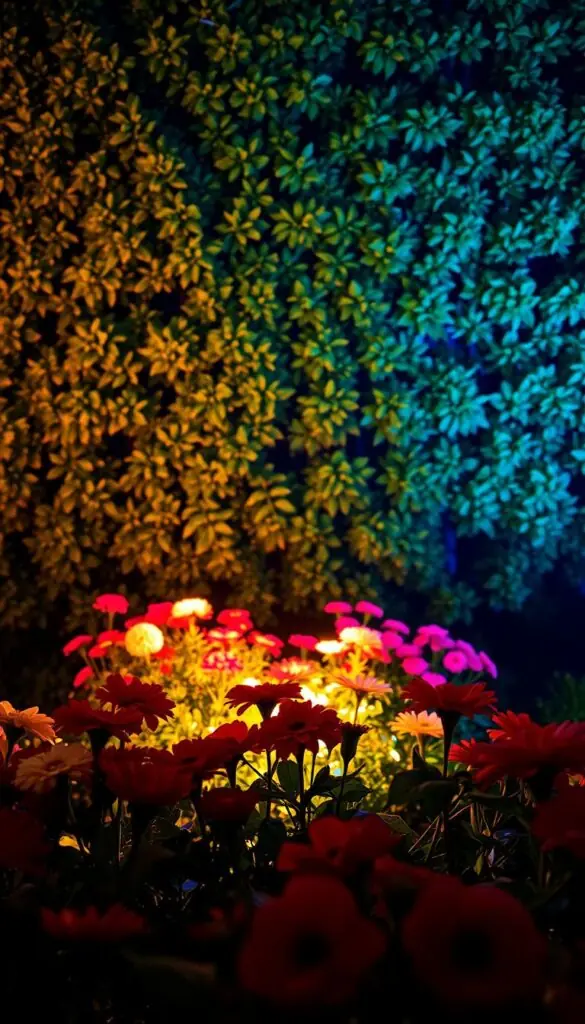
Use warm ambient tones for seating, beds, and plant areas
Choose warm white (2700–3000K) to flatter petals and leaves and make seating feel inviting. Keep most fixtures soft so colors stay rich and night vision stays intact.
Reserve cooler, brighter light for visibility and security
Use cool white (4000K+) at gates, steps, or driveway edges where crisp contrast helps with visibility. Limit these spots so the scene stays peaceful rather than clinical.
Recommended brightness: keep most fixtures at or under 40W equivalent
- Aim for fixtures at or below a 40W equivalent to protect night sight and preserve color.
- LED bulbs make this easy: efficient, long-lasting, and available in exact temps.
- Quick test: point a warm flashlight at a rose bed, then a cool one—warm keeps reds lively; cool flattens them.
Safety First: Paths, Steps, and Entry Points
Start by tracing the route you walk after dark and note any places your footing feels unsure.
Focus on where people step. Mark risers and edges so soft, warm spill light guides each footfall. Keep beams low so they skim surfaces and avoid glare.
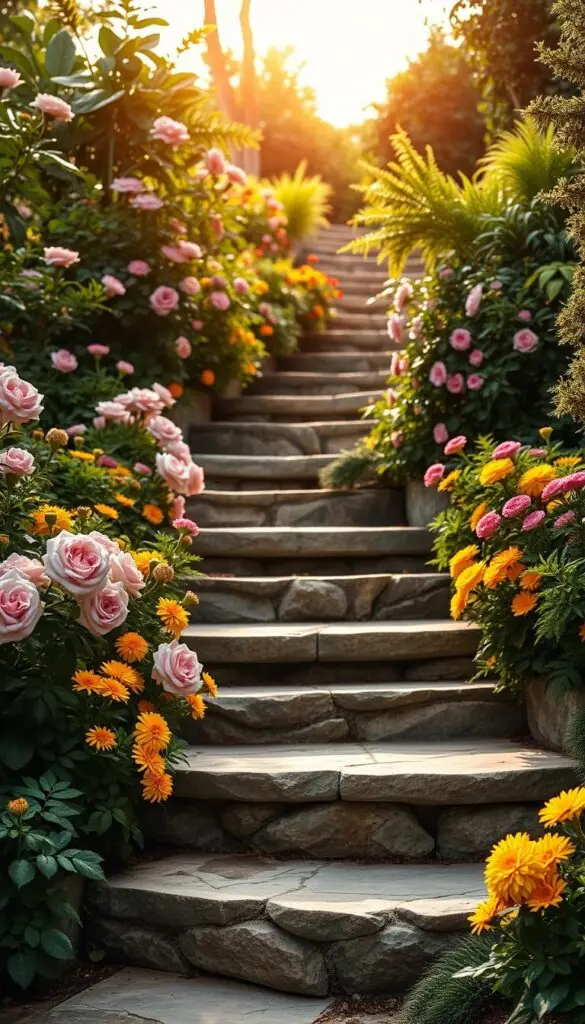
Spill soft, warm light across paths — not up into the sky
Use low-profile fixtures that wash steps and paths. These make each riser clear without throwing light into neighbors' yards or the night.
Wall and step fixtures for patios and decks after dark
Tuck a few wall-mounted lights along seat walls and add recessed step units on tall risers. This keeps patio and deck edges obvious and safe to cross.
| Fixture | Best Use | Helpful Tools |
|---|---|---|
| Recessed step light | Mark tall risers for safe ascent | Level, masonry bit, anchors |
| Low wall light | Outline patios and short walls | Weatherproof fasteners, junction box |
| Path washer | Overlap pools along curves and tight areas | Cable staples, outdoor-rated wire |
- Test at dusk from top and bottom of steps to confirm visibility.
- Avoid lighting ponds; light the edge instead to protect wildlife.
Fixture Types You’ll Love in the Garden
Think in layers: small ground-level pools, a soft overhead canopy, and one dramatic accent to anchor the view.
Stake and pathway options give an easy, ground-level glow along curves and borders. Use stake lights where you want subtle guidance. A rubber mallet helps seat stakes cleanly without cracking housings.
Overhead charm comes from string lights or café strands. Drape them under a pergola or along a fence to create a soft canopy that frames the landscape and invites lingering.
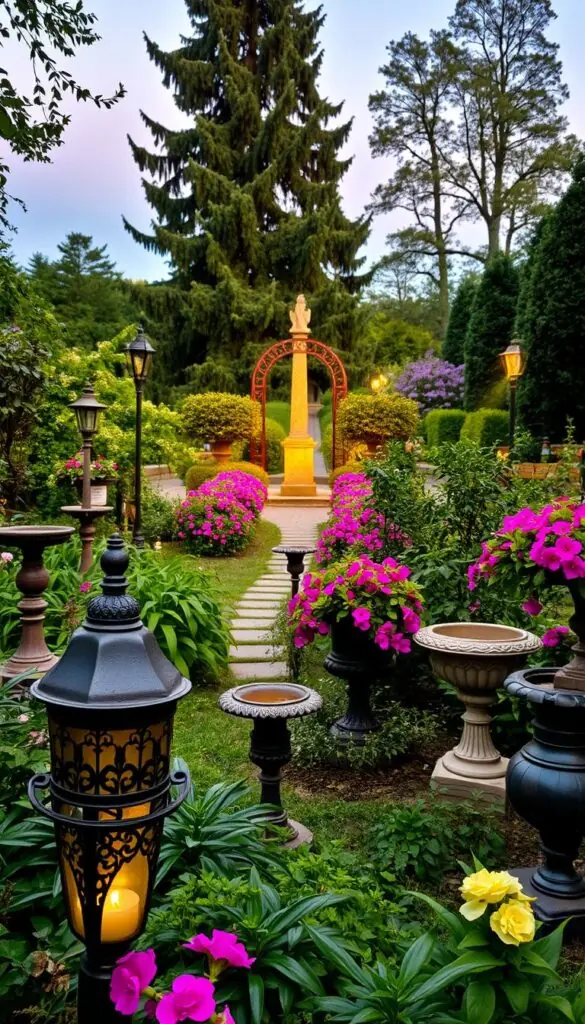
Portable ambience and small accents
Place lanterns and portable LED lamps on side tables, steps, or gatherings. LED candles add safe flicker while torches and battery lamps layer light without rewiring.
Dramatic uplight and focused accents
Use spotlights and well lights to lift bark, texture, or a specimen shrub. Keep beams tight so features pop and the rest stays calm. Favor warm lenses near plantings and shielded hoods to avoid stray glare.
| Type | Best use | Tool or tip |
|---|---|---|
| Stake lights | Path curves and borders | Rubber mallet to seat stakes |
| String lights | Pergola canopy, fence lines | Use weatherproof clips; space evenly |
| Lanterns / portable LEDs | Tables, steps, flexible clusters | Battery or rechargeable; group for impact |
| Spotlights / well lights | Specimen shrubs and trees | Tight beam, warm lens, shielded hood |
- Mix permanent path fixtures with a couple of portable pieces for gatherings.
- Keep spacing relaxed so pools overlap gently and the scene reads as one calm landscape.
Smart, Solar, and LED Choices for Easy Care
A few smart choices let you relax at dusk while the scene sets itself on a schedule.
Why LED wins outdoors: LEDs use far less energy, run cool, and last for years. That means fewer bulb changes and more easy evenings at home.
Solar for simple installs: Solar stake lights work where running cable is a hassle. Point the panel at full sun, keep it clean, and you avoid trenches and timers.
Smart systems for color and schedules
Consider smart outdoor options for dimming, scenes, and voice control. Philips Hue, for example, offers app control, voice activation, and millions of colors for patios or string canopies.
"Automate lights to turn on at sunset and off late at night — it saves energy and keeps your evenings effortless."
- Pick LED for most fixtures — efficiency and longevity pay off.
- Use solar where wiring is tricky — stake and orient the panel toward sun.
- Combine smart plugs or outdoor-rated timers to automate existing fixtures affordably.
| Option | Best for | Key benefit |
|---|---|---|
| LED bulbs | Paths, accents, long-term use | Low energy, long life |
| Solar stakes | Side gates, remote spots | Wire-free, easy install |
| Smart systems | Patios, string canopies, scenes | App control, schedules, color |
Mix smart tech with simple pieces: solar at a side gate, LED paths on a timer, and a smart scene for dinner. Check panels and firmware now and then to keep everything running smoothly.
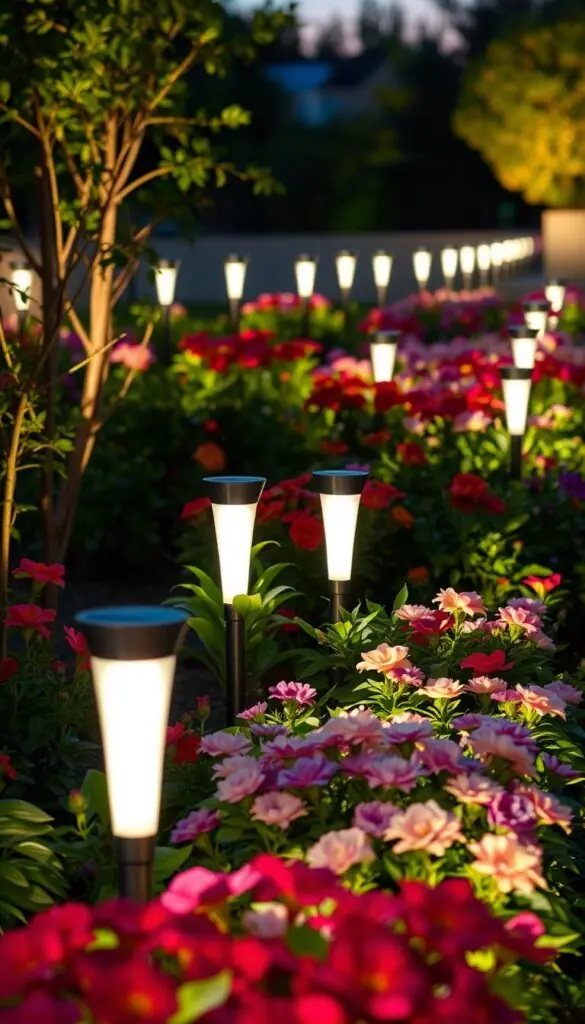
Garden Lighting Flowers: Techniques That Flatter Blooms
A few low, well-placed beams can make petals glow like stained glass at dusk.
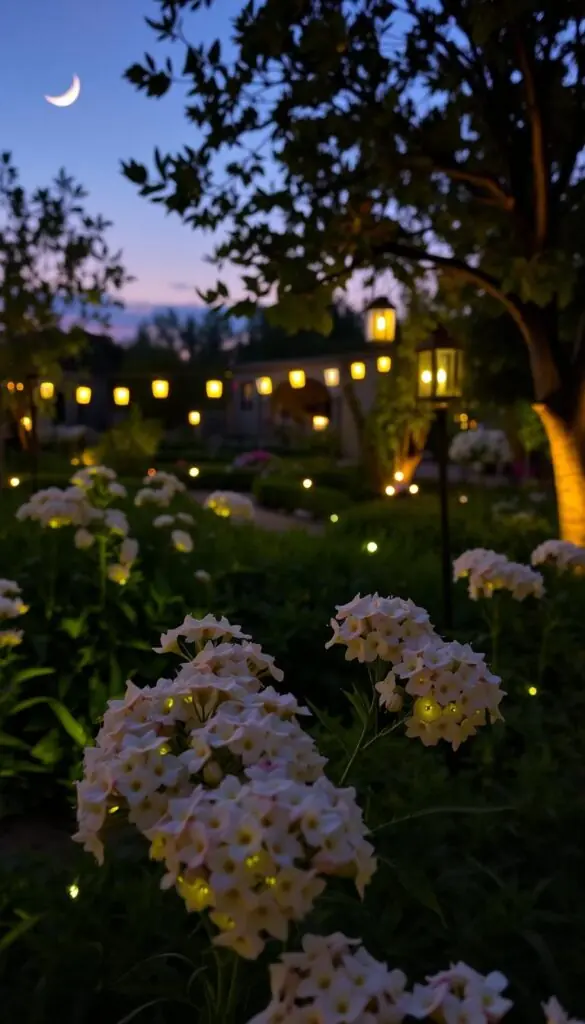
Use a warm front light to reveal true petal color on roses (Zones 5–9) and hydrangeas (Zones 5–9). Keep the beam soft so delicate shades don’t blow out.
Place a low backlight behind coneflowers (Echinacea, Zones 3–9) so edges catch light and seed heads silhouette. This adds quiet drama as evening deepens.
Technique Tips
- Grazing: Aim from a shallow angle to pull up texture on ruffled hydrangea blooms and spiky coneflower cones.
- Hide the source: Tuck fixtures behind mounds of plants so you see the effect, not the hardware.
- Keep it modest: Low output preserves natural glow and prevents pastel petals from washing out.
- Balanced spread: Space lights so pools overlap slightly for a continuous, magical look.
- Seasonal tweak: Refresh aim as plants grow to keep features reading right.
| Technique | Best for | Quick note |
|---|---|---|
| Warm front wash | Roses, hydrangeas | Soft beam for true color |
| Low backlight | Coneflowers, daisy-types | Creates petal glow and silhouettes |
| Grazing | Textured foliage and blooms | Shallow angle highlights surface detail |
| Hidden fixtures | All plant beds | Tuck under foliage for natural look |
Highlighting Trees and Focal Features Without Overdoing It
Highlighting a specimen or a small fountain calls for restraint, not spectacle. Aim to reveal texture and shape while keeping the scene calm for neighbors and wildlife.
Low-level uplighting for bark interest
A single low uplight placed near a birch trunk will make white, peeling bark glow. Keep the beam narrow and close to the base so the effect is on the trunk, not the canopy.
Accent fountains, walls, and sculpture
Use discreet downlights tucked under a bench or a pergola beam to kiss a fountain or stone wall with soft shimmer. Light across surfaces rather than shooting into the sky.
- Aim one narrow uplight at a birch to show texture without spill into windows.
- For a cherry or small maple, place the fixture a foot or two from the trunk and tilt gently.
- Pick spotlights with shielding so illumination hits the feature and not the night.
- If one piece needs more presence, use two low-power fixtures at shallow angles instead of one bright lamp.
- Put key features on a separate circuit or smart scene so you can dim or switch them off when the night quiets.
These small moves keep the landscape readable and respectful. Adjust from the street and from inside until each feature feels highlighted, not harsh.
Beds and Borders: Layered Light That Feels Like Moonlight
Soft pools of light layered along beds bring a moonlit calm to evening walks.
Stagger stake lights along curves so each pool overlaps. This echoes how real moonlight falls and keeps the border feeling natural. Space stakes so their beams meet, not clash.
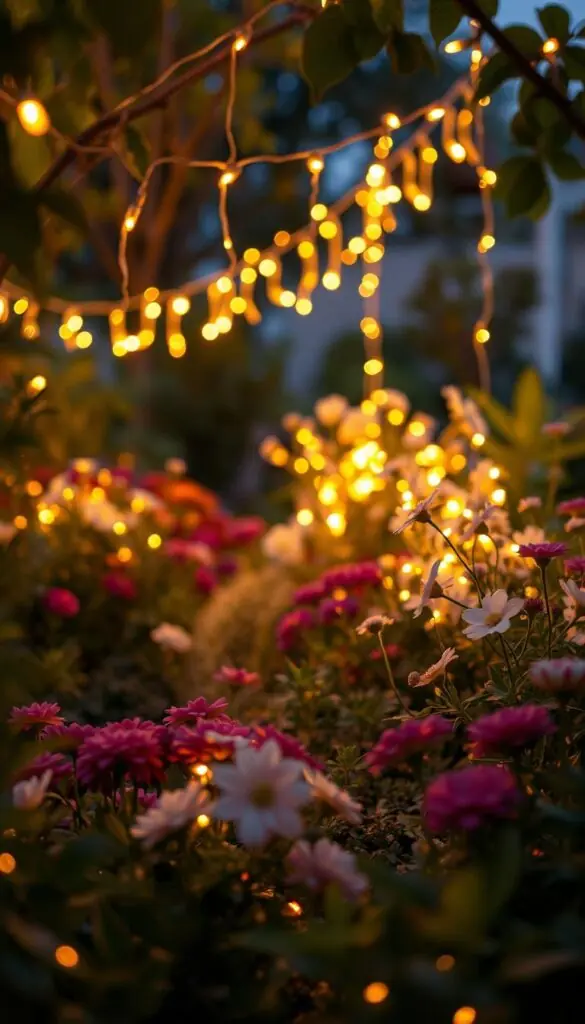
Keep most accents warm. Slip in a subtle color or two near seasonal plants for depth but avoid anything loud. Use ground-level uplighting along perimeters to anchor the landscape without glare.
Let ornamental grasses sway through low fixtures. A soft graze brings out blades and seed heads and adds quiet movement after dusk. Place fixtures slightly off-path to avoid direct eyeshine.
- Use a rubber mallet to set stakes at a consistent height for a tidy edge.
- Tuck portable LEDs at corners for gatherings, then move them inward for a quieter walk.
- Keep output modest near delicate blooms so petals don’t wash out.
- Refresh spacing as plants grow—lifting a stake a few inches restores balance.
Tip: Check from multiple areas before finalizing. Walk the yard and view from indoors so the beds read as one calm area.
Containers and Small Spaces: Big Glow in Tight Quarters
A few well-chosen accents turn tiny spaces into places you want to linger. This works whether you rent a balcony or have a narrow patio. Think single, glowing pieces rather than many small sources.
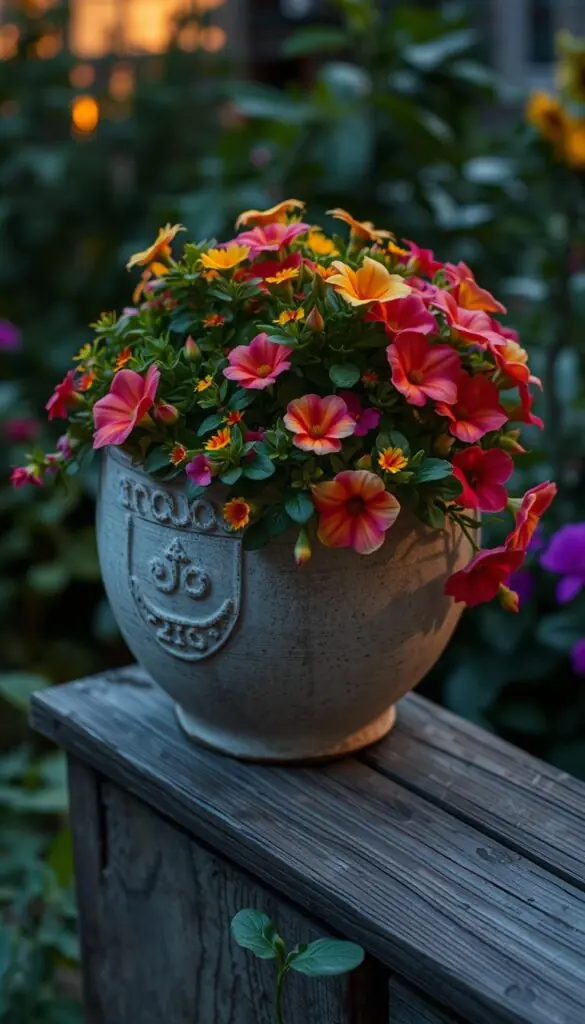
Illuminated planters and crackle-glass orbs
Choose an illuminated planter to make one container the star on a small patio. Many solar planters run for 6–8 hours after charging in the sun. They sit cord-free and feel intentional.
Nestle a crackle-glass orb among foliage for jewel-like sparkle. These spheres often rotate colors and can last up to 10 hours on a full charge.
Fairy microlights and string accents
Wrap a loose string of fairy lights around trailing vines to outline curves. Use flexible, weather-resistant microlights so you can tuck them into planters or hang them from a railing.
Keep scale modest: one or two accents change the mood without crowding the space. Angle solar panels toward the sun and wipe them monthly for best performance.
- Opt for solar if outlets are limited and add a simple timer.
- Turn pieces off late to protect neighbors and night flyers.
- Swap soft warm tones seasonally for subtle variety.
Patio, Pergola, and Fence Lines: Build a Cozy Nightroom
Turn your patio into a true nightroom by giving the ceiling a soft, twinkling outline. Define the overhead plane, layer gentle pools at table height, and finish the edges so the whole outdoor space reads as one calm room.
Overhead and tabletop layers
String a canopy and cluster lanterns
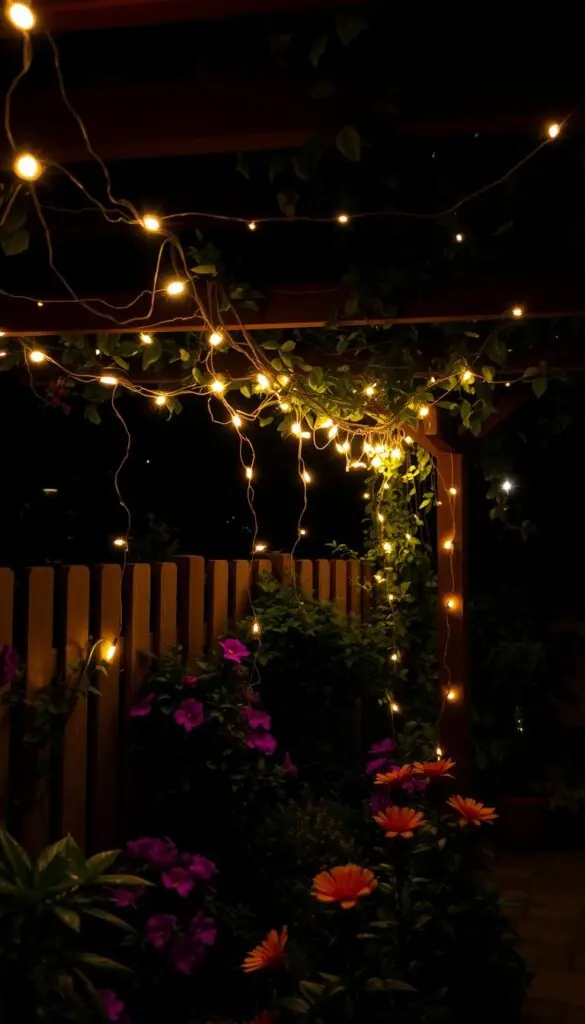
Hang string lights under a pergola or across the patio to make a ceiling that invites lingering. Cluster lanterns and portable LED lamps at table height for warm, intimate glow where you sit and chat.
Use outdoor-rated hooks and zip ties, and measure spans before climbing the ladder so the drape is even. If you host, put the strings and lanterns on a timer so evenings start effortlessly.
Perimeter wash and final framing
Add low, ground-level uplights along a fence or retaining wall so edges read clearly without glare. This gentle wall wash finishes the room and keeps the sightlines clean from inside your house.
- Keep color temperatures consistent in seating zones for a warm atmosphere.
- Mix LED candles and small lanterns with fixed uplights for balance.
- Test sightlines from indoors so the patio glows like an invitation, never a glare.
Wildlife- and Neighbor-Friendly Lighting
A few small choices about tone and aim keep your yard friendly to neighbors and night creatures.
Best practice is simple: if you can avoid extra illumination, do so. When you need light, focus on steps, paths, and entry areas. This keeps safety high and disturbance low.
Favor warm tones and low aim. Soft amber hues are kinder to insects and bats. Aim beams down or across surfaces so light stays on the path and off windows and the sky.
Practical reminders
- Use timers or motion sensors so lights only run when needed.
- Keep intensity modest in calm areas; reserve brighter output for real hazards.
- Skip pond lighting—water attracts nocturnal insects and can disorient wildlife.
- Walk property edges after dusk; adjust fixtures until spill on a neighbor’s wall disappears.
- Favor solar fixtures where continuous power isn’t required and wiring is difficult.
"Kind lighting is low, warm, and brief — it keeps people safe and nights natural."
| Concern | Best practice | Why it helps |
|---|---|---|
| Wildlife disturbance | Warm, low-intensity bulbs; no pond beams | Reduces insect attraction and disorientation |
| Neighbor spill | Shield fixtures; aim down; test from property edge | Prevents glare through windows and keeps good relations |
| Safety | Light steps and paths only; use motion or timers | Keeps risk areas visible without over-illumination |
| Electrical safety | Outdoor-rated gear and a circuit breaker; consider solar | Prevents faults and reduces run-time power needs |
Final note: Keep lights modest and purposeful. Use warm tones, aim low, and turn things off late with timers. Small acts of care make your home and neighborhood kinder to the night.
Quick Setup to Pro-Level: Installation and Power Basics
Start small and steady — smart choices now save time and keep the yard safe and lovely.
Solar or low-voltage: when to DIY and when to hire
Choose DIY solar for quick wins. Stake, aim the panels, and the lights glow the same evening. Solar works great for simple path runs and edges.
Step up to low-voltage for steady output and precise aim. Plan shallow trenches, use gel-filled wire nuts, and size a transformer to carry total wattage with headroom.
Weatherproof fixtures and outlets
Use outdoor-rated fixtures and GFCI-protected outlets. Keep plug-in cords under an in-use cover on the wall to shield connections from rain.
Balance transformers and circuits
Split loads across runs to reduce voltage drop and label circuits so paths, steps, and features are on separate zones.
Test before you bury
Test at dusk and tweak aim to remove glare and ensure beams skim plant faces and trellis edges.
| Option | Best use | Install effort | Key benefit |
|---|---|---|---|
| Solar stakes | Simple paths and remote edges | Low — no trenching | Fast setup, wire-free |
| Low-voltage system | Precise well and spot aims | Medium — trenches, transformer | Consistent, warm output |
| Plug-in / festoon | Patio canopies and seasonal areas | Low — safe outlets & covers | Flexible, easy to move |
| Pro hardwired | Long runs, controls, hardscape | High — licensed electrician | Safe, tidy, long-lasting |
Quick advice: hire a licensed pro for long runs, hardscape penetrations, or complex controls. That keeps the project safe and dependable.
Seasonal Timing and Care: Keep the Glow Year-Round
Timely tweaks each season make sure beds and trees read beautifully at dusk. Small, regular checks keep scenes balanced from the moment the sun sets to the end of the day.
Spring — make room for new growth
As perennials push up, slide fixtures outward so beds glow evenly. This prevents tender plants from being blasted when the sun sets.
Summer — check heat and social zones
Heat can stress housings and connections; inspect LED fixtures and wiring. Brighten patio spots where you move from day to night gatherings.
Fall — lean into bark and late bloomers
When leaves drop, ease beams onto trunks and seed heads. Birch and cherry bark will read like sculpture under warm tones.
Winter — clean, simplify, rely on structure
Wipe solar panels and lenses so output stays true. In cold months, favor evergreens, pathways, and the silhouettes of trees for a calm, architectural mood.
- Monthly: wipe lenses and panels — dust and pollen dim output.
- Reset timers after daylight saving changes so scenes spark on at dusk.
- Walk the garden every few weeks; small tweaks keep everything intentional and soothing.
Troubleshooting and Common Mistakes to Avoid
Too much light can flatten color and make paths glare instead of guiding you. Start by looking at the scene at dusk — that’s when problems show up best.
Overlighting that flattens color and ruins night vision
If colors look washed out, you’re likely overlighting. Swap to lower-output lamps or add a dimmer to restore depth and improve visibility.
Glare bombs: exposed bulbs and poorly aimed spotlights
Exposed bulbs create harsh glare. Add shields, lower the aim, or replace a single bright beam with two smaller fixtures aimed across surfaces so the features read gently.
Neglected maintenance: dirty lenses, shaded solar panels
Dusty lenses and shaded panels kill output. Clean lenses and move solar panels into direct sun. Wipe monthly and check charge times so lights last the evening.
"Dim, aim across, and clean — three simple moves that save the night."
- Swap high-output bulbs for lower ones or use a dimmer.
- Add shields to exposed fixtures and re-aim spotlights.
- Clean lenses and relocate shaded solar panels.
- Put paths, accents, and seating on separate circuits for fine control.
| Issue | Fix | Benefit |
|---|---|---|
| Washed color | Lower output or dim | Restores depth and comfort |
| Glare | Shield or re-aim | Improves neighborly look |
| Faded runtime | Move panel to sun & clean | Full evening performance |
Always recheck at night after a tweak. What looks good by day can surprise you after dark.
Budget-Friendly Lighting Ideas That Look Designer
A few smart, wallet-friendly swaps give your outdoor space a designer finish without stress.
Start with one statement piece. Drape a single run of café string across your backyard seating to make the area feel intentional and cozy. It’s an instant upgrade with minimal install work.
Tuck mason-jar solar lanterns along a fence or place them on side tables for portable sparkle. They move with you and add a warm, handcrafted touch.
Use an affordable solar pathway multi-pack to mark the route from gate to patio. Stagger spacing so the pools overlap for a softer, more curated look.
Add one illuminated planter near the door for two-in-one impact: a focal piece that doubles as soft light. Cluster three lanterns of varied heights on a sideboard to mimic a curated shop display.
- Mix warm whites with one subtle color accent to keep the whole space calm and playful.
- Shop off-season for deals and bundle with outdoor-rated timers to stretch your dollars.
Conclusion
When day slips away, a modest plan of warm pools and low beams can transform your outdoor nook.
With a simple map, warm accents, and a few well-placed safety cues, your garden becomes a calm retreat the moment dusk arrives. Keep beams low and gentle for a peaceful atmosphere that welcomes you without disturbing wildlife.
Lean on LEDs and one or two smart or solar touches to make care easy. Small seasonal tweaks keep the landscape feeling fresh from spring buds to winter silhouettes.
Step outside tonight, take a breath, and let the soft light garden you created guide you to your favorite seat.
FAQ
How do I start planning night lighting for my flower beds and borders?
Begin by walking your outdoor space at dusk. Note paths, seating areas, focal features like trees or sculptures, and where shadows fall. Decide what you want most: a welcoming glow for entertaining, improved visibility for safety on steps and walkways, or dramatic accents on plants and walls. Sketch a simple plan that places low stake lights for borders, spotlights for focal points, and string or lanterns over patios or decks. This approach keeps installations efficient and intentional.
What color temperature works best to flatter blooms and not upset wildlife?
Choose warm white (2700K–3000K) for most planting beds and container groupings—it makes petals look rich and keeps insects and nocturnal wildlife calmer. Use cooler, brighter tones sparingly for security or task areas where clarity matters. Aim lights down or across rather than into ponds or dense shrubs to be neighbor- and wildlife-friendly.
How bright should outdoor fixtures be so plants still look natural at night?
Keep most fixtures at or below a 40W-equivalent LED to preserve depth and color without flattening shapes. Use low-level stake lights and lanterns for ambiance, and reserve a few well-aimed spotlights at slightly higher output to highlight trees or sculptures. Dimmers and smart controls let you fine-tune brightness for different evenings and seasons.
Which fixtures are best for small yards, balconies, or container gardens?
Pick compact options: illuminated planters, crackle-glass orbs, and fairy microlights are perfect for tight quarters. Portable LED lanterns and rechargeable stake lights offer flexible placement. For railings or pergolas, lightweight string lights create canopy warmth without heavy wiring.
Should I use solar, low-voltage, or smart LED systems?
LED is the best overall for efficiency and longevity. Solar works well for simple installs and spot accents where sunlight is reliable. Low-voltage wired systems give consistent performance and brighter output for pathways and uplighting. Smart LED systems add scheduling, color, and scene control—great if you want more convenience and mood setting.
How can I light steps and pathways safely without causing glare?
Use wall-mounted step lights, recessed riser fixtures, or low stake pathway lights that cast soft, downward illumination. Place fixtures to avoid direct sightlines into bulbs and keep output modest to preserve night vision. Test placements at dusk before final installation to ensure even coverage and no harsh shadows.
What techniques flatter different types of plants — roses, hydrangeas, grasses?
Use front lighting to reveal true color, and backlighting to make petals glow. Grazing light across textured surfaces brings out bark and petal detail—great for roses and hydrangeas. For ornamental grasses, low, soft fixtures create movement and shadow play. Keep fixtures hidden and low for a natural, magical look.
How do I highlight trees and large features without overdoing it?
Choose low-level uplighting focused on trunks and major branches to show bark and structure on birch, cherry, or maple. Use narrow-beam spotlights for vertical accents and broader well lights for canopy wash. Balance intensity so the tree reads as a feature, not a spotlighted billboard.
Can I install most outdoor systems myself, or should I hire an electrician?
Simple solar and many low-voltage systems are DIY-friendly if you follow product instructions and use outdoor-rated fixtures and outlets. Hire a licensed electrician for line-voltage wiring, complex smart integrations, or when altering circuits. Always test layouts at dusk before burying cables or finalizing placements.
What maintenance will keep my lights looking good year-round?
Clean lenses and solar panels periodically, check batteries on solar lights, and reposition fixtures as plants grow or die back. In fall, clear leaves from fixtures; in winter, rely more on hardscape and perennial structure for interest. Regular checks prevent glare, shadowing, and performance issues.
How can I avoid common mistakes like overlighting or glare bombs?
Use fewer, better-placed fixtures rather than many bright ones. Hide bulbs behind shields or within fixtures to prevent exposed glare. Aim spotlights carefully and use warm tones to preserve atmosphere. Regularly review the scene at night and adjust to maintain depth, contrast, and comfortable visibility.
Are there budget-friendly options that still look designer?
Yes. Mix affordable stake and string lights with a few higher-quality focal fixtures like an uplight or lantern. Use smart bulbs in key areas instead of replacing every fixture. Simple upgrades—like adding shields, swapping to warm LEDs, or grouping lights—create a curated look without a large spend.