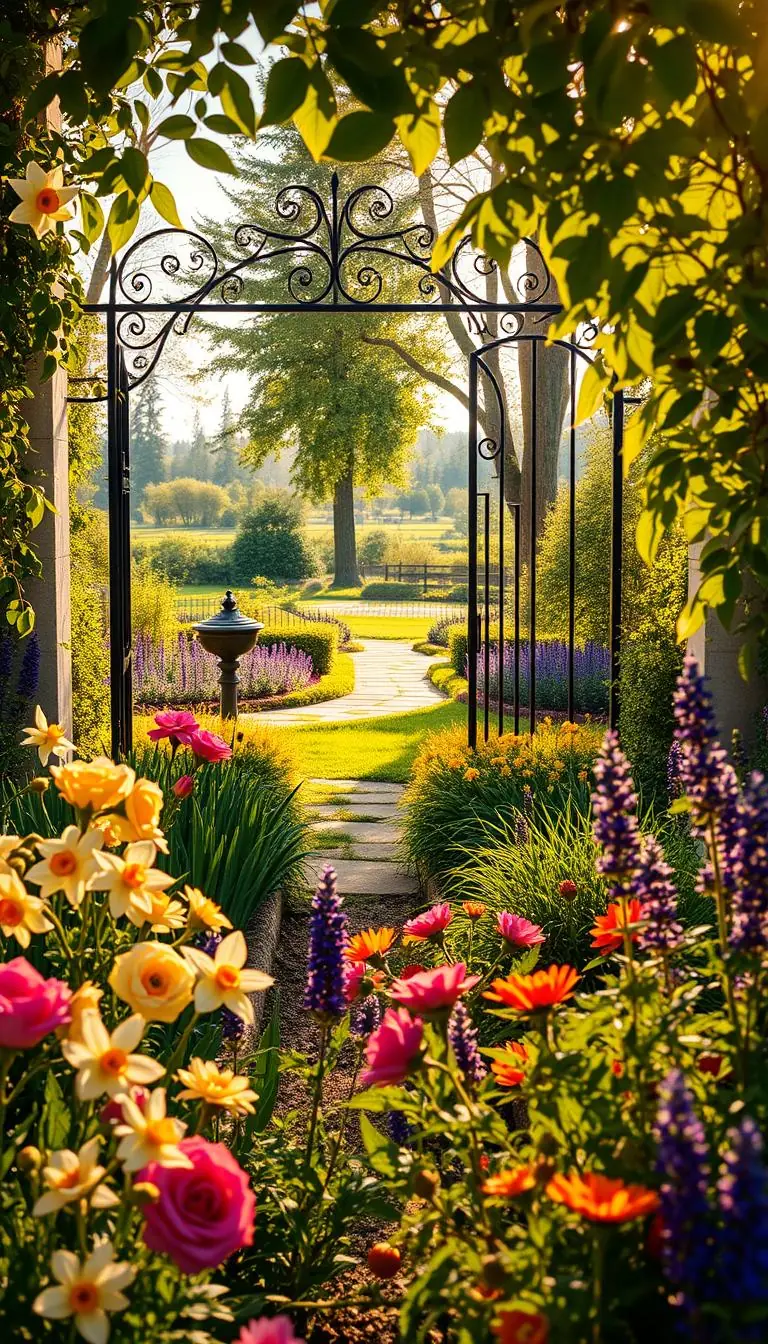
Imagine lavender brushing your ankles and a soft breeze lifting tall grasses as you step outside. Do you want a simple plan that brings color, scent, and motion to your yard without fuss?
We’ll walk you through a weekend project that maps a clear look, picks forgiving plants, and shows easy edging choices. Use a spade and mallet for a crisp hand edge, or pick plastic edging in rolls for an inexpensive, long-lasting trench install. Pound-in plastic is easier solo but may need tapping back after winter.
Recycled rubber is durable and mower-friendly, woven willow gives cottage charm, and weathering steel adds a rust-brown patina. Natural timbers feel rustic; brick or concrete gives permanent structure.
Follow US seasonal timing: install edges and perennials in spring, water in summer, and divide or plant shrubs in fall. Keep simple tools—spade, mallet, landscape staples—and avoid plants that will block paths.
Key Takeaways
- Map a simple plan and choose materials you can install in a weekend.
- Use spade edging for crisp lines or recycled rubber for durability.
- Pick cottage-friendly plants like lavender and Russian sage for scent and movement.
- Install in spring; maintain with summer watering and fall division.
- Bring basic tools: spade, mallet, and landscape staples for tidy results.
Start with a Simple Plan: Shape, Sun, and Soil
Lay out a loose shape with a hose, then refine it to match how the sun and soil behave. This step saves time and helps the rest of the project feel calm and clear.
Map the edge: curves vs. straight lines
Walk your space and trace a gentle curve with a hose if you want a soft, cottage look. Pull a straight line with string and landscape staples for a modern, crisp look.
Hand edging with a spade gives a sharp line for either form but needs repeating every 1–2 years. Plastic rolls bend easily for curves; pound-in plastic is an easy solo install.
Sun patterns and USDA zones to guide plant choices
Watch light on the bed for a few days. Note full sun, part sun, or afternoon shade so you can pair perennials with the right spot.
- Dig a 6-inch test pit to feel your soil texture—sandy, clay, or loam.
- Use flags or string to mark focal points, then connect them with gentle arcs.
- Keep paths 24–36 inches wide so plants can billow without blocking the way.
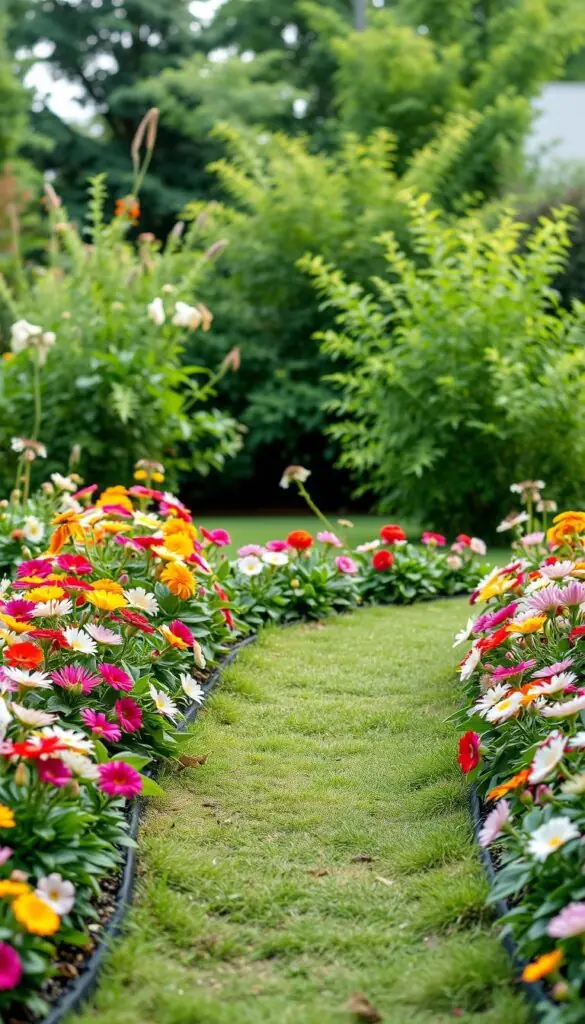
Garden Border Ideas
For fast wins, combine simple edging with forgiving perennials you can plant in a single afternoon.
Fast wins: materials you can install in a weekend
Want a clean edge today? Pound-in plastic edging and recycled rubber strips tap in quickly with a mallet and pegs. Hand edging with a spade gives a crisp line if you prefer no materials to buy.
Tip: Mark the line, tap in the edge, roll out weed barrier if needed, then mulch.
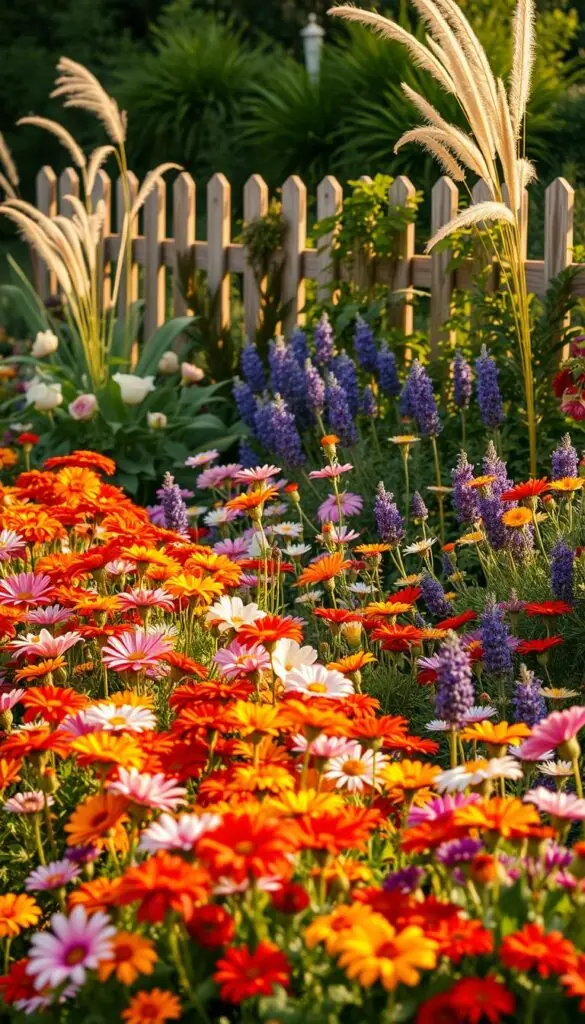
Plant-forward borders for cottage charm and pollinators
Group Russian sage, yarrow, and black-eyed Susans for gauzy movement and long-season blooms. Add gaura and phlox up front for soft color and scent.
Tuck lantana and verbena along the front lip to invite bees and butterflies. Use hydrangeas or ornamental grasses behind lower perennials for height and gentle sway.
Mix-and-match concepts: edging plus plants for a finished look
Combine a slim metal or plastic edging with a froth of perennials for a polished, natural look. Choose three repeating plants to create rhythm, then add seasonal accents.
- Compact varieties for narrow strips keep paths clear while feeling lush.
- Test one small section with flags before committing—quick wins build confidence to continue reading.
Quick-Install Edging Options That Keep Costs Lean
You can choose a quick edging option that fits your time and budget—and keep it tidy all season.
Pick what fits your routine: a no-dig strip, a pound-in run you can do solo, or a simple hand-cut edge that costs almost nothing.
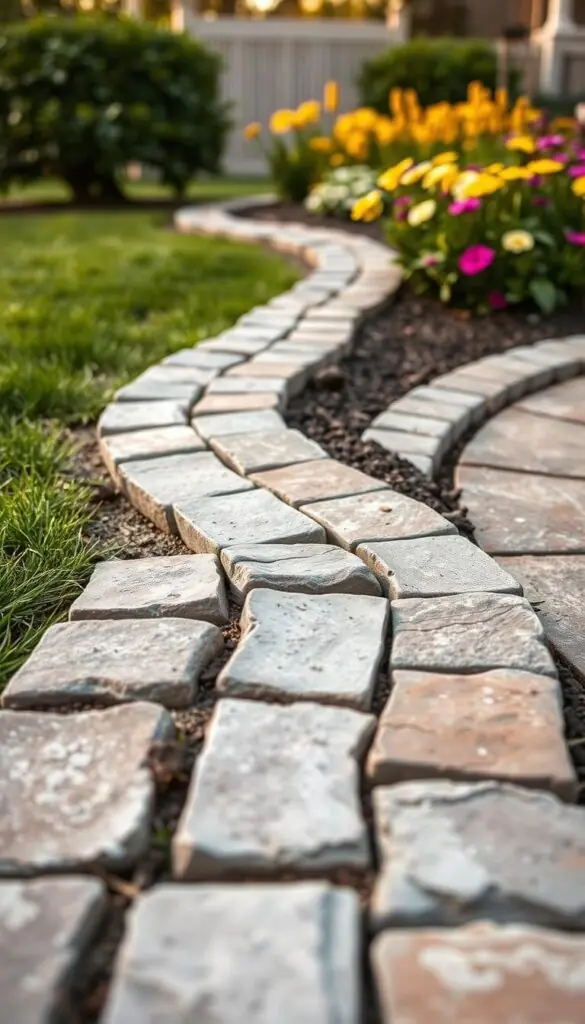
Plastic rolls and pound-in styles
Plastic edging in rolls bends for curves and needs a shallow trench. Dig 3–4 inches deep, set the strip, backfill, then tamp for a clean line.
Pound-in plastic clicks together. Use a rubber mallet and check level every few feet. In cold climates expect some heave; plan a quick tap-back in spring.
Recycled rubber: a no-dig, mower-friendly option
Recycled rubber edging lays on the soil and secures with pegs. It’s durable and lets your mower ride the lip, so you can skip string-trimming most weeks.
Align your curve, drive in the included pegs, and trim ends for a neat run. This option reduces soil disturbance and lasts through many seasons.
Hand edging with a spade or electric edger
Hand edging costs little and gives a crisp edge when you slice turf and dig a shallow gutter to block grass creep. Recut every year or two to keep it sharp.
Use a spade, mallet, stakes, and a small level for tricky corners. If you hit roots or stones, work in shorter segments to avoid gaps.
| Type | Install Time | Durability | Maintenance |
|---|---|---|---|
| Plastic rolls | 1–2 afternoons (helper helps) | Medium; holds shape | Tamp back and check level yearly |
| Pound-in plastic | Few hours (solo possible) | Medium; may heave in freeze/thaw | Tap back in spring |
| Recycled rubber | 1–3 hours | High; mower-friendly | Occasional peg checks |
| Hand edging | Varies; low cost | Low–medium | Recut every 1–2 years |
Practical tip: Keep a spade, mallet, stakes, and landscape staples nearby. Measure twice to avoid an afternoon advertisement run to the store—buy once and finish the run in one go.
Natural, Rustic, and Eco-Friendly Edges with Texture
Bring a soft, rustic rim to your beds with reused materials and simple tools. These options add a lived-in, cottage charm while keeping waste out of the landfill.
Woven willow (wattle) gives an instant English‑country look. Tap short sections into the soil with a mallet for a hand-made edge. Keep the wattle a few inches back from the lawn—string trimmers nick it easily.
Natural log or landscape timber works when you want a stronger line. Cut uniform rounds from a felled tree or buy timbers for straighter runs. Lift logs slightly on gravel in wet climates to slow rot.
Upcycled wine bottles create a jewel-toned rim when set upside down and sunk evenly. Space bottles consistently or make small waves for playful texture. Sink them so sunlight glints but they don’t become a trip hazard.
- Tools: mallet, saw, level, and pegs make installs fast.
- Durability notes: timbers last longer; wattle is charming but needs gentle sites.
- Plant pairing: mix airy perennials like gaura, salvia, and yarrow for movement beside rustic edging.
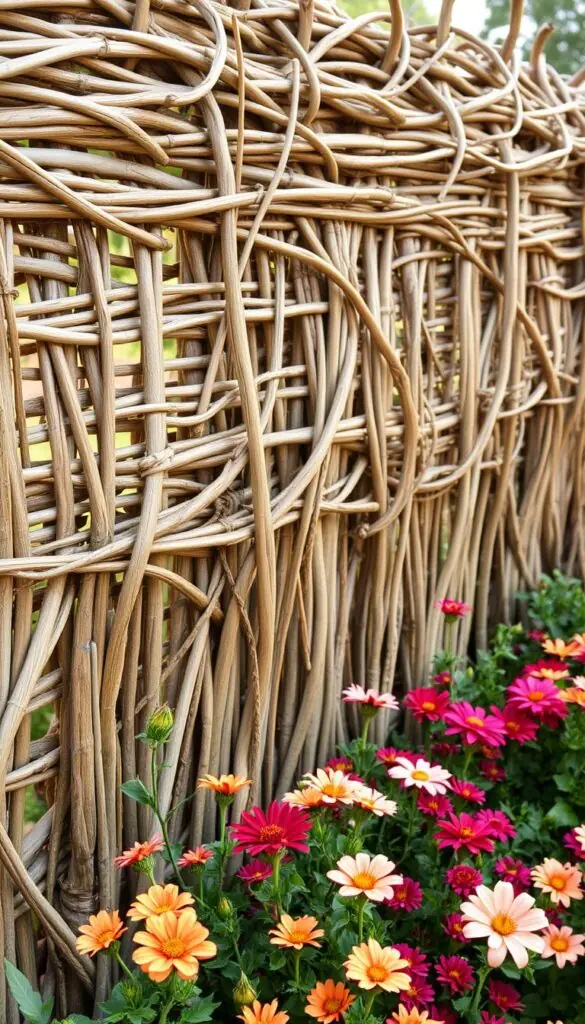
Save this look for areas you see up close; the handmade feel rewards slow, continue reading strolls.
Classic and Permanent Borders for Long-Term Structure
Choose a permanent edge when you want structure that endures and keeps beds tidy for years. Permanent materials cut maintenance and give a confident, finished look to your front and side beds.
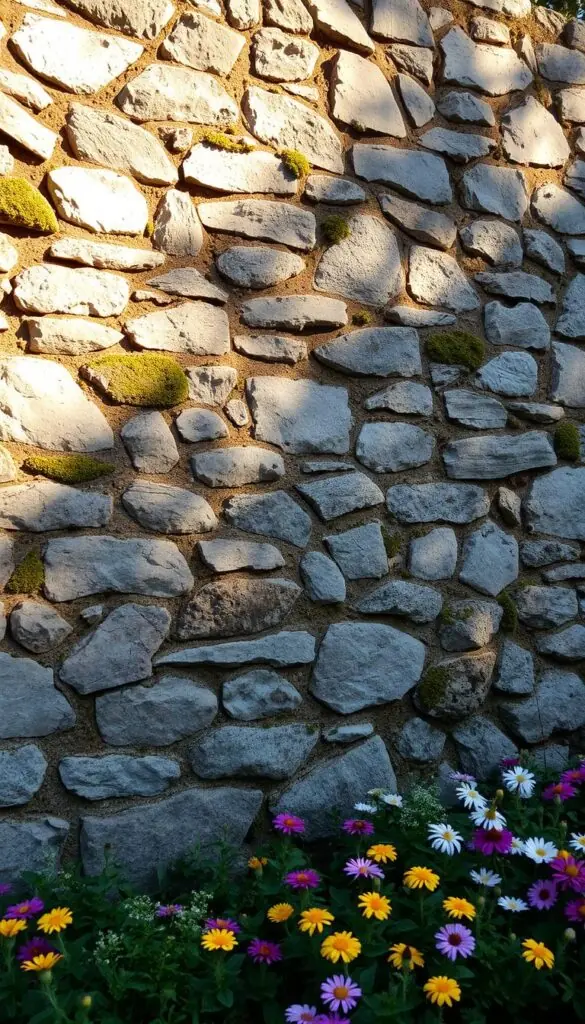
Brick and stone for timeless definition
Brick adds height and neat containment. It suits cottage and traditional homes and works well for steps or raised planting pockets.
Natural stone brings organic texture. Dry‑laid runs follow curves; mortared walls handle grade changes. Lifespan: decades with minimal care.
Poured or modular concrete walls for a crisp, modern line
Concrete gives a sleek, lasting edge and low maintenance. For straight, level runs and proper footing, plan to hire a pro—masons set cost by height and length.
Weathering steel for a warm, rust-brown patina
Weathering steel (corten) is slender, strong, and develops a rich patina over time. It lasts for years but needs correct anchoring and drainage.
- Pros: permanent borders save you time—no yearly re‑tapping or heave.
- Cons: higher upfront cost and often pro installation for best results.
- Design cue: match material to your home—brick with warm siding, stone with wood, corten with stucco.
- Tip: add mower strips so lawn care stays quick and tidy.
Cottage-Style Planting Border: Soft Color, Big Movement
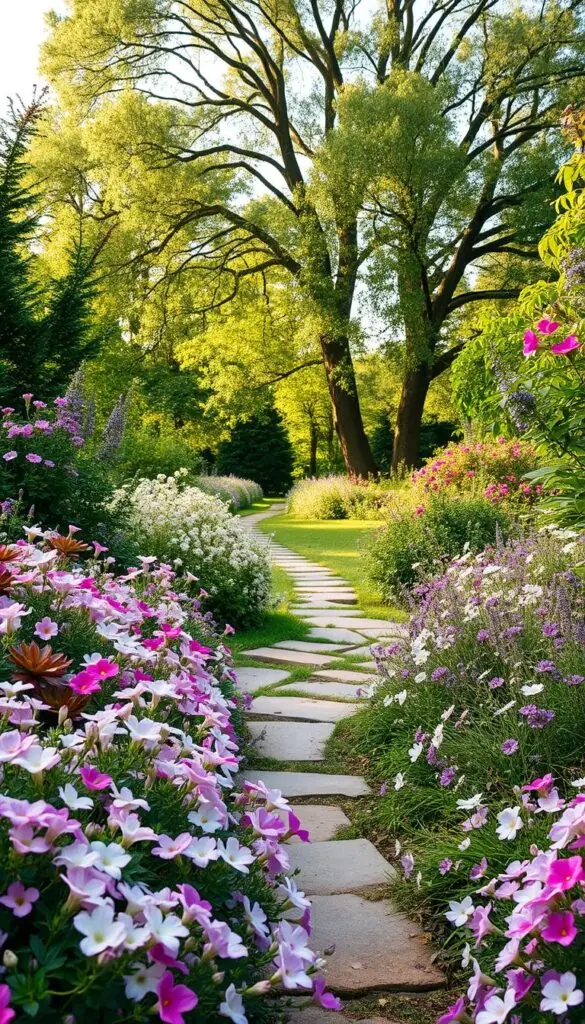
Create a soft, cottage planting strip that reads as a single, flowing ribbon of color and movement. Start with a low backbone of hydrangeas and grasses, then layer airy perennials in front.
Russian sage, yarrow, black-eyed Susans, and gaura
Plant drifts of Russian sage (3–4 ft tall) behind mid-height yarrow (1–2 ft). Space sage about 3–5 feet apart; space yarrow 1–2 feet to form carpets of color.
Tuck black-eyed Susans between spring bulbs. They bloom mid to late summer and may flop in very rich soil. Add gaura at the front—its wands sway like a grass and soften the edge.
Phlox, ‘Drift’ roses, and salvia for season-spanning blooms
Use phlox and salvia in 1–2 ft clusters to stretch blooms through the season. Place ‘Drift’ roses slightly back from narrow paths; give them full sun and accept some Japanese beetle nibbling mid-summer.
Hydrangeas and ornamental grasses for volume and sway
Choose compact hydrangeas—‘Bobo,’ ‘Endless Summer,’ or ‘Little Lime’—as anchors. Mix in low grasses like ‘Dwarf Hameln’ or pink muhly for gentle rustle and texture.
- Planting tip: repeat groups every 3–5 ft so the eye moves along the planting border.
- Water deeply the first season, deadhead phlox and salvia to extend blooms, and trim yarrow mid- and end-season.
Pollinator-Friendly Annuals to Tuck at the Edge
Place low, busy annuals at the edge to bridge gaps when perennials rest between flushes. Lantana and verbena are dependable picks that bring steady color and draw bees and butterflies from summer into fall.
Why they work: Both tolerate dry soil, perform in poor mixes, and fill quickly from small 4‑inch pots. They’re budget-friendly and forgiving if you plant a few in spring.
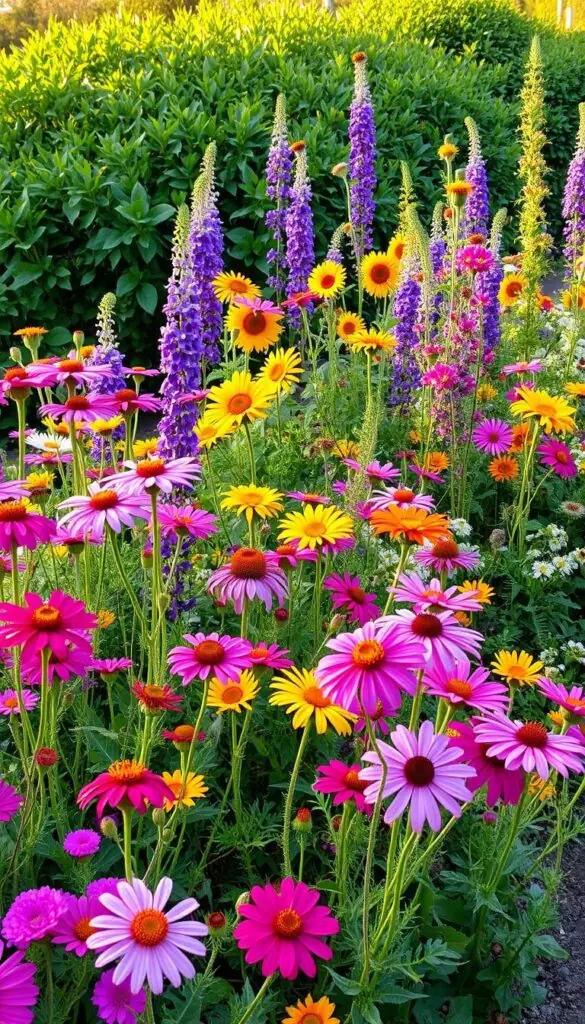
Lantana and verbena for summer-to-fall color
Tuck lantana and verbena along the front edge so butterflies rise as you walk by. Let them spill just a touch over pavers for a relaxed, lived-in look.
Choose sunset‑toned lantana with purple verbena for contrast. Water deeply to establish, then rely on their drought tolerance through heat waves.
How to layer annuals with perennials for nonstop blooms
Layer annuals in front of perennials like salvia and yarrow to bridge bloom cycles. Annuals fill holes between peaks and keep the look lively all year.
- Choose two or three 4‑inch pots per 3–4 ft section; they bulk up fast.
- Leave a few inches from the hard edge so mowing and sweeping stay easy.
- Deadhead lightly for more blooms or let pollinators feed on peak days.
- Replace tired plants midseason—it's an affordable refresh that keeps the color moving.
Tip: Mix colors thoughtfully and plant in small drifts so the eye moves along the edge. If you want more tips, continue reading into design by vibe for styling ideas that match a cottage or contemporary look.
Design by Vibe: Cottage, Coastal, or Contemporary
Start with the mood you want and build outward: humble and frothy, sun‑breezy, or clean and modern. Each approach uses simple materials and a couple of plants to make a clear, confident look.
Cottage: wattle, logs, and frothy perennials
Choose woven wattle or natural logs for edging and pair them with gaura, phlox, and black‑eyed Susans. Add a few hydrangeas at the back and let lavender brush the path for scent.
Action: Install short wattle runs and plant three repeating clumps of gaura for an instant storybook way to define beds.
Coastal: seashell or eucalyptus accents with airy grasses
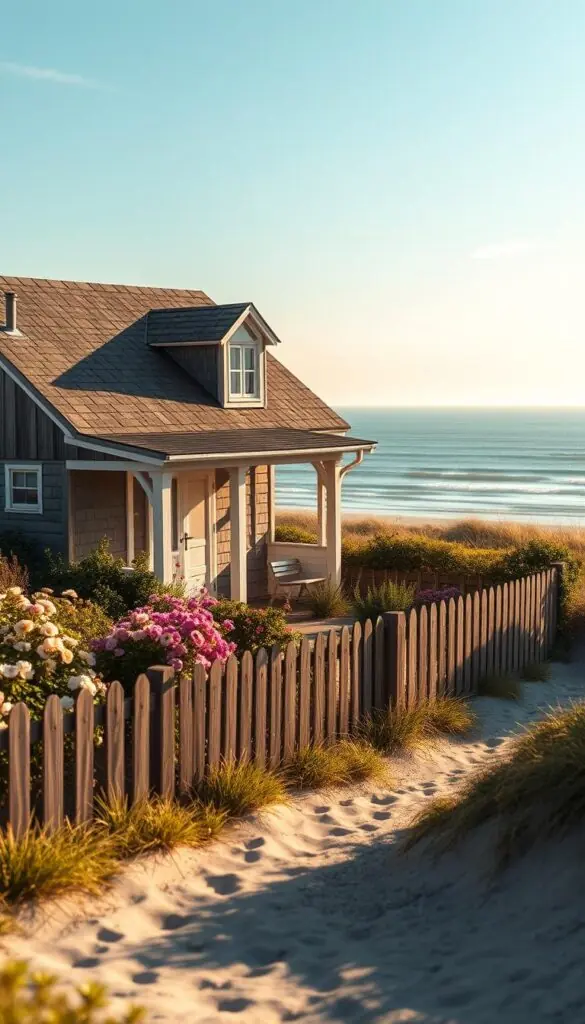
Line beds with seashell accents or eucalyptus wood and plant airy grasses for dune‑like movement. Use silver foliage and sun‑faded tones to keep the garden look light and breezy.
Action: Scatter flat river rock or a small bed of shells near a grass clump for low-effort coastal charm.
Contemporary: metal, concrete, and restrained palettes
Pick weathering steel or poured concrete for clean edges. Limit color to greens, whites, and one bold accent bloom and repeat blocks of the same form for calm order.
Action: Run a straight corten strip and plant low, sculptural evergreens at regular intervals for a modern frame.
| Vibe | Material | Plant Pairing |
|---|---|---|
| Cottage | Wattle / Natural logs | Gaura, phlox, hydrangea |
| Coastal | Seashells / Eucalyptus wood | Ornamental grasses, silver foliage |
| Contemporary | Weathering steel / Concrete | Evergreens, single accent blooms |
Mix vibes thoughtfully to match your home. Start small with one styled bed, repeat materials for continuity, and use stone sparingly as anchors. If you want more variety and a clear way to install these choices, continue reading for the step‑by‑step install.
Step-by-Step: Install an Edge and Plant the Border
Start by laying a simple guide line that follows how you walk the space—this keeps the final look natural and easy to maintain. Gather your hose, spade, mallet, level, wheelbarrow, landscape staples, weed barrier, and mulch. These tools make the job calm and doable in a single afternoon.
Mark, trench, and set your edging for a clean line
Mark your line with a hose. When it feels right, trace it with spray paint or flour for a clear guide.
For plastic rolls, dig a 3–4 inch trench, set the strip, backfill, and tamp for a straight, even edge. Pound-in plastic installs with a mallet—tap segments level as you go. Recycled rubber lays on top and needs pegs at curves and corners.
Prep soil, set heights front-to-back, and mulch neatly
Rake the soil smooth inside the edge and add compost if the soil needs it. Set a gentle slope from back to front so water runs away from hard surfaces.
Stage plants by height: tall anchors at the back, mids in the middle, and low bloomers at the front edge. Put plants in groups of threes and fives, then step back to check the balance before digging.
- Water planting holes before you plant, then water again after backfilling to settle soil.
- Lay weed barrier only where you won’t plant; pin it with landscape staples. Add 2–3 inches of mulch to finish the look.
- Sweep paths and edge lines—clean edges make the whole garden look intentional.
- Set a few reminders on your phone for spring tap-backs, midseason deadheading, and fall top-ups for easy reading later.
| Task | Tool(s) | Key Step | Why it helps |
|---|---|---|---|
| Mark line | hose, spray paint | Trace until the curve feels right | Prevents rework and keeps the look natural |
| Install plastic rolls | spade, tamp, level | Trench 3–4 in, set, backfill | Straight, durable edge for many seasons |
| Pound-in / rubber | mallet, pegs | Align segments, tap and pin | Fast install; good for curves and solo work |
| Planting and finish | wheelbarrow, rake, landscape staples, mulch | Stage by height, water, mulch 2–3 in | Healthy plants and a tidy, intentional look |
Seasonal Timing in the United States
Timing the right tasks to the calendar keeps your beds healthy and low‑stress.
Spring: start when soil is workable
Install edging and plant perennials once the soil thaws and you can dig without compaction. Wait until after your last frost to set annuals.
Tip: Top‑dress with compost and add 2–3 inches of mulch so beds stay moist as days warm.
Summer: water, deadhead, enjoy
Water deeply once or twice a week depending on heat and soil type. Deadhead spent blooms to extend color and fragrance.
Check edges after heavy storms and tap any heaved sections back into place.
Fall: divide, top up, and plant shrubs
Divide crowded clumps to reset growth for next year. Top up gravel or mulch for a clean finish.
Plant shrubs like spirea and compact hydrangeas in cooler temps so roots establish before winter.
Winter: structure and planning
Enjoy silhouettes of grasses and spirea and the tidy line your edging provides. Leave seedheads for birds if you like.
Note gaps now and plan small changes for spring—set a simple calendar by zone so you keep momentum without overwhelm.
"A few timely nudges across the year make maintenance feel light and steady."

- Keep a short seasonal checklist by USDA zone.
- Record your last frost date and set reminders for planting and tap‑backs.
- For more on layering and upkeep, continue reading the next sections.
Small Spaces and Paths: Make a Narrow Border Feel Lush
Even a tight walkway can read as full if you choose compact shapes and repeat them.
Choose compact varieties—‘Bobo’ hydrangea, ‘Dwarf Hameln’ grass, and short phlox—to add height without crowding the path.
Stagger plants front-to-back by just 6–8 inches to create depth where space is tight. Use a slim metal or plastic edging strip to protect the path line while letting foliage soften the look.
- Repeat two or three specimens so the run reads calm and cohesive.
- Tuck color at ankle height with verbena or lantana for steady charm.
- Mulch lightly so soil stays put and sweepable after rain.
Keep plants a few inches off the paver edge so mowing and sweeping stay easy. Edit midseason—move anything that starts to creep into the path.
"A little restraint and steady repeats make small runs feel intentional and lush."
Use scent—lavender by a step—and soft lighting along the edge to turn a narrow garden strip into a welcoming evening highlight.
Budget, Tools, and Materials Checklist
Start by listing the tools and materials you’ll need so the job finishes in one calm afternoon. This short plan keeps costs low and helps you decide where to save or splurge.
What you’ll actually use
Bring a flat spade or edging shovel, rubber mallet, hand tamper, level, and landscape staples. Add a wheelbarrow and weed barrier for tidy prep.
Optional power tool: an electric edger speeds long runs but is not required for small jobs.
Smart saves vs. splurges
- Saver pick: plastic edging — low cost, flexible for curves, dependable for most garden runs.
- Low‑maintenance pick: recycled rubber — no‑dig install, pegs included, mower‑friendly and built to last years.
- Splurge pick: brick or stone — timeless, durable, often needs pro base prep and installation.
- DIY lumber: landscape timbers — budget friendly but take time to level and spike in place.
| Item | Typical Cost | Durability | Best Use |
|---|---|---|---|
| Plastic edging (rolls) | Low ($) | Medium | Curves and quick installs |
| Recycled rubber strips | Medium ($$) | High (years) | No‑dig, mower‑friendly fronts |
| Brick / stone | High ($$$) | Very high | Permanent, front‑facing beds |
| Landscape timbers | Low–Medium ($–$$) | Medium | Budgeted DIY with extra labor |
Materials math: Measure your run, add 10% for cuts and curves, and buy connectors up front to avoid a mid‑project advertisement sprint.
Stretch your budget by mixing hand edging in tucked spots with plastic or recycled rubber where everyone sees it. Keep a small contingency for extra stakes and pins — they save headaches later.
Color, Texture, and Bloom Time: A Simple Planting Recipe
Use a repeatable recipe of foliage, contrast, and staggered bloom times to keep your outdoor space lively all year.
Front-middle-back layering for year-round beauty
Think in three bands: low bloomers up front, midsized perennials in the center, and taller anchors at the back. This gives depth and keeps paths clear.
Try this copyable formula: verbena or salvia at the lip; phlox and yarrow in the middle; hydrangeas or grasses behind for volume and sway.
Repeat the palette every few feet so color feels calm and cohesive. Use two to three main colors plus green for balanced beauty.
Leaf shape and movement to make flowers pop
Mix fine, airy leaves—gaura and yarrow—with broader hydrangea leaves to make each bloom stand out. Texture does as much work as color.
- Sequence blooms: early salvia, summer black-eyed Susans, fall‑lingering lantana—so there’s always something on stage.
- Choose moving grasses like ‘Dwarf Hameln’ or pink muhly for evening motion.
- Mulch in deep brown to make greens richer and colors brighter; plant lavender at touch points for scent.
Quick tip: take a photo each season to spot gaps and refine your palette. This small habit turns good planting into lasting charm and useful future ideas.
Common Mistakes to Avoid
A tidy finish often comes down to spacing, secure edging, and steady watering.
Small slips early on make a neat run feel messy by midseason. Take a breath and check spacing, scale, and maintenance needs before you dig. A quick plan saves time and keeps the finished look calm and intentional.
Practical tips to prevent trouble:
- Skip the rush: mark curves or straight lines first so your run isn’t wobbly.
- Go light on compost near tough perennials — over-amended soil can make black-eyed Susans flop.
- Set thorny plants like ‘Drift’ roses back from narrow paths to avoid snagging sleeves.
- Tap and pin pound-in plastic firmly; plan a short spring check for frost heave and re-tap as needed.
- Leave an inch of hard edge for mower clearance so your grass care stays quick and tidy.
- Give each plant its mature width so your border won’t bulge in one year year.
- Water deeply and less often to encourage roots to dive, instead of quick surface soaks.
- Repeat a few favorite plants for rhythm — too many one-offs make the run feel busy.
| Mistake | Why it matters | Easy fix |
|---|---|---|
| Rushing layout | Wobbly lines and wasted time | Spend 10 minutes marking your line with a hose |
| Overly rich soil | Floppy, weak stems | Use modest compost and test soil before heavy amendments |
| Under-secured edging | Heave and shifting after freeze/thaw | Pin curves and re-tap pound-in runs each spring |
If you’re unsure, take a photo and continue reading the plan notes. A small tweak now makes the whole space feel more welcoming and easy to care for. This simple idea keeps your planting work feeling like a friendly, steady project for your home garden.
Maintenance Made Easy: Keep Edges Sharp and Borders Blooming
A few quick tasks each season will keep edges crisp and flowers putting on their best show. This short plan focuses on simple checks that save you time and keep the planting runs healthy all year.
Re-tap frost-heaved edging and refresh gravel
Each spring, walk your edging with a mallet and level. Tap any raised pound-in plastic back into a smooth line — it’s normal after freezes.
Top up gravel every couple of years so trenches drain and stay neat. Hand-edged runs benefit from a yearly recut to keep a neat hard edge.
Cutbacks, trims, and when to let seedheads stand
- Deadhead faded blooms for nonstop color, or leave some seedheads for birds and winter interest.
- Trim ornamental grass in late winter before new shoots—about 15 minutes per clump.
- Keep mulch at 2–3 inches and off stems to prevent rot and weeds.
- Watch for encroaching grass and slide in a slim edge strip if you need extra help.
- Water deeply during dry spells; a slow soak saves you more time than quick sips.
Friendly habit: note what thrived this season and pin a short reading checklist to your shed door. Small, regular care keeps your garden feeling calm and tidy for years.
Conclusion
A single tidy edge and a few steady plants can change how your yard feels in a weekend. Choose plastic, recycled rubber, steel, stone, or wattle and pair it with forgiving perennials like Russian sage, yarrow, gaura, hydrangeas, and pollinator annuals for an easy, lasting garden border.
Picture evening light on grasses, lavender brushing your ankle, and butterflies lifting as you pass. That quiet, welcoming look grows from simple choices and small, steady care over the year and the years that follow.
Start small, repeat what you love, and lean on plants that forgive a missed watering. You’ve got the steps, the tools, and the plant list—now enjoy the beauty you’re growing every day. Save this guide and continue reading for fresh ideas when you plan your next little upgrade.
FAQ
How do I plan the shape of a flower border—curves or straight lines?
Start by walking the edge and picturing how you’ll view it. Curves soften a space and guide the eye, great for cottage or informal beds. Straight lines read as tidy and modern, working well with brick, stone, or metal edging. Choose the shape that matches your home’s style and the way you move through the yard.
How important are sun patterns and USDA zones when choosing plants?
Very important. Note daily sun exposure—full sun, part shade, or full shade—and check your USDA hardiness zone. These two factors narrow plant choices so you pick species that will thrive rather than struggle. Match soil moisture and light needs for best results.
What quick materials can I install in a weekend for an instant edge?
Fast wins include roll-style plastic edging, pound-in metal strips, and recycled rubber edging. These are easy to set with simple tools and give a clear line fast. Pair them with mulch and a few planted perennials to finish the look.
Is recycled rubber a good long-term edging option?
Yes—recycled rubber is durable, mower-friendly, and often requires less digging than stone. It gives a neat, low-profile edge and ages well in wet climates. It’s an eco-conscious choice when you want a natural look without heavy labor.
What low-cost natural options add texture and charm?
Woven willow (wattle), natural logs, and upcycled wine bottles create rustic, eco-friendly edges. They bring warm texture and cottage character. These materials work best for informal beds and add habitat value for beneficial insects.
When should I choose permanent materials like brick or stone?
Choose brick, stone, or poured concrete when you want a lasting, structured line—especially in formal, high-traffic, or sloped areas. These materials resist erosion and give a polished look that needs little yearly adjustment.
Which plants give a cottage-style feel with long season interest?
Combine soft perennials like phlox, Russian sage, yarrow, salvia, and Drift roses with hydrangeas and ornamental grasses. Layer them front to back for continuous blooms, scent, and movement through spring to fall.
How do I add pollinator-friendly annuals to the edge?
Tuck lantana, verbena, cosmos, and calendula at the front of beds. Mix them with perennials for staggered blooms. Choose nectar-rich flowers and avoid pesticide use to support bees and butterflies.
How do I install edging and plant the border step by step?
Mark your line with string or hose, dig a shallow trench for the chosen edging, and set it level. Prepare the soil by amending and grading front-to-back for drainage. Plant in groups with heights designed front-to-back, then mulch to conserve moisture.
What’s the best seasonal timing in the U.S. to install an edge and plant?
Spring is ideal for installing edging and planting perennials after the last frost. Fall works well for shrubs and many perennials when temperatures cool. In summer, focus on watering and maintenance; winter is for planning and installing hard edges if ground conditions allow.
How can I make a narrow edge look lush in a small space?
Use tightly scaled plants, layered heights, and repeated color to create the illusion of abundance. Narrow paths benefit from low-growing groundcovers, clump-forming perennials, and vertical accents like small grasses or dwarf shrubs.
What tools and materials should I have on hand for edging projects?
Keep a spade, mallet, landscape staples, string, measuring tape, and an edger or half-moon tool. Have mulch, compost, and appropriate edging material ready. A knee pad and gloves make the job more comfortable.
How do I balance budget-friendly choices with splurges?
Save on materials like recycled rubber or reclaimed stone, and splurge on high-impact plants or a few long-lasting features such as a quality metal edge or a focal shrub. Invest in good soil—plants repay that investment quickly.
How should I plan color, texture, and bloom time for year-round interest?
Use a front-middle-back planting recipe: low, colorful annuals or groundcovers in front, mid-height perennials in the middle, and taller shrubs or grasses at the back. Choose plants with staggered bloom times and varied leaf shapes for continuous appeal.
What are common mistakes to avoid when creating an edge?
Avoid planting too close to the edge, using incompatible plant sizes, and failing to account for mature growth. Don’t skimp on soil prep or drainage. Also, resist overspecifying one material across an entire yard—mixing textures often looks more natural.
How do I maintain edges and keep borders looking neat year after year?
Re-tap frost-heaved edging each spring, refresh mulch annually, and trim perennials as needed. Deadhead spent blooms for longer flowering, divide overcrowded plants in fall or spring, and keep a seasonal check on soil health.