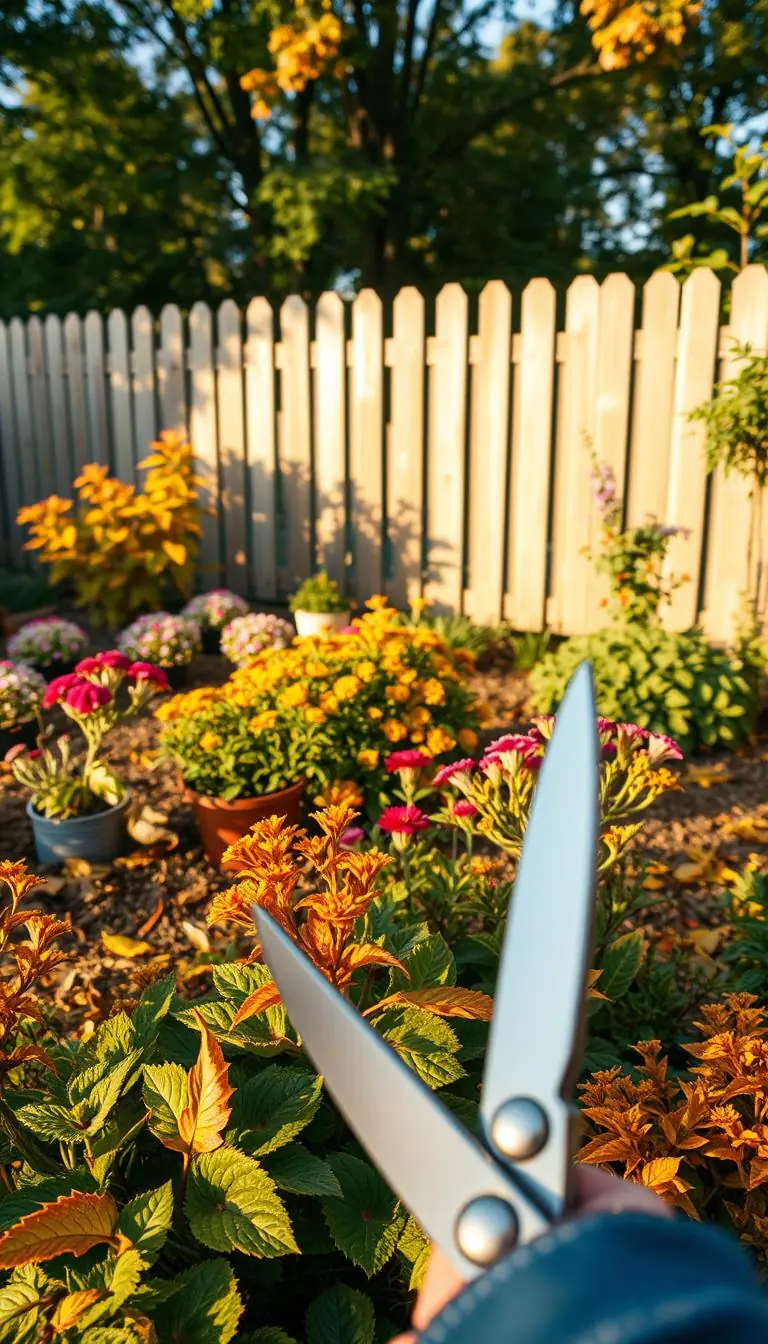
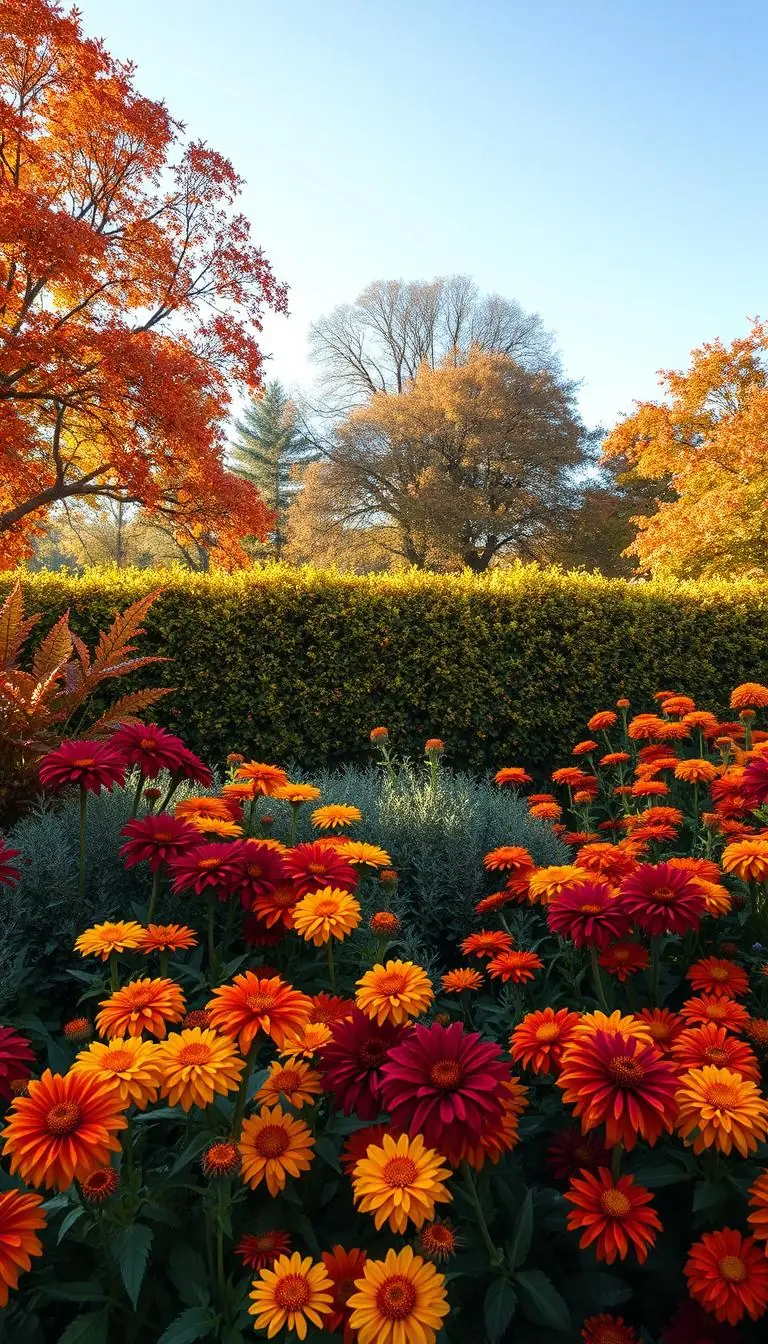
You kneel in cool, damp soil and feel a clump give under your hands — roots, earth, and a fresh scent of rain. Have you noticed smaller blooms or a bald center in a once-lush bed? That quiet cue means it’s time to act so your plants can thrive again.
This friendly guide walks you through gentle, no-fuss steps to split crowded root balls and set tidy divisions back into a sunlit garden bed. We keep things simple: pick a cloudy day, water first, use a spade or fork, and aim for divisions with three to five vigorous shoots.
You’ll learn when in the year to work — spring for fall bloomers, fall for spring and summer bloomers — and how to avoid common mistakes like working while plants are in flower or letting new pieces dry out.
Key Takeaways
- Watch for smaller flowers or a hollow crown as signs it’s time to act.
- Prep on a cool, overcast day with moist soil and simple tools.
- Each division needs 3–5 strong shoots and healthy roots before replanting.
- Replant at the same depth, water well, and mulch lightly to retain moisture.
- Trim excess foliage to reduce stress and help new pieces establish.
Why dividing perennials boosts beauty and plant health
Refreshing crowded clumps gives your garden an instant lift — bigger blooms, cleaner leaves, and a tidier shape.
Opening up a clump reduces competition for water, light, and nutrients. Roots get room to sip moisture and send energy to new growth. The result is stronger stems and fuller flowers.
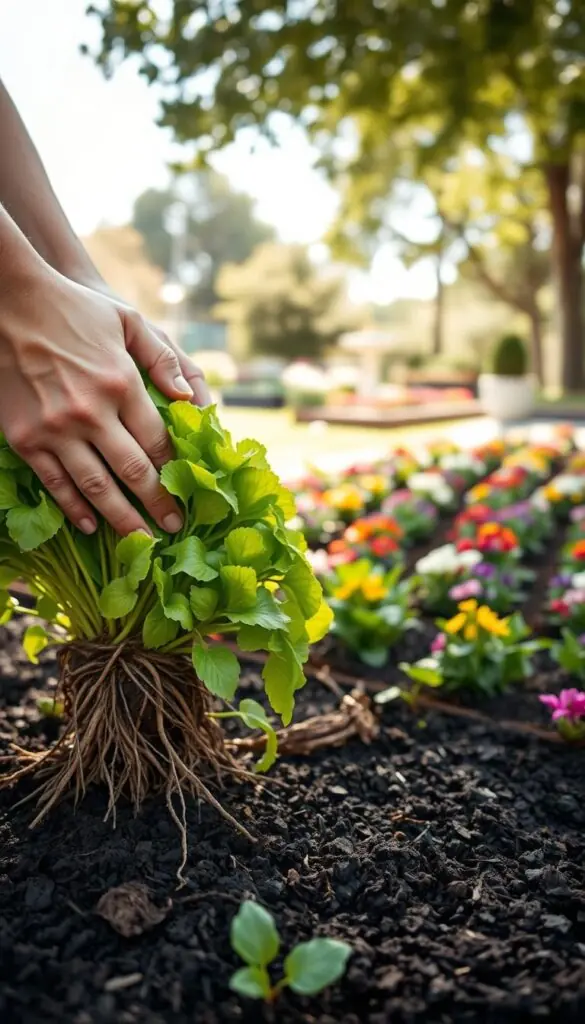
Rejuvenation: more blooms and fresher foliage
When you remove crowded material, air moves more freely through the crown. That cuts mildew and keeps foliage cleaner after rain.
Size control: tame enthusiastic spreaders
Keeping a sensible size stops ornamental grasses and other vigorous plants from swallowing nearby space. Your border stays balanced and neat.
More plants for free
Refreshing sections gives you extra pieces to fill bare spots or to share with neighbors. Nepeta and Japanese painted fern handle this well; but if a plant dislikes disturbance, such as Baptisia, leave it alone.
Clear signs it’s time
- Smaller flowers than last season
- A tired, bare center in the clump
- Stems that flop or crowd each other
Tip: Work on a cool, cloudy day and keep new pieces shaded until they settle. Your perennial garden will thank you with brighter color and steadier growth.
When to divide perennials in the U.S. for best results
Choose the moment in the year that gives roots quiet time to re-establish. Timing matters more than tools. A gentle schedule reduces shock and helps your plants put energy into roots and new leaves.
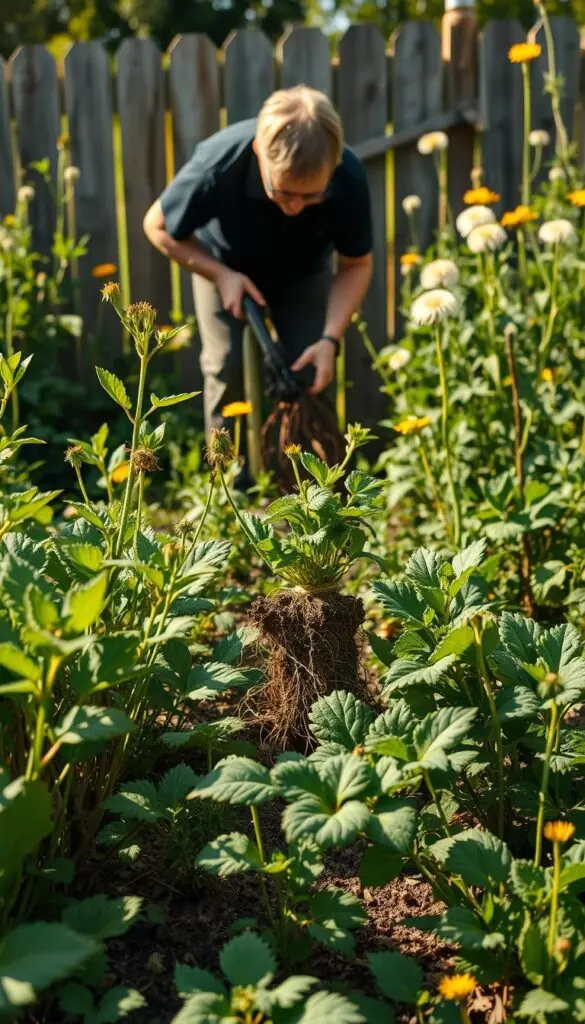
Spring strategy
Target fall-blooming varieties in spring — asters, mums, and similar types. Wait until you see fresh shoots pushing up.
Cool air, moist soil, and stored root energy help newly split sections recover. Spring work gives them a full season to settle before winter.
Fall timing
For spring and summer bloomers, plan work in the fall. Aim for 4–6 weeks before the ground freezes so roots can anchor.
In northern zones that often means mid-September; warmer areas may stretch to mid-October. Pick a cool, cloudy day — not heat or drought.
Bloom-smart rule
“Work only when plants are not flowering so energy goes to roots and foliage.”
- Use the simple rule: avoid flowering time.
- Spring divisions have a full year to re-establish; fall divisions finish root work before winter.
- If you miss the window, wait — rushing in peak heat or bloom will set plants back.
Tools, prep, and gentle conditions that make division easy
Gathering the right tools and tuning the site makes the whole job gentler on your plants and easier on you.
What to have on hand
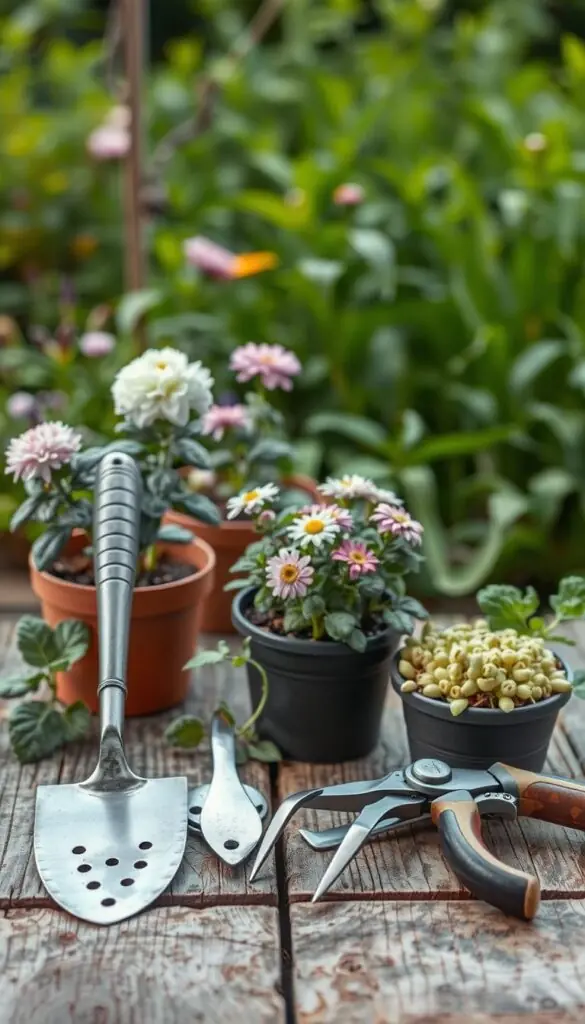
- spade or garden fork
- sharp knife or sturdy knife for tough crowns
- gloves, a hose with a gentle spray, and a light mulch
Prep the site and the soil
Water the area a day before if it is dry so the soil feels cool and crumbly. Work on a cloudy day; light showers help recovery.
Dig and prepare new holes first. Match the original crown depth and aim for well-drained soil with a pH near 6–7.
| Step | Why it helps | Quick tip |
|---|---|---|
| Water bed day before | Roots loosen in moist ground | Soil should crumble, not clump |
| Prep holes first | Keeps new pieces from drying | Same depth as original crown |
| Add compost | Improves texture and moisture | One scoop per hole, no soggy spots |
| Lift and inspect roots | Cleaner cuts, less damage | Shake or hose off loose soil |
Slice wide around the plant, then slide your fork or spade under the root mass to lift with care. For dense-rooted types, use the sharp knife to separate crowns cleanly.
Keep divisions shaded on a tarp or tray so each piece stays cool and moist while you work down the row.
How to divide perennials: step-by-step
Follow these simple, tactile steps and your plants will thank you. Start on a cool, cloudy day and water the bed the day before so the soil is damp but not muddy.
-
Lift the clump
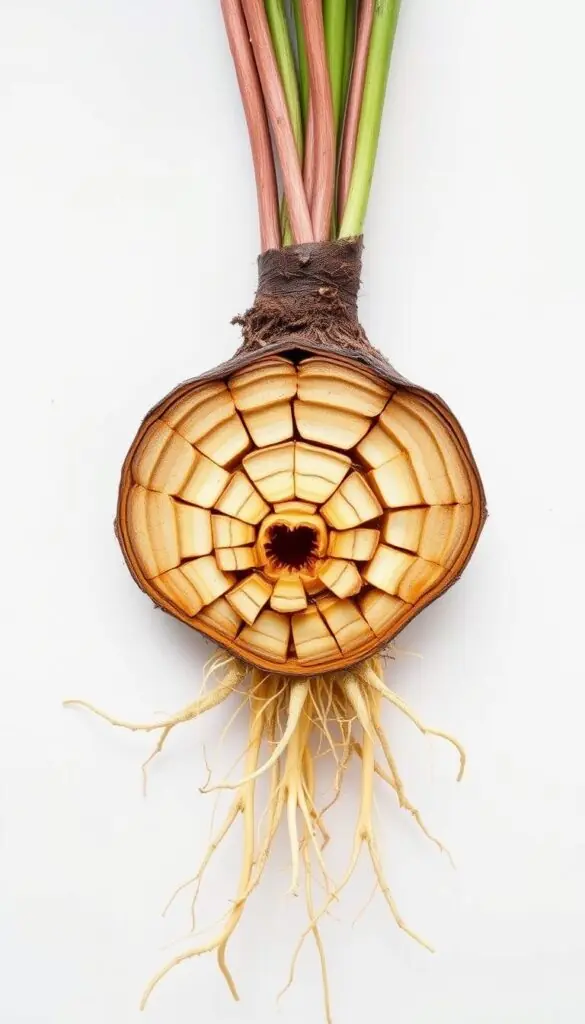
Dig a wide circle around the plant and lever the clump up with a spade or fork. Keep the root mass intact so you can see firm-but-springy roots and any hollow centers.
-
Clear loose soil
Knock or hose off soil until roots and crowns are visible. This helps you separate without shredding roots.
-
Split the root mass
Hand-tease apart easy clumps. For dense crowns, cut cleanly with a sharp knife or insert two forks back-to-back and pry. Work gently to avoid ragged tears.
-
Right-sized divisions
Aim for pieces with 3–5 vigorous shoots and a healthy skirt of roots. Trim only very long, damaged roots a little to encourage branching. Discard weak or dead bits.
-
Hold them cool
Park finished divisions in shade on damp mulch or a tarp. Mist lightly — don’t let them bake in sun or wind while you finish planting.
-
Replant and finish
Set each piece at the same depth it grew before. Firm the ground gently, water until the soil is evenly moist, and add a light mulch to keep the cool, fresh feel.
Quick mistakes to avoid: rushing on a hot day, burying the crown, or letting pieces dry out. Take your time; small careful steps give big rewards.
| Action | Why it helps | Quick tip |
|---|---|---|
| Water day before | Soil loosens and roots lift cleanly | Soil should crumble, not clump |
| Use two forks or knife | Clean separation with less damage | Cut through crowns for dense clumps |
| Shade and mist | Prevents drying and shock | Keep divisions on damp mulch until planted |
Techniques by root systems
Match your method to how a plant spreads below ground — the technique for grasses won’t suit a rhizome.
Spreading root systems
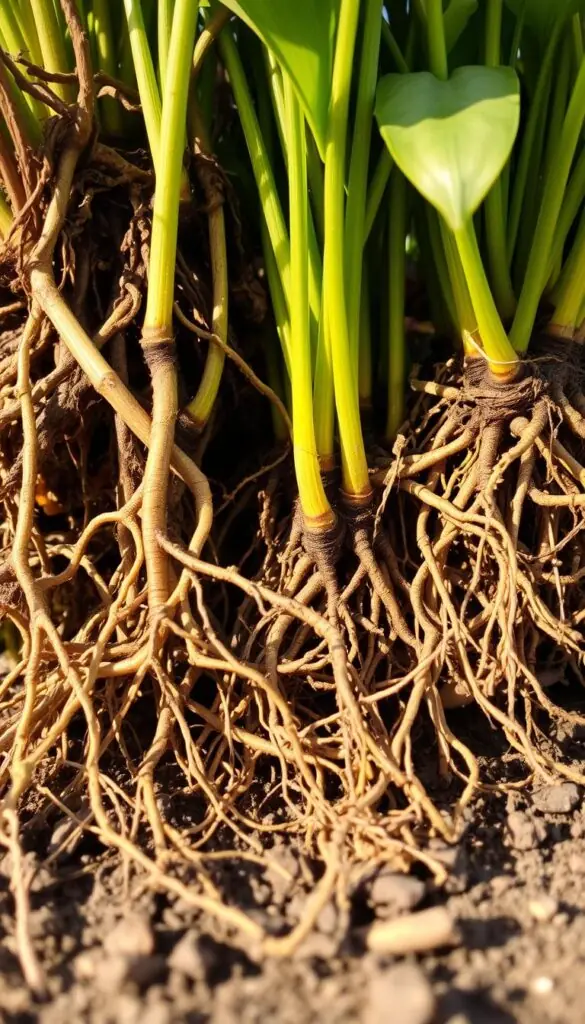
Spreading types, like ornamental grasses and Coreopsis, form mats that you can peel or slice into fresh clump pieces.
Work with your hands first; if the mass is dense, use two forks back-to-back or a sharp knife to avoid crushing roots.
- Pull or cut sections and toss the woody, tired center for better vigor.
- Keep pieces shaded so the cool feel tells you they are not drying out.
Clumping root systems
Clumping plants such as daylily and hosta are best cut through the crown. Aim for divisions with several firm eyes.
Single-eye pieces give you more plants but may skip a bloom season. Replant at the depth of the original plant and water well.
Rhizomes
For bearded iris, trim leaves by half and remove soft or bug‑damaged rhizomes.
Replant so the rhizome top sits just above the soil surface and the trimmed leaves help reduce stress as roots re-establish.
Quick tip: If the original shows rot or pests, discard the worst parts and only replant crisp, healthy sections to keep nearby plants thriving.
Replanting, aftercare, and first-year tips
After you set each piece back in the bed, gentle care helps roots claim their new home.
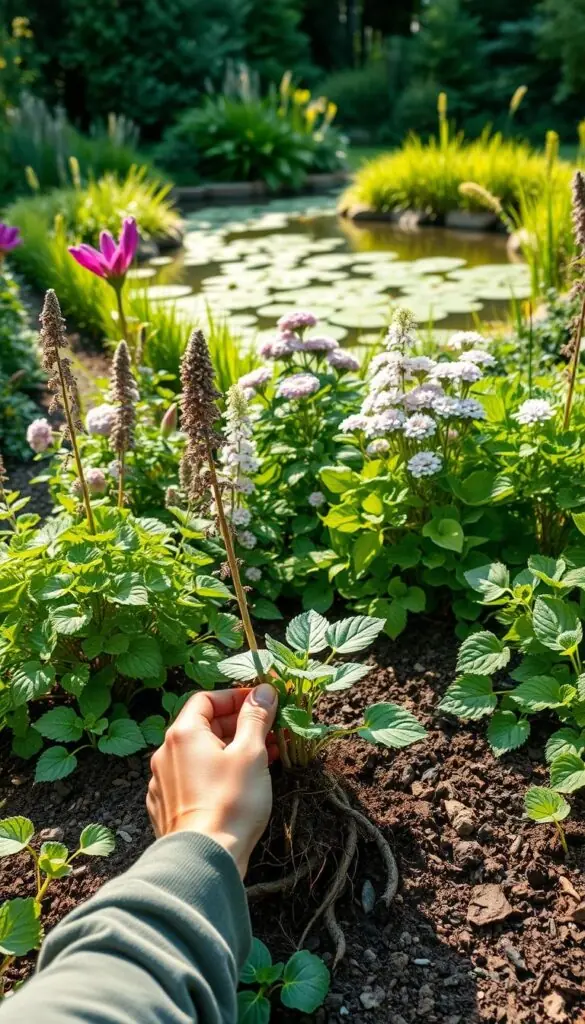
Settle them in: Plant each piece at the original depth so the crown sits level with the soil surface. Firm the ground gently to remove air pockets and water deeply until moisture reaches the root zone.
Add a light mulch to keep the ground cool and retain even moisture. In hot regions, give new plants afternoon shade for the first week so stems and leaves stay perky.
Reduce stress and monitor moisture
Trim extra foliage—about one-third or down to roughly six inches for some types—so each plant loses less water while roots grow. This simple cut backs stress and encourages root growth.
Check soil often during the first year. Water when the top inch feels dry; aim for even dampness, not soggy ground. If dry, windy weather arrives, mist leaves in the evening and add a touch more mulch.
Practical timeline and common mistakes
- Skip fertilizer at planting: steady moisture and good soil contact beat a quick feed.
- Expect steady growth: many divisions look stronger by season’s end; fuller flowering can take one to two years.
- Avoid hot, droughty days: planting or working in heat stresses roots and slows recovery.
| Task | Why it matters | Quick tip |
|---|---|---|
| Plant at same depth | Prevents crown rot or burial stress | Level crown with soil surface |
| Firm soil and water deeply | Removes air pockets and wets root zone | Soil should feel evenly damp |
| Light mulch & shade | Keeps ground cool and reduces water loss | Use 1–2 inches of organic mulch |
| Trim foliage | Lowers transpiration while roots settle | Cut about one-third or to ~6 inches |
Conclusion
A little careful work now gives your garden stronger stems and brighter flowers later.
Keep it simple: pick the right time in spring or fall, lift the clump with a spade or fork, and split into pieces with 3–5 healthy shoots. Shade finished divisions and keep roots cool and moist while you replant at the original depth.
Trim some foliage to lower stress, add a light mulch, and check soil moisture through the first season. Skip plants that dislike disturbance and share extra pieces with a neighbor.
With a calm pace and steady touch, you’ll renew plants, reclaim space, and enjoy a fuller, more vibrant garden in the years ahead.
FAQ
When is the best time to divide my perennial plants?
For fall-blooming varieties, wait until new spring shoots appear. For spring- and summer-blooming plants, aim for early fall—about 4–6 weeks before the ground freezes. The general rule is to work when plants aren’t in flower to reduce stress.
How do I know a plant needs dividing?
Clear signs include smaller or fewer flowers, a bare center with growth only at the edges, stems that flop, or a crowded clump that outgrows its space. Plants older than three to five years often benefit from rejuvenation.
What tools and supplies should I have ready?
Bring a sharp spade or garden fork, a sturdy knife for tough crowns, gloves, a hose for watering, and mulch. Prep the planting holes in advance so divisions go straight into well-drained, slightly moist soil with a pH near 6–7.
How do I lift and split the root mass without damaging it?
Water the area the day before to loosen soil. Dig wide around the clump, lift gently with a fork or spade, then either tease roots apart by hand, slice with a sharp knife, or pry with two forks back-to-back. Keep cuts clean and avoid tearing roots.
How large should each division be?
Target divisions with about 3–5 healthy shoots and a good portion of roots. Aim for pieces that are vigorous enough to establish quickly but not so large that the original plant suffers.
How should I handle divisions before replanting?
Keep divisions shaded and moist—lay them on damp burlap or in shallow trays and water lightly. Plant them as soon as possible to prevent drying; if delay is unavoidable, heel them into cool, damp soil temporarily.
Any specific tips for ornamental grasses and clumping plants?
For grasses and spreading types like tickseed, pull or cut apart and remove the old center if it’s woody or sparse. Clumping plants such as daylilies and hostas need a crown cut through with several “eyes” per division to ensure regrowth.
How do I divide bearded iris and other rhizome-based plants?
Lift the rhizome, trim back leaves to reduce water loss, remove any soft or damaged rhizomes, and replant the healthy pieces so the top of the rhizome sits just at or slightly above the soil surface.
What aftercare helps divisions establish in their first year?
Plant at the same depth as before, firm soil around roots, water deeply after planting, and apply a light mulch. Reduce top growth if needed and monitor soil moisture—consistent dampness (not waterlogged) helps roots form quickly.
Can I split a large clump into many small pieces to make more plants?
Yes, but avoid making divisions too tiny. Very small pieces with one or no shoots struggle to survive. Aim for divisions that give each new plant enough roots and at least a few shoots to thrive.
Is it safe to use a knife or spade that’s not sterilized?
It’s best to clean and sterilize tools between cuts, especially when plants show signs of disease. A quick wipe with isopropyl alcohol or a dilute bleach solution helps prevent spreading pathogens.
How often should I plan to refresh my garden by dividing plants?
Most long-lived plants benefit every 3–5 years. Faster-spreading varieties or those showing decline may need attention sooner. Regular division keeps gardens lush, controls size, and multiplies your stock for sharing or filling gaps.