Morning light falls on the kitchen window and you notice a jar of green leaves calling for attention. You want to keep that bright scent and add real flavor to your food all year.
You’ll get calm, step-by-step guidance you can trust. We show simple methods that fit a busy home and small spaces. The focus is gentle handling, clear timing, and easy tools.
You’ll learn when to pick, how to tell when a herb is ready, and smart storage tips—like reusing spice jars or choosing amber Ball jars to protect leaves from light.
The process preserves taste and trims waste. Expect sensory cues: the papery snap of a leaf and the piney note of rosemary as it dries. By the end you’ll feel confident using pantry staples from your garden in the kitchen.
Key Takeaways
- You’ll get reliable, simple methods to preserve garden herbs for use all year.
- Pick at the right time and keep leaves whole to protect essential oils.
- Reuse clean spice bottles or amber jars to save money and shield from light.
- Look for a papery snap or clean crumble to know when they’re done.
- Small, steady steps help reduce waste and boost kitchen confidence.
Why Drying Herbs Elevates Your Cooking and Cuts Waste
Bringing your garden into the pantry is one of the smartest moves for home cooks. It turns today’s abundance into tomorrow’s cozy dinners and helps you avoid tossing wilted greens.
Fresh flavor, year-round: Concentrating aroma means a pinch of dried herbs makes soups, sauces, and stews sing even when fresh produce is scarce. You use less per recipe because the taste is more intense.
Garden to pantry savings
Growing a $3 thyme plant that you harvest repeatedly beats buying a $7 jar again and again. Over a season, a few plants can refill many jars and save you money.
- You stretch garden value into the year ahead and keep flavor on hand for weeknight foods.
- Home preserving reduces food waste—leftover cilantro or basil can become a useful pantry staple.
- Because preserved herb forms are potent, recipes need smaller amounts, so a little goes a long way.
Practical payoff: A few simple steps give you labeled jars, steady savings, and the peace of mind that your season’s best will flavor meals all year.
Harvesting Smart: When and How to Pick for Peak Flavor
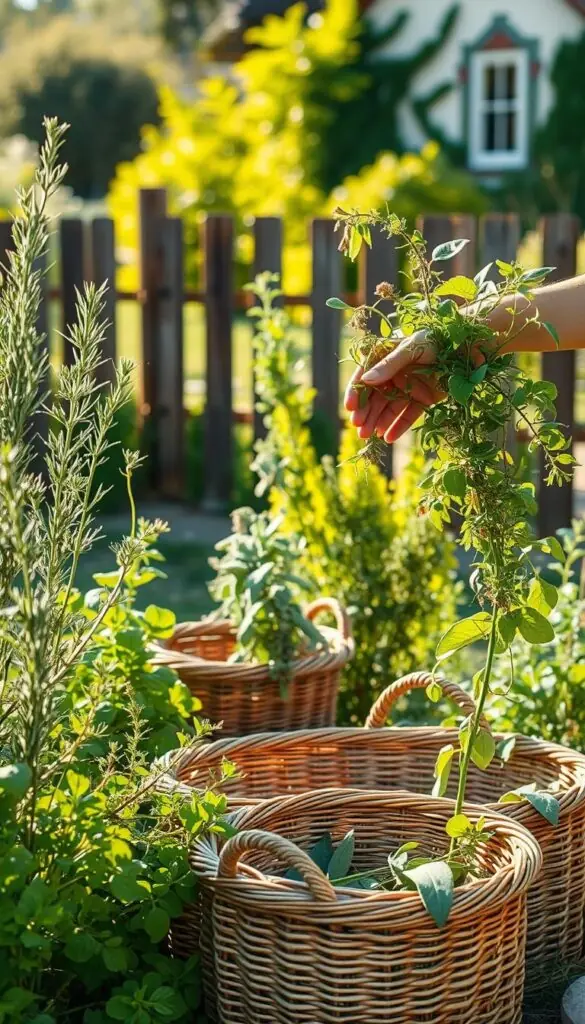
Pick with purpose in the cool breath of morning to lock in scent and oils. The best time is just after the dew lifts and before the first tiny flowers open. At that bursting-bud stage the plant holds the most flavor.
Use clean snips and a shallow basket or paper bag so leaves stay shaded. Avoid letting cut sprigs sit in the sun; heat speeds decay and robs aroma.
Gentle handling and quick prep
- Rinse briefly under cool water to remove dust, then shake to remove excess water.
- Pat lightly with a clean towel so surface moisture does not slow drying later.
- Handle leaves softly—no squeezing—to prevent bruising that dulls color and scent.
- Trim woody stems and discard damaged pieces before you move to the next step.
Common mistakes: leaving bundles in sun, over-wetting, or packing a tray too full. If the weather turns hot, bring your harvest inside to a calm place on the counter.
| Type | When to pick | Handle | Best next step |
|---|---|---|---|
| Tender (basil, cilantro) | Bursting buds, cool morning | Very gentle, single layers | Quick methods or tray drying |
| Sturdy (rosemary, sage) | Before flowers open | Strip lower stems, keep sprigs intact | Hang or rack in a dry place |
| Mixed bunches | Pick same time of day | Sort by leaf type and stem | Group by use and method |
Air Drying: The Classic, Low-Tech Method
A simple closet, string, and a rubber band are all you need to turn a summer harvest into pantry-ready flavor. This air drying method keeps things gentle and honest, protecting color and scent.
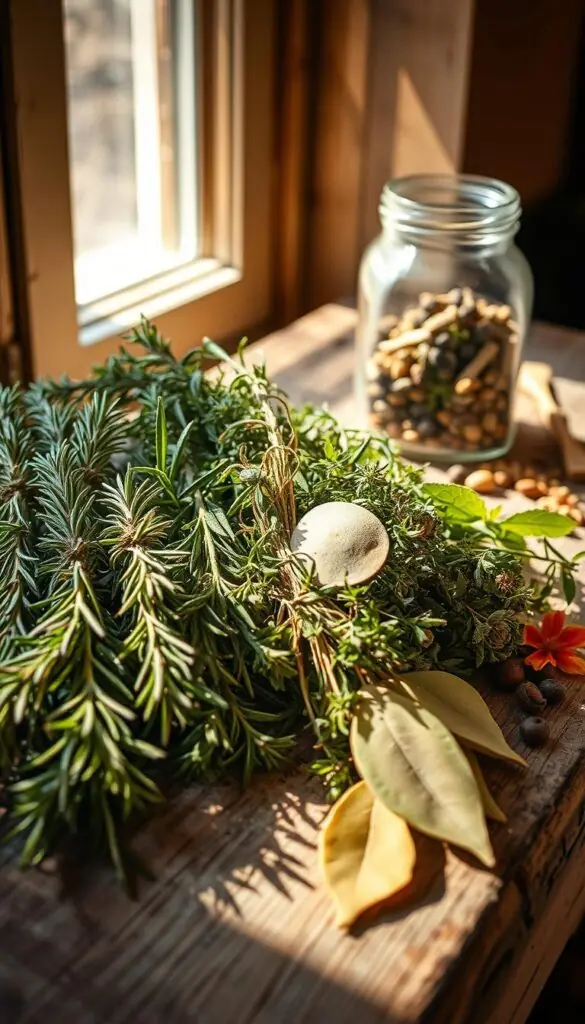
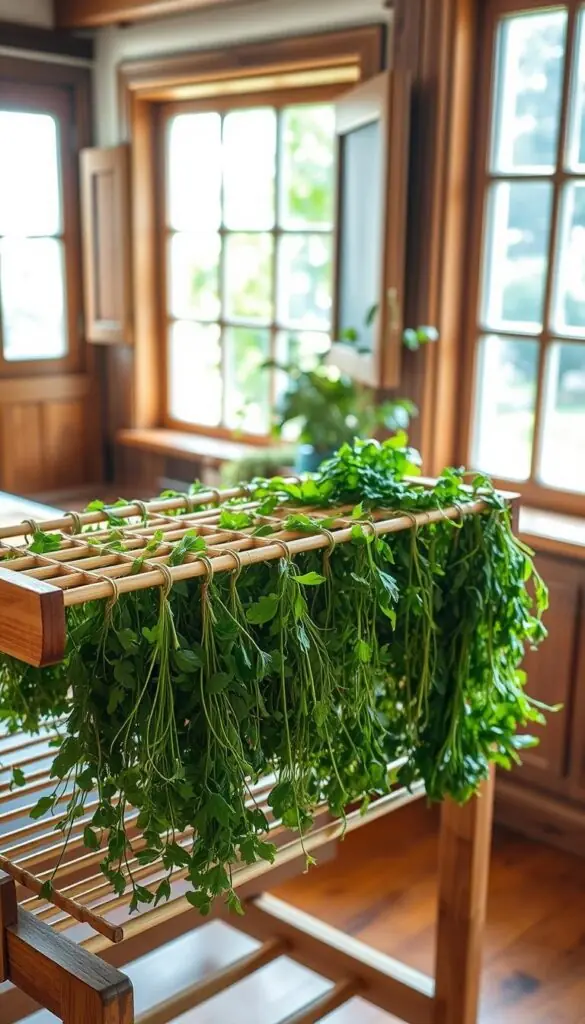
Hanging bundles: Gather small bunches about 1 inch in diameter and secure stems with a snug rubber band so the bind stays tight as stems shrink. Hang upside down in a dark, dry place like a pantry or spare closet. Good airflow around the bundles helps the leaves cure without fading.
Racks, trays, and the paper bag trick
For fragile or crumbly leaves, spread single layers on a mesh rack or cooling tray away from drafts and dust. Thin layers speed drying and lower mold risk.
Tender plants such as mint and lemon balm trap more water and can mold. Put small bunches into a holed paper bag and hang; the bag wicks moisture and catches loose bits.
- Most batches take about a week; humidity affects time.
- Listen for a papery rustle and check the midrib snap.
- If a leaf crumbles to powder, it’s ready; if it bends, give it more air time.
- Label bundles so you know what’s in each jar later.
Drying Herbs with a Dehydrator for Reliable Results
A home dehydrator lets you finish a large harvest in an afternoon without relying on sun or breeze. This is a steady, predictable way to preserve aroma and color.
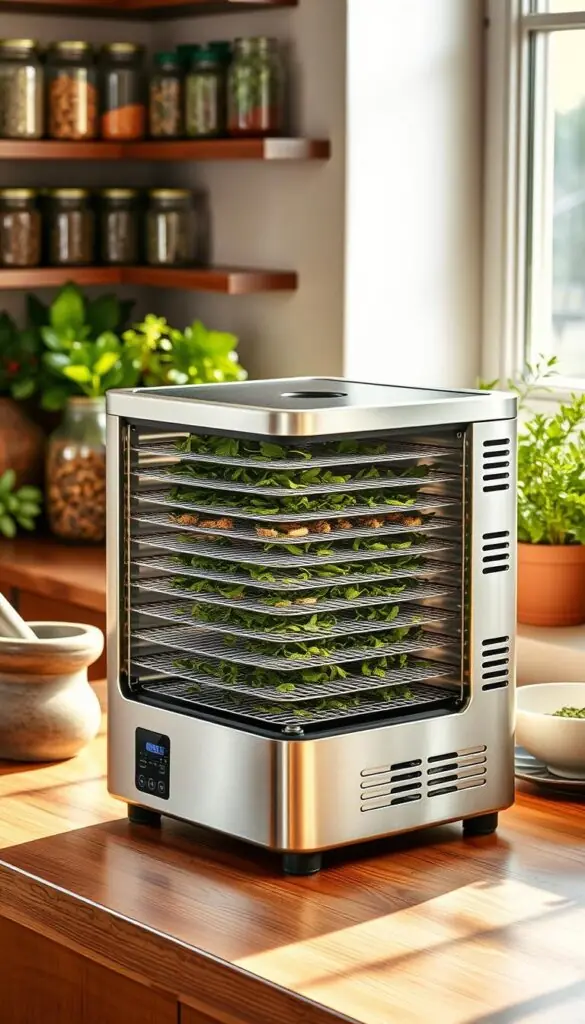
Start by preheating the dehydrator to 95–115°F. If humidity is high where you live, you may raise the temp to 125°F to move moisture faster.
Setup tips and simple checks
Arrange clean leaves and sprigs in a single layer. Use mesh inserts or fine screens so small pieces don’t fall through. Keep trays uncrowded so air can flow.
Drying usually takes 1–4 hours depending on thickness and conditions. Check every 30–45 minutes after the first hour. Leaves should feel papery and thin stems should snap when bent.
"A little patience with steady heat brings out the best scent and keeps oils intact."
Quick cleanup and harvest-saving tricks
Lift finished pieces over a clean towel or bowl to catch small flakes. That saves flavor and makes cleanup easier. This method works well when you need a reliable way to process larger batches in one session.
Quick Kitchen Methods: Oven and Microwave Options
If you want a fast, reliable way to preserve a few sprigs, your oven or microwave is a friendly shortcut. These kitchen methods work well when you need a small batch for tonight's sauce or a quick pantry top-up.
Low-heat oven with muslin or silicone
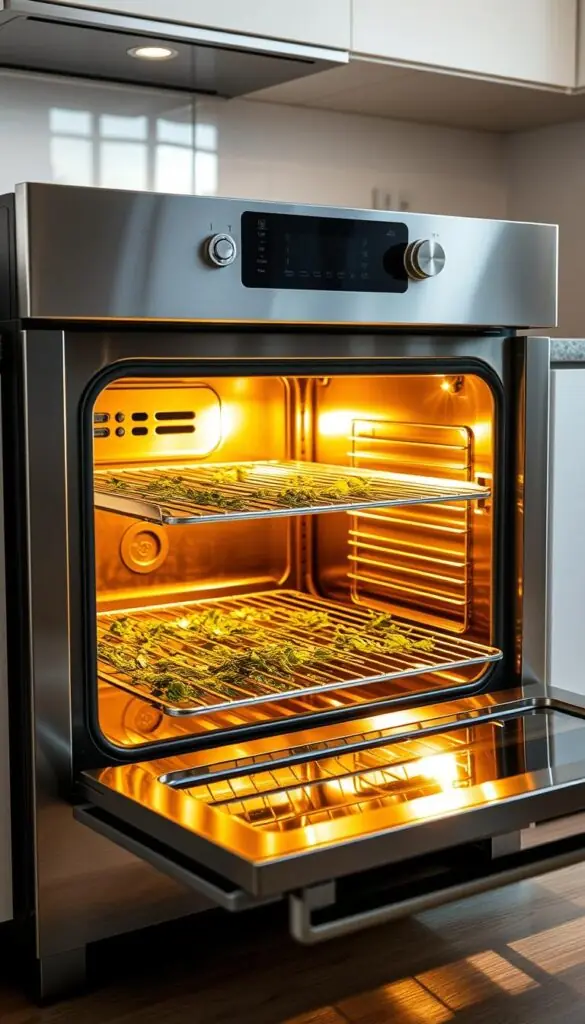
Set your oven to the lowest temperature. Line a baking sheet with muslin, cheesecloth, or a silicone mat so leaves won't stick.
Spread pieces in a single layer and remove thick stems. Dab surface water first so steam won't build inside.
- Check at about 25–30 minutes; they are done when they crumble and do not stretch.
- Keep the door slightly ajar if your oven runs hot to let moisture escape and avoid scorching.
- Let cool a minute before testing—cooling helps the crisp texture settle in.
Microwave for tiny batches
For quick runs, sandwich clean leaves between two paper towels. Heat 1 minute, then continue in 30-second bursts until crisp.
Stay close. This way you can stop the process before things brown or burn.
"A short, careful pass in the oven or microwave keeps scent bright and prevents bitter notes."
Use these methods when time is short or the weather won't cooperate. They are a handy way to save a small harvest for tonight's meal without special gear.
Storing Dried Herbs: Keep Color, Aroma, and Flavor
A tidy jar can keep your garden's best flavors bright through the seasons. Proper storage preserves scent and color so a pinch still feels fresh when you cook.
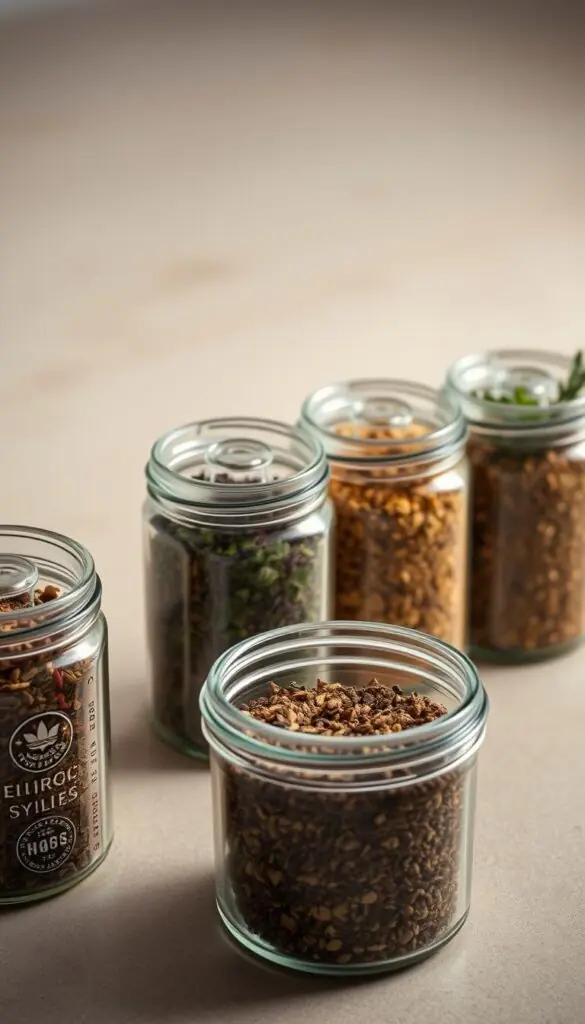
Airtight containers in a cool, dry, dark spot
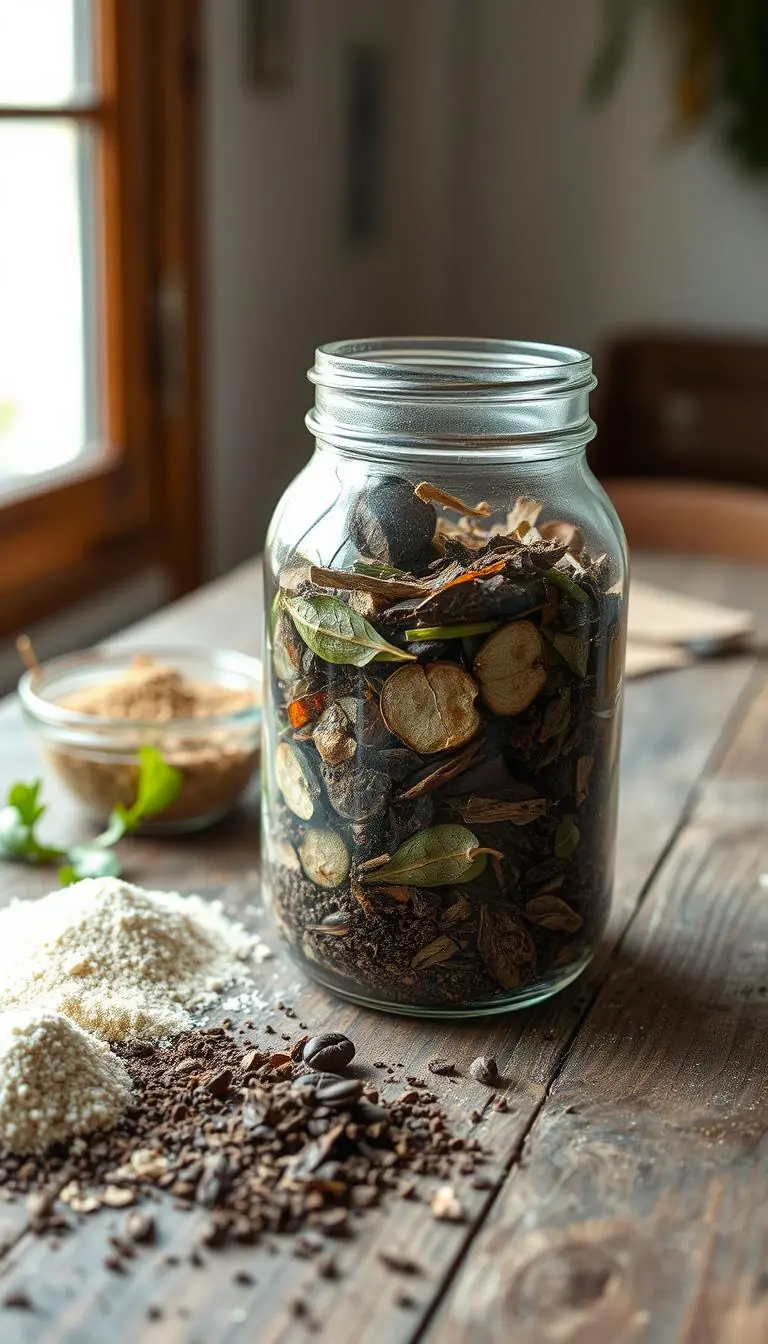
Choose truly airtight containers—clean spice bottles, jelly jars, or amber Ball jars protect leaves from light and air. Tuck your collection into a cool cupboard away from the stove and sunny windows.
Whole leaves vs. crumbled: maximizing essential oils
Keep leaves whole until you add them to a pot. Crushing right over the pan releases essential oils and brightens flavor. Fill jars near the top so less air sits inside, then screw lids tight for best airtightness.
Labeling jars with name and date for easy rotation
Write the herb name and date on each jar. Neat labels make rotation simple and your pantry feel calm. Slip a small square of clean paper under a metal lid if it rattles to improve the seal.
- Reuse what you have at home—matching jars look nice, but any well-sealed jar works.
- Set a quick seasonal check: a short sniff test tells you when to refresh a favorite blend.
- These jars also make thoughtful gifts from your garden.
Cooking with Dried Herbs: Simple Swaps and Everyday Uses
Keeping a few concentrated seasonings by the stove makes weekday cooking effortless. Use small jars so a little goes a long way. The trade-off is simple: dried herbs are stronger than fresh, so you need less.
Conversion guide: as a rule, use about one-third the amount called for fresh. If a recipe asks for 1 tablespoon fresh, start with 1 teaspoon dried and adjust to taste. Dried herbs are usually 3–4 times stronger than fresh, so a cautious pinch often does the trick.
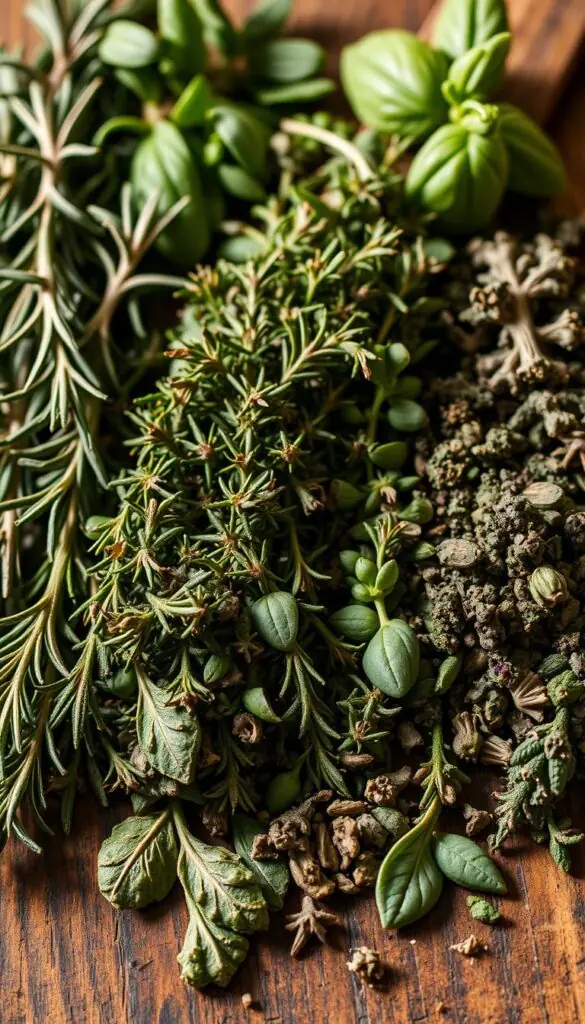
Everyday recipe ideas and quick swaps
Stir dried thyme into tomato sauce and let it simmer so the steam releases scent into the pot. Toss sage into browned butter and hear the sizzle as you slide chicken in the pan. Whisk oregano into a vinaigrette for roasted vegetables.
Rub dry herbs with oil and salt to make a quick grill mix—try thyme, garlic powder, and black pepper on salmon. Add spices early in long cooks like stews or braises so flavors bloom with heat.
"A small pinch can transform simple foods into something that feels like home."
Quick blends and tea ideas
- Equal parts thyme and sage for roast potatoes.
- Thyme with crushed red pepper for a bright pizza topping.
- Brew calming teas: steep 1 teaspoon of a dried mint or lemony mix for 5–7 minutes.
| Use | Amount swap | When to add |
|---|---|---|
| Tomato sauce | 1 tsp dried per 1 tbsp fresh | Early, during simmer |
| Sautéed chicken | 1/3 fresh amount | When butter foams, add herb |
| Tea or infusion | 1 tsp dried | Steep after water boils |
Taste as you go. Keep thyme and sage close to the stove for an easy, year-round way to lift simple meals. Playful blends reward a light hand and a curious palate.
Conclusion
A few steady habits make preservation feel less like work and more like a comforting ritual. Warm, dry air removes moisture until leaves crumble and stems snap. Avoid sun to protect color and bright flavor.
Choose the way that fits your time and space: air drying bundles with a rubber band, a low oven pass, or a dehydrator set to 95–115°F. Let air move freely and pat any excess water from leaves and stems first.
These simple methods turn garden bounty into jars that lift a recipe all year. Label each jar, share one with a neighbor, and trust your senses — aroma and a crisp snap tell you when your food preservation is done.
FAQ
How do I get the best flavor when preserving herbs from my garden?
Harvest in the morning after leaves are dry, pick before full bloom for peak oils, handle gently to avoid bruising, and remove any damaged stems. Quick rinsing and patting dry with paper towels helps if plants are dirty, then use a preferred method—air, dehydrator, or oven—to preserve aroma.
What’s the simplest low-tech way to preserve leaves at home?
Tie small bunches with a rubber band and hang them upside-down in a warm, well-ventilated, dark spot. For tender varieties like basil, lemon balm, or mint, place stems in a paper bag with holes to trap leaf oils while keeping out dust.
When should I use a dehydrator instead of air or oven methods?
Choose a dehydrator when you want consistent results, especially in humid climates. Set racks in a single layer, use mesh inserts for small leaves, and keep temperatures around 95–115°F (you can go to 125°F if needed) until leaves crumble easily.
Can I use my oven or microwave for small batches?
Yes. For the oven, use the lowest temperature, spread leaves on paper or a silicone mat, and watch closely. For the microwave, place leaves between paper towels and heat in short bursts, checking frequently to avoid browning or burning.
How do I tell when leaves are fully done and ready to store?
The crumble test works well: leaves should snap or crumble easily and feel dry to the touch. Stems should break rather than bend. If any moisture remains, mold can develop in storage.
What’s the best way to store your preserved herbs to keep color and aroma?
Use airtight containers kept in a cool, dark, dry place like a pantry. Whole leaves retain essential oils longer, so crumble just before cooking. Label jars with the herb name and date to rotate stocks annually.
How much dried herb should I use compared to fresh in recipes?
A good rule is to use about one-third the amount of dried as you would fresh, because concentrates of flavor intensify as moisture is removed. Adjust to taste, especially with potent varieties like sage or thyme.
Will herbs stored this way last a full year?
Properly dried and sealed herbs kept away from heat and light can keep good flavor for up to a year, though potency declines over time. Check aroma before using and replace any jars that smell musty or look discolored.
Any tips to avoid loss of color and flavor during the process?
Harvest on dry days, avoid washing unless necessary, dry quickly and evenly, and never overdry to the point of browning. For maintaining bright color, dry in the dark and store in opaque or tinted containers.
Are there herbs that need different care—tender vs. woody stems?
Yes. Tender-leaf plants like basil, lemon balm, and mint can be damaged by high heat—air drying or low-temp dehydrating works best. Woody herbs such as rosemary and thyme tolerate higher temperatures and hold flavor well when dried whole.