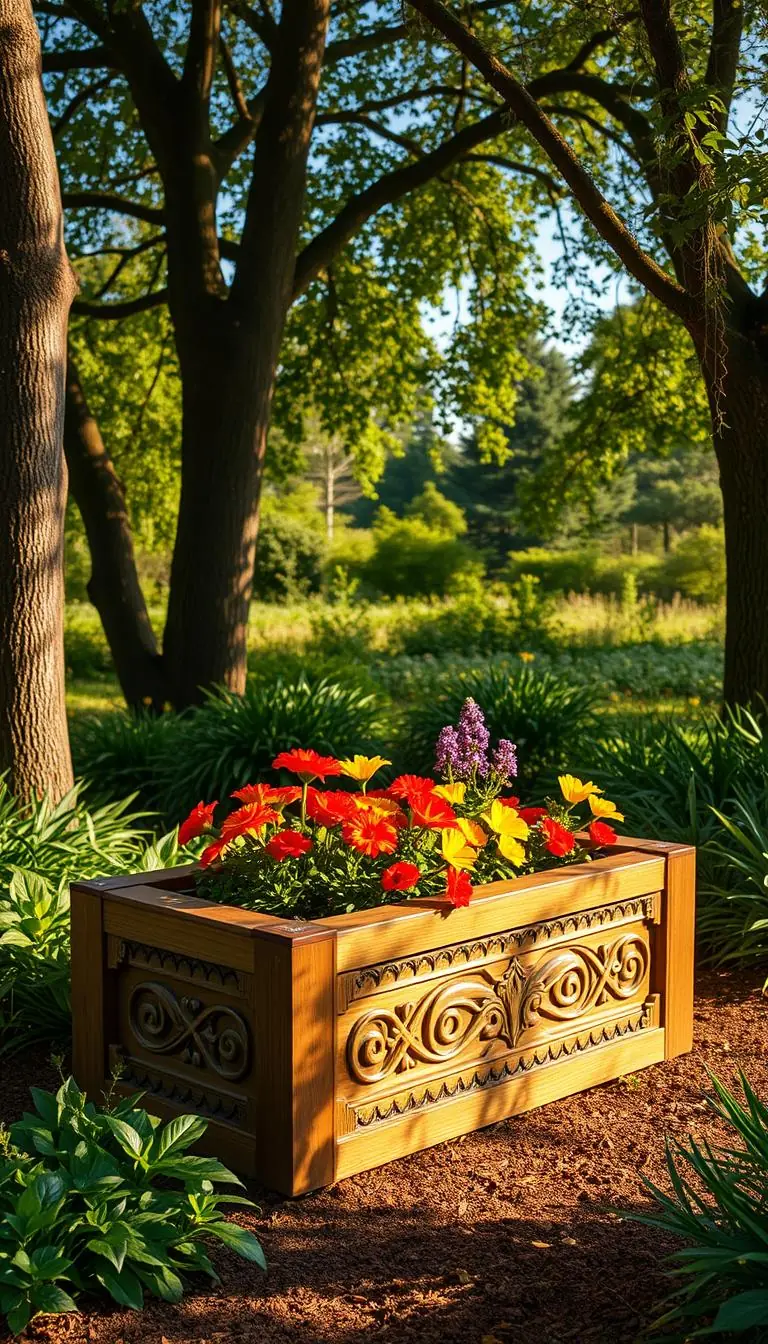
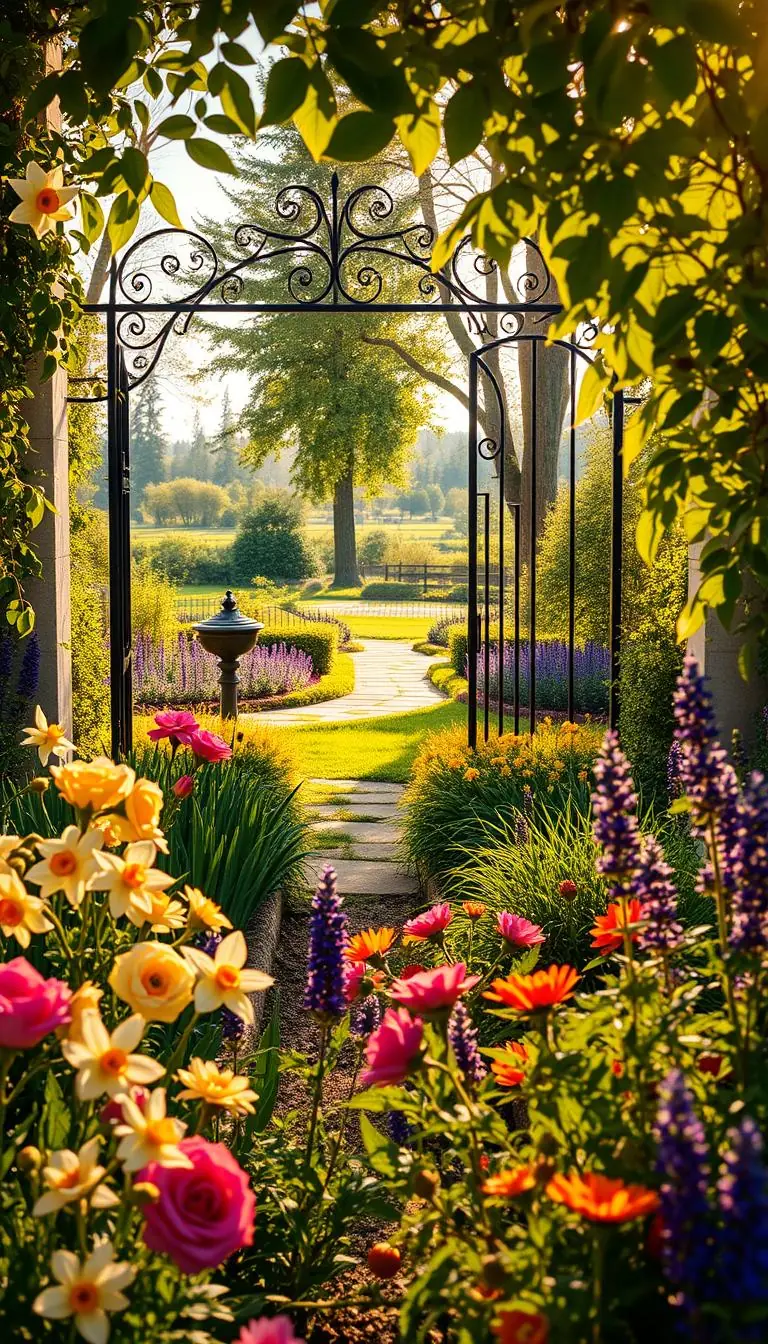
Imagine the scent of fresh mulch, a neat dark line where lawn meets planting, and glossy leaves framed like a picture. You notice a patch of unruly grass at the edge of your yard and want a clean, lasting fix. This is an easy, low-cost way to lift the look of your landscape.
You’ll learn simple steps you can do today: mark the border with a hose or spray, cut a straight outer edge and a 45° inner cut, lift the sod, then add two to three inches of mulch with a gentle slope.
Use common tools—hose, string, stakes, spade—and work when soil is soft, not soaked. Keep your trimmer at a true 90° angle to maintain the line. These small moves stop creeping grass and make plant colors pop.
Key Takeaways
- Mark your border before you cut to get a smooth, intentional line.
- Cut an outer straight edge then a 45° inner cut for a neat V-groove.
- Add 2–3 inches of mulch and a slight downward slope to hold chips.
- Work when soil is soft and use a 90° trimmer angle for clean maintenance.
- Simple tools and short sessions keep your yard looking cared for all season.
Why crisp garden borders matter right now
Defined borders stop wandering grass and make maintenance feel effortless.
When you set a clear garden border, mowing becomes neater and clippings stay off the soil. The contrast of dark mulch against bright turf makes plants pop and gives your landscape a tidy, cared-for look.
A sharp line also saves time. A good edge slows invasive grass and reduces weekend weeding. That means fewer tools, less sweat, and more time to enjoy the yard.
- Cleaner mowing paths so you don’t scalp the lawn.
- Mulch stays hugged around stems, not scattered across grass.
- Defined zones cut root competition, helping your plants thrive.
- Works on straight runs or gentle curves to match your home’s style.
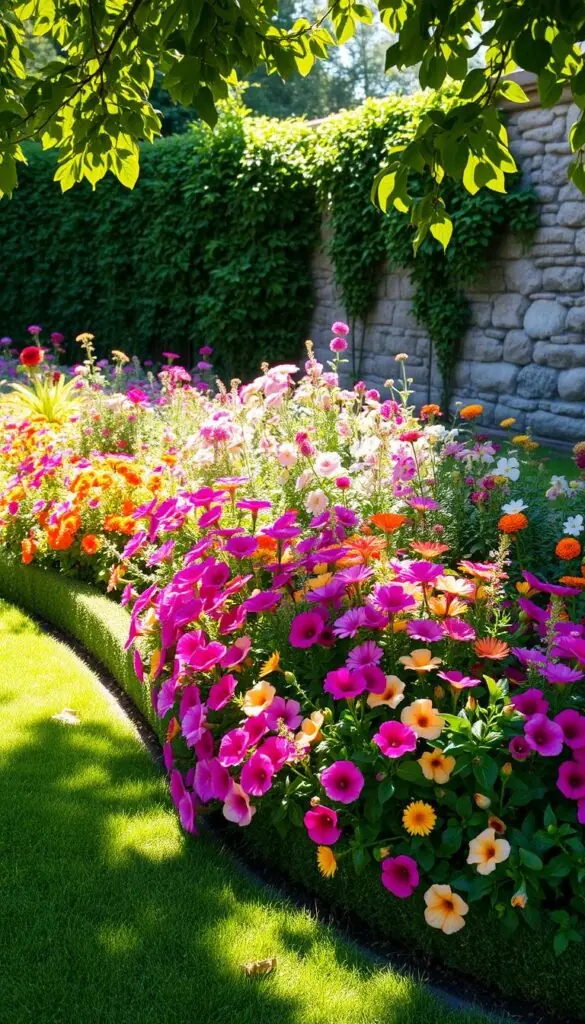
Quick tip: work when the soil is pliable — not frozen or soaked — and watch sprinkler patterns so they don’t wash mulch into the lawn. This is the best way to keep a crisp edge that lasts.
Plan your line: simple ways to lay out and mark a garden bed
Begin with a soft plan: a hose or string will show you the best path for the border. This step saves time and makes the final edge look intentional.
Tools you'll use
- Gather marking spray, a hose for curves, stakes and string, plus a sturdy shovel or garden spade for the first cuts.
- Keep a spade or garden spade handy to score a shallow trench if you plan metal or plastic edging later.
Curves vs. straight runs
For soft curves, lay a hose on the turf and step back until the sweep feels natural from common views. For consistent arcs, drive a center stake, tie string, and swing it like a compass while you spray the guide line.
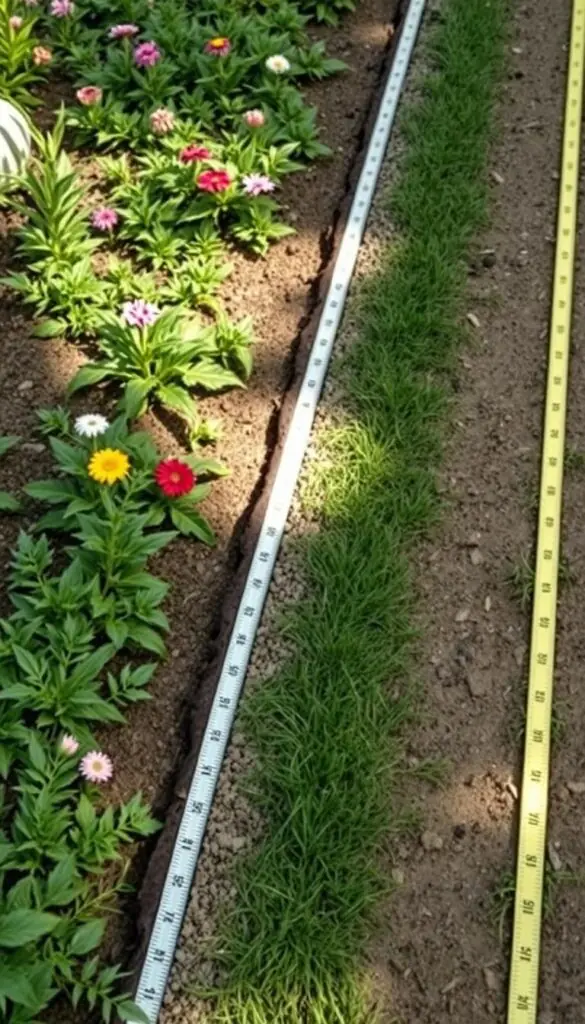
Work when the ground is soft but not soggy or frozen. If the soil smears when you press it, wait a little — you’ll get a cleaner cut and a stable edge.
Quick mistakes to avoid
- Make sure to spray the guide line just outside the spot for the final edge so small wobbles vanish when you cut.
- Flag sprinkler heads and avoid sharp zigzags; gentle styles and broad curves are easier to mow and maintain.
Step-by-step flower bed edging you can do in an afternoon
Tackle this project in an afternoon by working in short, steady passes so the line stays true and tidy. You’ll feel the snap of lifted sod and smell fresh, earthy mulch as you go—small rewards that make the task pleasant.
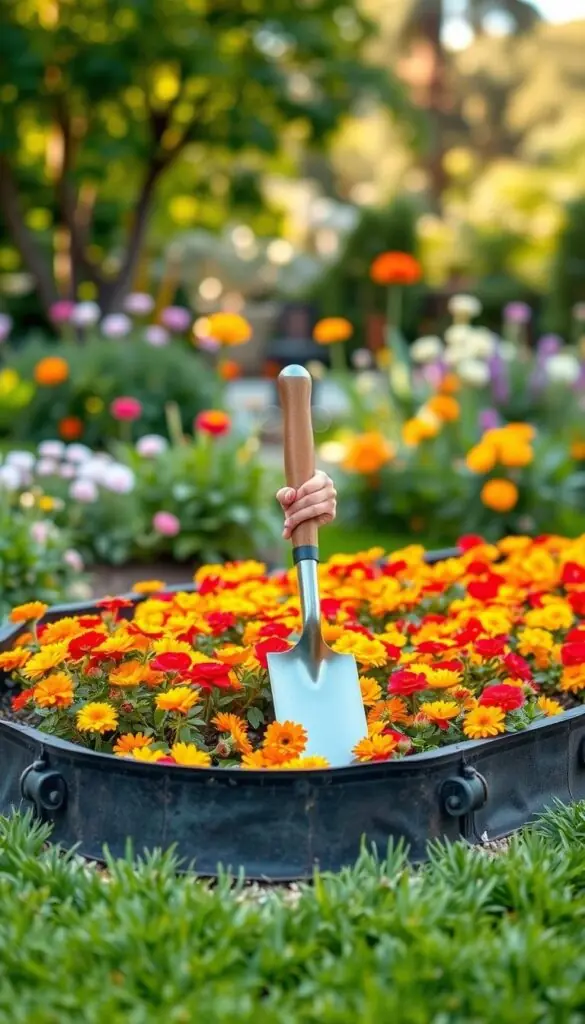
Cut the outside edge: 90-degree angle, about three inches deep
Stand on the lawn side and push a straight-edge spade or shovel just outside your painted line at a 90-degree angle. Aim for about three inches deep to create a crisp vertical face that frames the grass.
Cut the inside edge: 45-degree angle to meet your first cut
Step into the planting area and cut toward the first trench at a 45° angle, roughly five inches back so the two cuts meet and form a tidy V. This shape helps stop grass runners and slows weed creep.
Lift and remove sod cleanly
Loosened strips come up best by hand. Lift slowly, shake excess soil back into the ground near your plants, and keep nutrients where they belong.
Refine the line and add mulch
Comb the vertical face with the spade to square it, trimming any fuzzy grass fibers for a sharp look. Top the trench with two to three inches of mulch, feathering it downhill so chips stay off the lawn.
- Make sure your tool stays at the right angle each pass—consistent angles make a professional result.
- If you hit roots, take short bites and work around them to protect nearby plants and the landscape.
Choose your garden border: materials, styles, and the look you want
Decide on a border material that gives your landscape the appearance you want and the durability you need. Think about traffic, mower access, and the mood you want—sleek, rustic, or soft and planted. Below are common types and quick install tips to help you pick with confidence.
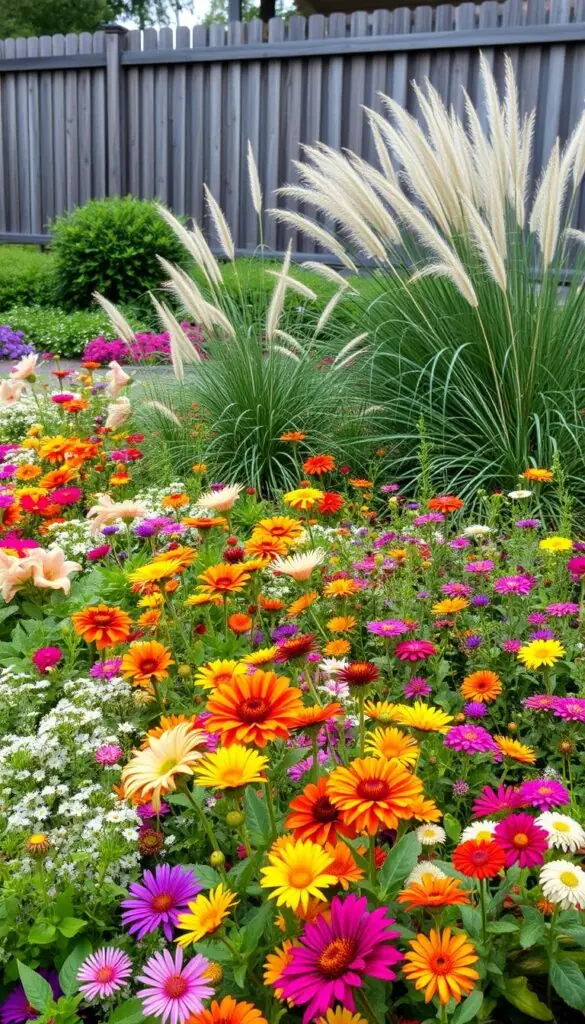
Metal and plastic
Metal gives a sleek, modern line. Stake it securely and wear gloves—edges can be sharp during install.
Plastic is budget-friendly and flexible. Set it in a shallow trench and stake corners to keep the line true.
Bricks, pavers, and stones
Bricks and pavers look classic. Use a level and rubber mallet to tap pieces in, and try a herringbone or saw-tooth pattern for interest.
Edging stones or natural rock add texture—pick consistent sizes for a tidy look or mix shapes for a cottage feel.
Wood, composite, concrete, and living options
Wood and composite boards offer warmth; composite resists rot better. Recycled rubber is durable but utilitarian in appearance.
Poured concrete gives a permanent, clean curve—often worth hiring a pro. For a softer edge, plant mondo grass, Dusty Miller, or other low growers to hide the joint and slow weeds.
- Dry-fit heavy pieces first and use a shovel to square the trench.
- Keep top of stone or brick flush with the lawn for easy mowing.
Keep the edge tidy: fast maintenance habits through the seasons
Keep a steady rhythm of quick trims and small touch-ups so the border reads like a practiced stitch through your yard.
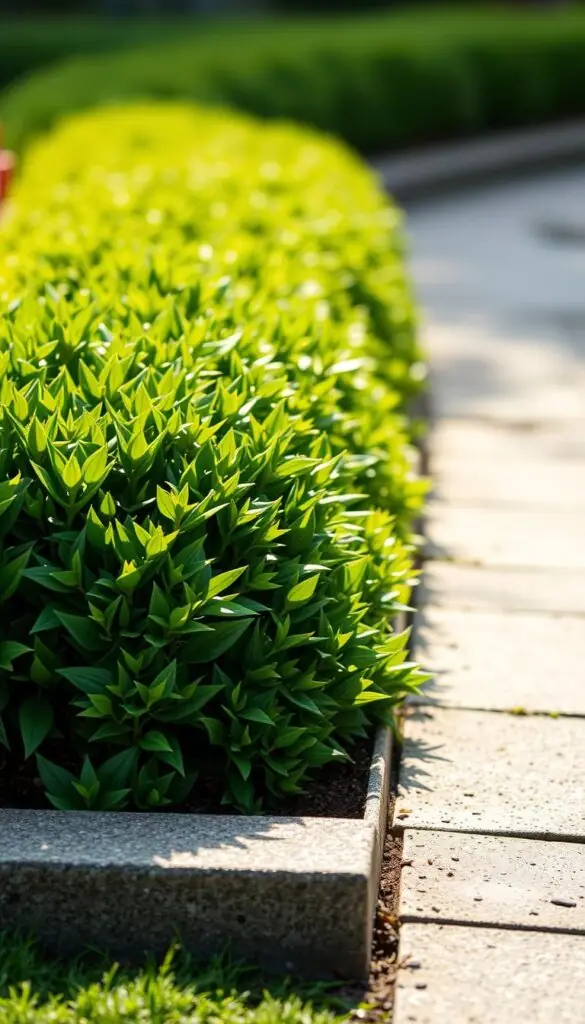
String trimmer at a true 90-degree angle to preserve the cut
The best way to protect the vertical face is to hold the trimmer so the strings meet the ground at a 90-degree angle. A tilted pass tapers the line and blurs the edge over time.
Take one slow step at a time, letting the tool stand upright. You’ll hear the clean tick as it nips stray grass without gouging the soil or lawn.
Seasonal rhythm: spring touch-ups, summer weed control, fall reset
In spring, re-cut any winter slump, square corners with a shovel, and add an inch of mulch where it settled. Through summer, quick weekly passes stop lawn grass from hopping the line and let you pull a stubborn weed by hand before roots thicken.
In fall, reset the profile after leaf drop so the line sheds water and protects plants through winter. Work after light rain when the ground has some give—not when it’s waterlogged or frozen.
- Tools to keep handy: trimmer, hand shears, and a flat spade for fast re-cuts.
- For long runs, break the landscape into zones so upkeep takes under ten minutes per visit.
- Where irrigation oversprays, shorten run times so mulch stays put and the yard stays tidy.
You’ve got this in minutes. Small, regular steps preserve a sharp line, save time, and keep your home’s landscape looking confident and cared for.
Conclusion
A few steady cuts and a garden spade are all you need to transform messy margins into a clean frame for your planting.
With a simple plan and steady hands, you turned a fuzzy lawn line into a crisp flower bed edge. The contrast is instant: deep brown mulch, bright turf, and colorful blooms that read like a picture.
That tidy border protects your plants, slows weeds, and makes weekly mowing faster and kinder on your yard. You can repeat this easy way around curves, paths, and any garden bed.
Keep the habit light: a quick cut, a raked refresh, and a slow look back. Enjoy the view you made today — it welcomes you home every time.
FAQ
What’s the simplest way to mark the line for a garden border?
Use a garden hose to lay out curves or a center stake with string for straight runs. Spray a light line with marking paint or sprinkle soil along the hose to see the shape. This keeps the line smooth and helps you visualize the final look before you cut or dig.
When is the best time to cut a new border?
Aim for days when the ground is moist but not waterlogged and not frozen. Early spring or after a gentle rain are ideal. Soft soil lets you slice cleanly with a spade and lift sod without tearing, making a neater V-shaped trench.
How deep and what angle should I cut the outer edge?
Cut the outer edge at a 90-degree angle about three inches deep for most lawns. That vertical cut gives a crisp separation between grass and planting area and makes maintenance easier with a trimmer.
How do I join the inner cut to the outer to make a tidy trench?
Make the inner cut at about a 45-degree angle so it meets the first vertical slice and forms a clear V-shape. Then lift and remove the sod or soil between cuts to create a clean border that resists grass encroachment.
What tools do I need to edge like a pro?
Keep it simple: a sharp garden spade or half-moon edger, a flat spade for lifting sod, a hose or string for layout, marking spray if you like, and gloves. For installing hard edging, add a rubber mallet and stakes.
Can I use plastic or metal edging, and which is better?
Both work well. Metal offers the cleanest, long-lasting line and resists shifting. Plastic is cheaper and easier to install but can warp over time. Stake either type securely and follow the manufacturer’s depth recommendations for best results.
How much mulch should I add after edging?
Spread two to three inches of mulch with a gentle slope away from the lawn. That depth suppresses weeds and retains moisture while keeping a neat transition at the border.
What are quick mistakes to avoid before cutting?
Don’t work on overly wet or frozen soil, don’t skip marking the line, and don’t rush the cuts with a dull tool. Also avoid shallow, inconsistent depths that let grass creep over the edge.
How do I maintain a sharp edge through the seasons?
Do light touch-ups in spring, trim regularly with a string trimmer held at a true 90-degree angle, control weeds in summer, and reset or re-cut the line in fall before winter. Small, regular efforts keep the border looking polished.
What are low-maintenance living border options?
Consider low-growing groundcovers like mondo grass or drought-tolerant foliage such as Dusty Miller. These create a soft, natural boundary that reduces the need for hard edging and gives a lush, planted look.