Imagine lifting a sun-warm lid to harvest crisp lettuce while frost still dusts the lawn. You notice the soft glow through a clear lid and the smell of damp soil. That small ritual can stretch your growing season and keep fresh greens on your table longer.
At its simplest, a cold frame is a bottomless box with a transparent roof that shelters tender vegetables from wind and light frost while letting in sun. You can direct-sow radishes, lettuces, endive, and scallions for early or late harvests.
You’ll get calm, practical guidance you can trust—short steps, real plant examples, simple tools, and seasonal timing. Learn which materials and salvaged windows work, how to vent on bright days, and when to use a hotbed of compost for extra warmth.
Key Takeaways
- You can gently lengthen the season with a simple protective box and clear lid.
- Grow cool-weather crops like lettuce and radish for early or late harvests.
- Use salvaged windows or plastic lids and avoid creosote-treated wood.
- Venting, prop sticks, and handles make daily care easy and safe.
- A hotbed under the soil adds steady warmth for earlier sowing in winter.
What a Cold Frame Is—and Why It’s Your Quiet Winter Workhorse
Picture a humble, bottomless box topped with glass or clear plastic that traps the day's warmth for your young greens. That simple structure is a cold frame in action: a low shelter you set directly on soil to protect tender plants from wind and light frost.
It is not a full greenhouse. Instead, the frame moderates temperature and cuts wind so cool-season crops keep growing at a steady pace. You can extend fall harvests and start seeds earlier in spring without heaters.
The lid can be an old storm window, a shower door, or a sheet of clear plastic. Hinges make venting easy on sunny days so seedlings don’t overheat. Minor gaps won’t ruin performance; the design is forgiving.
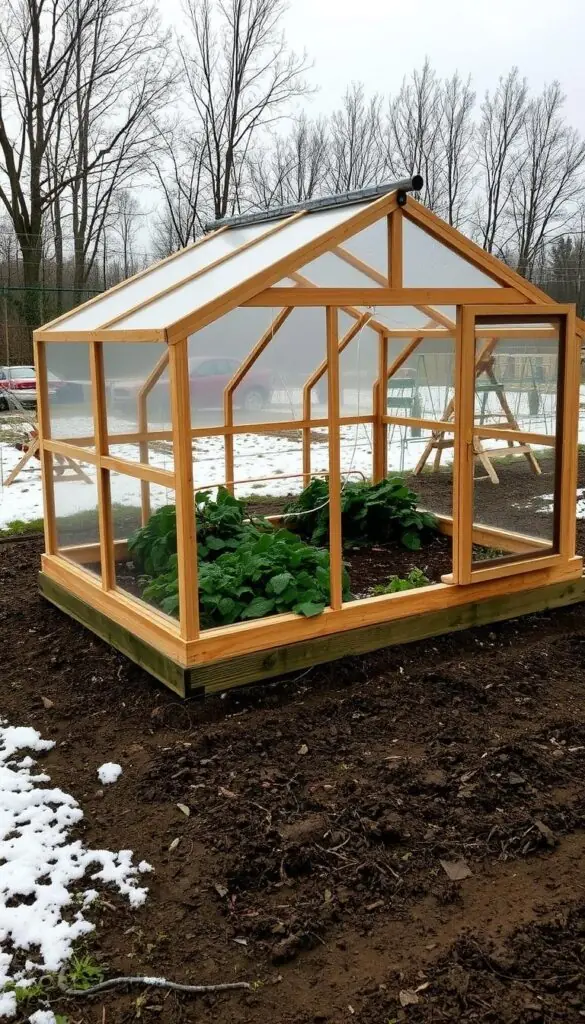
You can plant directly in good soil or use the box as a protected nursery for transplants. Daily use becomes a quiet ritual—lift the lid in late morning, feel the warm air, and clip a handful of leaves for dinner.
| Top Material | Light Transmission | Durability |
|---|---|---|
| Old glass (storm windows) | High | High |
| Acrylic sheet | High | Medium-High |
| Clear plastic (poly) | Medium | Medium |
Choose the Right Spot: Sun, Shelter, and Simple Prep
Pick a sunny shelf in your yard where low winter light can warm soil and coax seedlings to grow. A south or southeast-facing location lets weak sun pour through the lid and heat the ground beneath.
Feel the soil underfoot — it should be firm and drain well. A gentle slope helps runoff so water doesn't pool and cool roots.
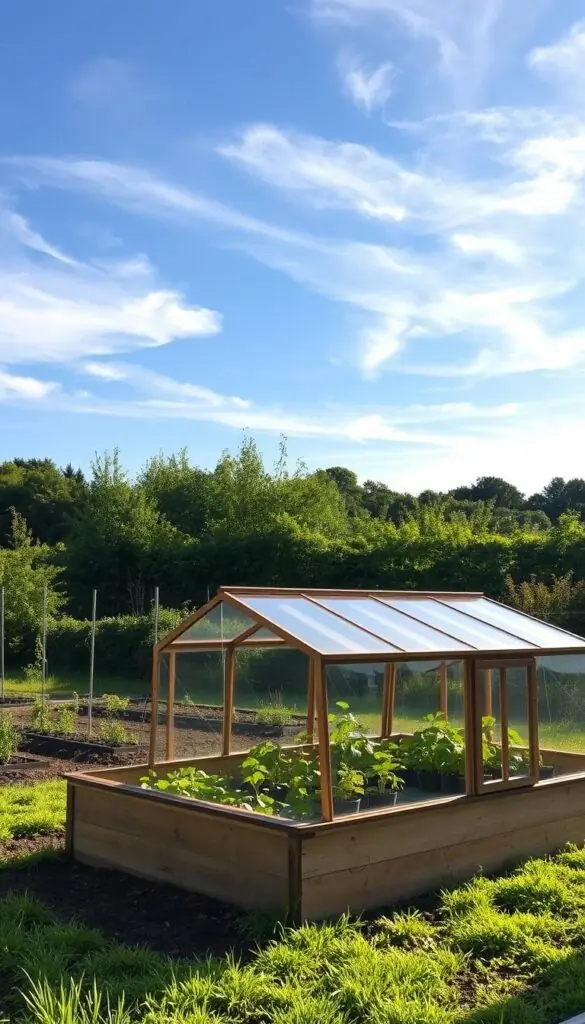
Use a wind break behind the box. A wall, fence, or hedge at the back (north) calms gusts and raises nightly warmth. Nesting a side against a sun‑warmed wall gives extra heat after sunset.
Sink your unit a few inches into the soil to tap earth insulation. Keep a clear path and a small landing for lid props so you’ll vent on sunny mornings and harvest even after snow.
| Feature | Why it Matters | Practical Tip |
|---|---|---|
| Orientation | Maximizes low winter sun | South or southeast exposure |
| Slope | Prevents standing water | Gentle grade for drainage |
| Wind break | Reduces chill and desiccation | Wall or hedge at the back |
| Insulation | Earth keeps steady heat | Sink edges a few inches |
Materials That Work: From Old Windows to Cedar and Clear Plastic
Choose a bright, sturdy lid first — it sets the scale for everything that follows.
Smart lids: Salvage an old window or clear door when you can. Smooth acrylic or polycarbonate gives similar light with less weight. Use strong hinges; long lids often need two or three hinges to stay true.
Frame options: Cut cedar 2x6s or pressure-treated lumber to match the lid. Cedar smells pleasant and resists rot; treated lumber lasts a long time. You can also stack concrete blocks, bricks, or straw bales for insulated sides.
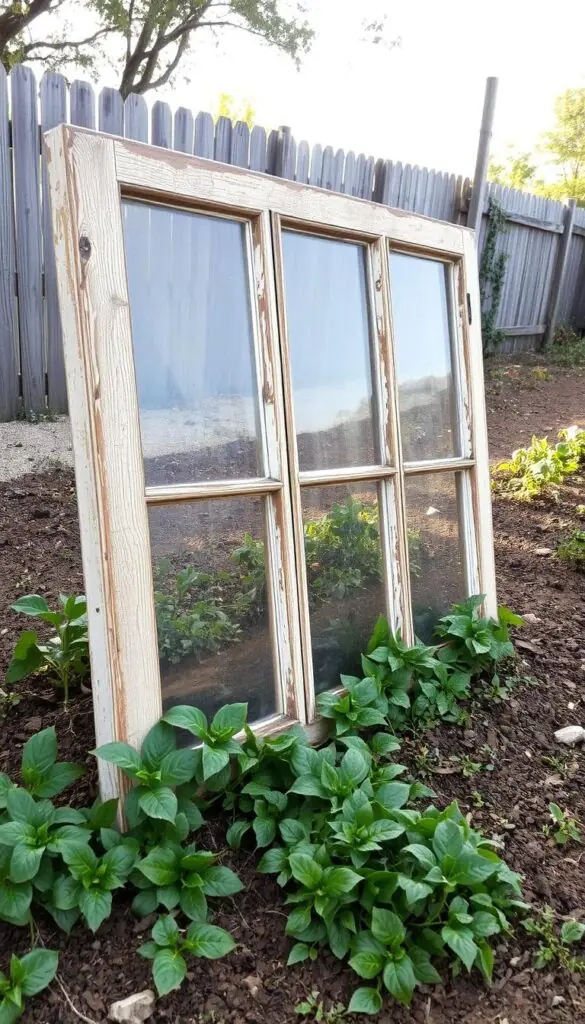
Safe choices and small upgrades: Avoid creosote-treated wood near soil. Sand and seal any flaking paint on old windows before reuse. Add a front handle, interior battens, and simple prop sticks so you can vent at different heights.
| Part | Good Options | Practical Tip |
|---|---|---|
| Lid | Old windows, glass, acrylic, clear plastic | Choose a size that sheds rain and fits hinge spacing |
| Sides | Cedar 2x6s, pressure-treated lumber, bricks, concrete | Build taller at the back for a sun-facing slope |
| Safety | Non-toxic paint, sealed glass, sturdy hinges | Avoid creosote and sand lead paint before use |
Build a Cold Frame Step by Step: Simple, Sloped, and Sturdy
Start by choosing a reach you can comfortably work across—about three to four feet feels right for most people.
Cut list and size: Plan a 3–4 foot span so you can tend plants without stretching. Use cedar 2x6s for the long sides, 2x2 corner posts, and a diagonal cut on one 2x6 to make triangular ends with a taller back and a lower front.
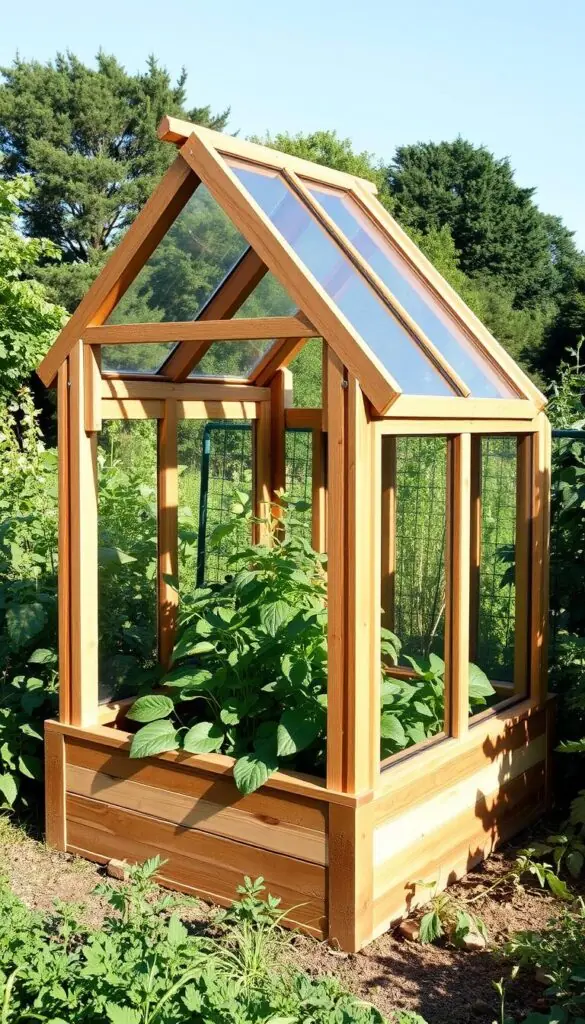
Assemble the box
Screw the boards into the 2x2 posts to keep corners square. Pre-drill holes to avoid splits in the wood and to protect the acrylic lid from cracking. The click of each hinge feels satisfying as the pieces come together.
Lid and ventilation
Clamp a clear sheet of acrylic between 1x2s to make the lid; leave the bottom strip off so water sheds from the top. Fit sturdy hinges at the back and add a front handle plus two prop sticks for different vent heights.
Optional upgrade: Install a solar vent opener (wax piston) to lift the lid automatically on sunny days. It saves you time and keeps temperatures steady when you’re away.
| Step | Materials | Tip |
|---|---|---|
| Size plan | 3–4 feet span | Reachable and compact |
| Sides & ends | Cedar 2x6s, 2x2 posts | Diagonal cut sets slope |
| Lid | Acrylic sheet, 1x2s, hinges | Pre-drill and leave lower strip off |
Cold Frame Gardening: Planting, Venting, and Harvesting Through the Seasons
A small, sunny box can keep young greens growing when nights turn sharp. Use it to push the season forward in fall and pull it into spring with steady, gentle care.
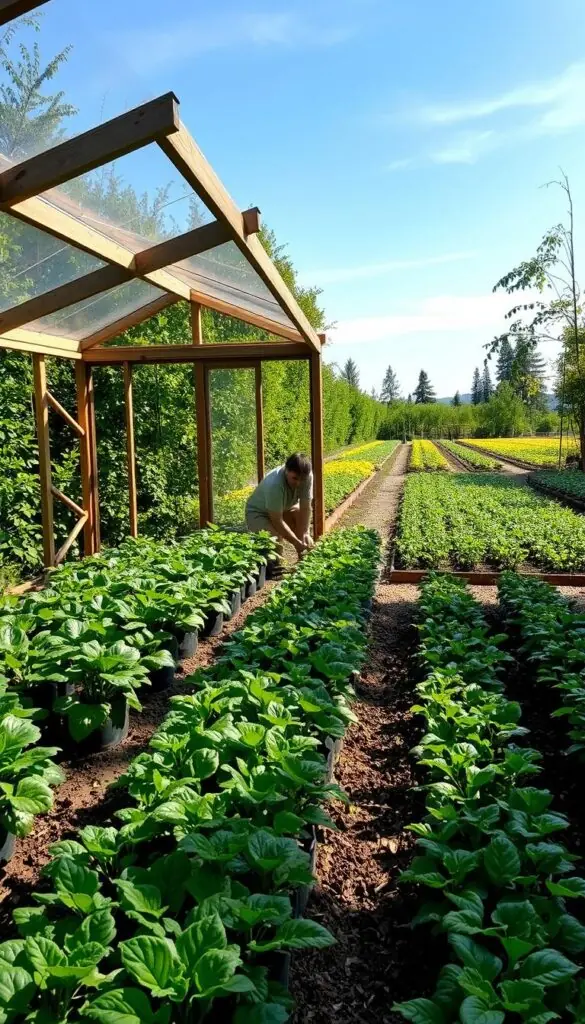
Fall setup and winter care
In early fall, prepare loose, rich soil and sow cool-loving crops like lettuce, endive, and radishes so they establish before the first hard freeze.
Tuck straw around the inside edges to buffer drafts and hold soil warmth. That golden mulch smells earthy after a light watering.
On sunny winter days, crack the lid to release excess heat and moisture, then close it before late afternoon to trap warmth overnight.
Spring jump-start
In spring, direct-sow radishes, lettuce, and scallions again for an early harvest. Use the bed to harden off seedlings brought indoors.
Lift the top a bit more each day so seedlings adjust to sun and wind without wilting. Plant kale and other greens for steady returns into the season's end.
Summer adjustments and hotbed option
As temperatures climb, vent daily or remove the lid so crops don’t overheat. Your nose—warm, green, and bright—lets you know when to open up.
For extra heat earlier in the year, build a non-electric hotbed: dig 18–24 inches for fresh manure or compost, turn and moisten it for a week, then cover with about 6 inches of soil.
- Water sparingly on mild midday hours; keep soil slightly moist, not soggy.
- Use the frame as a tidy garden border in summer with the lid off for herbs and quick crops.
Quick Fixes and Gentle Mistakes to Avoid
Small mistakes often show up as steamy lids or wilted leaves—easy to fix if you know where to look.
Overheating on sunny days: On bright afternoons prop the lid with a batten to let steamy air escape. You’ll see condensation drip or feel warm, moist air when it’s time to vent. A quick crack keeps young plants from wilting and saves you time at the end of the day.
Placement and airtight myths: Don’t chase a perfect seal. Small gaps are fine; a sturdy build matters more than sealing every crack. If wind is an issue, tuck the unit near a wall or add a simple windbreak at the back.
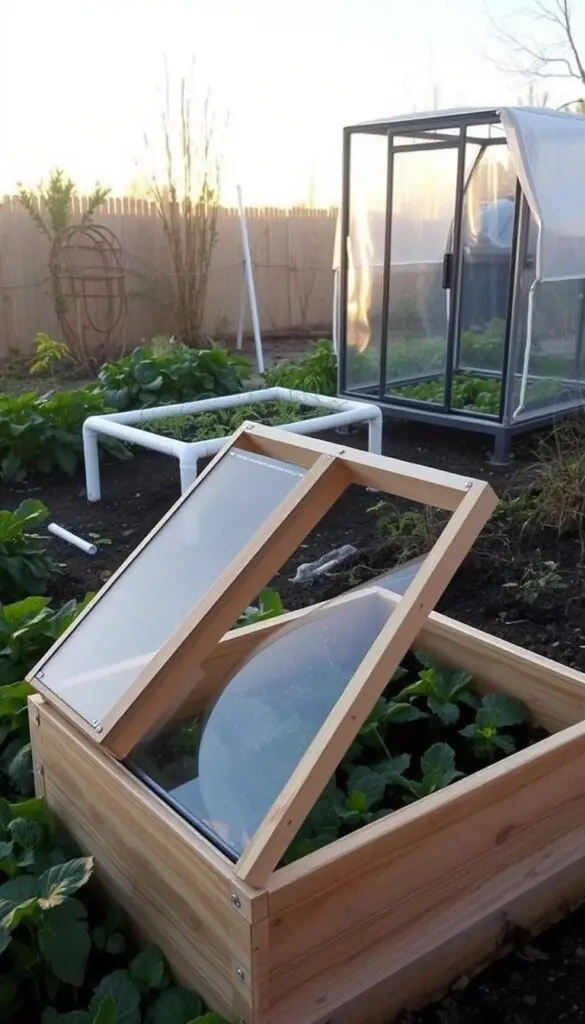
Moisture, snow, and secure framing
If heavy condensation forms, vent earlier and water less so soil stays evenly moist, not soggy. After a snowfall, sweep the lid so light gets in and weight doesn’t strain hinges.
Check hinges and screws at the front and back each season. Longer lids need multiple hinges and snug hardware to stay safe. Convert a raised bed with removable panels if you need a quick, sturdy cover at the end of the season.
"Tighten a loose hinge, re-level a corner, or swap a cracked prop—small fixes keep your setup dependable."
- Prop lids on sunny days to prevent overheating.
- Vent at the sight of heavy condensation.
- Sweep snow off the lid so light reaches your plants.
Conclusion
A warm span of sun and soil can turn a tiny box into weeks of extra harvest. A simple cold frame sized to your reach (about 3–4 feet) with a hinged top and south-facing location helps you extend the growing season.
Use cedar or reclaimed windows, place the unit on good ground or a raised bed, and keep a small bale of straw for quick insulation at the back edge.
Vent at midday, harden off seedlings over a few days, and check hardware now and then. A quick how-to video or a simple sketch can guide your next build.
As a gardener, you’ll find a calm rhythm: lift the lid, feel the warm breath inside, and gather crisp greens and kale for dinner. Small starts, steady care, big joy at the end of the day.
FAQ
What is a cold frame and why should I use one?
A cold frame is a simple, low box with a transparent lid that traps warmth and protects plants from harsh weather. It extends your growing season by sheltering seedlings and hardy greens through fall, winter, and early spring. You get earlier harvests, safer germination, and a cozy spot to harden off young plants.
Where should I place a cold frame for best winter sun and drainage?
Aim for a sunny, well-drained spot with a slight south-facing slope if possible. Position the higher back to the north and the lower front to the south so the lid catches maximum light. Avoid low, soggy hollows and keep it near a wall or fence for some wind protection.
How do I protect the box from cold winds and retain heat?
Use a south wall or a windbreak like shrubs, fencing, or bales to reduce drafts. Sinking the sides a few inches into the soil adds insulation. Lining the interior with straw or adding an extra layer of clear plastic on cold nights helps retain warmth without blocking light.
What materials work best for the lid: glass, acrylic, or old windows?
Glass and acrylic transmit light well and last a long time; repurposed windows are budget-friendly and charming. Choose sturdy hinges and seal edges against drafts. Avoid yellowing plastics and always check for broken panes before installing.
What should I build the frame from—wood, concrete, bricks, or straw bales?
Cedar or untreated lumber resists rot and looks attractive; pressure-treated lumber can be used if contact with edible soil is minimized. Concrete blocks or bricks provide thermal mass, and straw bales can form a temporary insulated wall. Avoid creosote-treated wood near edible plants.
How big should a cold frame be and how tall at the back?
A comfortable size lets you reach in 3–4 feet across. Make the back a few inches to a foot taller than the front to create a slope for light and runoff. Match the height to what you’ll grow—leafy greens need less height than taller seedlings.
Can I build a strong lid with old windows and simple hinges?
Yes. Fit old windows into a sturdy wooden frame, use corrosion-resistant hinges, and pre-drill screw holes to prevent splitting. Add handles for easy opening and prop sticks or battens to hold the lid partway open for ventilation.
How do I vent the box to avoid overheating on sunny days?
Prop the lid open with a stick or install a simple solar vent opener that lifts the lid as temperatures rise. Monitor midday heat and aim for gentle airflow—full shade or removal of the lid works if temperatures climb too high.
What should I plant in fall and winter in a sheltered bed?
Hardy greens like kale, spinach, lettuce, endive, and scallions thrive. Direct-sow quick crops such as radishes and small lettuces in early spring. Use the bed to start seedlings early, then harden them off before transplanting.
How do I care for moisture and prevent mold or rot inside the box?
Water sparingly and early in the day so foliage dries before night. Ensure good drainage in the soil and open vents on warm days to reduce humidity. Remove diseased plants promptly and refresh potting mix or soil as needed.
Can I turn a frame into a hotbed for extra heat?
Yes—use a hotbed by layering 18–24 inches of fresh manure or active compost below 6 inches of soil to generate heat. This boosts germination and early growth, but monitor temperature closely and replace the bedding when it cools down.
What are common mistakes to avoid when setting up a box?
Don’t place it in a shaded or waterlogged spot, avoid making it airtight (plants need airflow), and don’t forget to vent on sunny days—overheating can stress plants. Secure the lid against snow load and wind to prevent damage.
Any cost-saving tips or ways to reuse materials?
Repurpose old windows, scrap lumber, or clear plastic sheeting to cut costs. Use bricks or concrete blocks from a previous project for walls. Simple hardware, reclaimed hinges, and a homemade prop stick keep things affordable and effective.