Imagine stepping out to the scent of warm soil and a bright ribbon of color leading to your door. Have you noticed a small patch that could use a lift? You can make a welcoming garden that feels like a friendly wave to neighbors and guests.
Start with simple tools — a spade, a rake, and fresh mulch — and a short plan that fits your house. Map sun and shade, pick plants by USDA zone, and layer tall perennials behind lower annuals so texture and scent unfold toward the path.
Quick time-saving tips: edge with stone or brick, add pots near the entry, and avoid overplanting. Tune soil until it feels loose and crumbly, water in gently, and mulch to hold moisture and cut weeds.
In one afternoon you can draft a layout, pick reliable plants, and plant a small garden bed that blooms through spring, summer, fall, and even offers winter berries. You’ll finish with a tidy landscape that invites lingering and keeps maintenance simple.
Key Takeaways
- Make a simple plan: map light, choose a style that matches your house, and pick plants for your zone.
- Use basic tools — spade, rake, mulch — for clean edges and healthy soil.
- Layer plants for year-round interest and use pots or mailbox rings for small spaces.
- Mulch and water wisely to save time and reduce weeds.
- Avoid common mistakes: don’t overplant and keep sun and shade plants separate.
Start with a vision for curb appeal you’ll love coming home to
Picture stepping up to a bright door framed by an arbor, containers, and a sweep of color that feels like a warm welcome.
Begin by naming three words that fit your house — cozy, classic, or clean-lined. Those words guide your design choices and make picking colors feel easy.
Painting or accenting the door instantly lifts the scene. Add a low picket fence or a simple arbor to spotlight the entry. Group containers in odd numbers to create a clear focal point.
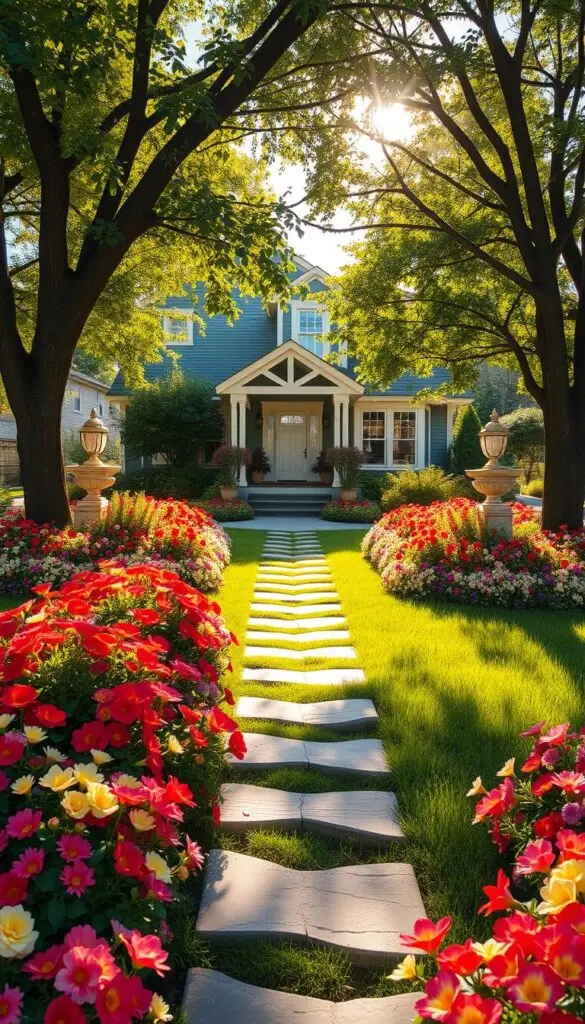
- Sketch a quick map with the path wide enough for two and materials that match your home.
- Repeat two to three colors and layer textures to build lasting interest.
- Place one focal element near the entry so the eye lands somewhere specific.
| Feature | Quick Win | Why it helps |
|---|---|---|
| Door Accent | Fresh paint or new hardware | Anchors the design and adds personality |
| Path Material | Brick, stone, or pavers | Creates a cohesive way to the door |
| Containers | Group in 3s, repeat colors | Gives instant garden charm and easy maintenance |
Decide on maintenance now. If you want low-effort care, plant larger groups of fewer varieties and choose drought-tough picks. Add lighting along the path so evenings feel safe and inviting.
Assess your site: sun, shade, soil, and wind shape your success
A quick site study—done with a notebook and your phone—saves hours of trial and error later. Walk the area at three times: 9 a.m., noon, and 3 p.m. Mark where sun hits, where shade holds, and where breezes sweep past fences or doors.
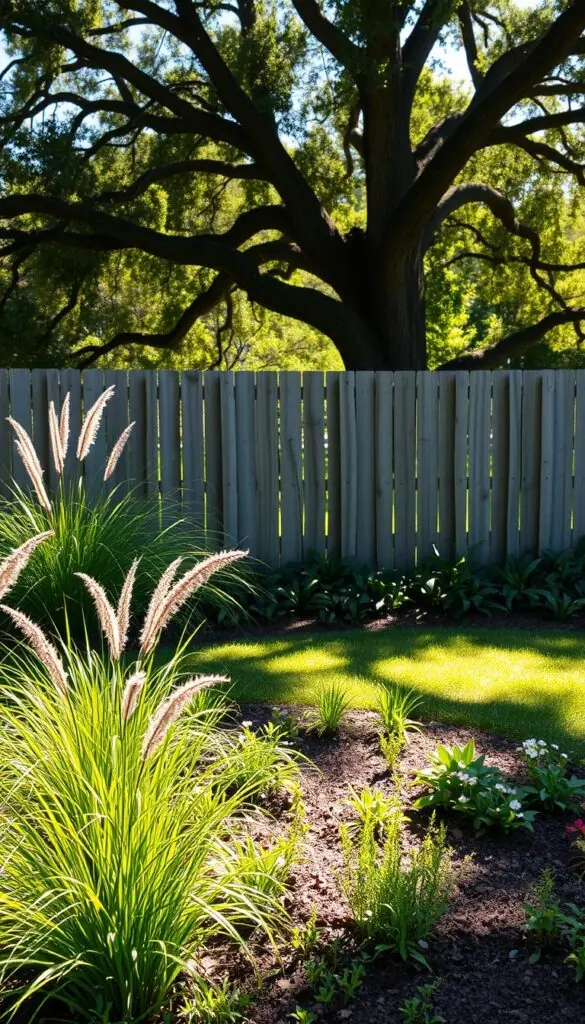
Map daily light and microclimates
Note spots with six or more hours of sun—these are true full-sun zones for many plants. Less than that is part shade or shade.
Use a phone compass or simple sketches. Put sun lovers where light is strongest and shade-tolerant foliage where the afternoon is cooler.
Check drainage and soil texture
After rain, watch for puddles that hang around a day. If water pools, plan raised soil or loosen compacted ground so roots won’t sit in water.
Feel the soil: gritty means sandy, sticky means clay. Add compost to both to improve structure and root growth.
Account for wind, trees, and water needs
Wind can dry leaves and break stems. Tuck tender plants behind shrubs or add a low windbreak by a fence or small hedge.
Group plants by water needs so irrigation is simple. For reliable, low-fuss color across many USDA zones, choose perennials like coneflower, daylily, and black-eyed Susan.
- Stand at the foundation at key times and mark light.
- Place small trees on the west or south for summer shade; keep them clear of utilities.
- Avoid mixing full-sun and full-shade choices in one area—match light to plant needs.
Choose a design style that fits your house and neighborhood
Let your home lead the design choices so the garden feels like a natural extension of the porch.
Match materials and plants to the architecture for instant cohesion. That makes landscaping look intentional and easier to maintain.
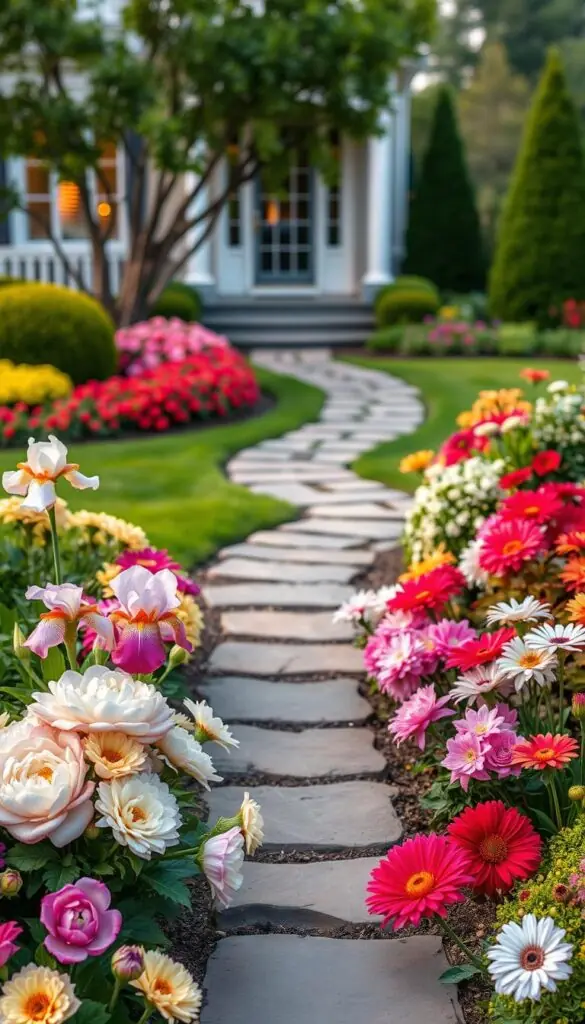
Cottage charm
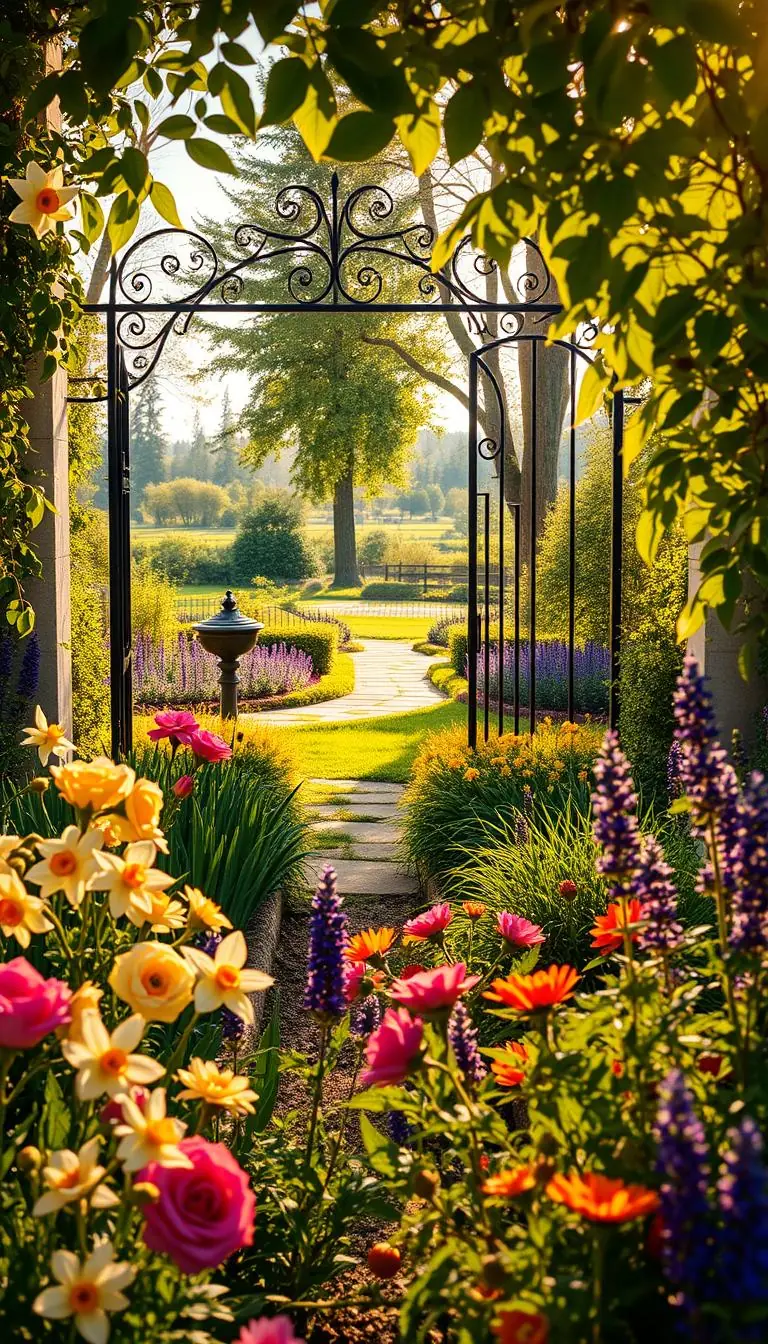
The cottage garden feels abundant and friendly. Think a white picket fence, a rose-covered arbor, birdbaths, and colorful paths that invite conversation.
Plant picks: roses, lavender, mixed perennials and low shrubs for a layered, informal look.
Classic colonial
Colonial style relies on balance and order. Mirror planting on both sides of the entry, use boxwoods for structure, and add a brick walk for timeless formality.
Plant picks: clipped shrubs, fragrant roses, and lavender placed where you’ll pass and enjoy the scent.
Craftsman and contemporary
These homes do well with quality hardscape and simple palettes. Use curved beds, tumbled stone edging, and ornamental grasses for texture and movement.
Plant picks: ornamental grasses, low-maintenance perennials, and a few bold-leaf accents to add visual interest.
- Use matching materials—brick with brick, stone with stone—so the landscaping reads as part of the house.
- Keep scale: low plantings under windows, taller shrubs at corners, a small tree to frame the view.
- Start with the path and entry structure; when that feels right, the rest of the planting falls into place.
Prepare the soil: quick tune-up for healthy roots
Good soil is the base of a thriving garden; with a few clear steps you can make the ground crumbly, fertile, and ready in a weekend.
Gather your tools and stage them nearby: set out a spade, garden fork, rake, wheelbarrow, plus bags of compost and mulch so everything stays within reach. Keeping materials on a tarp speeds cleanup and protects the lawn.

Loosen, amend, and edge — simple steps that work
Strip turf or weeds from the new flower bed area. Then loosen the top 8–10 inches with a garden fork or spade. The ground should feel airy and crumbly, not compacted.
Mix in 2–3 inches of compost; it helps clay drain and lets sandy soil hold water. If your soil is very poor, add a balanced, slow-release organic fertilizer per label instructions.
Cut a crisp spade edge or install edging—brick, stone, or wood—to keep grass from creeping into the planting area. Rake smooth, remove rocks and old roots, then water lightly to settle amendments.
| Task | How to do it | Why it helps |
|---|---|---|
| Loosen soil | Turn top 8–10 inches with fork or spade | Improves aeration and root spread |
| Amend | Blend 2–3 in. compost and slow-release fertilizer | Boosts nutrients, balances drainage and moisture |
| Edge | Spade-cut line or install brick/stone/wood | Keeps lines tidy and prevents grass creep |
| Finish | Rake smooth, water lightly, top-dress with 1 in. compost if needed | Prepares a clean base for planting and soil life |
Quick tips: don’t till deeply near large trees—hand-loosen the top few inches to avoid root damage. If you’re not planting the same day, top-dress with an inch of compost and cover to keep moisture steady.
Select plants with staying power and seasonal interest
Focus on hardy selections that offer texture, scent, and reliable blooms year after year. Choose species that match your light and USDA zone so the planting performs with less fuss.
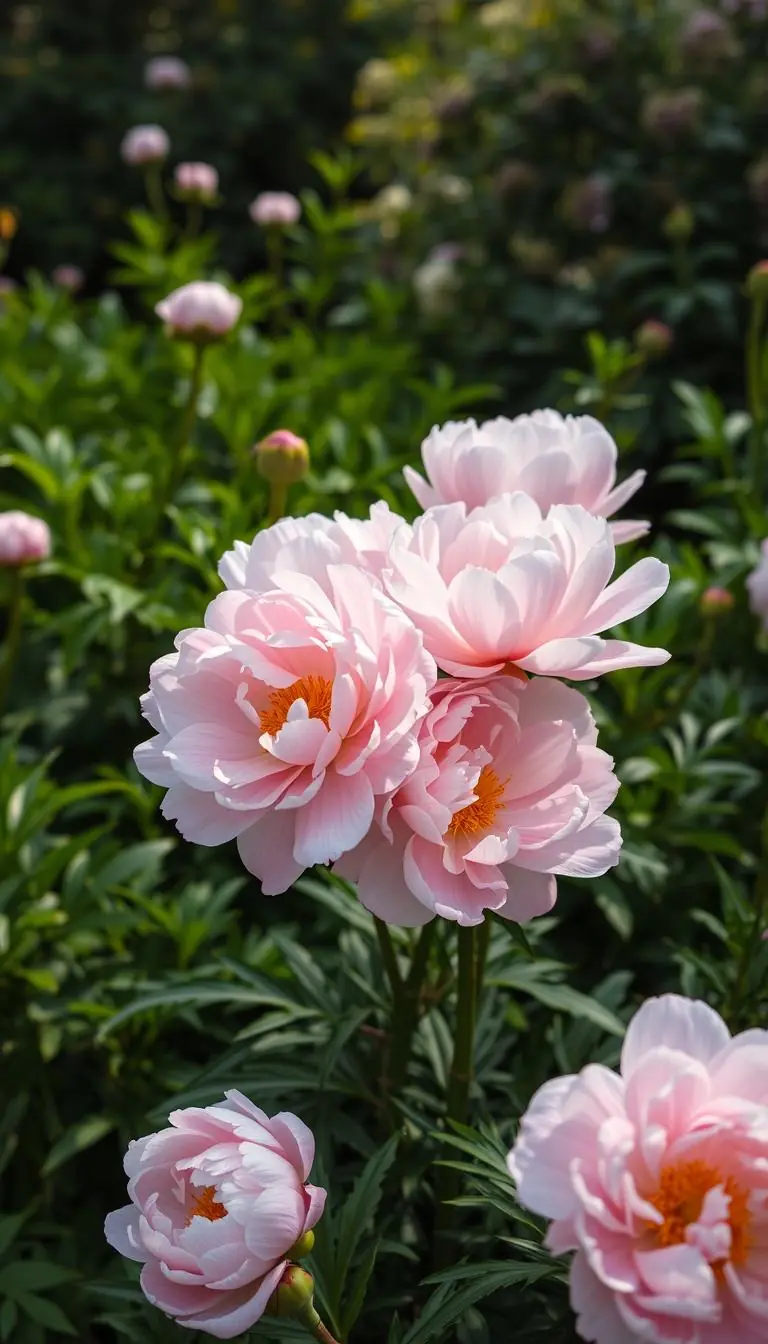
Perennials for return blooms: coneflower (Echinacea), black-eyed Susan (Rudbeckia), and daylily (Hemerocallis) thrive in zones 4–9 and give strong summer color and structure.
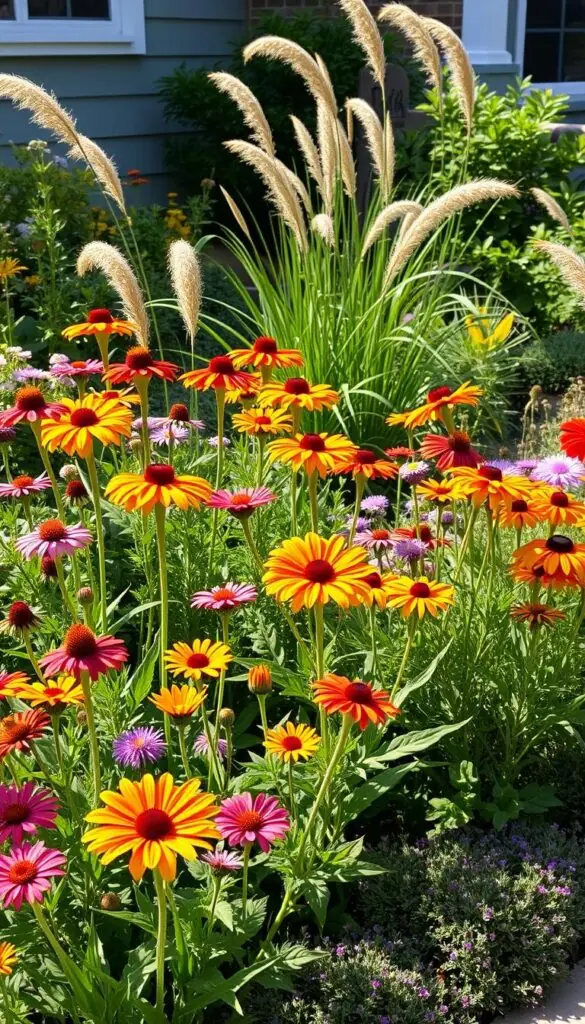
Annuals, shrubs, and grasses to fill and form
Add annuals for instant color—zinnias for sunny spots and impatiens or begonias where shade rules. They fill gaps while perennials establish.
- Shrubs for bones: boxwood for neat mounds (zones 5–9), hydrangea for big summer blooms (zones 4–9), and ninebark for bold foliage (zones 2–8).
- Ornamental grasses like fountain grass or little bluestem add movement and seedhead interest into fall (zones vary by species).
- Trees and vines lift the scene: serviceberry or crabapple gives spring show and wildlife value; redbud adds early color. Pair climbing rose and clematis on an arbor for scent and vertical drama.
Group plants in 3s or 5s and repeat favorites to guide the eye. Match light needs—sun lovers in open spots, shade lovers near porches—to keep maintenance easy and interest steady through the seasons.
Design your front yard flower bed layout
Trace the curve you want on the lawn with a hose; curves read softer and invite movement. A clear layout makes planting easier and maintenance simple. Start by deciding if you want a curved or symmetrical plan. Curves suit modern or cottage looks. Symmetry fits traditional houses.
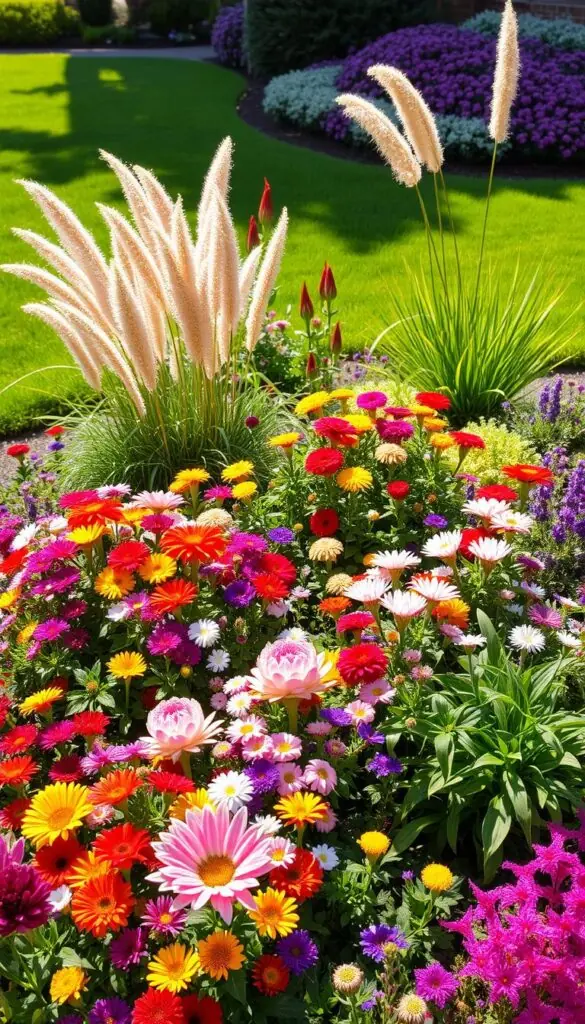
Layer by height: tall in back, mid-height in the middle, low at the front
Set the bed depth to 4–6 feet when space allows. This fits a back row of tall accents, a mid layer, and a soft front edge.
Place tallest plants—ornamental grasses, shrubs, or a small trellised vine—along the far side to anchor the view. Follow with mid-height perennials like coneflowers and daylilies. Finish with low spillers such as catmint or heuchera that soften the edge.
Build a color scheme: harmonious hues or bold contrasts that guide the eye
Choose a color scheme you’ll love: restful (blue, lavender, white) or lively (gold, coral, magenta). Repeat each hue in three spots to lead the eye through the garden.
Use foliage contrast—silver leaves with deep green, chartreuse with burgundy—to keep interest between blooms. Mix shapes (spikes, mounds, daisies) and space plants to their mature size so you don’t crowd later.
| Layout element | Dimension / spacing | Why it helps |
|---|---|---|
| Bed depth | 4–6 ft | Room for tall, mid, and low layers |
| Tall anchors | Space 3–5 ft apart | Frames the scene and adds height |
| Mid layer | 18–24 in. spacing | Creates continuous summer blooms |
| Front edge | 12–18 in. spacing | Softens the border and defines mowing line |
Quick tip: Lay a hose to test the flow before you cut turf. Adjust until the view feels right from the path and steps. This small step makes the final planting calm and confident.
Paths, edging, and structure that guide guests to the door
A well-built walk invites company: focus on width, material, and a stable base so it stays level for years.
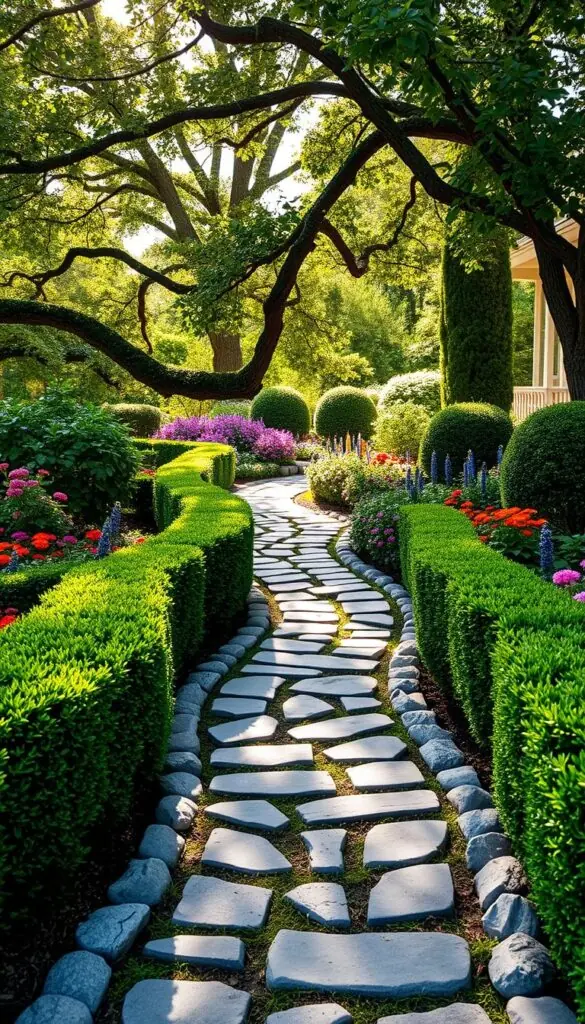
Make it wide enough: aim for 36–42 inches so two people can walk side by side. That width feels generous and keeps the way safe.
Materials and movement
Choose materials that echo your house — brick for a classic look, stone for Craftsman warmth, or large pavers for a modern silhouette.
Add gentle curves to give the garden pockets for seasonal color and a small focal point like a pot or bench. Curves make the walk feel like a slow, pleasant journey.
Edging, safety, and lasting performance
Edge existing concrete with brick or cobblestone to upgrade curb appeal without a full replacement. Cut clean spade edges or install stable edging to separate lawn and beds and reduce upkeep.
"Paths invite the slow look—let materials and curves do the guiding."
Set pavers on compacted gravel and sand so frost heave won't shift the surface. Keep walks even, nonslip, and well-lit for evening use. These details make your landscape feel complete and welcoming to every guest.
Planting day made simple: step-by-step to get everything in the ground
Before you dig, place each pot where it will go so height, color, and spacing read at a glance. Walk the layout once more. Adjust until the view feels balanced.
- Prep holes: dig two times the width of each root ball and the same depth. Loosen pot-bound roots so they spread into the ground.
- Moisten and position: water each hole in hot weather so roots land in damp soil. Set crowns level with the surface; never bury stems.
- Backfill gently: mix native soil with compost, press lightly to remove air pockets, but don’t compact.
- Water deeply: soak each section slowly after planting and again when the whole bed is done so everything settles.
Add 2–3 inches of mulch, keeping it a few inches from stems and trunks to avoid rot. Label new varieties or snap a quick photo map for future care.
Clean tools, coil hoses, and take a relaxed walk along your new garden. In a short time, the plants will root, and your flowers will reward you for the careful start.
Watering and mulching for a thriving start
A calm, even watering routine in early weeks makes the biggest difference for new plants.
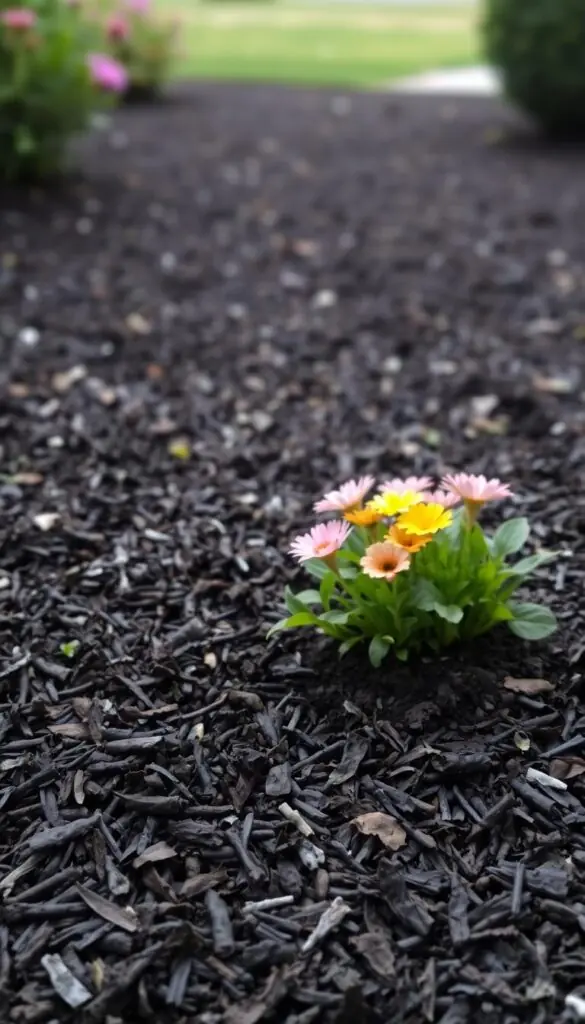
For the first two weeks, aim for steady moisture without soggy soil. Water every 2–3 days, slowing the hose so water soaks deep. This trains roots to reach down rather than stay near the surface.
Simple schedule and quick checks
- Check soil with your finger—if the top 1–2 inches feel dry, it’s time to water.
- Water at the base of plants in the morning to cut evaporation and leaf disease.
- After the first month, move to a deep soak once or twice weekly depending on heat and soil.
Mulch keeps moisture even, suppresses weeds, and gives beds a tidy look. Maintain 2–3 inches of mulch and pull it a few inches from stems to avoid rot.
| When | Action | Why it helps |
|---|---|---|
| First 2 weeks | Water every 2–3 days; deep soak | Encourages root establishment |
| After 1 month | Deep soak once or twice weekly | Reduces surface wetting and disease |
| Ongoing | Refresh mulch each spring; use drip or soaker | Saves time and keeps soil steady |
Quick tip: place a tuna can under sprinkler zones; when it fills, you’ve given about an inch of water to your yard. Watch for wilt that won’t recover by evening—that signals a deeper drink is needed.
Plan for four-season beauty in your front yard
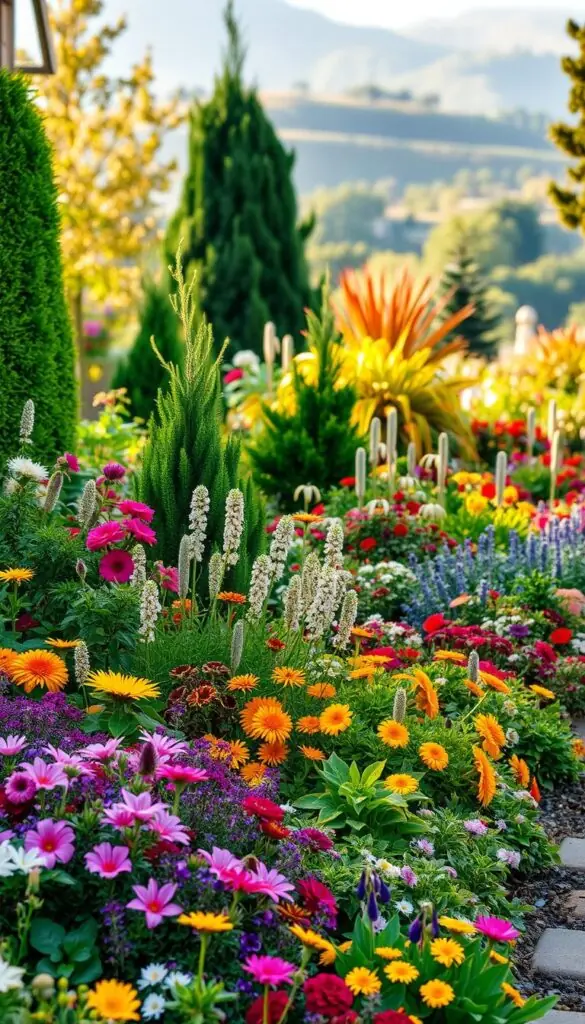
Think of your border as a year-long story, with chapters that open and close as months pass. A mixed planting keeps your landscape lively and simple to maintain. Repeat a few reliable plants so the view reads as one cohesive scene.
Spring sparks
Layer bulbs like daffodils and tulips under flowering shrubs and small trees. Use serviceberry, redbud, or lilac to frame the entry with scent and soft blooms.
Summer show
Rely on perennials such as coneflower and daylily, and add a few annuals for nonstop color. These choices attract pollinators and keep paths cheerful through warm months.
Fall color and winter interest
Let ornamental grasses hold their plumes into autumn and winter. Keep seed heads on coneflowers for birds and silhouette interest. Plant redtwig dogwood for bright stems and winterberry for reliable fruit.
- Repeat key plants to tie seasons together.
- Place seasonal highlights where you see them from windows and the entry.
- Tuck bulbs into gaps each fall to boost spring color.
| Season | Key picks | Why they help |
|---|---|---|
| Spring | Bulbs, serviceberry, redbud | Early color and scent |
| Summer | Coneflowers, daylilies, annuals | Long bloom and pollinator activity |
| Fall/Winter | Ornamental grasses, redtwig dogwood, winterberry | Texture, berries, and stem color |
Maintenance that fits your life
Treat maintenance as a few small habits you can do in twenty minutes each week. This keeps your space neat and gives plants what they need without stealing your weekends.
Weekly rhythm: quick weeding, tidy edges, deep watering
Set a 20-minute routine: pull young weeds, check soil moisture, and straighten edging. Do this once a week and problems stay small.
Deep-water less often rather than light daily sprinkles; it trains roots to go deep and helps plants survive heat.
Seasonal tune-ups: pruning, deadheading, dividing, and refreshing mulch
Prune shrubs and small trees at the right time—after spring bloomers flower, late winter for summer bloomers. Deadhead heavy repeaters to extend color.
Divide perennials every 3–4 years and refresh mulch each spring. Share extras with neighbors to keep things simple.
- Inspect for pests while you walk—early action makes organic controls effective.
- Keep a pared-down tool kit by the door: pruners, gloves, a weeder, and a small bucket.
- Edge once a month during the season for instantly crisp lines.
| Task | Frequency | Why it helps |
|---|---|---|
| Weeding & check | Weekly | Keeps beds tidy and reduces stress on plants |
| Deep watering | Bi-weekly to weekly | Encourages deep roots and drought resilience |
| Mulch refresh | Spring (top-off as needed) | Suppresses weeds, conserves moisture |
"Plant only what you can manage; right-size your planting area and expand slowly."
Low-maintenance front yard ideas that still look lush
Build structure first—evergreen shrubs and grasses—then add long-blooming perennials for easy color.
Choose a simple palette of three to five plants and repeat them in groups for big impact with less maintenance. Native picks cut water and fuss while supporting pollinators in your area.
Native and easy-care picks by region
- Group in sweeps: plant 5–7 of the same species to reduce weeding and cloning care routines.
- Use structure: low shrubs, ornamental grasses, and a small tree anchor the space year-round.
- Mailboxes and borders: a simple flower bed around the mailbox gives curb charm with tough, low growers.
| Region | Easy picks | Why it helps |
|---|---|---|
| North | Daylilies, coneflower, boxwood | Tolerates cold, low fuss after establishment |
| South | Black-eyed Susans, ornamental grasses, salvia | Heat-tolerant and drought-friendly |
| West | Sage, penstemon, little bluestem (grasses) | Native drought resistance, pollinator value |
| Midwest | Purple coneflower, sedum, serviceberry (trees) | Strong perennials that handle varied seasons |
Tip: mulch heavily, add drip irrigation, and place plants by water needs. This small mix keeps landscaping easy and your garden looking cared for with minimal time each week.
Pollinator-friendly planting that brings your garden to life
Create a lively pollinator corner with layered nectar sources, simple water, and nearby shelter. A small patch rich in blooms supports bees, butterflies, and hummingbirds. You don’t need a big space—just a thoughtful mix of plants that flower from spring to fall.
Bee, butterfly, and hummingbird favorites in US regions
Spring to fall sequence: bulbs and early trees like serviceberry open first. Midseason perennials—coneflower and yarrow—feed bees and butterflies. Late asters and goldenrod keep food flowing into autumn.
- Hummingbirds: salvia and penstemon (tubular blooms).
- Butterflies: cornflower and milkweed for caterpillars.
- Bees: bee balm and clumps of basil or oregano when allowed to flower.
Water, shelter, and bloom succession to support wildlife
Add a shallow dish with pebbles so insects and birds can perch while they drink. Refresh the water every few days.
Provide shelter with a thicket of shrubs or a strip of ornamental grasses. Leave a small no-mow edge for ground-nesting bees if you can.
"Cluster 3–5 of the same species together; pollinators find food faster and stay longer."
Skip pesticides and hand-pick pests instead. This keeps beneficial insects safe and helps your garden thrive.
Small spaces solved: vertical, raised, and mailbox beds
When ground room is limited, clever height and compact plantings make a big visual impact. Use vertical supports and tiered containers to stack color and texture without crowding the lawn.
Go vertical with trellises, arbors, and layered raised beds
Pull color upward: attach slim trellises or a narrow arbor for vines and climbers. This leaves floor space free for low plants and creates a layered look.
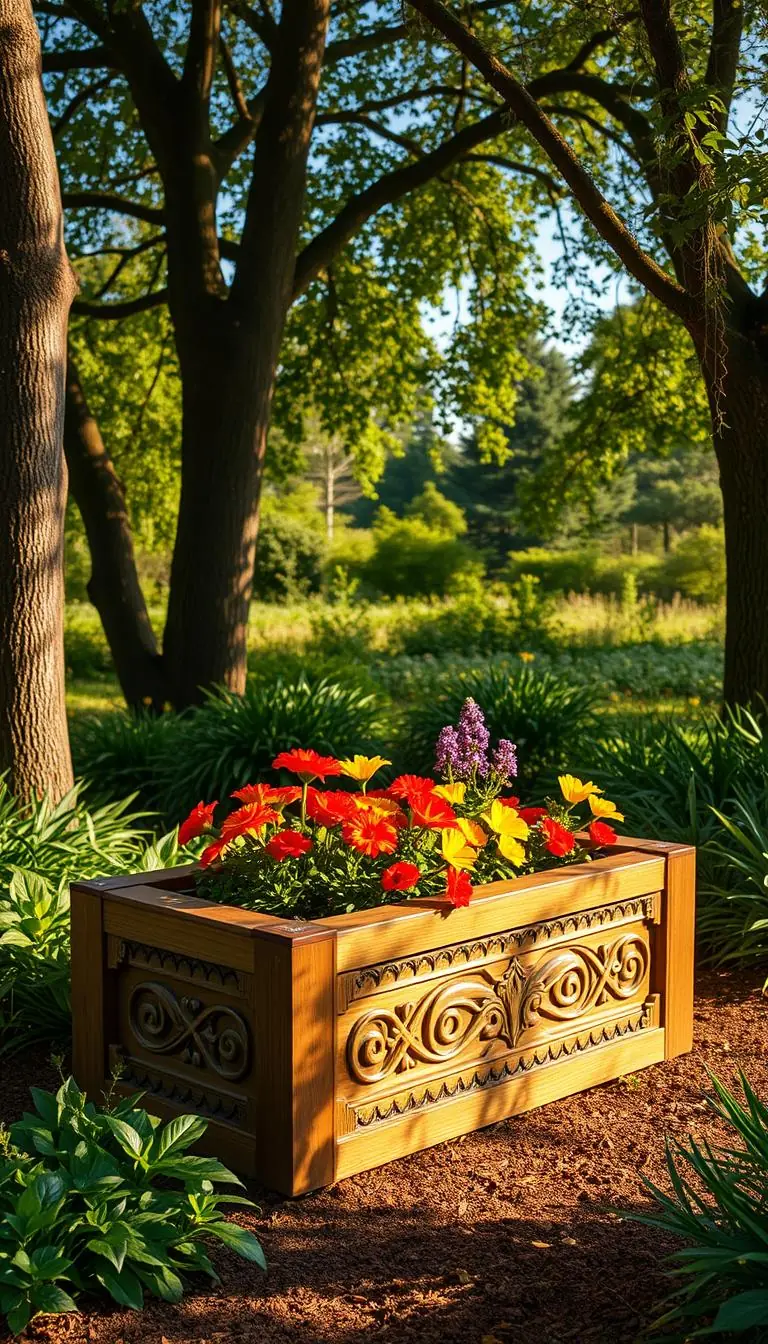
Stack raised beds in tiers so taller accents sit at the back and low spillers tumble toward the path. Add a simple drip line to save time on watering and prevent overwatering.
Large pots at steps give instant drama. Try one thriller, one filler, and one spiller in each container for a quick, portable pop of color.
Mailbox and walkway borders for a colorful daily welcome
Create a tiny garden bed around your mailbox with bright, low flowers for curb charm that greets you every day. Line the walk with repeated low plants so the way feels lush and clear.
- Use compact shrubs and small trees bred for narrow lots to keep sightlines open.
- Repeat two or three varieties so the area feels calm, not busy.
- Place taller containers at corners to “bookend” the approach to your house.
"Stack, repeat, and lighten foliage near the porch—small choices that make your entry feel larger."
Quick tip: choose lightweight pots if you rent, and keep raised boxes shallow for easy maintenance. These small wins make tight spaces feel generous and welcoming.
Common mistakes to avoid for a stress-free garden
A stress-free planting plan begins with honest choices about space, light, and time. Small errors often cause extra work later, but gentle corrections keep things simple and lovely.
Overplanting and poor spacing that crowd airflow and views
Don’t cram too many things into a new area. Give each plant room to reach its mature width so you won’t need constant pruning.
Read tags for mature sizes and choose dwarf varieties if you need a smaller look. Start small and expand—it's easier than rescuing an overgrown scene.
Right plant, right place: light, soil, and moisture mismatches
Match light first. Avoid mixing sun-only and shade-only choices in one spot to prevent weak growth and disease.
- Check drainage before planting shrubs or trees—soggy soil causes root rot.
- Skip high-maintenance divas if time is tight; pick proven doers instead.
- Water deeply but not constantly; this builds resilient roots.
"Lay out pots first and walk the front from the street; adjust spacing until views feel open."
Conclusion
Step back and let the layout read as a warm invitation to your house—simple lines, steady color, and texture.
You now have a clear plan to shape a welcoming flower bed that fits your life. Give the path a strong, steady line and match materials so the way feels intentional. Choose plants that love your light and soil, water deeply, and refresh mulch on schedule.
With layered planting, tidy edges, and small seasonal tweaks, your flower beds will boost curb appeal with little fuss. Take a breath, enjoy the sounds and scent, and share a cutting or two with a neighbor. You’ve got this—your landscape will grow into a place you love coming home to.
FAQ
How do I start designing a stunning front yard flower bed that feels inviting?
Begin with a clear vision for curb appeal you love. Walk your property, take photos of the house from the street, and note architectural details and colors. Sketch a simple plan that highlights the entry and pathways. Choose a design style that complements your home—cottage charm, classic colonial, or a clean modern look—and pick a limited color scheme to keep the planting cohesive.
How do I assess sun, shade, soil, and wind so plants thrive?
Map sun and shade by observing the site at different times of day. Check drainage after a rain and feel the soil—sandy, loamy, or clay—and test pH if unsure. Notice wind exposure near doors, fences, and corners. Match plants to your USDA zone and any microclimates (cool corners, hot spots by pavement) to ensure reliable blooms and lower maintenance.
What tools and soil prep do I need for healthy roots?
Gather a spade, garden fork, rake, wheelbarrow, compost, and mulch. Loosen compacted soil, remove weeds, and amend with compost or well-rotted manure to improve texture and nutrients. Edge the planting area for clean lines and better turf management. Good prep gives plants a strong start and improves drainage.
Which plants give the best seasonal interest with low fuss?
Combine sturdy perennials like coneflowers, black-eyed Susans, and daylilies with annuals—zinnias, begonias, or impatiens—for instant color. Add shrubs and ornamental grasses for structure and winter interest. Consider small flowering trees or climbing vines to add height, fragrance, and dappled shade.
How should I arrange plants for a balanced layout?
Layer by height: tallest at the back nearest the house or center of a island bed, mid-height in the middle, and low along the edge or walk. Group plants in odd-numbered drifts for natural flow. Build a color scheme—either harmonious hues or bold contrasts—to guide the eye to the entry.
What edging and path materials work best with different house styles?
Choose materials that echo your home’s character: brick or stone for classic homes, pavers or slate for Craftsman, and clean spade edges or simple gravel for contemporary properties. Edging keeps soil and mulch tidy and helps define planting shapes that welcome visitors.
What are the key steps for planting day to avoid mistakes?
Plant on a cool, cloudy day if possible. Dig holes twice the root ball width, set plants so the crown sits slightly above soil level, backfill with native soil mixed with compost, water thoroughly, and apply a thin layer of mulch. Space plants according to mature size to prevent overplanting and crowding.
How should I water and mulch to help new plants establish?
Keep soil consistently moist for the first two weeks without letting it become soggy. After establishment, water deeply and less often to encourage strong roots. Mulch 2–3 inches deep with organic material to retain moisture, suppress weeds, and moderate soil temperature.
How can I plan for four-season appeal rather than only summer blooms?
Layer seasonal elements: spring bulbs and flowering shrubs for early color; perennials and annuals for summer; plants with strong fall foliage, berries, and seed heads for autumn; and evergreens, interesting bark, or ornamental grasses for winter structure and texture.
What maintenance fits a busy life but keeps the garden looking cared-for?
Adopt a weekly rhythm: quick weeding, tidy edges, and spot watering. Do seasonal tune-ups—prune in late winter or early spring, deadhead spent blooms, divide overgrown perennials, and refresh mulch once a year. Choose low-care natives and drought-tolerant varieties to reduce chores.
Which low-maintenance plants work well for a lush look with less watering?
Select regionally appropriate natives and easy-care perennials—like salvia, yarrow, coreopsis, and ornamental grasses—that tolerate drought and poor soil. Mix in evergreen shrubs for year-round structure and a few long-blooming annuals for color without constant fuss.
How do I make a small planting area feel full and welcoming?
Go vertical with trellises or arbors and use layered raised beds to add height. Focus on a strong focal plant near the mailbox or walkway, then frame it with low borders and pots for seasonal pops. Keep scale appropriate so the space feels generous, not crowded.
How do I design a pollinator-friendly planting that supports bees and butterflies?
Include a succession of blooms from spring through fall—native wildflowers, milkweed, asters, and salvias are excellent choices. Provide shallow water sources, sheltered spots like a small brush pile or dense shrubs, and avoid broad-spectrum pesticides to protect beneficial insects.
What common mistakes should I avoid when planning and planting?
Don’t overplant or ignore mature sizes—crowding reduces airflow and increases disease. Avoid placing sun-loving plants in shady spots or wet-loving species in dry, compacted soil. Plan for maintenance needs and pick the right plant for the right place to ensure long-term success.