You step outside at dawn and feel the cool, damp air after a brief rain. Do you want a lush, even green space that doesn’t need guessing each week? You can get there with the right approach and a simple plan.
A good irrigation system brings dependable coverage so dry areas don’t sneak up on you. We’ll compare a quick hose-based solution and a full in-ground sprinkler system, and show how drip works for beds and containers.
We’ll help you assess your yard, place water where it matters, and set schedules for cool mornings. Expect calm, neighborly guidance, real tools like a pressure gauge or hose-end timer, and clear steps to tune arc and radius so you hit corners without wetting the patio.
Key Takeaways
- Choose a setup that fits your budget and yard shape.
- Match irrigation type to plant needs: drip for beds, in-ground for turf.
- Use simple tools to check pressure and timing to save water.
- Adjust arc and radius to avoid wasted coverage on paths and patios.
- Small, regular maintenance helps keep spray patterns even all season.
Start Smart: How to assess your yard for even watering
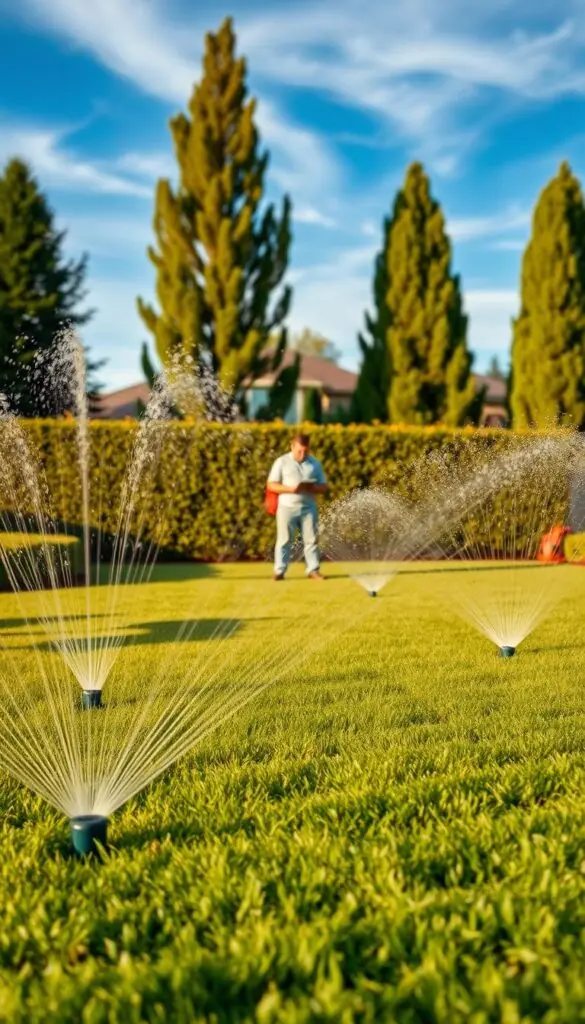
Start by taking a slow walk around your yard at dusk; color and soil tell the real story. Notice warm sun on your shoulders and the cool give of damp ground underfoot. A calm lap helps you spot pale patches, soggy corners, and the thin strips that often get missed.
Walk the grounds: sun, shade, slopes, and dry spots
Make short notes of bright south-facing areas and deep shade under trees. Slopes dry faster; flat areas hold moisture longer. Use flags or chalk to mark edges, narrow strips, and the mailbox bed so you don’t overlook them.
Check faucet flow and pressure
Attach a gauge to your faucet to read pressure. Time how long a 5-gallon bucket takes to fill to measure flow. If 5 gallons fills in 50 seconds, you have about 6 GPM — useful when you plan how many sprinkler heads can run together.
Map simple zones by plant needs
Sketch zones for turf, beds, shrubs, and trees. Turf needs frequent, moderate watering; shrubs and young trees need deeper, less frequent soakings. Place heads away from windy channels to reduce drift.
Quick checks
| Tool | Purpose | What to record |
|---|---|---|
| Pressure gauge | Measure water pressure | PSI at faucet |
| 5-gallon bucket | Measure flow | Seconds to fill → GPM |
| Flags/chalk | Mark problem areas | Edges, narrow strips, dry patches |
| Screwdriver test | Check soil moisture | Penetration depth (6" target) |
- Make sure faucet access is clear before buying parts.
- Sketch circles for spray reach and lines for drip to see overlap and adjust head placement.
Choosing lawn sprinkler systems that fit your yard, season, and budget
Match your yard's shape and sun to a watering approach and save time, money, and guesswork.
Hose-end solutions with timers
You can pair a quality oscillating or impact head with a hose-end timer for quick, movable coverage. Wake to the quiet click of a timer at dawn and find the turf evenly damp, not soggy.
In-ground basics: rotors, valves, and controllers
For larger green areas, rotors sweep smooth arcs and give uniform reach. Keep similar heads together by zone and place valves and pipe where you can access them. Use a Rain Bird ARC controller with a rain sensor to trim needless runs.
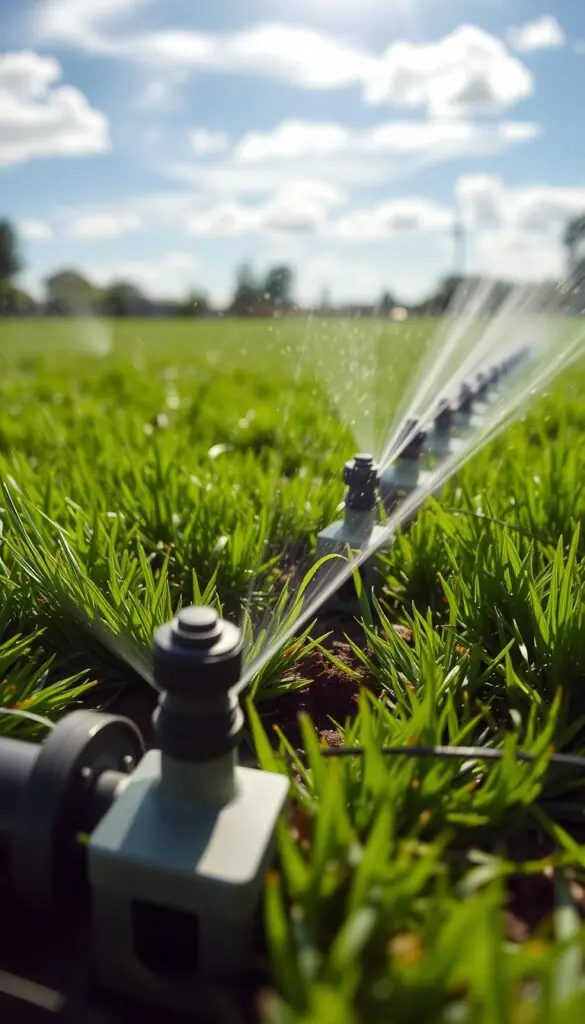
Drip for beds and containers
Drip lines deliver water right at roots. That cuts evaporation and keeps foliage dryer in warm, humid spells.
Smart, app-based: OtO
OtO installs on a hose, links to Wi‑Fi, and draws custom zones in the app. Wind Skip and weather-aware schedules cut waste. A single device covers up to 40 ft—handy for odd shapes.
| Option | Best for | Cost & setup | Key tip |
|---|---|---|---|
| Hose + timer | Small strips, renters | Low cost, minutes | Move heads to fix dry spots |
| In-ground system | Large yards, set-and-forget | Higher, professionally installed possible | Don’t mix rotors and fixed sprays in one zone |
| Drip | Beds, containers | Low–medium, quick install | Place emitters at roots |
| OtO smart device | Odd shapes, app control | Mid, self-install | Ensure 50 PSI min or use adapter |
Installation and setup made easy: from kit to green season routine
With a map, a tarp, and a few easy tools you can have reliable coverage fast.
Quick-install kit example: pop-up rotors, distribution tubing, and a hose-end timer
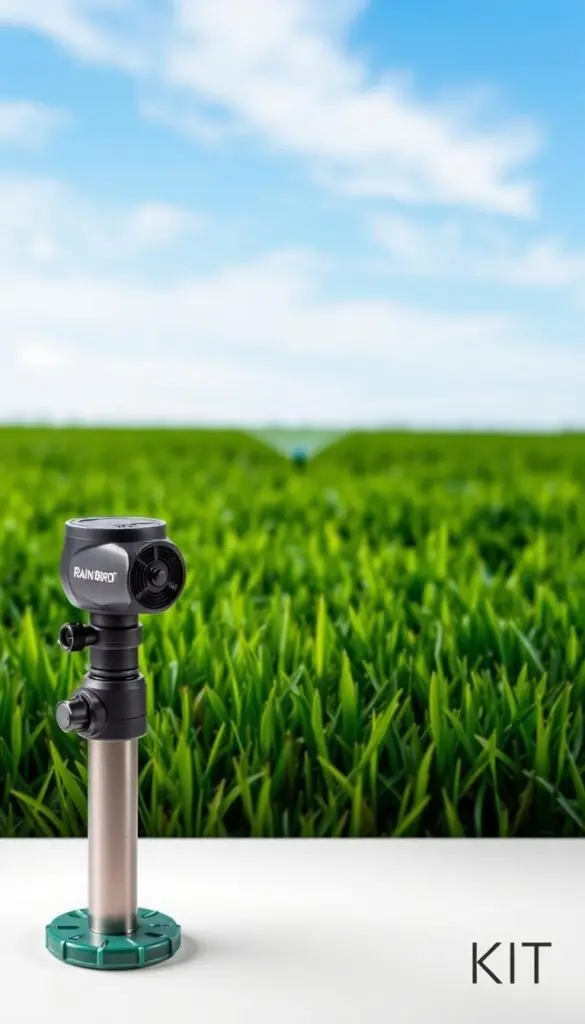
Lay out the Rain Bird kit parts on a tarp: 125 ft of distribution tubing, fittings, six 32SA pop-up rotors, and the 1ZEHTMR hose-end timer. Seeing parts together makes the installation calm and clear.
Cut shallow trenches with a half-moon edger; you’ll hear the crisp slice and lift a neat flap that the ground will knit back quickly. Connect pipe and fittings snugly and wrap threaded joints with Teflon tape to prevent leaks.
Dial in coverage and timing: arc, radius, schedules, and seasonal adjustments
Set each rotor from 40° to 360° and trim radius so spray lands on grass, not the patio. You’ll notice a soft click as each head retracts when off.
Check flow and pressure — this kit needs about 6 GPM and the highest head must be within 6 ft of the faucet elevation. Program the timer for early mornings and adjust by season. Protect the timer below 32°F; bring it inside in winter.
| Component | Spec | Tip |
|---|---|---|
| Distribution tubing | 125 ft | Lay straight runs; avoid kinks |
| Pop-up rotors (32SA) | 6 heads, 40°–360° | Overlap arcs for even coverage |
| Hose-end timer (1ZEHTMR) | 32–110°F operating | Bring inside if freezing |
| Recommended flow | ~6 GPM | Reduce active heads if spray weak |
Quick cautions: respect the kit’s limits—do not expand tubing or add extra rotors. For larger yards, consider a professionally installed in-ground sprinkler system with multiple valves and a smart controller.
Conclusion
With a clear plan and small tweaks, your outdoor space can feel consistently fresh and cared-for.
You now have a clear path to even, sunlit turf—pick the solution that fits, set simple schedules, and let your yard quietly thrive. Whether you choose a hose-and-timer, a smart app device, drip for beds, or a full sprinkler system, the best irrigation system is the one you use every week.
Make sure settings match the season: water at dawn, ease back after rain, and check pressure once a month. A short list of reminders—winterize on time, clean clogged nozzles, and tweak a head or two—will help keep your system perfect with little fuss.
Take a morning stroll, breathe the fresh air, and enjoy the calm. Small, steady care will make your lawn soft underfoot and your plants glow green. You’ve got this.
FAQ
What should I look for first when choosing the best lawn sprinkler systems for even coverage?
Start by assessing your yard’s shape, sun and shade patterns, slopes, and any dry spots. Check water pressure and flow at the faucet so rotors or spray heads will perform reliably. Map zones by plant type—turf, beds, shrubs, trees—so each area gets the right amount of water.
How do I check water pressure and flow for a reliable irrigation system?
Use a pressure gauge on the outdoor faucet to measure static pressure and run a bucket test to estimate gallons per minute (flow). Compare readings to product specs—rotors need higher pressure and flow than drip lines. If pressure is low, a booster pump or pressure-regulating fittings can help.
When should I choose a hose-end timer versus a permanent in-ground setup?
Pick a hose-end timer for quick, affordable control of small or temporary areas. It’s flexible and easy to install. Choose an in-ground system if you want long-term, uniform coverage with rotors, valves, and a controller for multiple zones and seasons.
What are the main parts of an in-ground sprinkler system I should understand?
The core parts are the controller (timer), valves (zone control), piping, and heads (rotors or spray). Rotors cover wide arcs and longer radii; spray heads suit smaller areas. Proper fittings and a good layout lead to even coverage and fewer dry patches.
Is drip irrigation a good option for garden beds and containers?
Yes. Drip systems deliver water slowly at the root zone, reducing waste and preventing runoff. They’re ideal for beds and pots, and they pair well with a controller or a simple timer for consistent, precise watering.
What are smart, app-based sprinklers and how do they help?
Smart controllers and app-based units like Wi‑Fi-enabled timers adapt schedules using local weather, soil moisture, and wind data. They can skip watering on rainy days, adjust for seasonal change, and let you control zones from your phone for water savings and healthier plants.
Can I install a basic system myself with a quick-install kit?
Many homeowners can handle a kit that includes pop-up rotors or spray heads, distribution tubing, basic fittings, and a hose-end timer. Follow the manufacturer’s layout and depth guidelines. For complex yards or permanent in-ground work, professional installation ensures optimal coverage and pressure balance.
How do I dial in coverage and timing for the green season?
Set run times based on soil type and plant needs—shorter, more frequent cycles for clay to reduce runoff; longer, less frequent cycles for sandy soil. Adjust arcs and radii so heads overlap for even coverage. Update schedules seasonally and after major weather changes.
What maintenance keeps an irrigation system performing well?
Inspect heads for clogs or damage, test valves and the controller, and look for leaks in pipes and fittings. Clean filters on drip lines, winterize systems in cold climates, and replace worn heads to maintain even water distribution.
How can I improve coverage without raising my water bill?
Switch to matched precipitation rates across zones, use drip for beds, upgrade to efficient rotors, and add a smart controller to prevent unnecessary cycles. Fix leaks and align heads to eliminate overspray onto pavement or walkways.