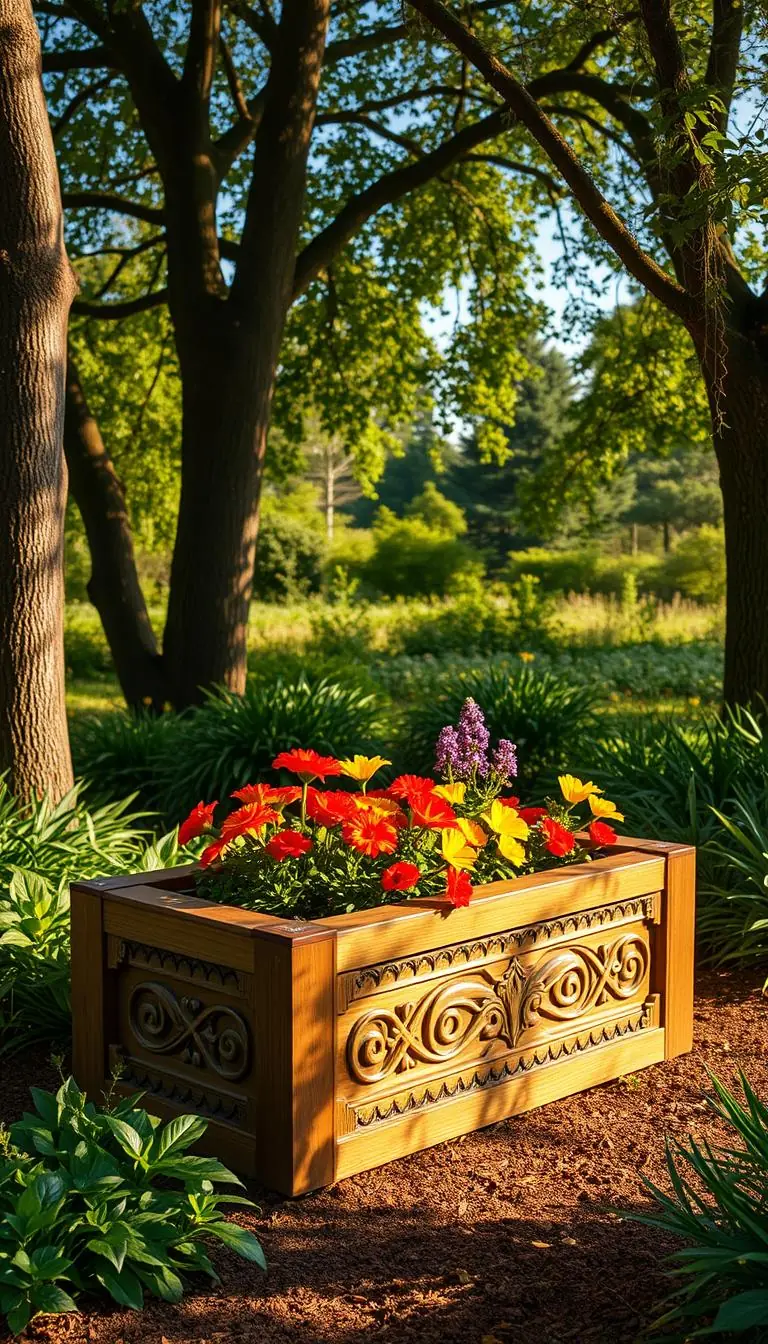
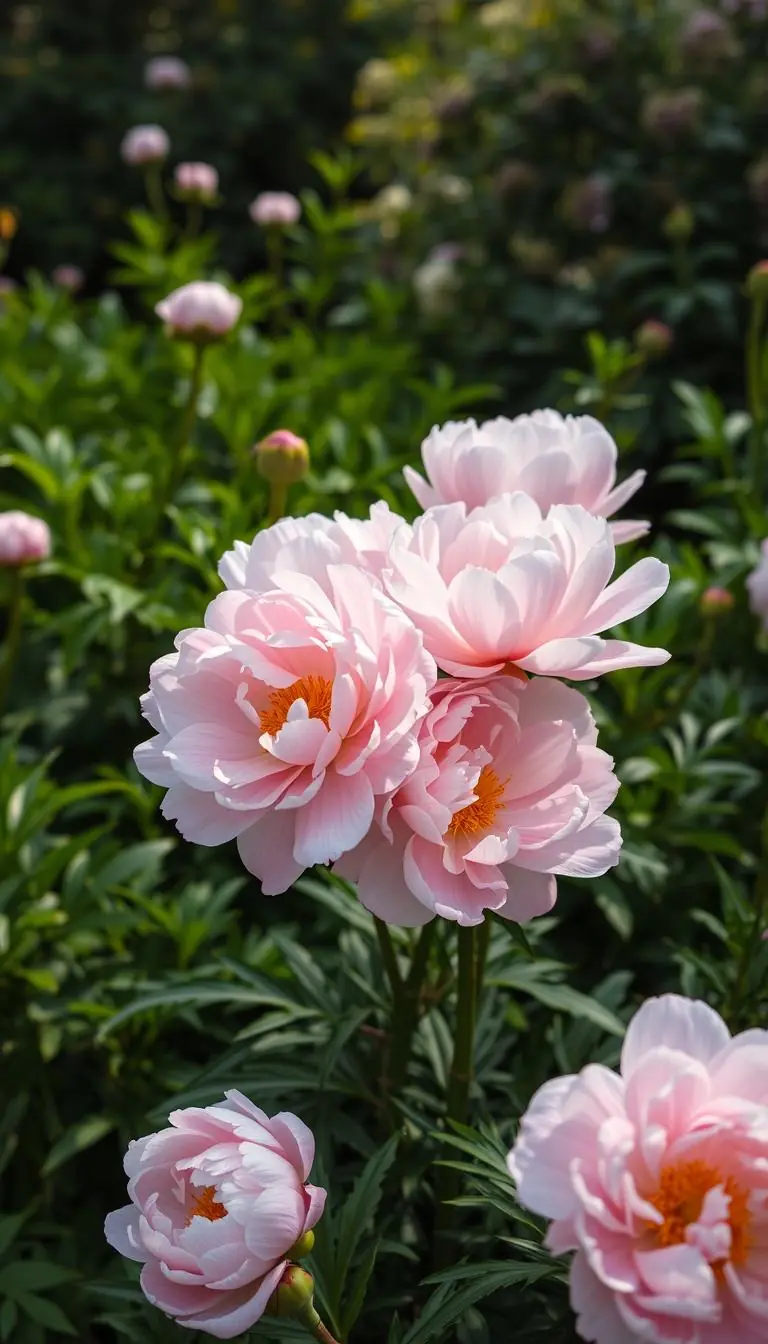
Imagine the scent of sun-warmed planters and the soft, springy feel of rich earth in your hands.
Have you ever wondered why some beds look lush while others struggle? You can change that today with few tools: a trowel, a 5-gallon bucket, and a hose on a gentle spray.
We’ll guide you through simple steps to build a potting base that holds moisture, drains well, and stays light enough for healthy roots. A good potting blend uses peat moss, pine bark, and perlite or vermiculite and may include a slow‑release feed or moisture help.
Small swaps shift texture so roots get air, not soggy pockets. Start small on a sunny patio or a garden path, and enjoy the process as you learn label reading and safe choices.
Key Takeaways
- Use a light, airy potting base that still holds moisture for steady growth.
- Simple tools — trowel, bucket, hose — let you mix and test at home.
- Look for components like peat, bark, and perlite on labels.
- Adjust recipes for your U.S. zone and season for best results.
- Avoid heavy bags; weight often means poor drainage or excess sand.
Start with what your flowers need to thrive
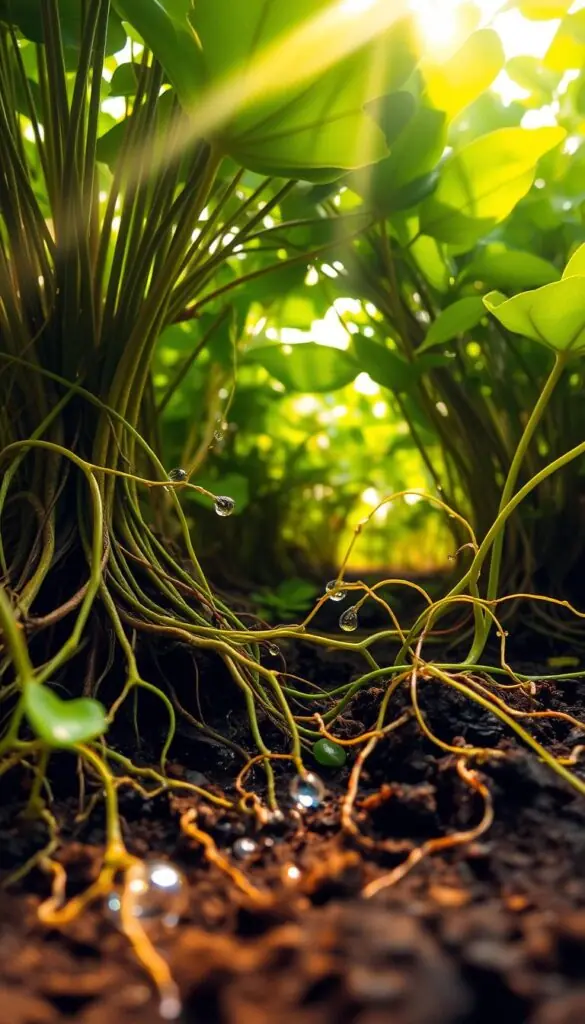
Visualize roots that find space, air, and steady moisture the moment you plant them. Healthy plants start with a medium that crumbles in your hand, holds nutrients and water, and stays light enough for roots to grow.
Quick checks to use—do the squeeze test, the finger test, and the lift-the-pot weight check. A handful should hold lightly, then fall apart. Insert a finger 2 inches down: dry and warm means water, cool and damp means wait. Lift the pot to judge moisture and feed needs.
Bring simple tools: a moisture meter (optional), a hand rake to fluff the surface, and a mulch scoop for topping. Match placement to plants: petunias and calibrachoa on a sunny Zone 7 patio will drink more than impatiens in dappled shade.
- Think roots first: give them loose, airy material that doesn’t smear.
- Aim for balance: water and nutrients hug the root zone while air moves through pores.
- Give space: leave room at the pot rim so watering stays tidy.
| Check | What to feel | What to do |
|---|---|---|
| Squeeze test | Holds then crumbles | Add structure if pasty; add organics if too loose |
| Finger test | Dry/warm or cool/damp | Water if dry; wait if damp |
| Lift-the-pot | Too heavy or very light | Adjust watering schedule |
Potting soil vs. potting mix: choose the right base for containers and beds
Choosing the right base for containers or beds changes how your plants grow. For container gardening, you want a product that stays light, lets air move, and sheds extra moisture so roots breathe.
Potting mix (soilless potting blends) is sterile, fluffy, and ideal for potted plants. It drains fast and cuts disease risk in tight spaces.
Potting soil, often sold as garden soil, contains real dirt. It can be heavy and dense, so it works better for in-ground beds or deep raised planters once amended for structure.
Shopping tips
- Flip the bag and read the ingredients: look for peat fibers, bark, perlite, or vermiculite.
- Do the lift test—very heavy bags may hide sand or retained water.
- Use a dolly when you buy many bags; they add up fast.
"Choose lighter mixes for pots and sturdier soils for the garden to avoid soggy roots."
| Use | Best for | Texture | Why it matters |
|---|---|---|---|
| Potting mix | Containers, potted plants | Fluffy, springy | Air and drainage prevent root rot |
| Potting soil / garden soil | In-ground beds, large raised planters | Denser, mineral-rich | Anchorage and nutrient retention |
| Blend | Big barrels, troughs | Balanced | Lightness for air + weight for stability |
Key ingredients that boost drainage, air, and nutrients
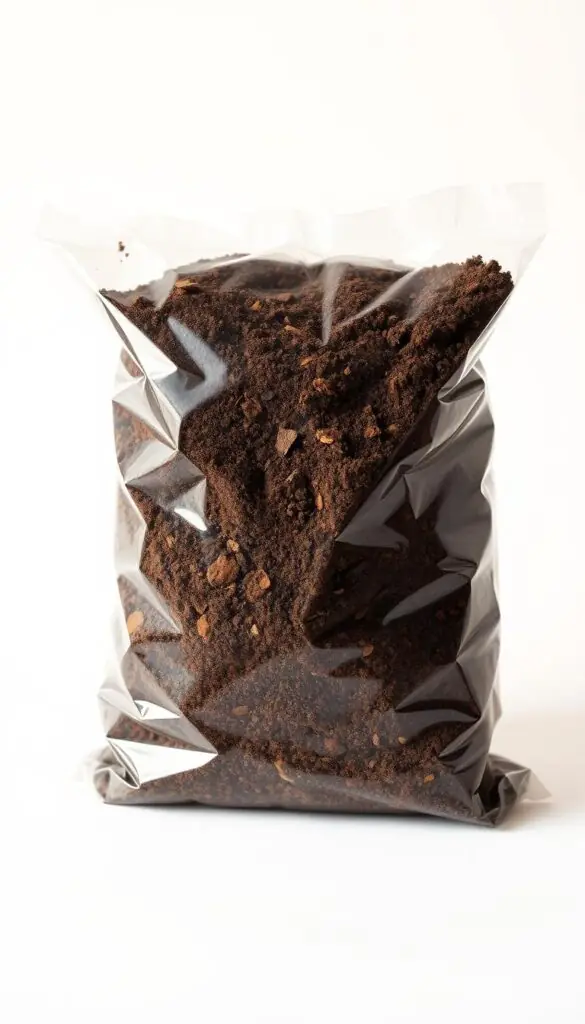
Good structure starts with the ingredients you choose and how you handle them. Use simple tools—wheelbarrow, scoop, gloves—and work in small batches so you can feel the texture as you blend.
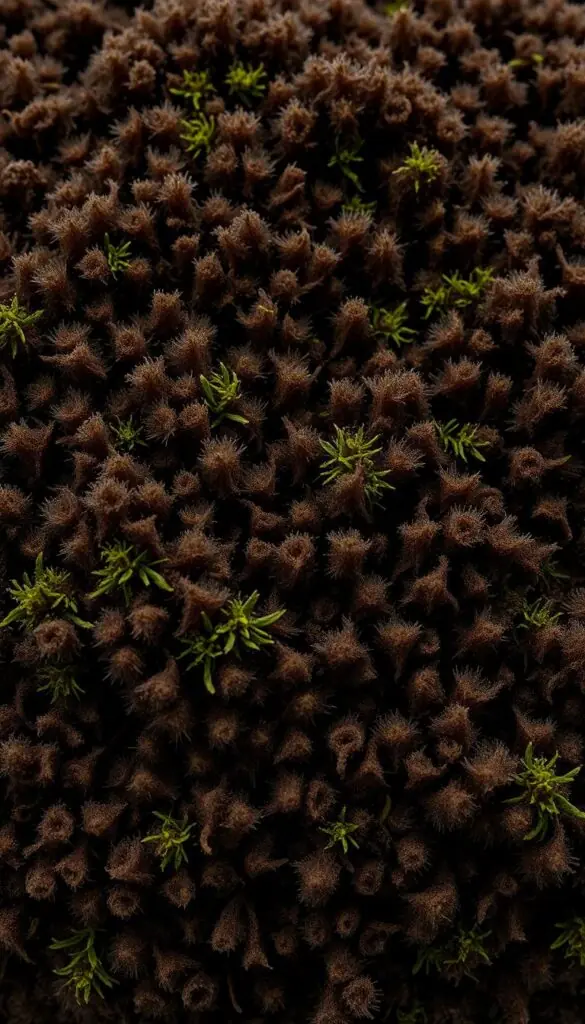
Peat moss or sphagnum
Pre‑moisten dry peat moss until it feels evenly damp and pliable. Bone‑dry peat and moss can repel water. Aim for damp, not soggy, so the potting media wets quickly when first watered.
Pine bark fines
Pine bark adds structure and slow breakdown. It keeps pores open and gives roots steady anchorage. Fold in bark when garden soil feels tight to improve air and drainage.
Perlite vs. vermiculite
Perlite increases air space and speeds drainage. Vermiculite holds water and nutrients but can compact if overused. Blend both for faster drainage plus some moisture buffering.
Sand and compost — when to use
Add sand sparingly; it helps steady tall pots but adds weight. Use a shovel to fold in a small portion of compost for an earthy, sweet scent and gentle nutrients. Stop if the blend feels sticky or heavy.
| Ingredient | Primary benefit | Handle cue |
|---|---|---|
| Peat / sphagnum | Water retention + air | Pre‑moisten until pliable |
| Pine bark fines | Structure, root anchorage | Fold in to open pores |
| Perlite | Air space & drainage | Add to reduce surface puddling |
| Vermiculite | Moisture and nutrient hold | Use when faster drying is a problem |
| Sand / Compost | Stability / nutrients | Use sand sparingly; compost in small amounts |
"Aim for a potting blend that springs back when squeezed; adjust ingredients until it feels right."
Mix a reliable flower soil mix at home
A reliable container blend begins with simple, repeatable parts you can measure by the bucket. This keeps texture consistent and helps you tailor drainage and moisture for each spot.
Soilless potting mix for potted plants
Recipe (by 5‑gal bucket): combine 2 buckets sphagnum peat moss and 2 buckets perlite or vermiculite. Pre‑moisten while you mix so the media wets evenly.
- Measure on a tarp with a scoop and rake for even blending.
- Mist with a hose on shower setting until the surface looks uniformly dark.
- Store extras in a lidded bin at home to keep it ready for repotting.
Soil-based blend for planters and elevated beds
Equal parts: sterilized loam, coarse peat, and coarse sand or perlite. Use measuring buckets so the parts stay consistent.
For sunny containers like zinnias, add a bit more perlite for faster drainage. For shade planters with begonias, favor vermiculite to hold extra moisture.
Specialty mixes: orchids, succulents, and moisture control
Orchids need barky, free‑draining media. Succulents do best with extra sand or grit. Moisture‑control blends may include polymers or wetting agents for long stretches between watering.
| Use | Key parts | Notes |
|---|---|---|
| Soilless | Peat moss + perlite/vermiculite | Pre‑moisten before potting |
| Soil‑based | Loam : peat : sand/perlite | Lighten when using garden soil |
| Orchids/Succulents | Bark or sand | Rapid drainage, high air |
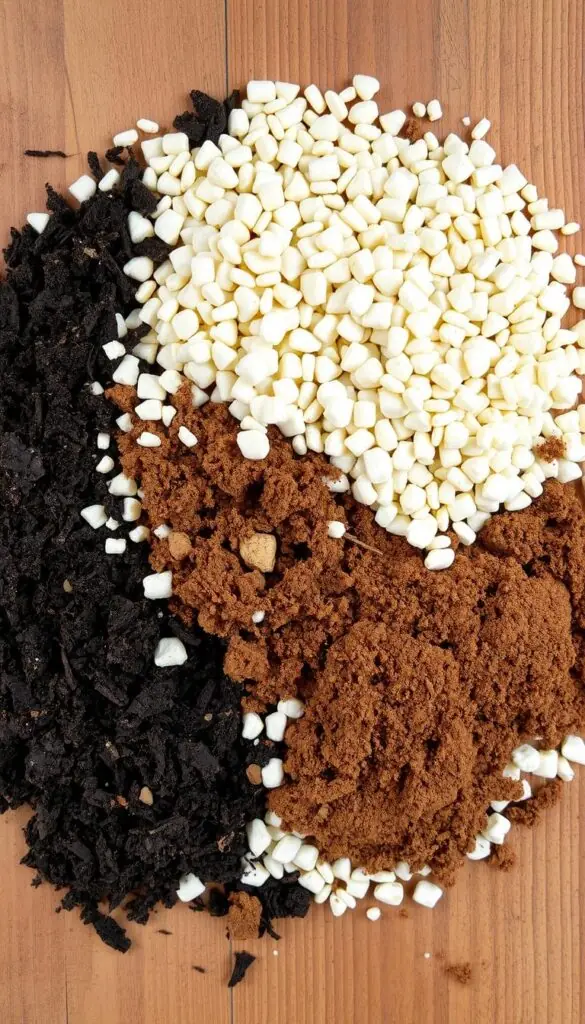
"Measure in parts, mix on a tarp, and store in a sealed bin—simple steps for repeatable success."
Tune your mix: pH, fertilizer, and moisture management
Small tweaks to pH, fertilizer choice, and watering keep plant roots happy and productive. Start with a target pH of 6.0–7.0 so nutrients remain available to your plants.
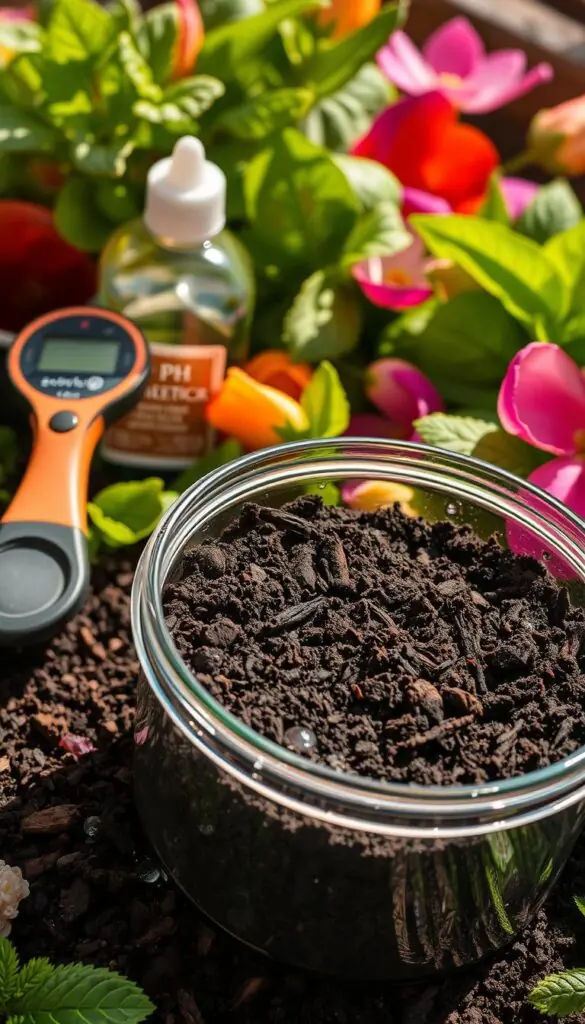
Balance pH quickly
Before planting, blend in ground calcitic or dolomitic limestone to raise and buffer the medium into the 6.0–7.0 range. Test a small pot after mixing to confirm the result.
Fertilizer strategy
Use a starter charge for fast young growth; it usually fades after two to three waterings. Add a slow‑release fertilizer into the potting mix per label rates to feed steadily.
Skip any bag that feels wet or has crusty granules. Pre‑released nutrients can spike nitrogen and burn tender growth.
Manage moisture and microbes
A small dose of moisture‑retaining gels helps early season watering needs, then taper off as weather warms. Water by feel: let the top inch dry before the next soak.
If a fine white film appears, it’s often harmless fungi. Improve air and light and the patch will fade. For mixes that dry too fast, add a touch more sphagnum or vermiculite; if they stay soggy, add perlite to create extra air space.
- Water early in the day so foliage dries by evening.
- Measure amendments and test a small pot before scaling up for quality control.
Seasonal care so your soil stays lively all year
A simple routine each season helps your containers stay healthy and productive. Follow small steps in spring, summer, fall, and winter to keep potting media full of life and ready for growth.
Spring and summer: watering patterns, air space, and feeding through heat
In spring, pre‑wet fresh potting mix before you plant and feed lightly as blooms set. Use a watering wand for gentle, even water in the cool morning to avoid midday wilt.
As heat builds, water deeply and less often so roots explore down. Loosen crusted surfaces to restore air space and use mulch to slow evaporation during heatwaves.
Slide containers into dappled light on the hottest days. Midseason, top up nutrition with a gentle, balanced feed—frequent watering can flush nutrients even from mixes with fertilizer.
Fall refresh and overwintering: reusing media, adding compost, and storing mixes
In fall, empty tired containers onto a tarp, pick out roots, and blend in a shovel of finished compost for structure and scent. The sweet, earthy aroma when you fluff the surface is a good sign.
Reuse media only from healthy plantings. If a container showed disease, discard that batch rather than risk next year’s garden. Never layer different mixes in a pot—always blend old and new parts so roots move freely.
- Store extra potting mix in sealed bins in a dry corner of your home or shed.
- Label bins so your parts and recipe are easy to repeat next spring.
- When repotting potted plants, choose a slightly larger container and trim circling roots so new growth dives into refreshed media.
"Blend old and new—don't layer—so roots never hesitate at a boundary."
Common pitfalls to avoid for healthy roots and steady blooms
A sour smell or a sagging bag are easy signs that a product will choke roots later. Use your senses at the store: lift a bag, sniff, and press gently where you can. Skip anything that feels dense or smells swampy.
Avoid heavy, sand-loaded or waterlogged bags. Excess weight often means compaction. That cuts air and space for plant roots and ruins drainage once the media is in the pot.
Keep manure-based products out of small containers. Too much nitrogen and hidden sand in some manure blends can burn tender growth and weigh down pots.
- Don’t rely on garden soil or sand-heavy types for small pots; they limit air and root space.
- If a brand runs out mid-planting, pour both potting mixes on a tarp and blend until uniform.
- Moisture-control additives help, but they don’t replace regular water during heat.
- Handle roots gently when transplanting; never cram a plant into compacted media.
"Use a tarp to blend; a uniform base keeps roots moving freely between layers."
| Problem | What to look for | Why it matters | Quick fix |
|---|---|---|---|
| Waterlogged / heavy bags | Slumped, very heavy, shiny-wet surface | Compaction, poor drainage, reduced air | Choose lighter potting soil or add perlite for drainage |
| Sand-loaded blends | Very dense, gritty weight | Fills pore space so roots suffocate | Use coarser ingredients and less sand in containers |
| Manure burn | Strong ammonia or sour smell | Excess nitrogen can scorch plants | Avoid manure in pots; use balanced starter fertilizer instead |
| Layering different products | Sharp boundary between types in a pot | Roots hesitate at the interface | Blend potting mixes on a tarp for a seamless texture |
Conclusion
Finish with a simple plan you can try this weekend to see quick gains in plant health.
Choose the right foundation for containers and beds. For pots, a soilless potting mix gives reliable air space and drainage. For large beds, amended potting soil or improved garden beds hold nutrients and weight.
Keep blends light and lively. A base of peat moss or sphagnum with fine bark and a drainage booster like perlite protects roots and keeps mixes from collapsing.
Feed gently at planting with a slow‑release fertilizer, tune pH as needed, and refresh seasonally. Avoid layering different products and give roots room to grow.
Now take one small step: repot one plant, try the simple bucket recipe, or adjust drainage. Breathe in the fresh, earthy scent and enjoy the colors and scents that follow.
FAQ
How do I improve soil for healthy flower growth?
Start by checking texture, drainage, and nutrients. Loosen compacted ground, add compost for organic matter, and incorporate coarse sand or perlite to improve drainage and air around roots. Test pH and adjust to about 6.0–7.0 if needed with calcitic or dolomitic limestone. Topdress with slow‑release fertilizer and keep moisture steady but not waterlogged so roots can breathe and thrive.
What do my plants need to thrive in containers and beds?
Your plants need light, steady moisture, good air space around roots, and balanced nutrients. Use a soilless potting blend in containers for lighter weight and better drainage, and amend garden soil in beds with compost and coarse materials to improve structure. Match water frequency to pot size and media — smaller containers dry faster.
How do I choose between potting soil and potting mix?
For containers, choose soilless potting mixes that prioritize airflow and drainage — they often contain peat moss or sphagnum with perlite or vermiculite. For in‑ground beds and large raised planters, use garden soil or a soil‑based potting soil and amend it for texture and nutrients. Always read the bag to see ingredients and weight to know if it suits your use.
What ingredients boost drainage, air, and nutrient holding?
Key ingredients include peat moss or sphagnum for moisture retention with airy texture, pine bark fines for structure and root anchorage, and perlite or vermiculite for air space and drainage. Compost adds nutrients and beneficial microbes. Use coarse sand sparingly to avoid compaction.
How should I use peat moss or sphagnum in mixes?
Pre‑moisten peat or sphagnum before mixing so it rehydrates evenly. Combine it with perlite or bark to keep air pockets and prevent compaction. Peat holds moisture well but is acidic, so monitor pH and balance with lime if necessary.
When should I choose perlite versus vermiculite?
Use perlite when you want maximum drainage and air space; it’s great for succulents and mixes that dry quickly. Use vermiculite when you want more moisture retention and gentle nutrient holding, useful for seedlings and mixes that need consistent dampness.
What is a reliable home potting mix recipe for potted plants?
A simple soilless blend is half peat moss (or coconut coir) and half perlite or vermiculite for air and drainage. Add a small amount of compost or a starter charge of fertilizer for nutrients. This keeps containers light, airy, and easy to water.
How do I make a soil‑based mix for planters and raised beds?
Mix equal parts sterilized loam, coarse peat or coir, and coarse sand or perlite. That balance keeps structure, retains moisture, and allows roots to push through. Fold in well‑aged compost for nutrients and beneficial organisms.
Are there specialty mixes for orchids, succulents, or moisture control?
Yes. Orchid mixes are very coarse with large bark and charcoal for excellent airflow. Succulent mixes use more coarse sand, perlite, and pumice for fast drainage. For moisture control, blends include moisture‑retaining gels or vermiculite but avoid overdoing them to prevent fungi and root rot.
How do I tune pH, fertilizer, and moisture for best results?
Aim for pH 6.0–7.0 using calcitic or dolomitic lime to raise levels. Use a starter charge at planting and a slow‑release fertilizer for steady feeding; avoid excess nitrogen to prevent leggy growth. Manage moisture by choosing media that matches your watering habits and by checking weight of containers before watering.
How can I prevent surface fungi and overwatering?
Improve drainage and airflow by adding perlite or bark and avoid compacting the surface. Water only when the top inch feels dry and reduce frequency in cooler months. If surface fungi appear, remove affected material, let the mix dry slightly, and adjust watering and light.
What seasonal care keeps mixes lively year‑round?
In spring and summer, monitor watering, refresh mulch, and feed during active growth. In fall, remove spent material, add compost, and consider repotting or refreshing top layers. Store unused mixes dry and sealed in winter to protect quality.
What common pitfalls should I avoid for healthy roots and steady blooms?
Avoid heavy, sand‑loaded or waterlogged media that suffocate roots. Don’t layer unmixed products in pots — blend ingredients well. Watch out for manure burn from fresh amendments and don’t overload with nitrogen. Choose quality materials and match mixes to plant needs.