Imagine soft morning light on sunlit petals and the scent of damp compost as you kneel in your garden. You notice a tiny shoot and feel a gentle rush of hope. That simple moment is what this guide helps you repeat, season after season.
You’ll get calm, step-by-step guidance so you feel confident from the first scoop of soil to the first bloom. We keep advice neighborly and clear, with real examples you can copy.
In a few easy steps you’ll learn the basics of bulb layering, how different bulbs wake at staggered times, and how to plan a long spring display in the same bed or container.
We’ll show tools you likely already have, timing for U.S. regions, and simple planting depths. You’ll also learn how roots and shoots find their own paths in nature so plants share space without harm.
Key Takeaways
- Layering bulbs multiplies blooms in one spot for a longer spring display.
- Short steps and common tools make this approach easy for any gardener.
- Prep soil with organic matter and balanced fertilizer for best results.
- Follow simple timing by region to avoid planting too early or too late.
- Use containers or beds; both give a lush, planned-yet-natural look.
What Is Bulb Layering and Why It Works
Think of planting like a cozy pan of lasagna—stacked layers give you a richer, longer show of blooms. This Dutch "flower bulb lasagne" stacks the largest bulbs deepest, adds soil, then mid-size bulbs, more soil, and the smallest near the surface.
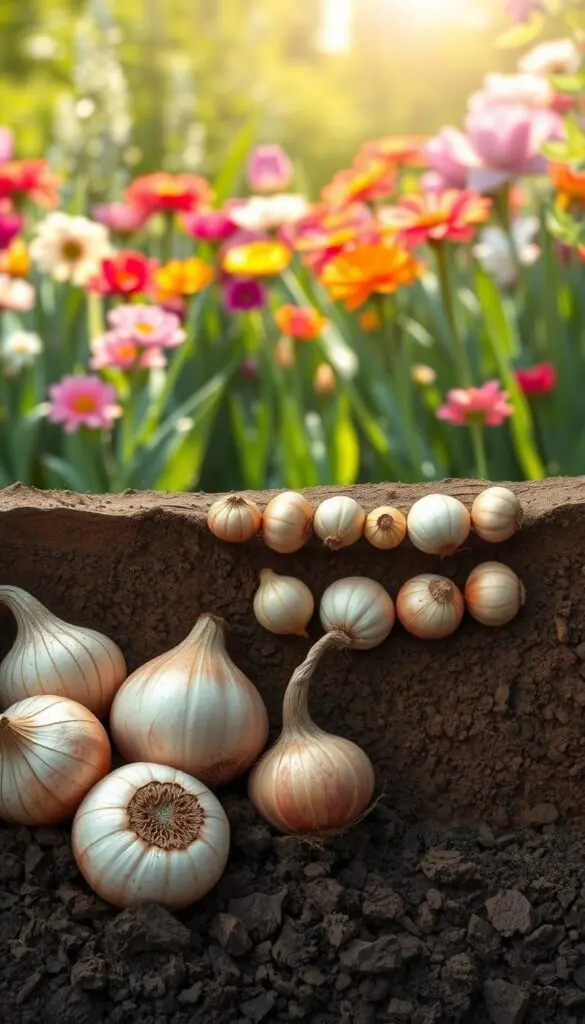
The “lasagna” concept: more blooms from the same space
One bed becomes many: by using vertical depth, you get early, mid, and late color from the same patch of ground. The largest bulbs sit deep for strong stems. Smaller bulbs warm faster near the top and finish the display.
How roots and shoots weave safely through layers
Nature helps here. Shoots instinctively grow toward light while roots explore loose soil below. When you add fresh compost, bone meal, and a slow-release fertilizer between layers, each bulb finds space to thrive without robbing its neighbors.
"A well-prepared soil profile makes many bulbs feel at home together."
- Stack biggest first, then mid-size, then smallest.
- Keep fresh soil between levels so roots can spread.
- Work in compost and a time-release feed for steady flowering.
Plan Your Display: Color, Bloom Time, and Garden Zones
Start by picturing the color story you want to see as the garden moves through spring. That image will guide which plants you buy and how you arrange depth and spacing.
Decide whether you want a coordinated, magazine-ready moment or a graceful relay that stretches bloom time. A coordinated pairing — like Tulip ‘Pinocchio’ with sky-blue Anemone blanda — gives a bold, single-week show. A sequential plan hands the stage from daffodils to daylilies for a longer, gentler run.
Match sun and water needs across every layer so each plant thrives. Full sun varieties will struggle beneath shade lovers. Also check your USDA zone and choose hardy options for your area to avoid frost setbacks.
Quick pairing guide
- Coordinated: red-and-white tulips with sky-blue anemones for a crisp contrast.
- Sequential: daffodils open first, then daylilies conceal fading foliage.
- Warm zones (7–11): ixia above hardy geraniums for light, lasting texture.
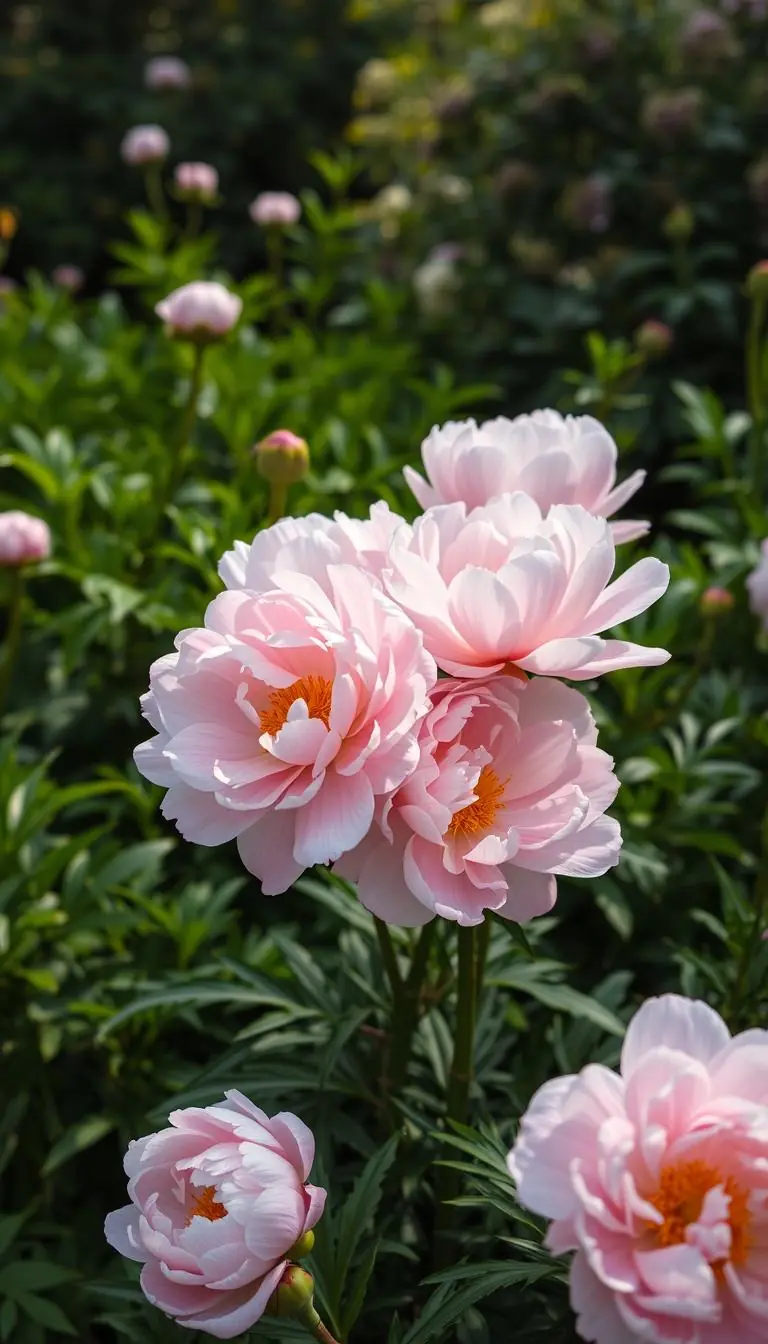
- Cold climates: peony base, Oriental lilies above, and Star of Bethlehem at the feet.
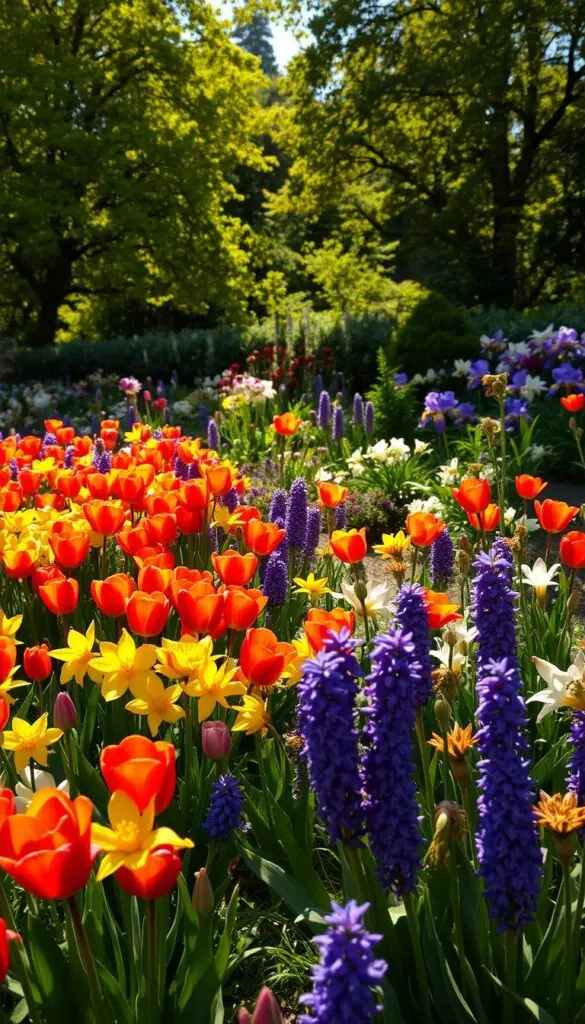
"Choose a palette that feels like you; repeat hues across layers to tie the scene together."
Practical check before you buy:
| Goal | Example Pairing | Best Zones |
|---|---|---|
| All-at-once impact | Tulip ‘Pinocchio’ + Anemone blanda | 3–8 |
| Extended bloom time | Daffodils → Daylilies | 4–9 |
| Warm-season texture | Ixia + Hardy geranium | 7–11 |
| Cold-climate structure | Peony + Oriental lily + Star of Bethlehem | 2–6 |
Tools, Materials, and Pots You’ll Feel Good Using
Gather a few simple tools and a friendly pot, and planting will feel like a small, relaxing project. The right kit keeps work quick and pleasant so you enjoy the process as much as the show.
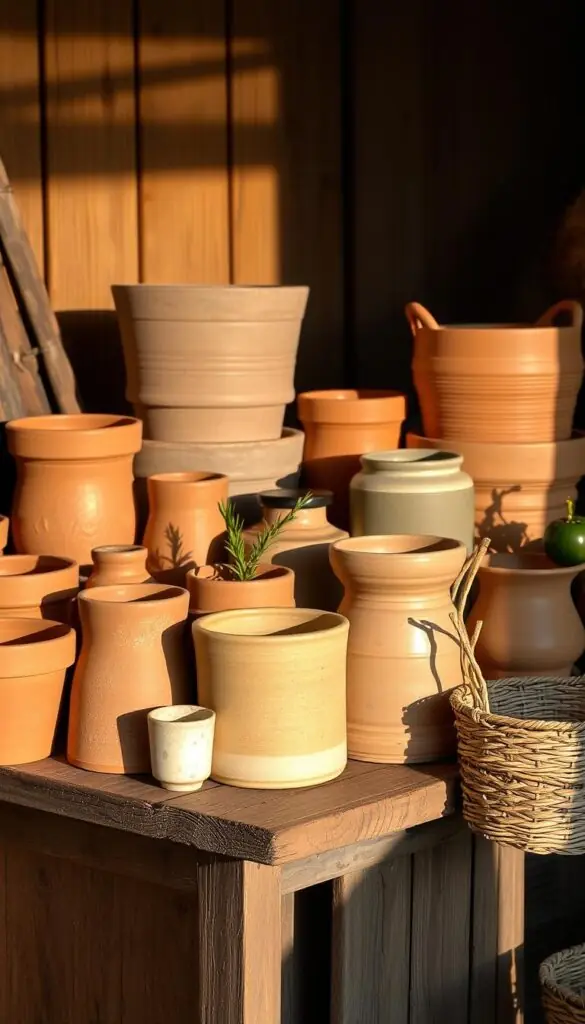
What you’ll need
- Sturdy pot with drainage holes — choose one at least 12 inches deep so layers have room.
- A hand trowel and a small watering can with a rose head for gentle water after planting.
- Clay pebbles (or coarse gravel) to line the base so excess water drains away.
- Quality, crumbly compost that smells earthy and holds moisture while staying airy.
- Bone meal and a balanced slow-release fertilizer to feed steady growth and abundant blooms.
Planting in a lightweight plastic container first makes moving easy. In spring you can slip that insert into a decorative pot for looks without heavy lifting.
"Line the bottom with pebbles, add rich soil layers, and label what you planted so spring surprises stay pleasant."
Tip: Keep a waterproof marker and plant label handy so you remember which bulbs are where. Small touches like this make tending simple and satisfying.
Depth, Spacing, and Soil Prep Made Easy
A few simple rules on depth and spacing make planting bulbs in pots or the ground feel effortless.
Largest bulbs go to the bottom. Set the biggest bulbs at the base of your hole or pot, then add a layer of soil before smaller bulbs. This gives each size the depth it needs to send up strong stems.
Use clear spacing rules: in the ground, plant bulbs about three times their diameter apart so each has room to root and shoot. In containers you can pack bulbs closer for a lush look, but never let bulbs touch each other or the pot wall—keep about a finger’s width of space.
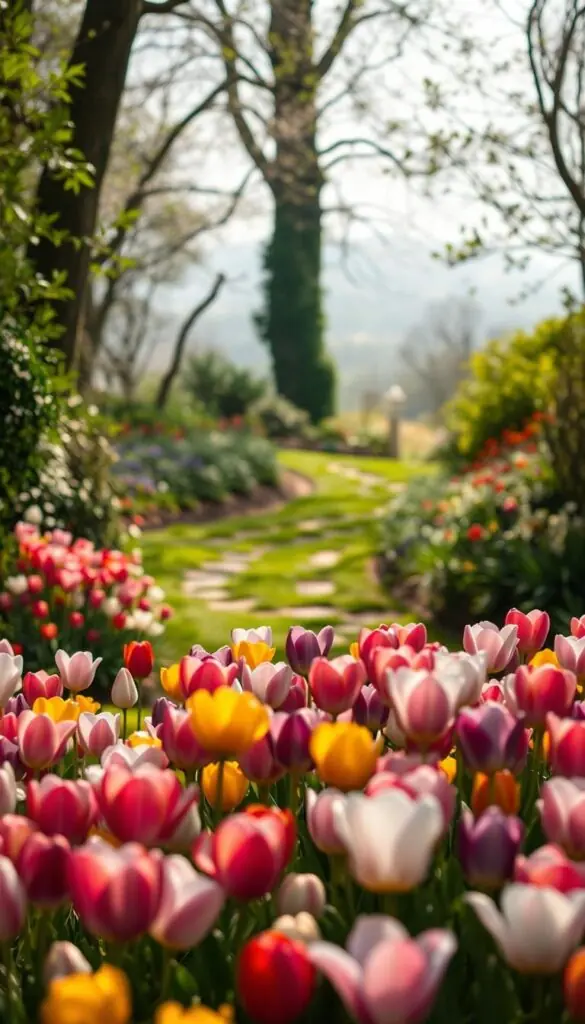
Soil essentials
Loosen soil to the full planting depth and break up clods. Mix in compost for organic matter, then add bone meal and a slow-release fertilizer for steady nutrition.
"A loose, fed soil profile gives roots room and keeps shoots healthy."
- Plant bulbs at about 2–3 times their height; smallest bulbs sit just below the surface.
- Add a cushion of soil between layers so bulbs don't press on one another.
- Water lightly after planting to settle soil—avoid a soggy pocket at the bottom.
| Action | In-ground | Containers |
|---|---|---|
| Spacing | ~3× bulb diameter apart | Finger’s width between bulbs |
| Depth | 2–3× bulb height | Deep enough for bottom bulbs, shallower for top |
| Soil mix | Loose, compost-amended | Light potting mix + compost |
Container “Lasagne Planting”: Step-by-Step for Continuous Spring Color
Prepare a pot that will hold three distinct bloom times and give each the soil and space it needs to shine. This approach is a simple lasagne idea for containers, letting early, mid, and late flowers share one cozy home.
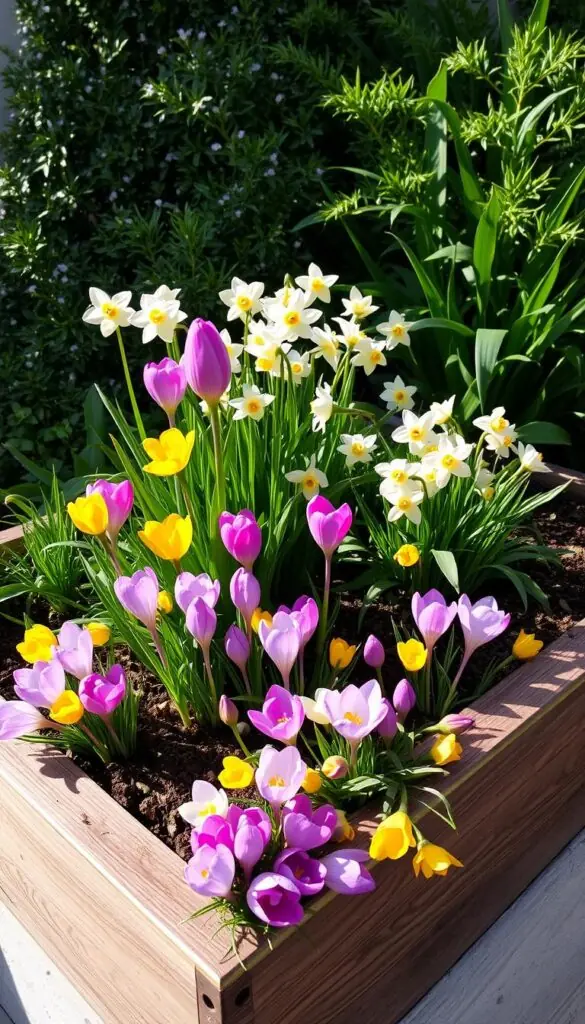
Base layer and drainage
- Choose the pot: pick a roomy container with drainage holes. Add a 1–2 inch layer of clay pebbles; you’ll hear the pleasant clink as you pour them in.
- Soil cushion: add a few inches of compost-rich soil to make a soft bed for the bottom bulbs like Tulips or Alliums.
- Middle layer: cover the bottom with soil, then place Daffodils or Hyacinths so they don’t touch. Add soil again to separate layers.
- Top layer: finish with Crocus or Grape Hyacinths. Set tips just below the surface and add 1–2 inches of soil above so bulbs top into spring nicely.
- Care and placement: water gently to settle the mix. Label your pot with varieties and date, and use a plastic insert if you plan to slide into a decorative container later.
- Timing: if you missed fall, plant at least 12 weeks before your last frost so the bulbs chill and bloom on schedule.
| Layer | Depth | Example |
|---|---|---|
| Bottom | Deepest; base soil first | Tulips, Alliums |
| Middle | Mid-depth; separated by soil | Daffodils, Hyacinths |
| Top | Just below surface; light soil cover | Crocus, Grape Hyacinth |
"A labeled, well-drained pot turns planting into a small ritual you can enjoy each season."
Protecting Bulbs in Containers Over Winter
When cold weather arrives, a few simple moves will keep your containers cozy and your spring display on track.
We’ll give three straightforward options that feel doable in an afternoon, with quick reasons why each works and a gentle reminder to bring them back out when nights warm.
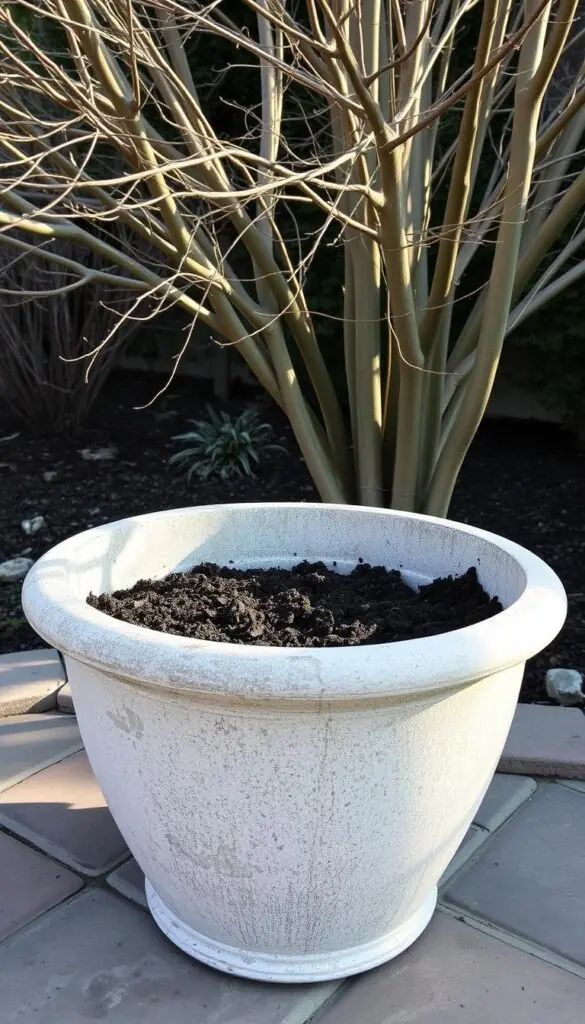
Move pots into a sheltered space
When cold settles in for weeks, shift your containers to a shed or an unheated garage. Temperatures there stay cool but steadier than open air.
This buffers deep freezes and reduces soil heaving that can harm tender bulbs.
Sink the pot and mulch
Dig a snug hole, sink the pot into the ground, and pack soil around it. Blanket the top with loose straw or dry leaves for insulation.
The earth plus a mulch cap keeps the soil from dropping to the same cold as the air.
Insulate with a wire cylinder
Wrap the container with a simple chicken-wire cylinder and fill it with straw or leaves. This creates a cozy winter coat that’s easy to add or remove.
"A light, monthly check keeps moisture right — not soggy, not bone dry."
- Check moisture once a month; you’ll need only a light sip if soil is dry.
- Label pots so you remember which to bring out first in spring.
- In early spring, when nights stay above freezing, remove insulation and place containers where you’ll enjoy them.
Quick note: you’'ll need just a bit of time and simple materials to protect bulbs and save a season of blooms.
Layering Bulbs in the Ground: A Natural, Space-Savvy Way
Work the bed deep and loose so roots find gentle paths and shoots can rise without struggle.
Start by preparing the planted ground to full depth. Loosen heavy clods so roots glide instead of fight. Mix in compost, bone meal, and a slow-release fertilizer to feed several seasons of flowering.
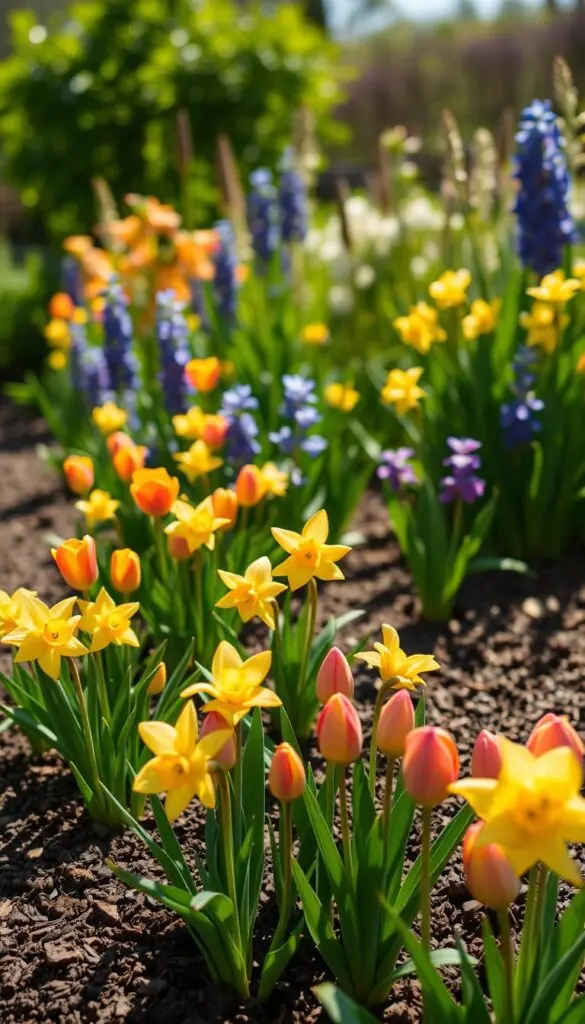
How to build each layer
Place the largest bulbs deepest, then add a thin soil cushion. Repeat the layer step with mid-size bulbs and finish with small bulbs near the surface.
Quick rules: keep a finger-width of space between bulbs so shoots can thread upward. Always plant bulbs with points up and basal plates down.
Safe companions that share space well
Pair bulbs with perennials that don’t crowd roots. Daylilies sit nicely above daffodils. Peonies work with Oriental lilies and Star of Bethlehem for a full, natural look.
"A single bed can hold many textures without feeling crowded—just give each plant room and good soil."
| Task | Why it matters | Quick tip |
|---|---|---|
| Loosen bed to full depth | Roots find room; water drains well | Use a spade or fork |
| Amend with compost & feed | Provides steady nutrients to many flowering bulbs | Mix into topsoil and between layers |
| Stagger sizes | Maximizes bloom time and space | Largest deep, smallest near surface |
Water lightly to settle soil, then mulch to hold moisture and keep weeds out. Step back and enjoy how a single bed becomes a long, layered spring display.
Timing Your Planting Across the United States
A simple time plan helps you turn a single pot or bed into weeks of unfolding color.
Cool and cold regions: plant in fall so bulbs settle and get the chill they need for early spring blooms. If you missed the window, pot them up and give at least 12 weeks of cool time before your average last frost to keep bloom time on track.
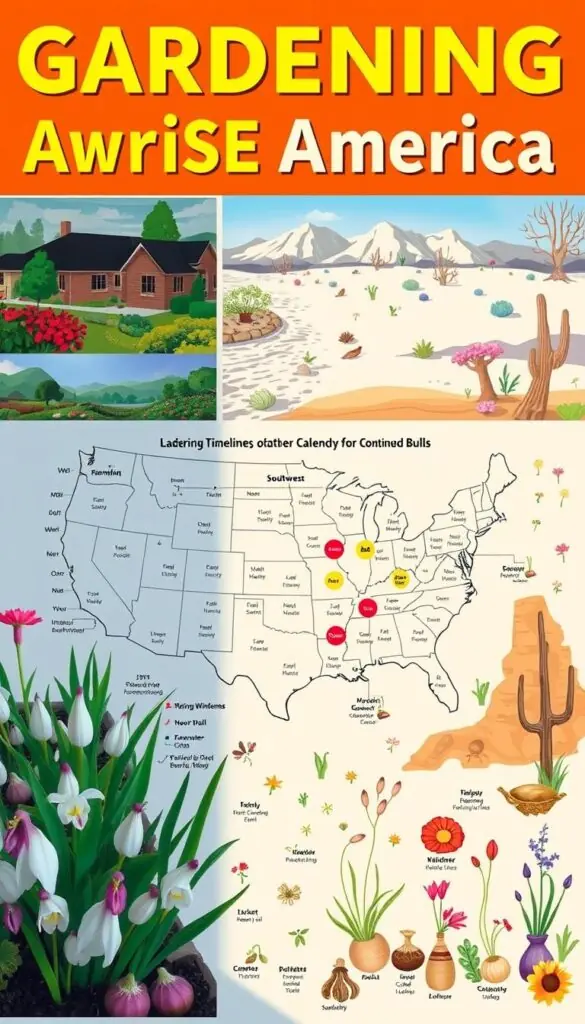
Cool and cold regions: fall planting and chilling windows
In zones with deep freezes, fall planting is the safest plan. Plant early enough that roots form before hard freezes set in.
Move containers into a shed or unheated garage when extended freezes are expected. This protects roots and avoids heaving that can delay growth.
Mild and warm regions: container timing and protection notes
In warmer zones, you can plant in containers later than in the north. Choose varieties suited to your zone or buy pre-chilled bulbs to ensure reliable early spring color.
Keep pots outdoors in mild winters, watering sparingly. If nights dip below freezing, tuck containers into a sheltered spot until temperatures steady.
"Stagger a few plantings a couple of weeks apart for a gentle, rolling show into late spring."
- Plan fall planting in cold regions for steady early spring color.
- If you missed fall, give at least 12 weeks of chill in a container before last frost.
- In mild areas, plant at normal garden depth in a container and keep it outside.
- Move or insulate pots where freezes linger, then bring them out once nights stay above freezing.
| Region | When to plant | Container tip |
|---|---|---|
| Cold/Cool (Zones 2–6) | Fall; allow natural chilling | Pot now if missed; 12+ weeks cool time |
| Mild (Zones 7–9) | Flexible; early fall to winter | Plant outside; protect during hard freezes |
| Warm (Zones 10–11) | Late fall to winter; pre-chilled varieties | Use pre-chilled bulbs or refrigerate; keep outdoors |
Sample Layering Recipes You Can Copy This Weekend
Pick one pot and one bed—these recipes make continuous blooms feel delightfully doable.
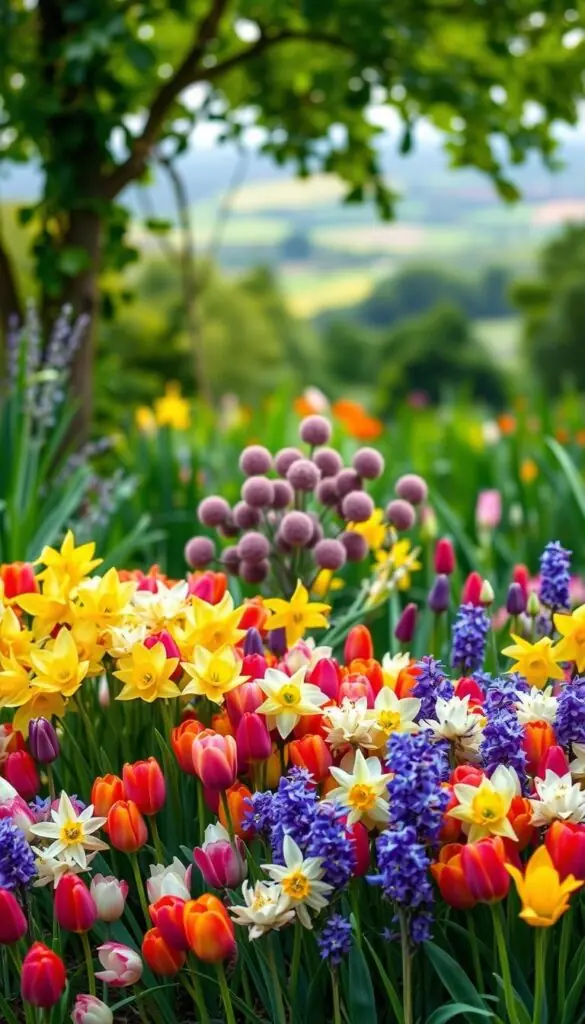
Container trio: top Crocus → middle Daffodil → bottom late Tulip. Crocus gives an early spark in purple or white. Golden daffodils add cheerful midspring color. Deep red late tulips form a grand finale.
Early-to-late spring in pots: Crocus → Daffodil → Late Tulip
Plant Crocus just under the surface, Daffodils in the middle, and late tulips deepest. This single pot becomes a staged display that blooms for weeks.
In-ground succession: Daffodils under Daylilies
Plant daffodils beneath daylilies so dying foliage is hidden as daylilies fan up. The handoff is seamless and keeps your space tidy.
Shade-friendly elegance: Peony with Oriental Lilies and Star of Bethlehem
In cool sites, anchor the bed with a peony. Add Oriental lilies to rise above and Star of Bethlehem at the feet for starry groundcover and scent.
- In warm zones, try ixia above hardy geraniums for a light, breezy effect.
- Note bloom time on tags so you can map the rhythm of the show.
- Repeat one color across layers for a unified look.
"Start with one pot and one bed this weekend; you'll see how easy it is to scale up."
| Recipe | Key plants | Color & scent |
|---|---|---|
| Container trio | Crocus, Daffodil, Late Tulip | Purple/white, golden, deep red; light sweet scent |
| In-ground succession | Daffodils + Daylilies | Yellow to orange; low fragrance, long display |
| Shade-friendly bed | Peony, Oriental Lily, Star of Bethlehem | Soft pinks/white; strong floral scent |
| Warm-zone combo | Ixia + Hardy Geranium | Bright spikes + soft foliage; airy texture |
Conclusion
One quiet planting now will greet you with weeks of bright mornings next spring.
Bulb layering is a simple, beautiful way to turn a small spot into a long, lively show. Whether you use a single roomy pot or a tucked bed, the Dutch-style bulb lasagne approach gives depth, rhythm, and color without fuss.
With basic soil prep, gentle winter care, and thoughtful layers, your bulbs return each year and reward you with steady bloom. Keep labels, note what worked, and repeat favorites. A single container by the door or a few pots on the steps can brighten daily life and welcome neighbors.
This is a calm, creative way to garden — stack textures and hues now, enjoy the slow, fragrant reward all spring.
FAQ
What is the lasagna method for planting bulbs and why does it work?
The lasagna approach layers different flowering bulbs in the same pot or bed so you get a succession of blooms from early spring through late spring. Deeper, larger varieties sit at the bottom while smaller, earlier-flowering ones go near the top. Roots and shoots find their way up and down through loose soil, and staggered bloom times give continuous color without taking extra space.
How do I choose bulbs for a coordinated, long-lasting display?
Pick bulbs with staggered bloom times and complementary colors. Combine early crocus or grape hyacinths, mid-season daffodils or hyacinths, and later tulips or alliums. Match each choice to the light, moisture, and USDA hardiness of your spot so everything performs reliably.
What tools and materials do I need to layer bulbs in a container?
You’ll want a pot with good drainage, a trowel, well-draining potting mix or compost, clay pebbles or gravel for a drainage base, and a little bone meal or bulb fertilizer. Labels and a watering can help with care and tracking bloom times.
How deep should I place different bulbs in pots or the ground?
As a rule, plant the largest, deepest-rooting types at the bottom, then medium bulbs above them, and the smallest just under the soil surface. Depth depends on the bulb — generally three times the bulb’s height — but the “biggest deepest, smallest near the top” rule keeps roots and shoots comfortable.
Can I plant bulbs close together in containers?
Yes, containers can be planted more densely than beds, but avoid crowding bulbs so they touch. Leave a little space for growth and airflow. Close planting gives a fuller display, yet bulbs need room for roots and to feed properly between seasons.
What soil prep helps bulbs thrive when layering?
Use a loosened, well-draining mix with plenty of organic matter. Add compost for structure and slow-release nutrition, and a small amount of bone meal or balanced fertilizer at planting to support early growth. Good drainage prevents rot and supports healthy roots.
Step-by-step: how do I lasagne-plant bulbs in a pot for continuous spring color?
Start with a pot that drains well and add a layer of clay pebbles for base drainage. Add soil, then your bottom layer of large bulbs like tulips or alliums. Cover with soil, add a middle layer of daffodils or hyacinths, cover again, and finish with crocus or grape hyacinths just beneath the surface. Water lightly and label the pot, then place in a cool spot until outdoor planting or chilling is appropriate for your region.
How do I protect bulbs in containers over winter?
Move pots to a protected, unheated spot like a shed or garage if you get severe freezes. Alternatively, sink the pot into the ground and mulch with leaves or straw, or insulate using a wire cylinder filled with loose mulch to buffer temperature swings.
How do I layer bulbs directly in the garden bed?
Work the bed to full planting depth and enrich it with compost. Place the deepest, largest bulbs first, cover with soil, then add the next layers and repeat. Finish with a thin topsoil cover so smaller bulbs are just below the surface. Companion perennials that die back early make great partners for a seamless spring show.
When should I plant layered bulbs across different U.S. regions?
In cool and cold regions, plant in fall so bulbs get winter chilling. In mild climates, consider container planting and refrigerating bulbs if needed, or plant in late fall to early winter based on local chill hours. Adjust timing for your USDA zone and local weather for best results.
Can you share easy layering recipes I can copy this weekend?
Sure — for pots try Crocus (top) → Daffodil (middle) → Late Tulip (bottom) for continuous color. In-ground, plant daffodils beneath daylilies so daffodil foliage fades before the daylilies take over. For a shade-friendly mix, combine Star of Bethlehem near the surface with peonies and oriental lilies deeper down.
How should I water layered containers after planting?
Water gently after planting to settle soil and activate growth. Keep soil slightly moist but not waterlogged through autumn and winter. Reduce watering during dormancy, then resume regular moisture as shoots emerge in spring.
Will layered plantings return each year, or are they one-season displays?
Many hardy varieties like daffodils and some tulips will come back, especially when planted with good depth, soil nutrition, and adequate space. Some tender types perform best as annuals in containers and may need lifting and chilling for repeat performance. Choose species based on whether you want a perennial or seasonal show.