You step outside and smell the citrusy snap of fresh cuts, and a few papery lilac petals drift past your shoes. It’s a simple moment that makes you want brighter color and fuller growth just outside your kitchen window.
Think of this as a calm, neighborly pruning guide that helps your plant look tidy and produce more flowers and fruit without extra fuss. We’ll keep steps short and clear so you can picture each task in your own yard.
Timing is key: spring bloomers that flower on last season’s wood need trim right after bloom, while summer bloomers that set buds on new growth should be shaped in late winter or early spring. Use bypass pruners, loppers, and a small saw. Keep them sharp and disinfected to avoid spreading disease.
Expect real examples—lilac, hydrangea, spirea—and quick reminders to avoid topping or leaving stubs. In an afternoon, you can make neat cuts that steer growth and reward you with brighter foliage and more blooms.
Key Takeaways
- Prune at the right season to protect next year’s flowers and fruit.
- Use sharp, disinfected tools: bypass pruners, loppers, and a small saw.
- Trim spring bloomers after they finish; prune summer bloomers in late winter or early spring.
- Avoid topping and leaving stubs to keep plants healthy and balanced.
- Small, regular sessions encourage steady growth and more blossoms.
Start here: why pruning flowering shrubs boosts beauty, health, and confidence
A few careful snips can turn an untidy shrub into a sunlit patch of color you can smell from the porch. Think of pruning as the measured removal of stems and branches to shape growth, improve flowering and fruit, and lower disease risk.
Old wood vs. new wood matters. Some shrubs bloom on last year’s wood, others on new growth. Knowing which one you have keeps you from cutting away next season’s flowers.
Old wood vs. new wood: understanding where flowers form
Spring-blooming shrubs set buds on old wood. Trim them right after they finish flowering so you don’t remove buds.
Summer bloomers make buds on new stems. Light cutting in late winter lets fresh shoots carry blooms and fruit through the season.
The one-third rule and natural form over heavy shearing
As a rule of thumb, avoid removing more than one-third of the crown in a single year, especially on a mature tree or large shrub. This keeps stress low and helps the plant keep a sound structure.
Favor natural form over tight shearing. A relaxed shape encourages stronger branches and fewer problems over the years. Don’t top—it makes weak, vertical shoots that drain energy.
"A small session each season is all most plants need, so your yard stays calm, tidy, and blooming without big chores."
- Remove dead, diseased, crossing, and weak branches early.
- Open the center for light and air to reduce diseases and help fruit set.
- Work slowly; your confidence grows as you step back and check size and balance.
Pruning fundamentals: what a good cut does for buds, growth, and natural form
Think of each snip as a small nudge that encourages strong shoots and balanced growth. A well-placed cut redirects energy to the buds you want so new shoots fill sunny gaps and the shrub looks airy and healthy.
Old wood vs. new wood: where flowers form
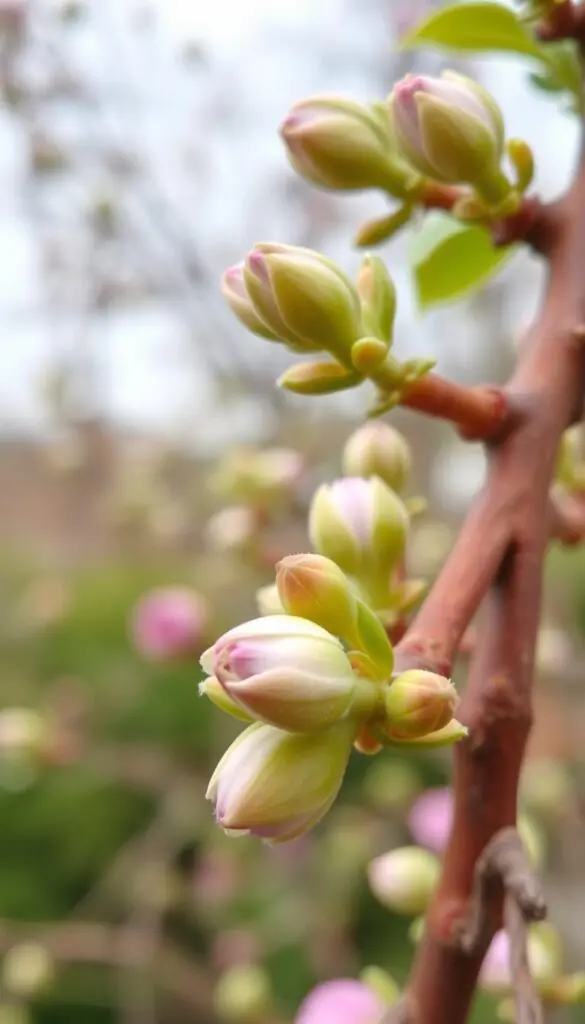
Old-wood shrubs (lilac, forsythia, rhododendron, bigleaf hydrangea) set their buds on last season’s wood. Trim these right after flowering so you don’t remove next year’s buds.
New-wood shrubs (panicle hydrangea, rose-of-Sharon, summersweet, spirea) flower on current-season growth. Cut them in late winter or early spring to spark vigorous growth and big clusters.
The one-third rule and keeping natural form
Remove no more than one-third of the canopy in a year. Start by taking out dead, diseased, or crossing wood so healthy buds and branches get first shot at the light.
- Make a few precise cuts, not many random snips, to preserve the plant’s natural form.
- Aim cuts toward outward-facing buds to guide branch growth away from the center.
- Step back often; you are shaping sunlight into the canopy so leaves glow and blooms show.
"Small, thoughtful cuts help a shrub keep energy for blooms while staying balanced and sunlit."
Best time to prune for maximum blooms
When you cut matters more than how much—matching the season to the shrub type pays off. Knowing the best time protects next year’s flowers and helps your shrubs set healthy fruit and foliage.
Spring-blooming shrubs (old wood): prune right after flowering
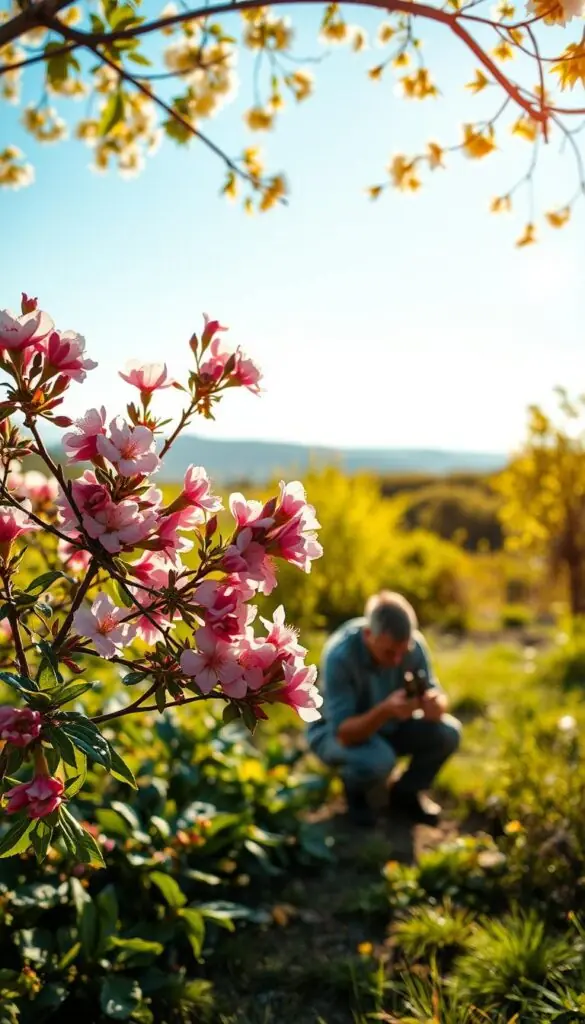
For shrubs that flower on last season’s wood—lilac, forsythia, rhododendron, Hydrangea macrophylla, and oakleaf hydrangea—the best time is right after the last bloom fades.
Cut lightly then so you don’t remove the tiny buds already set for next year. Let the plant leaf out before any major shaping.
Summer-blooming shrubs (new wood): late winter to early spring
Shrubs that bloom on new growth—panicle hydrangea, rose-of-Sharon, summersweet, spirea—respond well to late winter to early spring cutting.
Trim in winter or early spring to encourage strong shoots that produce large flower heads later in the season.
Seasonal cautions: hot, dry summers and autumn “bleeders”
Skip heavy work during heat waves or drought. Let plants recover after stress before you trim.
Some trees and shrubs, like birch, elm, and maple, bleed sap when cut in late winter; for those, plan cuts in autumn.
| Shrub type | When to cut | Reason |
|---|---|---|
| Old-wood bloomers | Right after spring flowering | Protects buds for next year |
| New-wood bloomers | Late winter — early spring | Encourages strong new shoots & blooms |
| Bleeders (some trees) | Autumn | Reduces sap loss and stress |
| During drought/heat | Avoid heavy cuts | Prevents extra stress and dieback |
- Keep a simple calendar by plant—when it blooms, mark your next cut.
- If unsure, do less now and reassess in the next season; plants often give you a second chance.
Pruning guide: your simple pre-prune checklist
Before you lift a tool, take a quick walk around the shrub to see what it really needs. A calm check saves effort and keeps the work focused. Note your goal: more flowers at eye level, a clear path, or a neater shape.
Tools, sanitation, and safety gear
Grab the right kit: bypass pruners for small stems, sharp loppers for thicker growth, and a pruning saw for limbs over about one inch.
Wear gloves and eye protection. Keep blades sharp and use rubbing alcohol to disinfect between plants to limit disease spread.
Hedge shears belong to hedges, not general shrubs. Avoid ladders with chainsaws and use pole saws carefully.
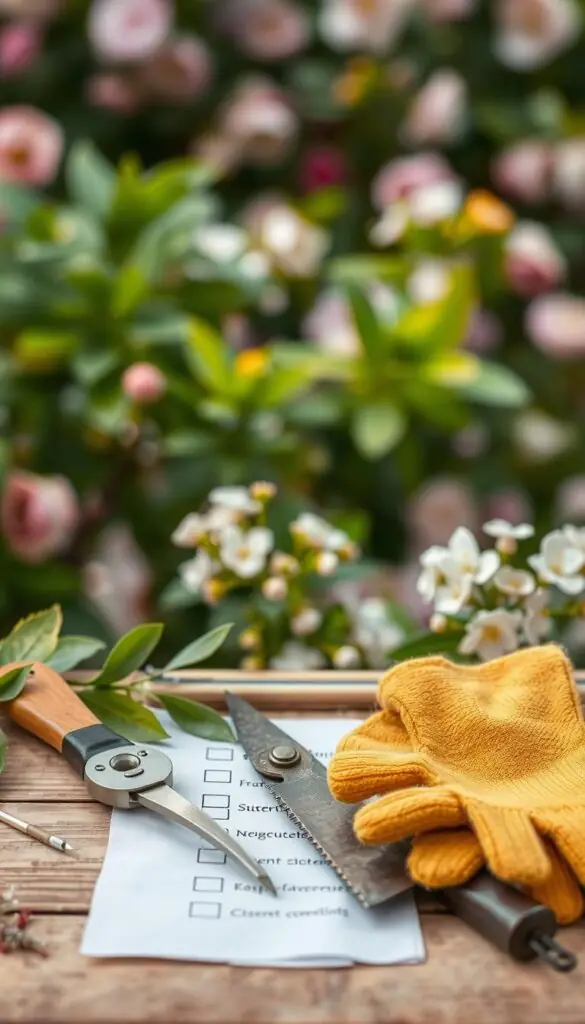
Assessing plant condition, size, and purpose
Walk the plant and spot dead tips, rubbing stems, and watersprouts. Check the mature size so you don’t create repeated heavy work.
Choose the right tool for each branch thickness. Plan cuts from top to bottom in a safe, reachable order.
- Disinfect blades between plants—one quick wipe helps stop disease.
- In hot summer weather, limit work to light touch-ups; save bigger cuts for cooler time.
- Keep a tarp or bin for clippings and note results in a garden journal so next season’s fruit and bloom match your goals.
"A short inspection and the right tool make all the difference — you get more blooms and less cleanup."
How to make the right pruning cuts
A single, correct cut can change a branch's direction and the plant's whole profile.
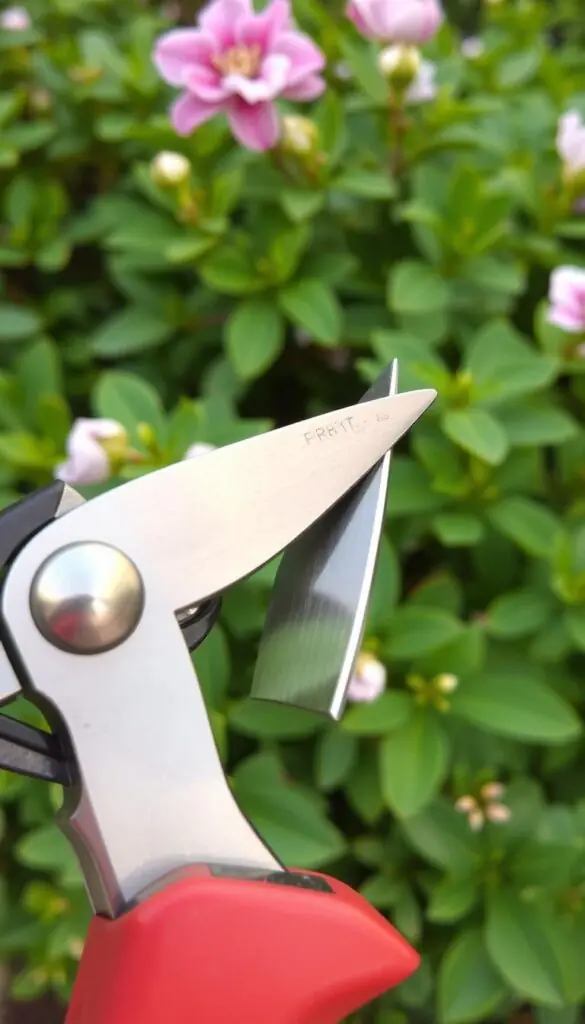
Heading vs. thinning vs. reduction vs. removal
Heading cuts shorten a shoot to a healthy outward bud. They encourage dense regrowth and set the new direction.
Thinning cuts remove whole branches at the branch collar to open the canopy for light and air.
Reduction cuts shorten a branch back to a lateral at least one-third to one-half the diameter to keep natural form.
Finding the branch collar and branch bark ridge
Always locate the branch collar and branch bark ridge before you cut. Cut just outside the collar to protect trunk tissue.
Avoid flush cuts and stubs; they slow healing and invite decay.
The three-cut method for larger branches
For limbs over 1.5–2 inches diameter, use three cuts: undercut 4–6 inches out, a second cut beyond to remove weight, then a final cut just outside the collar at a 45° angle.
"Start small, step back, and check the overall shape after each cut."
| Cut type | Purpose | Placement |
|---|---|---|
| Heading | Shorten shoot, direct growth | To a healthy outward bud |
| Thinning | Open canopy, airflow | At the branch collar |
| Reduction | Reduce length, keep outline | Back to a suitable lateral |
- Keep tools sharp for a clean cut branch with minimal crushing.
- Angle the blade so water sheds off the wound and new shoots grow in your chosen direction.
- Do not paint wounds; clean cuts and correct placement heal best.
Step-by-step: your first pruning session on a flowering shrub
Begin at the shrub's base and move upward, letting small wins build your confidence. Start by making your first cut on any dead twig that snaps crisply. That sound tells you the plant is ready for care.
Next, remove clearly diseased or broken branches. Cut cleanly at the branch collar or back to a healthy lateral so wounds heal fast.
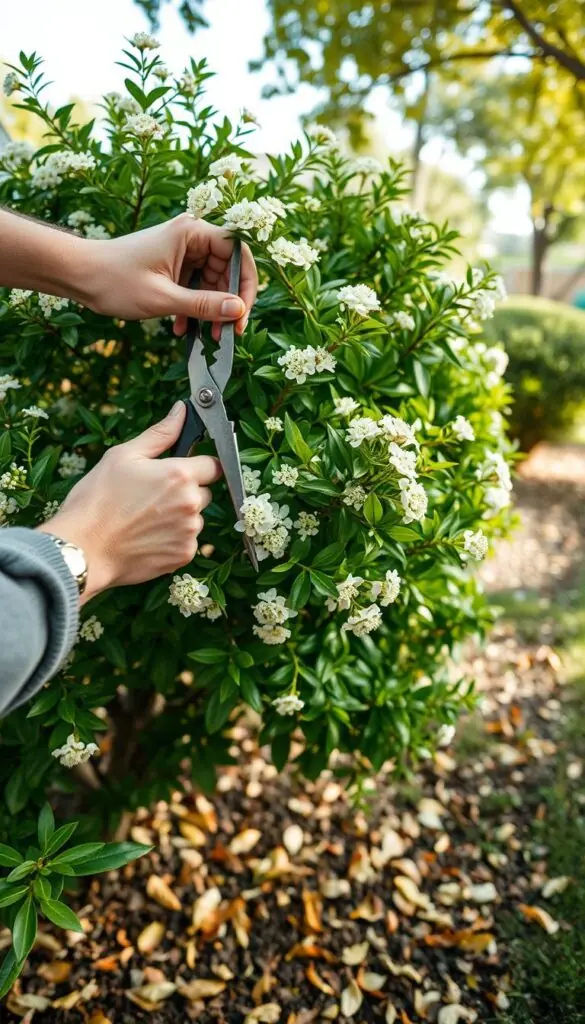
Take out crossing stems to stop future rubbing. Remove suckers at their source and trim watersprouts that shoot straight up. This removal opens the center and helps healthy growth.
- Step back and pick a few key branches to shorten with reduction cuts to refine outline and direction.
- Make one small heading cut to an outward-facing bud for soft, new growth.
- Keep cuts close but avoid stubs — prune to the collar or a clean lateral every time.
Imagine sunlight dappling the leaves. Pause for a tea break and look from two sides. Collect clippings and tidy the mulch so the base looks cared for. Jot a quick note; your next session will feel easier and more rewarding.
| Action | What to look for | Why it helps |
|---|---|---|
| Dead twig removal | Wood snaps dry and brittle | Stops decay and frees energy for blooms |
| Diseased / broken branch | Discolored or torn tissue | Prevents spread and improves health |
| Crossing / rubbing stems | Branches that touch or chafe | Reduces wounds and guides smooth form |
| Suckers & watersprouts | Shoots from base or upright shoots | Focuses growth on main stems and blooms |
"Small, careful cuts and a quick step back reshape a shrub without stress."
What to prune first: dead, diseased, damaged, crossing, suckers, watersprouts
Begin with the dead and damaged wood — it’s the easiest win and the most urgent. Start where the shrub shows clear trouble: brittle, gray sticks that snap and offer no leaves. Removing those first helps the whole plant recover faster.
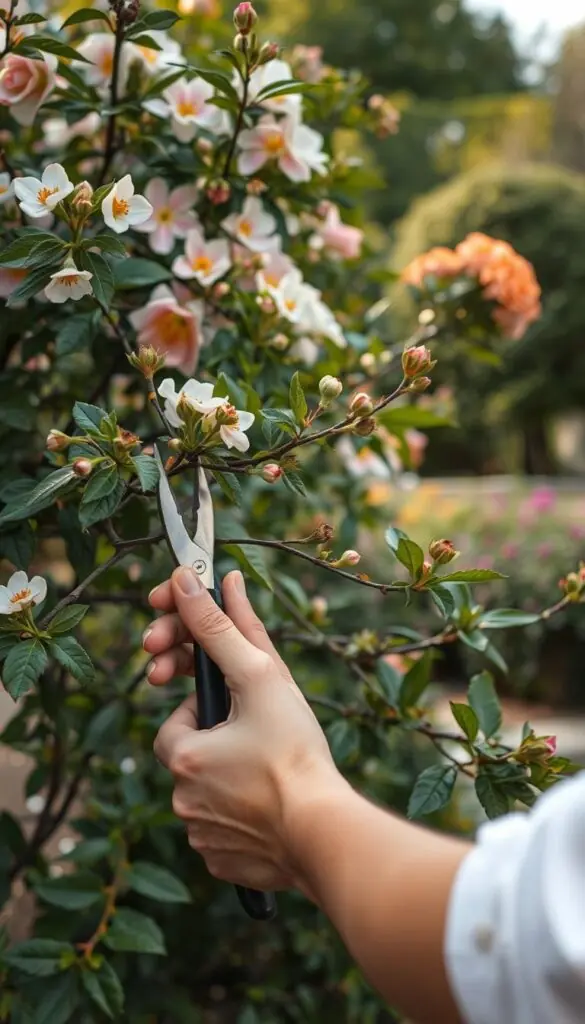
Order of operations:
- Begin with clearly dead wood, then tackle damaged pieces that weakly hold leaves.
- Cut diseased branches back to healthy tissue at the branch collar to slow disease spread.
- Remove crossing stems and inward growers to protect the trunk and let light reach inner buds.
- Slice suckers at the ground or roots so they don’t steal energy from the main stems.
- Clip watersprouts that shoot straight up; they crowd the canopy and shade flower buds.
Favor wide, sturdy angles over tight V-shaped joins to prevent later splitting. Keep cuts to collars, not stubs, and disinfect tools between plants. Clearing this clutter first makes the rest of your choices obvious and simple, and it helps trees and shrubs stay healthy and sunlit.
Timing by shrub groups with real examples
Match each shrub to its bloom type so your timing becomes a simple calendar you can trust.
Old-wood bloomers — lilac, forsythia, rhododendron, bigleaf and oakleaf hydrangea. Cut right after the flowers fade so you protect next spring’s buds. Lilac scent is strongest right after bloom; wait to shape until petals drop.
New-wood bloomers — panicle hydrangea, rose-of-Sharon, summersweet, spirea. Trim in late winter or early spring to encourage full clusters. Think of spirea’s airy froth and give it a neat haircut before growth resumes.
Evergreen shrubs and hedges — yew, boxwood, juniper, arborvitae. Shape in early spring before the new flush. Keep hedge bases a touch wider than the tops so sun reaches lower branches and the foliage stays glossy.
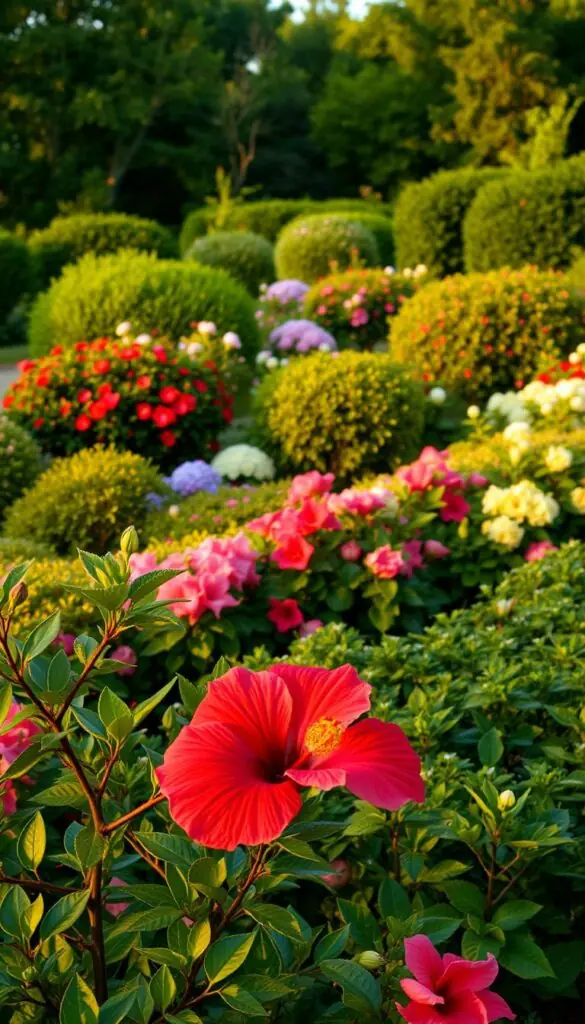
"A seasonal plan that matches wood type to timing keeps branches balanced and your yard blooming on cue."
| Shrub group | Examples | When to cut | Why |
|---|---|---|---|
| Old-wood | lilac, forsythia, rhododendron, H. macrophylla, H. quercifolia | Right after bloom (spring) | Protects next year’s flower buds |
| New-wood | panicle hydrangea, rose-of-Sharon, summersweet, spirea | Late winter — early spring | Promotes strong new shoots and larger clusters |
| Evergreens / hedges | yew, boxwood, juniper, arborvitae | Early spring (before new flush) | Maintains even foliage; avoid cutting into bare wood |
Renewal and rejuvenation: restoring overgrown shrubs
When a shrub has outgrown its space, a calm, staged reset helps it become healthy and manageable again. Start small and work with the plant's natural rhythm so recovery is steady and reliable.
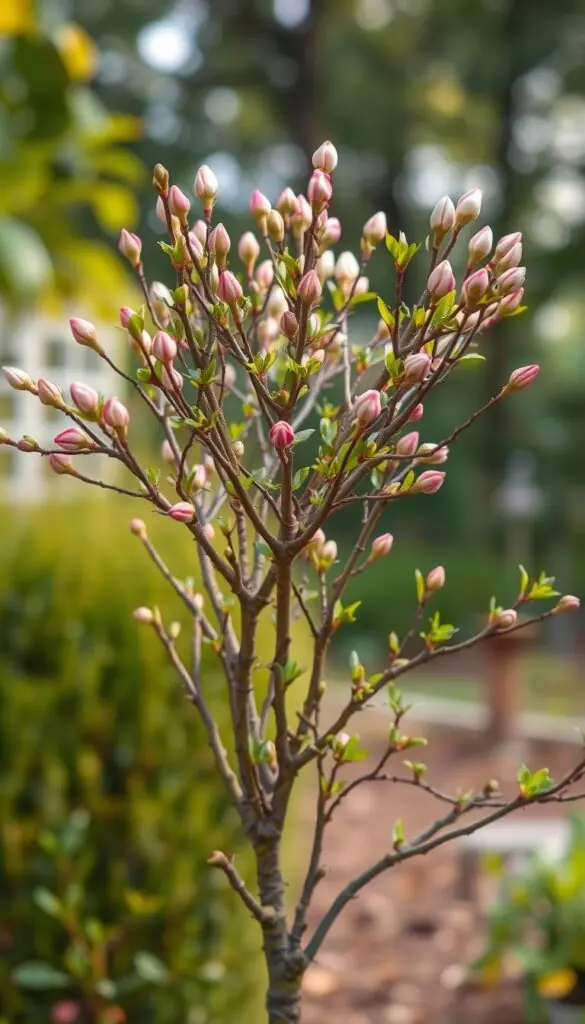
Annual renewal: remove older canes at the ground
Each year, remove up to one-third of the oldest canes at the ground to spark fresh growth. Cutting these old stems encourages new shoots from the roots and opens the center for light and air.
Full rejuvenation for cane-forming shrubs
For multi-stemmed shrubs like spirea, forsythia, red-twig dogwood, and some hydrangeas, you can cut all canes back to about 6 inches in early spring.
This is a bold move: you may lose flowers that season, but the plant will send vigorous new branches the next year and regain a natural outline and size.
- Staged renewal avoids shocking the structure and keeps the overall size steady across years.
- Focus on strong replacement shoots and even spacing as they fill in.
- Water well and add mulch after major cuts to help roots and encourage steady growth.
"A calm reset gives an overgrown shrub a new life — expect one quiet season, then a lush comeback."
Hedges and evergreens: shaping without sacrificing health
A hedge that is wider at the base stays dense from soil level to the top. That simple shape helps sunlight reach lower layers so foliage grows evenly and the whole row looks lush.
Prune evergreen hedges in early spring before new shoots appear. Do larger shaping then, and save light touch-ups for summer to keep lines tidy without shocking the plants.

Why wider at the base keeps hedges lush
Shape hedges with a slight taper so the base is wider than the top. Sun can reach lower branches and spur steady growth into the interior.
Trim from the bottom up. For junipers and arborvitae, shorten long shoots to a lower lateral inside the canopy. That hides the cut and keeps the outer face full.
- Keep cuts small and made back to a healthy branch or lateral rather than shearing flat faces.
- Time big work in early spring; do light summer trims to hold size and line.
- Avoid topping—flat tops invite weak, upright shoots and uneven regrowth.
- Step back often and sight down the row to keep the profile level and even.
- Clean blades between plants if you spot browning or disease to protect the whole row.
- Keep height practical so routine care stays safe and simple from the ground.
"A little attention at the right time keeps hedges healthy, dense, and welcoming."
Tools that make clean cuts: choose, use, and care
A sharp tool and steady stance make the job quicker and kinder to the plant.
Pick the right tool for the stem size: use bypass pruners for stems up to about 3/4 inch, loppers for branches up to roughly 1.5 inches, and a compact pruning saw for anything larger.
Reserve hedge shears and electric trimmers for formal hedges only. For individual shrubs, work branch by branch so the natural shape stays intact.
Safe cuts on larger limbs
For a big limb, make a small undercut a few inches out as the first cut, then remove the weight and finish just outside the branch collar with a clean cut.
Use the three-cut method for branches around 1.5–2 inches diameter to avoid tearing the bark and to help fast healing.
Sharpening and sanitation
Keep blades sharp so cuts close quickly and look neat in spring light.
Wipe tools with rubbing alcohol between plants to protect overall health. Never paint wounds; clean cuts heal best.
- Store tools dry and lightly oiled for long life.
- Use a pole saw for out-of-reach work instead of stretching on a ladder.
- Label a small tool pouch so everything you need is at your hip in early spring.
"The right tool and a sharp edge make pruning feel easy and satisfying."
| Tool | Use | Size range |
|---|---|---|
| Bypass pruners | Precise cuts on live stems | Up to ~3/4 inch |
| Loppers | Thicker branches with leverage | Up to ~1.5 inches |
| Pruning saw | Cleanly remove larger branches | Over ~1–1.5 inches diameter |
| Hedge shears / trimmers | Shaping formal hedges only | Not for individual shrubs |
Season-by-season pruning in the United States
Work with the year’s rhythm: late winter shapes structure, after-bloom care protects buds, and summer trims hold size. This simple plan fits most zones and helps you know what to do now and what to wait on.
Late winter to early spring: structure and new-wood bloomers
In late winter–early spring, prune new-wood bloomers and do thoughtful structural cuts while leaves are off. Light shaping now sets strong branches and a clear trunk without removing too much live wood.
After bloom: old-wood spring shrubs
Right after flowering, trim old-wood shrubs so you keep next year’s flower buds safe. Work quickly and gently so the plant can recover in a warm spring.
Mid to late summer: light touch for size control
Use a light touch in mid to late summer. Pinch tips or shorten a few stems to control size. Avoid heavy cuts that force soft, late growth or reduce fruit and flower set.
- Skip heavy work in autumn—some species bleed and wounds heal slowly.
- Delay cutting in drought, cold snaps, or heat waves.
- For large limbs use the three-cut method to protect the trunk and roots.
"A small seasonal touch keeps shrubs healthy and blooming."
Common mistakes to avoid and quick fixes
Small mistakes with cuts can cause long-term stress, but most shrubs forgive steady, careful fixes. Keep calm and take one clear step at a time.
Never top a tree or large shrub. Flat topping makes weak, upright shoots that break easily and invite decay. Instead, reduce a limb back to a strong lateral so the crown keeps its natural direction and strength.
Don’t leave stubs. Make clean cuts just outside the branch collar so wounds close naturally. If a past job left a jagged stub or torn bark, recut neatly at the collar to protect the trunk and help healing.
- Avoid painting wounds—research shows smooth, proper cuts heal best without sealants.
- Use the three-cut method for big branches to stop bark tearing during removal.
- Remove water sprouts from past topping and redirect growth with reduction cuts to solid laterals.
- Fix crossing branches by removing the weaker stem to improve light and airflow into the canopy.
- If too much was removed, pause and let the plant recover a season or two before further removal.
For major errors on large trees, consider a certified arborist. They can reset the framework safely and limit long-term damage or diseases.
"Plants are resilient—gentle, correct cuts restore balance and help branches thrive again."
Conclusion
A steady, simple routine brings more blooms, fruit, and sturdy branches over the years. With a clear pruning plan and a steady hand, you’ll help each shrub keep its natural shape and healthy growth.
Remove dead or diseased wood first, make clean cuts at the branch collar, and avoid topping or painting wounds. Keep tools sharp and clean so every cut heals fast and supports future flowers and fruit.
Work in short sessions, learn your plants’ rhythm, and take pleasure in scent, color, and texture. We hope this pruning guide leaves you calm and confident—step outside, enjoy the view, and celebrate each small success.
FAQ
When is the best time to trim spring-blooming shrubs without losing next year’s flowers?
Trim spring-blooming shrubs—those that flower on old wood—immediately after they finish blooming. That timing lets the plant set next season’s buds on new growth during the same year. Wait until after flowering to avoid cutting off next year’s blooms.
How do I tell if a shrub blooms on old wood or new wood?
Old-wood bloomers make flower buds on last year’s stems; look for buds forming on mature branches before the growing season. New-wood bloomers produce flowers on the current season’s growth. If a shrub blooms in spring, it’s often old wood; summer bloomers are usually new wood.
What should I remove first when starting to cut back an overgrown shrub?
Start by removing dead, diseased, or damaged wood. Next, take out crossing branches, suckers at the base, and watersprouts. Clearing those improves air flow, reduces disease risk, and reveals the structure so you can shape the plant sensibly.
How much can I safely remove in one season when renewing an overgrown cane-forming shrub?
For gentle renewal, remove up to one-third of the oldest canes each year. For full rejuvenation, you can cut cane-forming shrubs back to about 6 inches in early spring, but only do that when the shrub is healthy and you accept a year or two without normal flowering as it regrows.
What’s the difference between thinning cuts, heading cuts, and removal cuts?
Thinning cuts remove an entire branch at its origin to open the center and improve form. Heading cuts shorten a stem to a bud or lateral to encourage bushier growth. Removal cuts take out a branch completely (often back to the trunk or main lateral). Use thinning for natural form and heading sparingly for size control.
How do I make a proper cut without damaging the trunk or collar?
Cut just outside the branch collar and avoid leaving a stub. For larger limbs, use the three-cut method—an undercut, a top cut further out, then the final collar cut—to prevent bark tearing. This protects the trunk and helps the wound heal cleanly.
Which tools should I have on hand for a clean session and how do I care for them?
Keep sharp hand pruners, loppers for medium branches, a pruning saw for larger wood, and a hedge shear for shaping. Clean blades with alcohol or a bleach solution between plants when disease is a concern, and sharpen regularly for smooth cuts that heal well.
How does the one-third rule work and why avoid heavy shearing?
The one-third rule suggests removing no more than about a third of a shrub’s live growth at once to avoid stress and weak regrowth. Heavy shearing creates dense outer growth and thin interiors, which reduces flowering and plant health. Favor selective cuts that maintain a natural form.
When should I prune summer-blooming shrubs to encourage the best flower show?
Prune summer-blooming shrubs—those that bloom on new wood—in late winter to early spring before new growth starts. That timing encourages vigorous stems that will carry summer flowers and lets you shape the plant without cutting floral wood.
Are there seasonal cautions I should know about, like “bleeders” or hot weather risks?
Yes. Some shrubs “bleed” sap when pruned late winter or early spring—maples and birches are examples; they usually tolerate it but avoid heavy pruning at that time if worried. In hot, dry summers, avoid major cuts because stress and disease risk rise; do only light shaping or removal of dead wood.
How do I prune hedges and evergreens without sacrificing density at the base?
Make hedges slightly wider at the base than the top so lower leaves get light. Trim lightly and regularly rather than hard shearing, and avoid cutting into old wood that won’t resprout. For evergreens like yew or boxwood, small, frequent cuts keep a lush, sunlit interior.
Can I prune immediately after a freeze or during winter storms?
Avoid pruning right after a hard freeze or when branches are brittle from cold. Wait for a warmer period in late winter or early spring when you can assess damage and remove broken limbs. Prompt removal of snapped or crushed wood prevents decay and pests.
How do I handle disease or insect-damaged branches during a pruning session?
Remove diseased or infested branches back to healthy wood and disinfect tools between cuts to limit spread. Dispose of infected material—do not compost it. If disease is widespread, consult a local extension service for diagnosis and treatment recommendations.
What’s the three-cut method for larger branches and why use it?
The three-cut method prevents bark tearing. First, make a small undercut a few inches from the trunk. Second, cut from the top a few inches further out to remove the limb. Third, make the final cut just outside the branch collar. This preserves bark and promotes proper healing.
How do I preserve a shrub’s natural form while keeping size under control?
Use selective thinning to remove interior and crossing branches and do occasional heading on long shoots to reduce height. Keep the plant balanced by cutting back to outward-facing buds, which encourage open, outward growth and a pleasing, natural silhouette.