Imagine stepping into your yard and hearing a soft crunch underfoot as morning light warms a pale boulder. That small moment can change how your outdoor space feels. Do you picture a calm, low-maintenance patch of flowers that still feels lush and inviting?
We’ll walk you through a simple, friendly plan to make that vision real. You’ll get step-by-step guidance, the right tools (wheelbarrow, hand trowel, landscape fabric), and clear timing tips so the work feels doable.
Along the way, we suggest plant pairings for sunny edges and shady corners, show how to place a few larger stones as anchors, and explain why a gravel top layer helps suppress weeds and unify the look. You’ll learn to match materials to your home’s colors and avoid common mistakes like using stones that are too small for the space.
By the end of this piece, you’ll feel calm, inspired, and ready to enjoy a more beautiful, low-maintenance yard that fits your life and style.
Key Takeaways
- Use larger stones as anchors and gravel to tie the design together.
- Follow a clear process: pick a spot, sketch, source materials, prepare soil, set stones, plant.
- Keep simple tools on hand for safer, easier work.
- Choose plants by sun exposure—sedums for sunny edges, ferns for shade.
- Match stone colors to your home to create a cohesive look.
Why a Rock Garden Elevates Your Landscape
A small cluster of stones can give your yard steady form all year long. It’s a simple way to add structure that reads beautifully whether flowers are in bloom or resting in winter.
Low-maintenance beauty with year-round structure
Stones and evergreens provide reliable bones for your space. They keep texture and form through seasons so the area never feels empty.
Use a gravel top layer to suppress weeds and unify the bed. That saves time and keeps the look tidy with little effort.
Adding depth, height, and surprise to flat areas
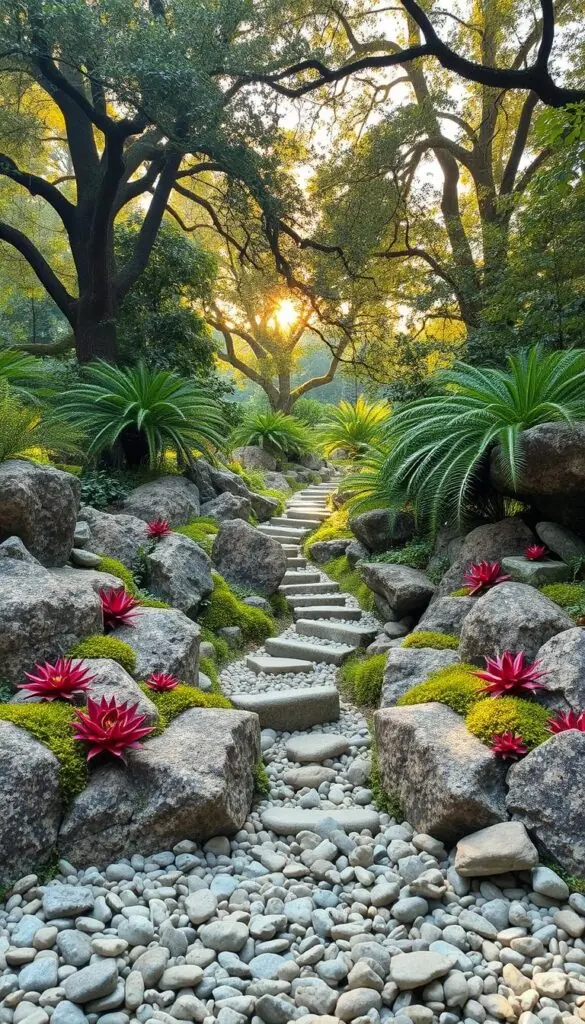
Place a few larger focal stones first to anchor the composition. Then step down with smaller stones so the eye moves upward.
This approach works well on a slope or in spots where grass won’t thrive. A spill of pebbles can suggest a dry stream, or a shallow basin can hold a tiny water feature for soft sound and sparkle.
"A well-placed stone does more than many small ones — it creates calm focus and easy maintenance."
| Benefit | Best Placement | Low-effort Care |
|---|---|---|
| Year-round form | Front yard accents, entry beds | Occasional pruning, gravel top-up |
| Added height & depth | Flat lawns, terraces | Light weeding, seasonal checks |
| Problem area solution | Dry slopes, shady corners | Water-wise plants, minimal watering |
- Choose lighter stone colors near patios to keep the look airy.
- Favor a few focal stones instead of many tiny pieces for serenity and ease.
- Top up gravel every couple of years and weed lightly to maintain the design.
Choosing and Evaluating Your Site
Begin with a slow walk around the area, noting how sun, breeze, and slope shape what will grow there.
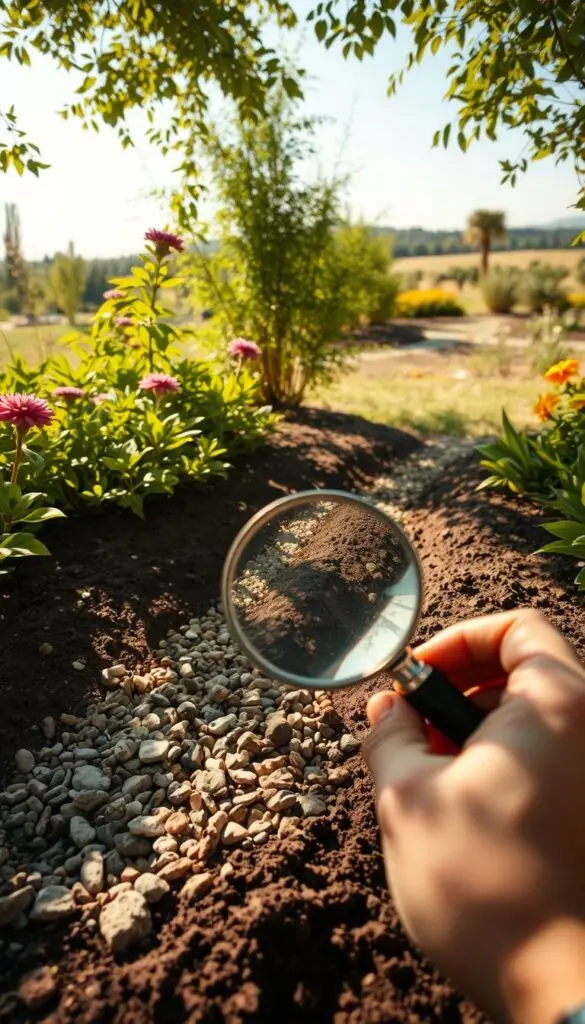
Stand in the spot at different times of day. Note bright sun patches and small shade pockets. Take a photo from a favorite window so you remember the view you want to keep.
Sun, shade, and slope: reading your yard’s conditions
Walk the site in morning and late afternoon. Mark where summer sun lingers so you can match plants to light. On a gentle slope, align stones to the fall of the land to guide water away from crowns.
Open exposure, natural backdrops, and views from the house
Pick an open part of your landscape away from heavy overhangs. Favor simple backdrops like hedges or a fence so the composition feels like it belongs. Check sightlines from the kitchen or living room — choose views you’ll enjoy daily.
Drainage clues: puddles, clay, and where water goes
After rain, look for puddles and note how quickly water drains. Test soil by squeezing a moist handful; tight ribbons often mean clay. If drainage is slow, plan to raise beds slightly and blend in sharp sand and grit for better runoff.
| Checklist | What to do | Why it matters |
|---|---|---|
| Sun & Shade | Walk site morning & evening; mark sunny spots | Matches plants to conditions for healthier growth |
| Drainage | Inspect after rain; test soil texture | Prevents waterlogging and root rot |
| Access & View | Photo from house; check wheelbarrow path | Makes maintenance easier and keeps the look visible |
Plan the Design: Scale, Style, and Flow
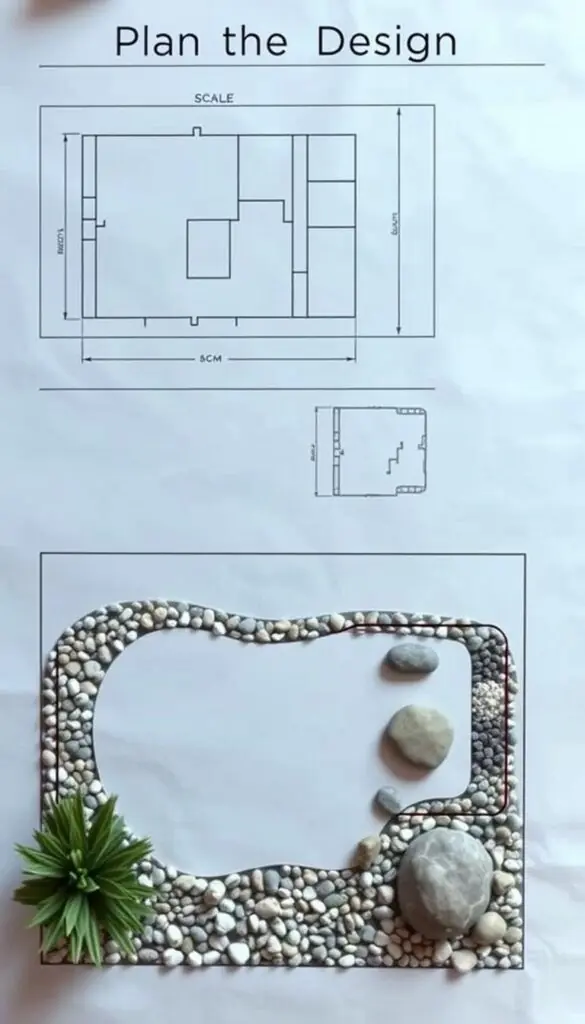
A simple sketch makes choices feel clear and calm. Start with a loose drawing that shows beds, a path, and one strong focal stone. This helps you judge size and buy the right materials without second-guessing.
Sketching beds, paths, and focal points
Draw the view from the house and the front walk. Mark one or two places for boulders so you can see sightlines from windows and doors.
Tip: Group stones in odd numbers for a natural look and leave breathing room for plants and gravel swaths.
Scale and size: matching boulders and stones to your space
Match stone size to your home and yard. One well-placed boulder can anchor a small bed without crowding it. For longer borders, use several medium stones to create rhythm and movement.
Style choices: rugged, Zen-clean, or cottage-natural
Pick a style that fits your landscape and home. Rugged, irregular pieces feel wild. Smooth pebbles and white gravel make a Zen-clean look. Soft mounds and flower pockets give a cottage-natural charm.
- Sketch swaths of gravel to connect beds and guide the eye.
- Repeat a limited variety of stones and plants to keep the look serene.
- Note soil needs and a dry-stream line on the sketch to manage rainwater.
"Edit as you go—it's easier to remove one extra stone than to live with a crowded bed."
Source Materials: Stones, Gravel, and Tools
Begin with sourcing stones and supplies that match your home’s colors and the feel of your yard.
Visit a local stone yard to see color and texture in natural light. Bring a photo of your home so you pick tones that harmonize. Local sellers often have both small quarry pieces and larger boulders you can test for scale.
Choosing materials by color and texture
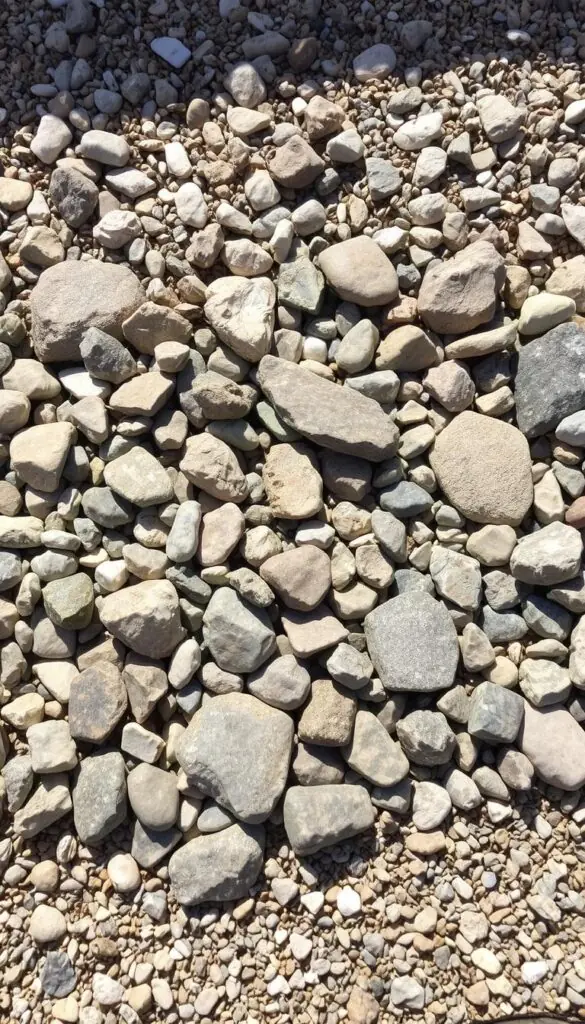
Pick a consistent character—limestone, basalt, or sandstone—then add a small variety of pebble sizes for texture. Use larger rocks as focal points and lighter gravel to brighten shady spots.
Budget-friendly sourcing
Call garden centers and rock suppliers for delivery quotes. Check reclaimed listings, Freecycle, or community boards for repurposed pavers and stones. Bulk buys usually cost less per ton than bags.
Tools and staging
Gather a wheelbarrow, dolly, pointed shovel, steel rake, hand tamper, digging bar, gloves, and safety glasses. Have landscape fabric, sharp sand, and grit ready for base prep.
| Need | Why | Tip |
|---|---|---|
| One to three boulders | Anchor beds and create height | Bury ~1/3 for stability |
| Pebble variety | Adds texture without clutter | Choose 2–3 sizes |
| Light neutral gravel | Unifies the bed and brightens shade | Buy bulk for larger spaces |
| Delivery staging | Protect lawn and ease placement | Map a clear path and use plywood |
Make a simple material list with counts and measurements before you buy. That keeps costs down and makes install day calm and efficient.
"Source locally when you can—matching colors to your home ties the whole space together."
Soil and Drainage Prep for Rock Gardens
Good beds begin with honest prep. Start by clearing the site of surface debris and digging out persistent roots—bindweed, Bermuda grass, and ground ivy will come back if left behind.
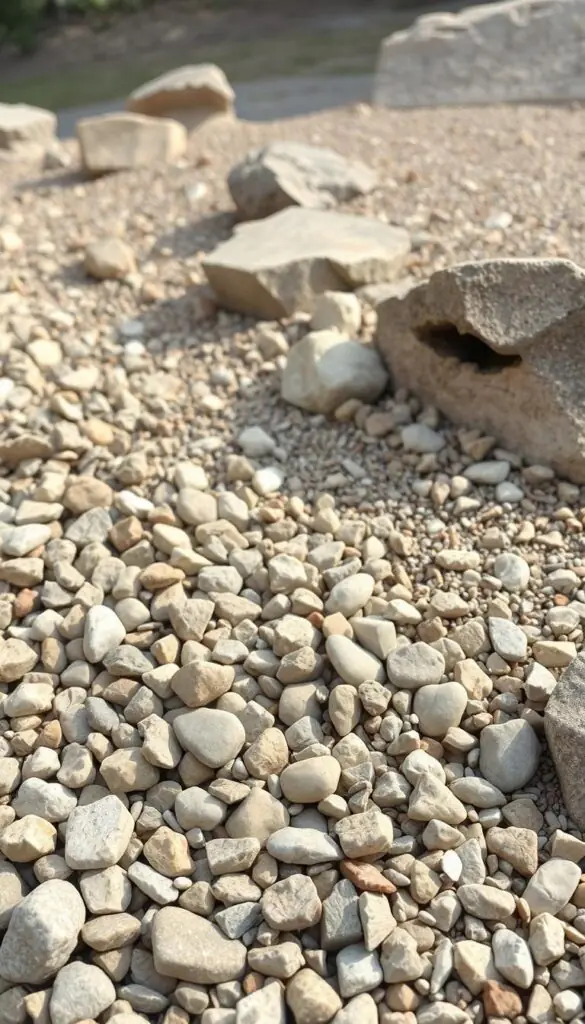
Loosen compacted soil 8–12 inches deep. Mix in sharp sand and grit at about a 1:3 ratio with the existing soil where you want faster drainage. This gives alpine and drought-tolerant plants the gritty base they prefer, while helping water move away from crowns.
Creating sharp drainage with sand and grit
In clay-heavy spots, add extra grit and sand to break up the clay. Lightly water the area to help the amendments settle, then check for puddles. Raise low spots or add more grit until water runs off cleanly.
Weed-free foundation: removing roots and perennial weeds
Dig deep to remove entire root systems. Compost-amend only shady beds for ferns and hostas; leave sunnier beds lean and gritty for alpines and succulents. A gravel top layer later will help suppress weeds and unify the look.
When to skip fabric and when to use it strategically
Use landscape fabric under paths or in stubborn weed corridors. Do not blanket plant beds with fabric—roots need to knit into the ground so plants can establish naturally. For large stones, bed a thin layer of sharp sand beneath them to steady placement and keep crowns dry.
- Clear deep roots, then loosen soil.
- Blend in sand and grit 1:3 where faster drainage is needed.
- Create slight mounds for plant pockets so water sheds away from crowns.
- Water to settle, check drainage, and adjust low spots.
"Gentle, step-by-step prep keeps the bed ready for stones and plants—and makes long-term care far easier."
Set the Stones: Placement, Crevices, and Natural Look
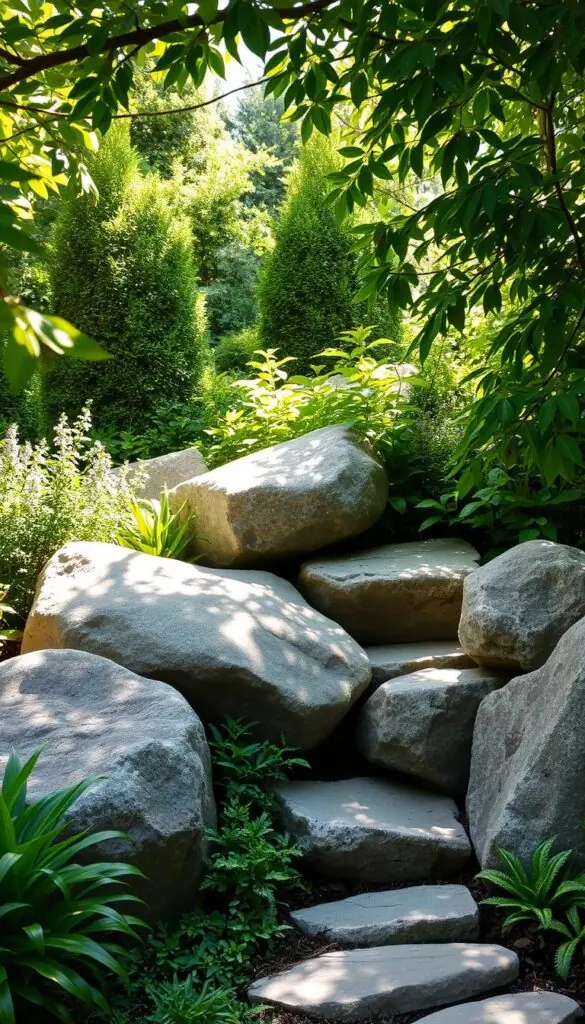
Begin by placing the largest boulders where the eye naturally rests, then build outward from those anchors. This gives the bed immediate purpose and makes choices easier as you work.
Anchor with keystone boulders
Start with one or two keystone boulders as focal points. Dig a hole so about one-third of each boulder sits below the ground. Backfill and tamp firmly until the stone stops wobbling.
Partial burying and a grounded look
Partially burying creates a sense that the stones belong. Angle stones slightly the way local exposures weather to make the composition read as natural.
Crevices and planting nooks
Set flat stones on edge to form narrow crevices. Leave a finger-width gap and fill with a gritty mix so alpines and small succulents can root.
- Place the largest pieces first; they guide sightlines and scale.
- Mix sizes: one large, a couple of medium, and many small to add variety without clutter.
- Stagger joints and cluster in odd numbers for a random, natural feel.
- Use a pry bar and wood blocks to adjust height safely.
- Step back often and check views from paths and windows.
- Brush off soil and water lightly to settle texture and color.
"A stone 'locks' when it stops wobbling — trust that feel and check from several angles."
Planting Guide: Sun, Shade, and Seasonal Interest
Match plant choices to light and soil so every nook of your space stays colorful and healthy. Think of the bed as a collection of small areas. Each area needs the right plant and soil mix to thrive.
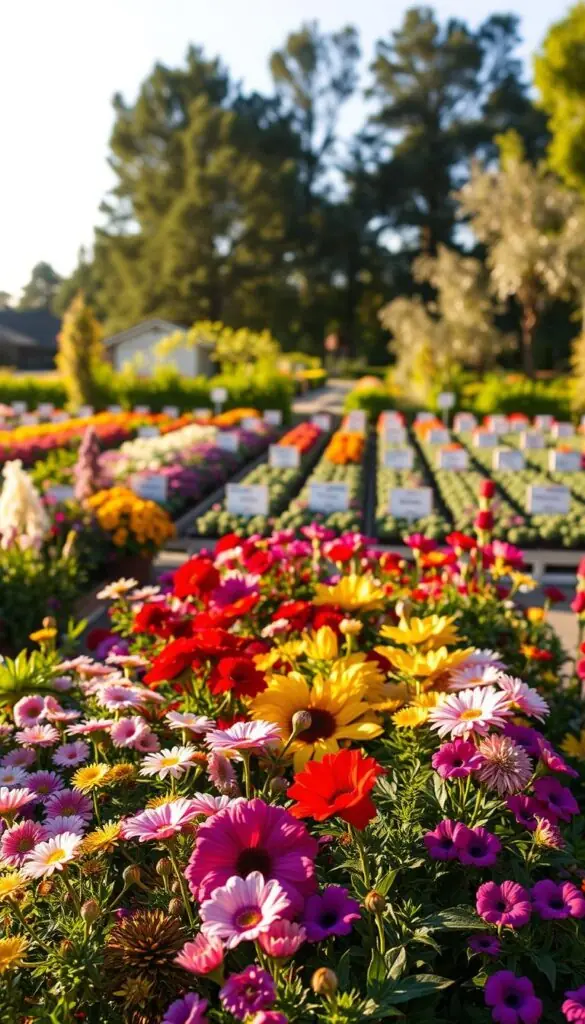
Alpines and succulents for sunny spots
Full sun pockets like crevices and raised beds favor alpines and succulents. Try Delosperma (Zones 5–9), creeping thyme (Zones 4–9), and Sedum ‘Angelina’ (Zones 5–9).
- These plants need lean, gritty soil and low water.
- Tuck them into gaps where drainage is fastest.
Ferns, hostas, and mosses for partial shade
For cooler, moister spots choose hosta (Zones 3–9), ferns (Zones 3–8), coral bells, and hellebores. Their lush foliage creates calm contrast to the sunlit pockets.
Dwarf conifers, shrubs, and grasses for winter color
Add structure with dwarf conifers like Pinus mugo ‘Mops’ or spreading Juniperus. Mix small ornamental grasses and a few low shrubs for texture and year-round interest.
Groundcovers and bulbs to soften edges
Soften paths and bed edges with creeping phlox, snow-in-summer, and dianthus. Dot bulbs—species tulips, crocus, narcissus, and alliums—for early flowers that bridge seasons.
Practical tip: Use a gritty mix (1:1:1 soil, sharp sand, fine gravel) in pockets, plant crowns slightly high, and group plants by water need to keep maintenance low.
Gravel Finishes: Color, Texture, and Weed Control
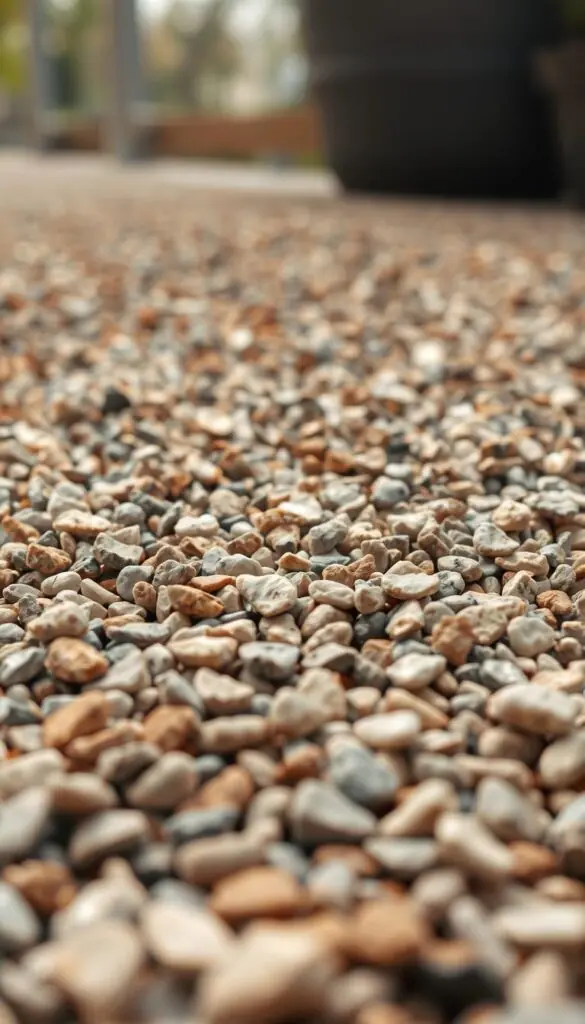
A fresh layer of gravel finishes the bed and ties plants and stones into one calm field. Simple finishing steps make the area feel complete and inviting. Rake, top-dress, and spot-correct for a tidy result.
Topdressing to unify the bed
After planting, spread a 1–2 inch topdressing of light, neutral gravel. This neat layer ties stones and plants together and keeps soil from splashing onto foliage.
- Choose color tones that echo your main rocks so the bed reads as one calm field.
- Stick to one primary gravel and one accent to avoid a busy look.
- Rake gravel into gentle waves around plants so crowns stay clear and the ground breathes.
- Add a thin band of slightly larger stones along edges to hold material on slopes.
Color harmony and texture
Use lighter hues to keep the look bright and airy. Match tones to your larger stone and repeat them in swaths. A subtle ribbon of darker rocks can suggest a dry stream without extra care.
"The tidy crunch of fresh gravel invites you in and keeps maintenance low."
Care Through the Seasons in the United States
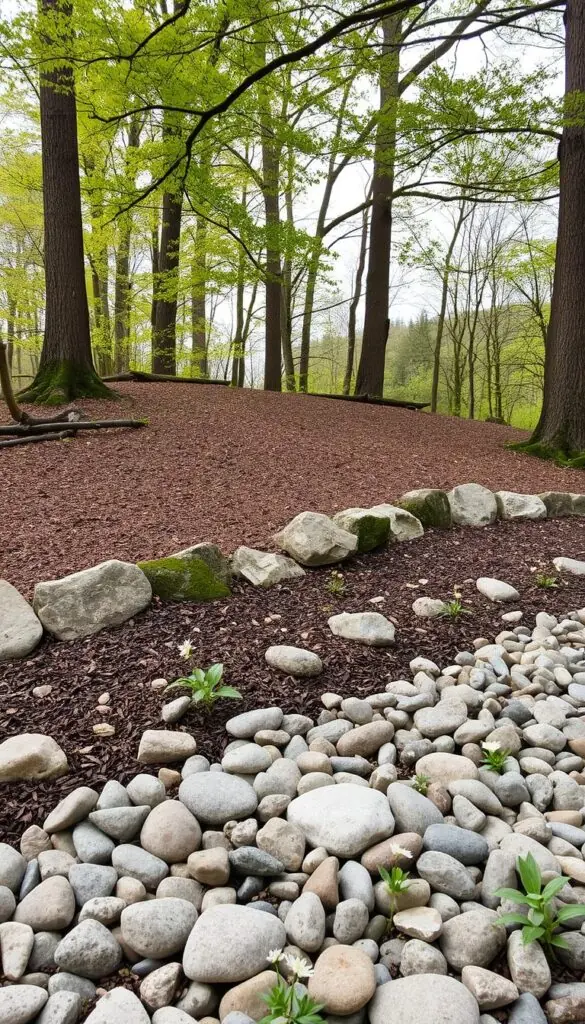
Tiny seasonal habits keep your beds tidy and let the hardscape and plants shine. Follow zone-aware timing so tasks match your local climate and not the calendar in a different state.
Spring: plant, mulch, and feed gently
Plant when soil is workable—early in the South, later up north. Mulch with a thin gravel layer to protect crowns and cut soil splash on leaves.
Feed lightly—alpines and succulents often skip fertilizer; hostas and coral bells welcome a slow-release dose.
Summer: smart watering and heat management
Rocks absorb heat, so check moisture beneath the surface. Water deeply but less often, and aim for cool mornings so foliage dries by midday.
Trim spent blooms to keep beds neat and encourage brief rebloom in some perennials.
Fall: prune, divide, and plant bulbs
Prune lightly and divide overgrown clumps. Tuck in bulbs like species tulips and alliums for spring interest.
Reset any settled boulders and top up thin gravel before winter arrives.
Winter: structure and drainage checks
Enjoy the year-round structure of conifers and shrubs. After thaws, walk the site to confirm drainage and clear channels so water moves away from crowns.
Year-round, keep hand tools handy and use burlap wraps for tender plants in exposed yards when needed.
"Small, regular care keeps the space peaceful and low-maintenance—enjoy the view as much as the work."
Conclusion
Small, steady choices can turn a plain yard into a calm, living space you enjoy daily. Start with an open site, clear weeds, and honest soil work. Good drainage with grit and sand sets the stage for healthy plant growth.
Place keystone stones first, bury them partly, and carve crevices for alpines and succulents. Top with light-toned gravel to unify textures and color so the bed reads as one calm field.
Keep it simple: a few well-placed rocks, plants chosen for each nook, and small seasonal habits—tidy weeds, refresh gravel, water as needed—will give lasting interest with little fuss.
Enjoy the quiet rewards: dew on stone at sunrise, a scent underfoot after rain, and a peaceful spot that invites you outside. Trust the basics, trust your eye, and take pleasure in the space you create.
FAQ
How do I use gravel and stones in a flower garden design without it looking harsh?
Start by choosing small gravel or pebbles in colors that complement your plant palette. Use gravel as paths, mulch around drought-tolerant plants, or as a topdressing to define beds. Mix textures—boulders for anchors, medium stones for edges, and fine gravel for walking surfaces—to soften the look. Add groundcovers and bulbs along edges to blur the transition between stone and planting.
What makes a rock-based landscape a good choice for homeowners?
It’s low-maintenance and provides year-round interest. Stones give structure when plants are dormant, cut down on watering needs, and reduce weeding when combined with proper prep. With thoughtful plant selection, you get seasonal color and texture while keeping upkeep simple.
How do I evaluate sun, shade, and slope before placing stones and plants?
Observe your site at different times of day to map sun and shade. Note slope direction—south-facing slopes are hotter and drier, north-facing hold more moisture. Mark areas where water pools after rain; that tells you where drainage improvements are needed. Use that information to place heat-loving succulents in sunny spots and ferns or hostas in cooler, shaded pockets.
Which spots in my yard work best for a stone-and-plant feature?
Look for open exposure with good views from the house or patio. Natural backdrops like fences, hedges, or slopes help the feature feel integrated. Avoid low-lying areas that hold water unless you redesign drainage. Small courtyards suit a Zen-inspired look; larger beds can handle boulders and mixed shrubs.
How can I tell if my soil drains well or needs improvement?
Dig a test hole about 12 inches deep and fill it with water. If it drains within a few hours, drainage is good. Slow drainage, sticky clay, or persistent puddles mean you should add grit, sharp sand, or create raised beds. Good drainage is essential for alpines and succulents that dislike wet roots.
What scale of stones should I choose for a small yard versus a large landscape?
Match stone size to space: small yards benefit from pebbles, gravels, and a few modest boulders to avoid overwhelming the area. Large landscapes can carry multiple big boulders, varied rock sizes, and wider gravel paths. Keep human scale in mind so elements feel inviting rather than monument-like.
Which style is right: rugged, Zen-clean, or cottage-natural?
Pick a style that complements your home and personal taste. Rugged suits native plantings and boulders. Zen-clean favors raked gravel, minimal plantings, and clear lines. Cottage-natural blends stones with lush perennials and soft edges. You can combine elements—for example, a Zen path leading to a more natural planting bed.
Where can I source affordable stones, gravel, and boulders?
Check local landscape suppliers, garden centers, and quarries for regional materials that fit your budget. Reclaimed stone yards and demolition yards often have interesting pieces at lower cost. Some municipalities offer free or low-cost gravel from roadwork projects. Delivery costs matter—buy locally when possible.
What basic tools and materials should I have on hand?
Useful items include a wheelbarrow, sturdy shovel, gloves, a tamper, landscape fabric for select areas, sharp sand or grit for improving drainage, and a rake for leveling gravel. For larger stones you may need equipment rental or professional delivery and placement.
How do I prepare soil under a stone bed to prevent weeds and poor drainage?
Remove perennial roots and weeds thoroughly. Amend heavy clay with coarse sand and grit to improve drainage. Use a layer of well-graded sharp sand under gravel where needed. Landscape fabric can be useful in high-weed areas but skip it where you want plants to root among stones; it can trap moisture and lead to plant decline.
When should I use landscape fabric and when should I avoid it?
Use fabric under thick gravel paths or paved areas to slow weed growth and stabilize material. Avoid fabric where you’ll plant directly among stones—plants need to root and fabric can cause water to pool or roots to girdle. Instead, pull weeds and use a thick mulch of gravel combined with regular maintenance.
How do I place boulders and create natural-looking crevices?
Position one or two keystone boulders first to anchor the composition. Set them partially buried so they look like they belong. Arrange smaller stones around them, tipping some into the soil to form crevices and pockets. Those nooks become microhabitats for alpine plants and succulents.
Which plants suit crevices and sunny, dry pockets?
Choose alpines, sedums, sempervivums, and other succulents for hot, well-drained spots. These plants thrive in small soil pockets and need sharp drainage. For slightly cooler or damper crevices, use dwarf sedges, thyme, or small rock garden perennials.
What planting choices work in partial shade among stones?
Feature ferns, hostas, mosses, and shade-loving groundcovers. These soften stone edges and provide lush texture. Use dwarf conifers or small shrubs to add winter structure and vertical interest in shaded areas.
How can I use gravel topdressing effectively while controlling weeds?
Lay a weed-suppressing layer of coarse sand or compost-free substrate first, then add a uniform gravel topdressing to unify the bed. Keep the layer shallow around plant crowns to avoid smothering. Regularly pull visible weeds and spot-treat persistent runners to keep beds tidy.
How does stone color affect the overall look of a bed?
Light-toned stones brighten and make beds feel larger; dark stones add contrast and weight. Match tones to your planting palette—warm stones pair with golden foliage, cool gray stones suit blue and silver plants. Vary textures to avoid a flat appearance.
What seasonal care do these landscapes need in the United States?
Spring: plant, topdress with fresh gravel, and feed lightly. Summer: water smartly—deep, infrequent watering helps roots, and shaded pockets need less. Fall: prune, divide overcrowded perennials, and add bulbs for spring. Winter: check drainage and protect tender succulents with breathable covers or move container plants indoors.
How do I manage heat from stones during hot summers?
Provide afternoon shade for heat-sensitive plants, use lighter-colored gravel to reflect heat, and add mulch in planting holes to retain moisture. Water early in the day and choose heat-tolerant plants where exposure is greatest.
Can I create a natural look on a slope with stones and plants?
Yes. Terrace with retained stone beds or use step-like boulder placements to slow erosion. Plant deep-rooted shrubs, grasses, and groundcovers to hold soil. Create shifting pockets of planting to mimic natural rock outcrops.