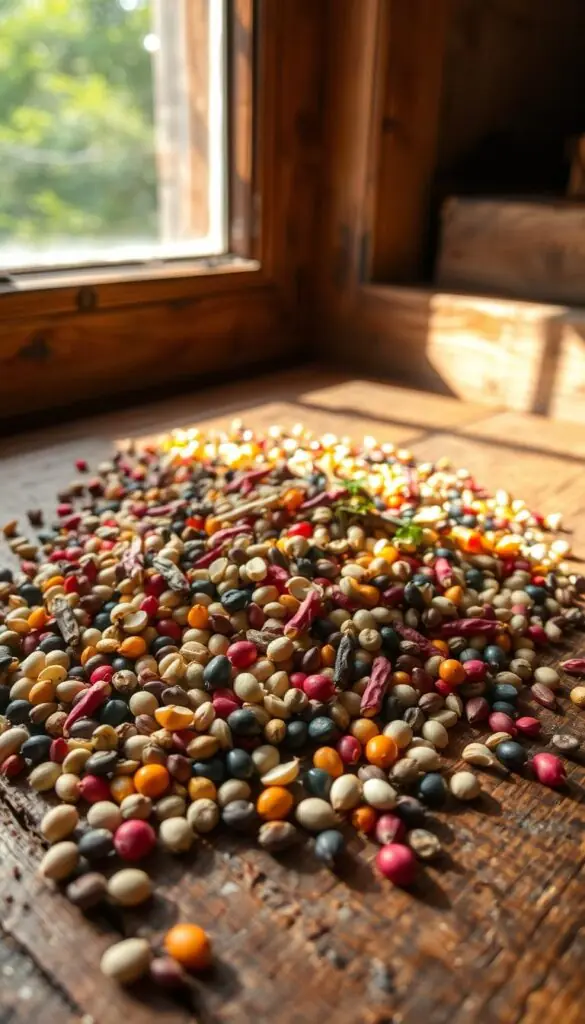
Picture a late-summer afternoon: warm light on dried pods, the faint rattle when you tap a ripe pod with your fingernail. Have you ever wondered how to keep that taste and color for next year?
We’ll give you simple, confidence-building steps you can start right after a sunlit harvest. You’ll learn how to pick healthy parent plants, tell when seeds are truly mature, and choose easy crops like tomatoes, beans, peppers, and peas.
We keep tools ordinary — jars, mesh bags, and coffee filters — and explain dry- versus wet-seeded methods in clear, everyday terms. You’ll also learn tidy drying and storage: cool, dark, and dry spaces, labeled with crop, variety, and harvest date.
Key Takeaways
- You’ll get step-by-step guidance from harvest to storage.
- Start with easy vegetables to build confidence.
- Know the difference between dry and wet methods.
- Store seeds cool, dark, and dry in labeled containers.
- Small habits protect varieties and support biodiversity.
Why Save Seeds: Beauty, Self-Reliance, and Better Harvests
Golden pods, aromatic tomato vines, and the soft rattle of dry pods are small rewards of a late-summer afternoon. They also signal a practical opportunity: you can keep the flavors and traits you love for next spring.
Real benefits you’ll notice next season
- When you save seeds from your best tomatoes or sweetest peas, you bring those exact tastes back to your garden.
- You’ll spend less on new packets and feel steady knowing you have varieties stored at home for years.
- Your plants adapt to sun, soil, and local weather, giving sturdier growth and richer flavor over time.
Choosing favorites to adapt to your place
Pick the sauce tomato with the deep flavor or the snap pea that always thrills your table. Over a few seasons, those choices shape a garden that feels personal and reliable.
| Benefit | What you notice | Practical tip |
|---|---|---|
| Self-reliance | Fewer purchases, steady supply | Store labeled packets in a cool, dark spot |
| Adaptation | Stronger, tastier plants | Keep lines from your healthiest performers |
| Community & biodiversity | Swaps and unique varieties stay alive | Trade small, labeled batches with neighbors |
Start Smart: Open-Pollinated vs. Hybrids and Knowing Your Plants
Knowing what kind of plant you grow—heirloom, hybrid, annual, or perennial—keeps your efforts steady and predictable.
Open-pollinated and heirloom varieties usually come true-to-type when they are not cross-pollinated. Choose these if you want reliable traits next season. Examples to look for on packets are ‘Brandywine’ tomato and ‘Blue Lake’ beans.
Hybrids can give excellent performance, but their offspring often show mixed traits. If a packet says “F1,” expect unpredictable characteristics in the next generation.
Life cycles: annuals, biennials, and perennials
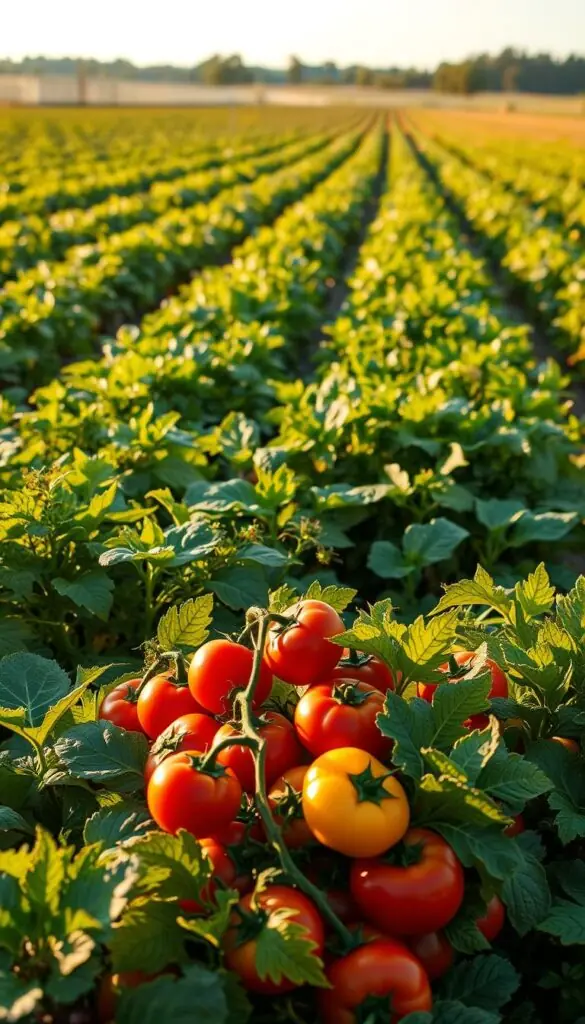
Annuals like tomatoes and peppers make seeds in one season. You can collect and store from them the same year.
Biennials such as carrots and onions need a cold spell (vernalization) to flower and set seed in their second year. Let some plants overwinter or mimic cold to get blooms.
Perennials, for example asparagus, return for years and may produce seeds intermittently. Keep notes on which plants thrive so you can choose the best parents.
"Pick open-pollinated varieties when you want a garden that feels familiar every spring."
- Choose open-pollinated or heirloom when you want true offspring.
- Expect hybrids to split into varied characteristics.
- Read labels: “open-pollinated” or “heirloom” = good for saving; “F1” = hybrid.
Prevent Cross-Pollination: Keep Varieties Pure and Viable
You don’t need acres to keep varieties pure—just a few reliable steps and tidy habits. Learn simple methods that work in small yards and help you avoid unwanted cross-pollination.
Some crops mostly self-pollinate. Tomatoes, beans, and peas usually set true-to-type when left alone. That makes grouping them an easy first step.
Practical ways to protect your lines
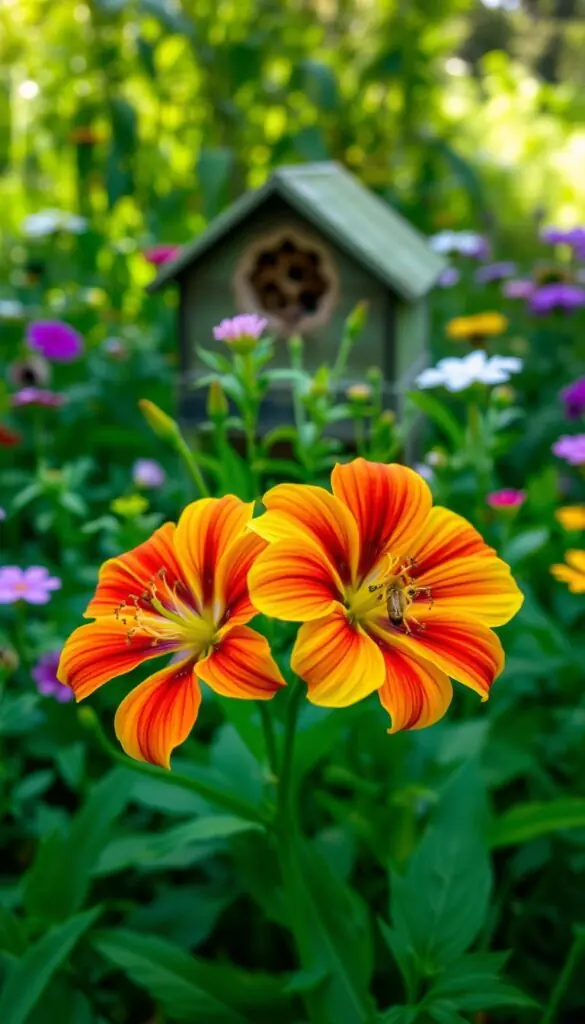
When space is tight, isolation by distance is best if you can. If not, try mesh bags over blossoms or staggered planting so varieties flower at different times.
Hand-pollination helps with cucurbits. Pollinate a chosen female flower early, then tape or bag it closed for a few days. Label each plant clearly so fruits and pods aren’t mixed later.
| Type | Risk | Best tactic |
|---|---|---|
| Self-pollinating | Low | Group varieties together |
| Insect/wind-pollinated | High | Distance, barriers, hand work |
| Small-yard tip | Moderate | Plant one variety or stagger blooms |
Keep notes on what you try. These gentle steps protect the character of your chosen lines and help you harvest truly viable seeds next season.
Seed Maturity vs. Market Maturity: When Fruits and Pods Are Truly Ready
Harvest timing splits into two kinds: ready for the table and ready to last until spring. Learn to read color, texture, and sound so your seeds reach full germination potential.
Quick checks and timing
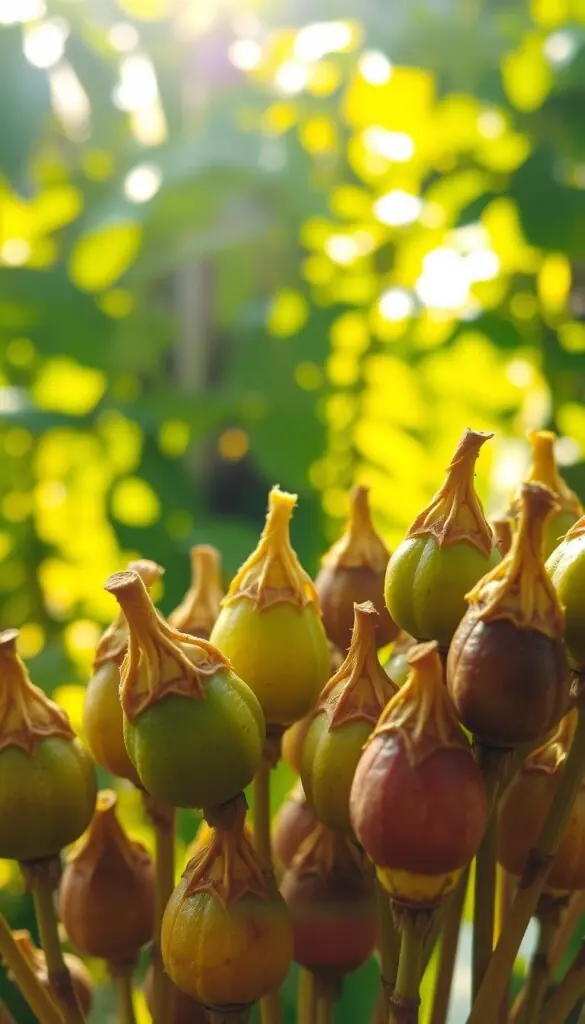
Look for true cues, not just salad-perfect color. Pods should feel papery and brittle. Inside, the seeds should be hard when you press them.
- Beans & peas: Wait until pods are tan-brown and rattle. If a seed dents under a fingernail, give it more time.
- Cucumbers: Turn yellow with tough skin long after they lose salad appeal.
- Tomatoes: Harvest for seeds when the fruit is fully ripe and flavorful.
- Squash: A rock-hard rind means seeds are mature; store the fruit 1–2 months at 50–60°F to finish if needed.
- Lettuce & corn: Lettuce shows dandelion-like fluff in 2–3 weeks after flowers; corn has dry silks and brick-hard kernels.
"Trust the hollow rattle and brittle feel—they tell you the work is done."
If wet weather threatens, pull dry-seeded plants and hang them inside to finish. Note the harvest date so next season’s timing comes easier.
How-To Methods: Dry-Seeded Crops (Beans, Peas, Lettuce, Radish)
A few tidy steps turn brittle pods into clean, store-ready packets you’ll be proud to plant. These dry-methods are calm and practical. Use ordinary tools and steady hands.
Harvesting without loss
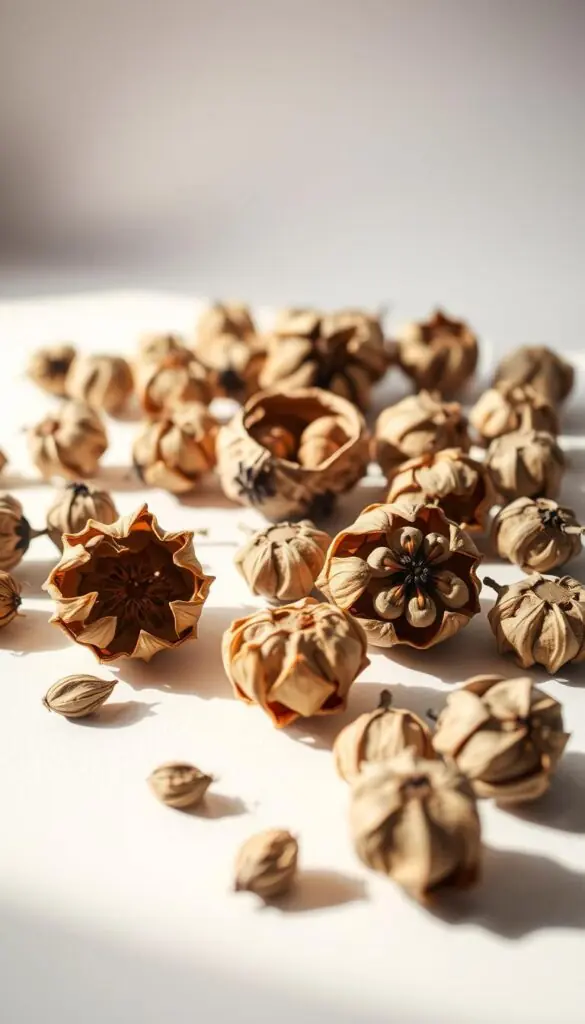
Pick pods and seed heads when most are brown and papery. Slip mesh bags over fragile stems if shattering is likely so seeds don’t fall to the soil.
Drying, threshing, screening, and winnowing
Spread the harvest on paper-lined trays or screens in a cool, dark room with gentle airflow. Keep them out of direct sun.
- Thresh: Rub pods between your hands or lightly tread in a clean bin to free seeds without crushing.
- Screen: Use a colander or fine screen to remove large chaff.
- Winnow: A soft breeze from a box fan lifts lighter bits away.
- Label: Mark crop, variety, and harvest date as you work.
Quick indoor finishing tip
If rain or frost threatens, pull whole plants and hang them upside down indoors. Place paper or a sheet beneath to catch any falling bits. Let seeds finish until they snap under pressure—if they bend, give them more time.
"A calm setup prevents spills and makes the work pleasant."
How-To Methods: Wet-Seeded Crops (Tomatoes, Cucumbers, Melons, Squash)
Wet-processed crops need a gentle, tidy routine so your future plants start strong. Use jars, a fine strainer, coffee filters, and paper plates. Work in a cool spot out of direct sun.
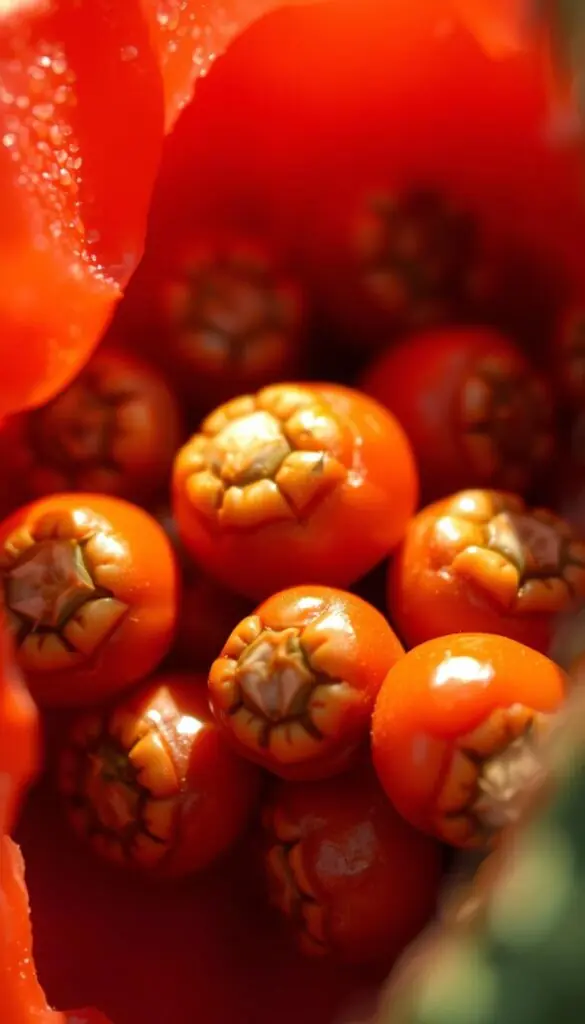
Tomato routine: ferment, decant, rinse, dry
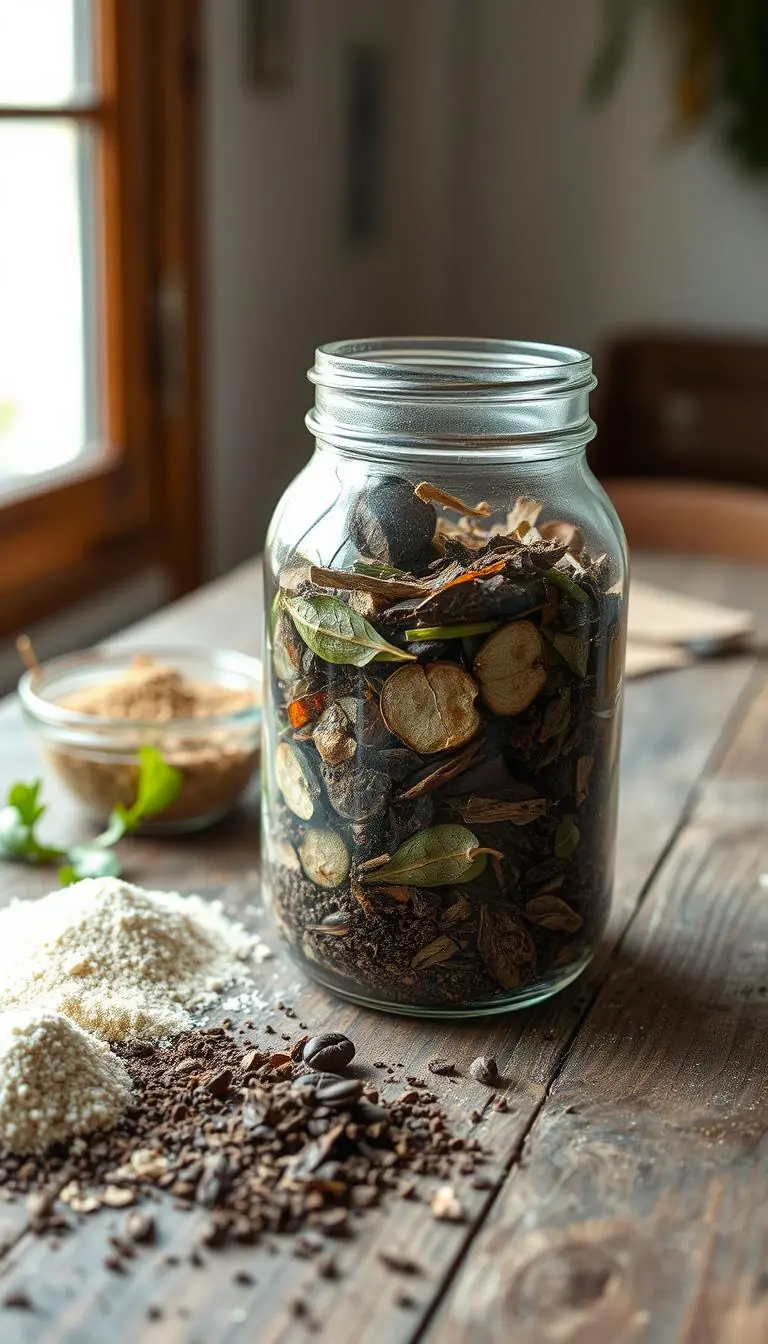
Scoop fruit, pulp, and seeds into a glass jar, add a splash of water, and cover loosely.
Let it ferment 1–3 days, stirring once or twice daily. The ferment breaks down gel and helps remove bad bits.
Decant carefully: pour off floating pulp and bad material, keeping the dense sinkers. Rinse the sinkers in a fine-mesh strainer under running water.
Spread cleaned tomato seeds thinly on a labeled coffee filter or paper plate. Dry in a cool, airy place until they snap, not bend.
Cucumbers, melons, and brief fermentation
Mature cucumbers and melons have tougher flesh. Ferment briefly — usually a day — to break the gel coat.
Rinse well, remove floating debris, and dry on paper or a screen. Keep seeds single-layered so moisture can escape.
Squash, pumpkins, peppers, and okra
Squash and pumpkins: split, scoop, separate from strings, rinse, and air-dry on paper. No fermentation needed.
Peppers: wait until full color, tap seeds onto paper, and let them dry a couple of days.
Okra: harvest when pods turn woody and split. Shake glossy black seeds into a clean bowl and dry on paper.
"If fruit flies hover, cover jars with a fermenting lid or breathable cloth and keep jars away from kitchen heat."
- Tip: Use labeled jars and trays with variety and date.
- Tip: Avoid clumps; spread seeds thin for even drying.
- Tip: If you see mold, discard that batch and try again with cleaner tools.
Clean, Dry, and Label: Store Seeds for Strong Germination
To keep your future crops lively, finish with a tidy drying and storage routine. A short, calm process now preserves vigor and boosts germination next spring.
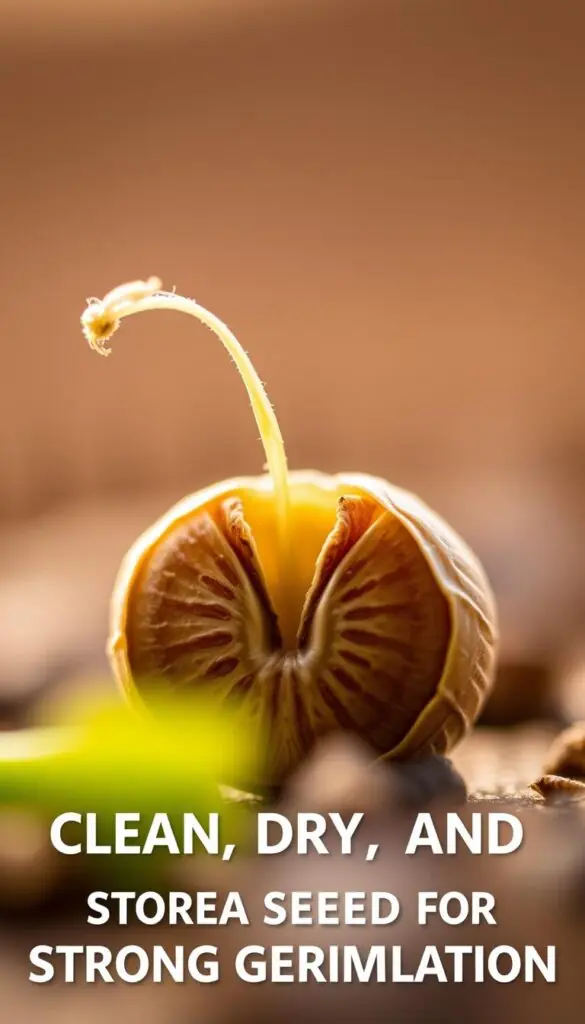
Dry until they snap; avoid mold and moisture
Finish drying until seeds snap or shatter under pressure. If they bend or smush, leave them longer in a cool, airy spot.
Watch for dark spots or a musty smell. Mold means discard that batch and clean tools to protect the rest.
Simple storage setups that work
Tuck fully dry seeds into labeled paper packets, then place those packets in airtight glass containers. Glass buffers humidity swings better than flimsy plastic.
Add a desiccant — silica gel or a wrapped teaspoon of powdered milk — to control moisture and protect germination. For long-term storage, keep containers in the refrigerator at a steady 32–41°F.
Label with clear details
Label each packet with the crop and variety name, harvest date, and how many parent plants you used. Keep notes on flavor or vigor so next season’s choices are easy.
- Store containers on a back shelf or in a fridge bin to avoid frequent door opening.
- Keep storage dark and tidy; a closet or dedicated bin works well.
- Check mid-winter for moisture and refresh desiccants if needed.
"Good storage turns your autumn work into spring success with lively, dependable seeds."
Seed Saving for Every Season in the United States
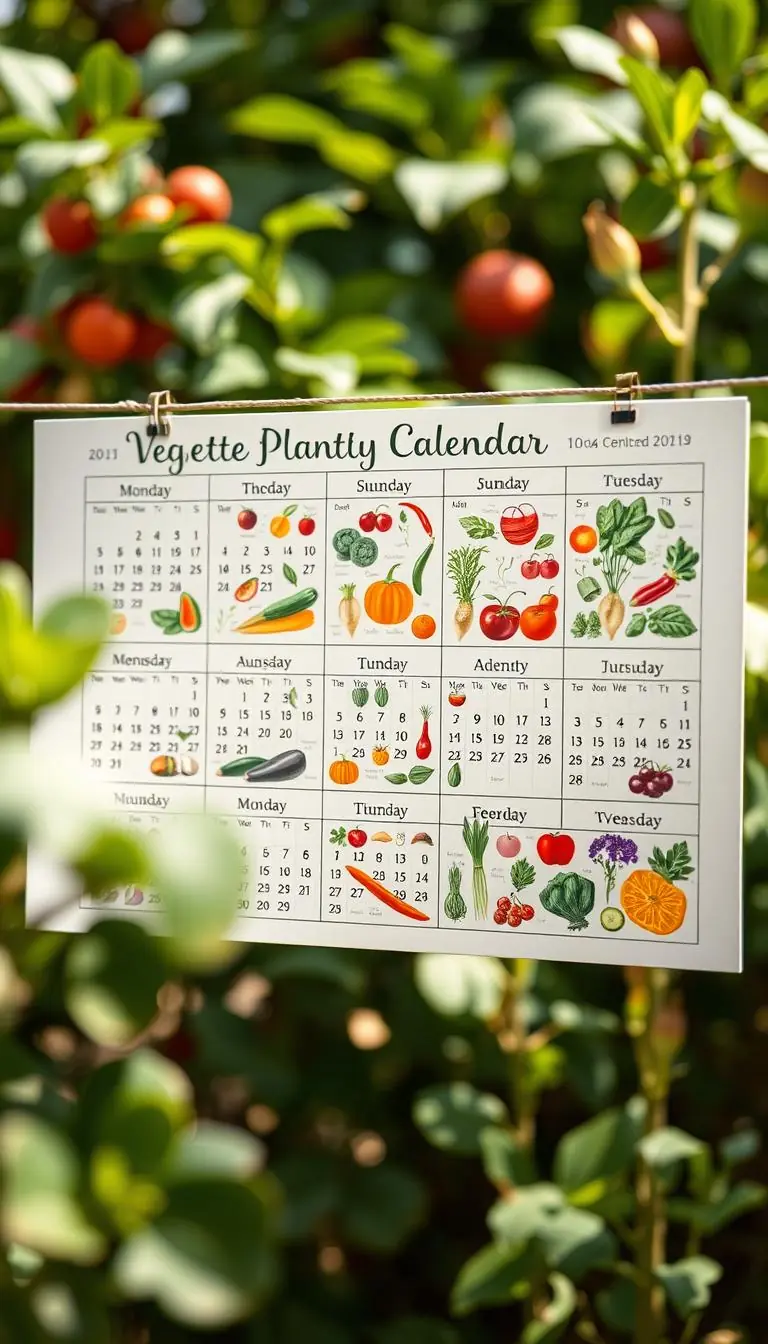
A simple seasonal plan helps you finish, store, and plan for next spring. Fit small tasks into late-summer warmth, the rush before frost, and quiet winter checks. This rhythm makes the work feel manageable and steady.
Late summer to fall: let fruits and pods fully mature
In this time, leave pods and fruits on the plant until they are dry or fully colored. That may mean passing the eating stage to protect future vigor.
Before frost: harvest and finish-dry indoors
Watch your local frost date. Gather late crops a few days before the first cold snap and finish-dry them indoors with gentle airflow.
Tip: Pull whole plants if rains threaten and hang them in a cool room to avoid mold.
Winter: storage checks and plan varieties
Through winter, check containers for moisture and refresh desiccants. Use evenings to match your saved seeds to garden space and light for the next year.
| Season | Action | Practical tip |
|---|---|---|
| Late summer–fall | Let pods fruit fully on the plant | Accept overripe fruits for mature seeds |
| Before frost | Harvest and finish-dry indoors | Use gentle fans and a clean table as your work place |
| Winter | Check storage and plan varieties | Refresh desiccants; note what thrived this year |
| Squash note | Rest at 50–60°F for 1–2 months | Then scoop and air-dry seeds on paper |
"A steady seasonal routine makes this craft simple and satisfying year after year."
Stay Healthy: Disease-Aware Seed Saving for Quality Seeds
A careful, calm check for disease now saves frustration later.
Only collect from vigorous parent plants. Skip any fruit or pods with rot, dark spots, or off smells. Healthy crops give you the best chance for strong, quality seeds come spring.
Optional sanitation for tomato seeds
Surface clean: dip tomato seeds in a 1:4 bleach-to-water mix with a drop of dish soap for one minute, then rinse under running water for five minutes.
To target internal pathogens, use hot water: warm the seeds at 100°F for 10 minutes, then raise to 122°F for 25 minutes, and rinse five minutes. A precise bath like a sous vide keeps temps steady. Too hot or too long can harm some types.
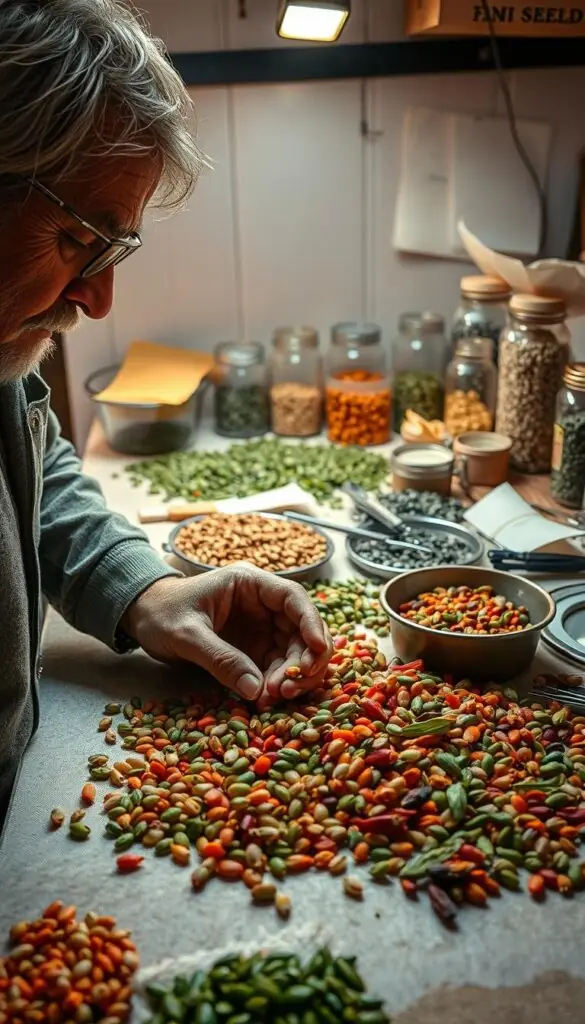
Label treated batches with the date and method. If you can, plant treated material soon; direct planting often gives the best results. Avoid hot-water treatment on beans, peas, and squash—those crops may be injured.
| Step | Action | Temp / Time | Notes |
|---|---|---|---|
| Visual check | Choose healthy parent plant | N/A | Discard fruit with rot or odd smell |
| Bleach dip | Surface sanitation for tomato | 1:4 bleach:water — 1 min | Rinse 5 min, then dry thoroughly |
| Hot-water | Internal pathogen control (tomato) | 100°F 10 min → 122°F 25 min | Use precise bath; not for beans/peas/squash |
| Label & dry | Mark date & method; finish drying | N/A | Store only fully dry to avoid mold |
"A tidy, cautious routine protects quality today and gives you healthy seedlings tomorrow."
Seed Saving
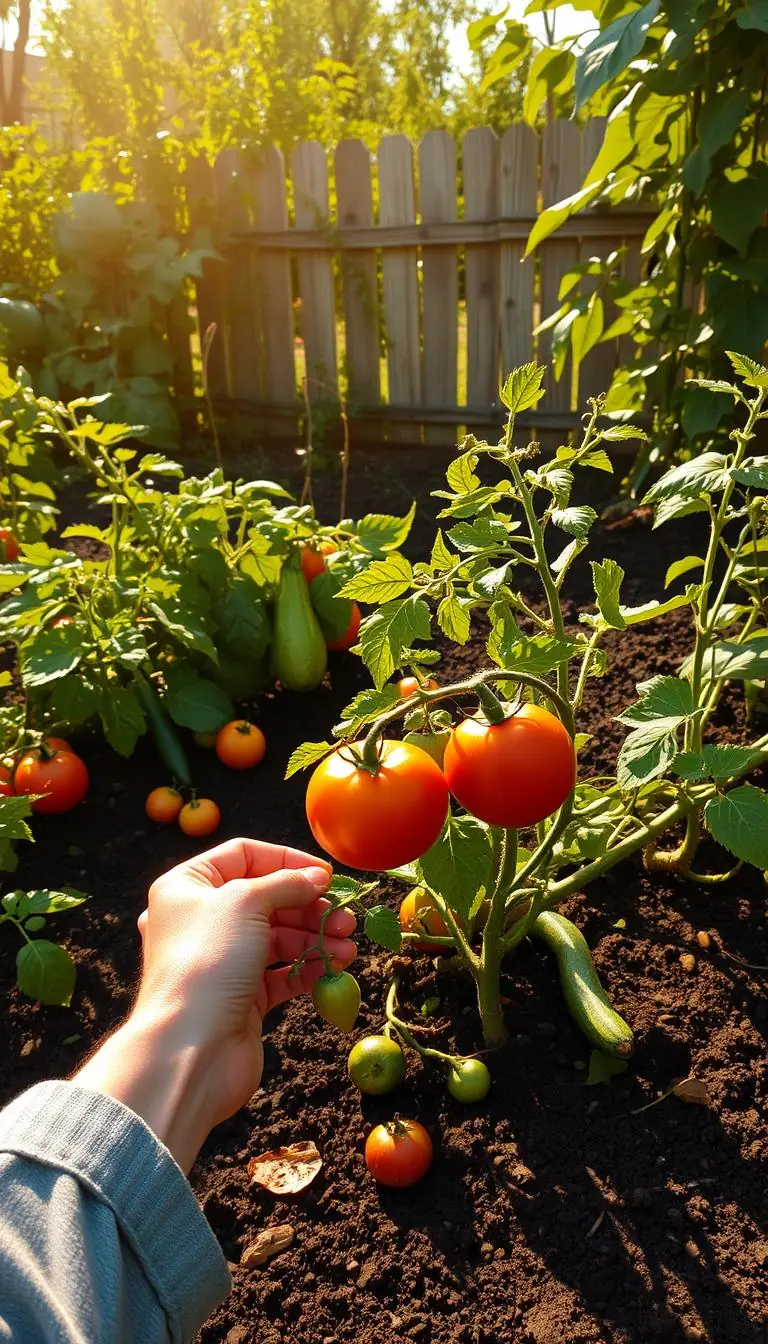
A morning stroll through the beds reveals which plants show the vigor and flavor you want to keep.
Choose vigorous parents that offer traits you love: deep flavor, early ripening, or drought tolerance. Pick several strong plants per variety so your line keeps vigor and diversity.
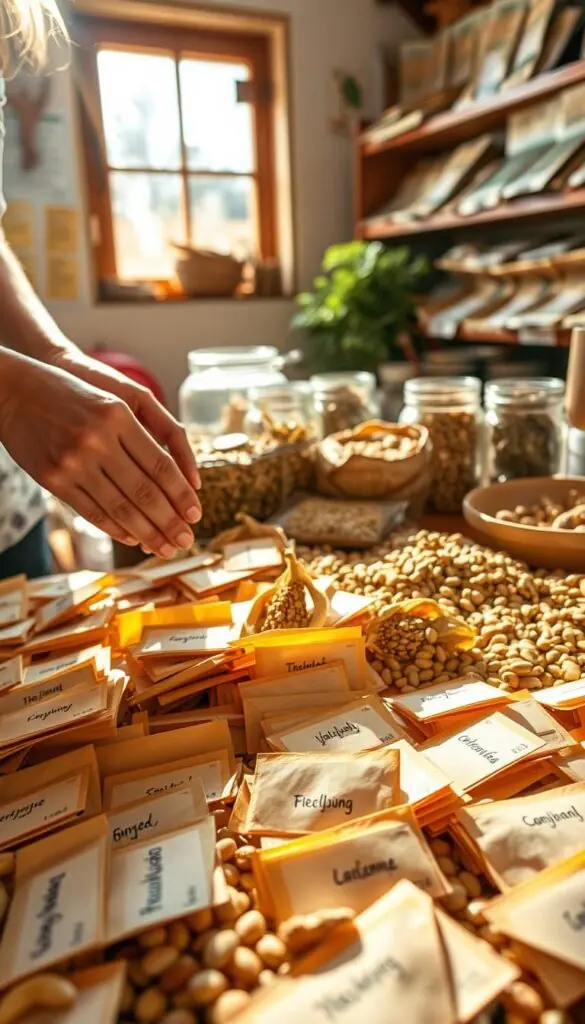
How to pick with purpose
Walk the beds on a sunny morning and mark plants with a cloth tag or clip. Note taste, color, or resilience you admire.
Skip plants that lag, show disease, or produce odd fruit. Those signals help you keep the line true and lively.
- Choose multiple parents for each variety to protect diversity.
- Tag stems with variety and "save" so fruits or pods can mature fully.
- Record how many parent plants you used on the packet or log for future reference.
"Taste, texture, and scent guide you—this is where seed saving becomes personal and joyful."
Neighborly Tips, Tools, and Little Comforts
Create a small, inviting work spot and the task becomes calm and reliable. A tidy place helps you do the job well and enjoy it.
Handy tools
Gather mesh bags for seed heads, a couple of screens, a kitchen colander, coffee filters, jars, and waterproof labels.
Work at a comfortable table with a tray to catch stray bits. A favorite stool and a light breeze make the afternoon nicer.
Common mistakes to avoid
Dry thoroughly before storage. Any lingering moisture invites mold and ruins batches.
Label as you harvest so varieties don’t get mixed. Wipe tools between types and keep batches small and manageable.
- Use paper packets inside airtight glass containers for breathability and protection.
- Keep a dedicated place for processing so tools and seeds don’t wander through the house.
- Avoid harvesting too early; let pods and fruits reach true maturity.
| Tool | Use | Quick tip |
|---|---|---|
| Mesh bags | Collect fragile seed heads | Hang to finish-dry indoors |
| Screens & colander | Separate chaff from seeds | Gentle sifting keeps seeds whole |
| Coffee filters & jars | Dry and store small batches | Label jars and check for moisture |
| Waterproof labels | Keep varieties organized | Write crop, variety, and harvest date |
"Little comforts—a tray, a stool, and good labels—make the work pleasant and your collection tidy."
Conclusion
Let the work you do now become a small, ready promise for next spring's garden.
You now have a calm, simple path for seed saving that keeps favorite flavors and colors into the next year.
Start with one crop. Take your time and let dry pods and ripe fruit guide you. Label what you save, store it well, and enjoy the quiet satisfaction of tidy packets ready for spring.
Share a few packets with a neighbor and grow a little community alongside your harvest. When you save seeds, you turn this season into the beginning of the next—an easy, lovely rhythm for your garden and your life.
Keep a note of what thrived; plant with confidence next year and watch those seeds bring joy to your table.
FAQ
What are the main benefits of saving seeds from your garden?
You’ll notice healthier, better-adapted plants next season, greater self-reliance, and more variety choices. Saving seeds helps preserve favorite traits like flavor, color, and drought tolerance, and it can reduce annual costs for plants and fruit.
How do I know if a variety is open-pollinated or a hybrid?
Check seed packets or catalogs: companies like Baker Creek Heirloom Seeds or Johnny's list “open-pollinated” or “heirloom.” Hybrids are marked “F1.” Open-pollinated varieties come true-to-type; hybrids often produce variable offspring.
Which vegetables are least likely to cross-pollinate?
Self-pollinators such as tomatoes, beans, and peas usually stay true. Wind- and insect-pollinated crops like squash, cucumbers, and corn are more prone to cross-pollination and need isolation by distance, timing, or barriers to remain pure.
When are seeds truly mature and ready to harvest?
Look for color change, dry or brittle pods, and firm, hard seeds. For many beans and peas, pods should be dry on the plant. For tomatoes and peppers, let fruit overripen until seeds are fully developed before processing.
What’s the simple method for dry-seeded crops (beans, peas, lettuce)?
Let pods dry on the plant when weather allows, then harvest into a bag. Finish drying indoors if needed, then thresh by hand or with a screen, winnow to remove chaff, and spread seeds to cure until they snap.
How do I process tomato seeds correctly?
Scoop seeds and pulp into a jar, ferment 2–4 days to remove gel, decant, rinse well, and spread on a coffee filter or plate to dry. Fermentation reduces disease and improves germination when done carefully.
Do cucumbers and melons need fermentation like tomatoes?
Yes, cucumbers and melons have a gel coat that benefits from fermentation or mechanical rinsing to separate the seeds. Ferment briefly or thoroughly wash to remove pulp, then dry the seeds completely.
How should I handle squash and pumpkin seeds?
Scoop seeds, rinse away fibrous pulp, and air-dry on a screen or paper towel. Squash seeds don’t require fermentation; just ensure they dry fully to avoid mold during storage.
What about peppers and okra—how do I save their seeds?
Allow peppers and okra to become fully mature and color-changed on the plant. Cut, remove seeds, dry on a plate or paper, and store once fully crisp. Hot peppers can be dried whole and threshed later.
How dry do seeds need to be before storage?
Dry seeds until they crack or snap and feel hard. Moisture invites mold and insect damage. A brief touch test and spreading on a plate overnight can confirm dryness before packing.
What’s the best way to store seeds long-term?
Use labeled paper packets or envelopes inside glass jars with desiccant packs. Keep jars in a cool, dark place or the refrigerator at about 40°F. Avoid plastic bags unless moisture is absolutely controlled.
How should I label my saved seeds?
Include variety name, date harvested, number of parent plants, and any notes on traits or disease. Clear labels make planning easier and help track viability over years.
When is the best time in the season to collect seeds in the U.S.?
Late summer to fall is prime: leave fruits and pods to fully mature. Before frost, harvest and finish-dry indoors with gentle airflow. Use winter for inventory, testing germination, and planning varieties for next year.
How can I avoid saving seeds from diseased plants?
Only save from healthy, vigorous parents. Discard seeds from blighted or wilting fruit. For tomato seeds, consider optional sanitation like a brief bleach dip or hot water treatment to reduce pathogen carryover.
How many parent plants should I save seeds from to maintain variety vigor?
For open-pollinated vegetables, save seed from several (ideally 5–20) healthy plants to preserve genetic diversity. More parents reduce inbreeding and keep traits stable in future generations.
What common mistakes should I avoid when collecting and storing seeds?
Don’t harvest too early, store damp seeds, mix varieties, or skip labeling. Also avoid saving seeds from hybrid varieties if you want consistent offspring—hybrids often revert to mixed traits.
What household tools help with processing and storing seeds?
Keep mesh bags, screens, colanders, coffee filters, clean jars, desiccant packs, and waterproof labels on hand. Simple tools like a bowl and fan can aid winnowing and drying.
How long do saved seeds remain viable?
Viability varies: onions and parsnips last a year or two, while beans, peas, and tomatoes often stay good 3–5 years when stored dry and cool. Perform germination tests if seeds are older.
How do I test germination of stored seeds?
Place 10 seeds on a damp paper towel, fold, seal in a plastic bag, and keep warm for several days. Count sprouts to estimate percentage. This helps decide how many extra seeds to sow.
Can I save seeds from hybrid vegetables if I like their traits?
You can save them, but offspring may not resemble the parent because hybrids segregate. If you want stable traits, save from open-pollinated or heirloom varieties instead.