Imagine the cool scent of mulch and the soft weight of a leaf between your fingers. Do you want fuller blooms and steadier growth without guesswork? You’re in the right place. We offer calm, friendly guidance that helps you plant, water, and prune with confidence.
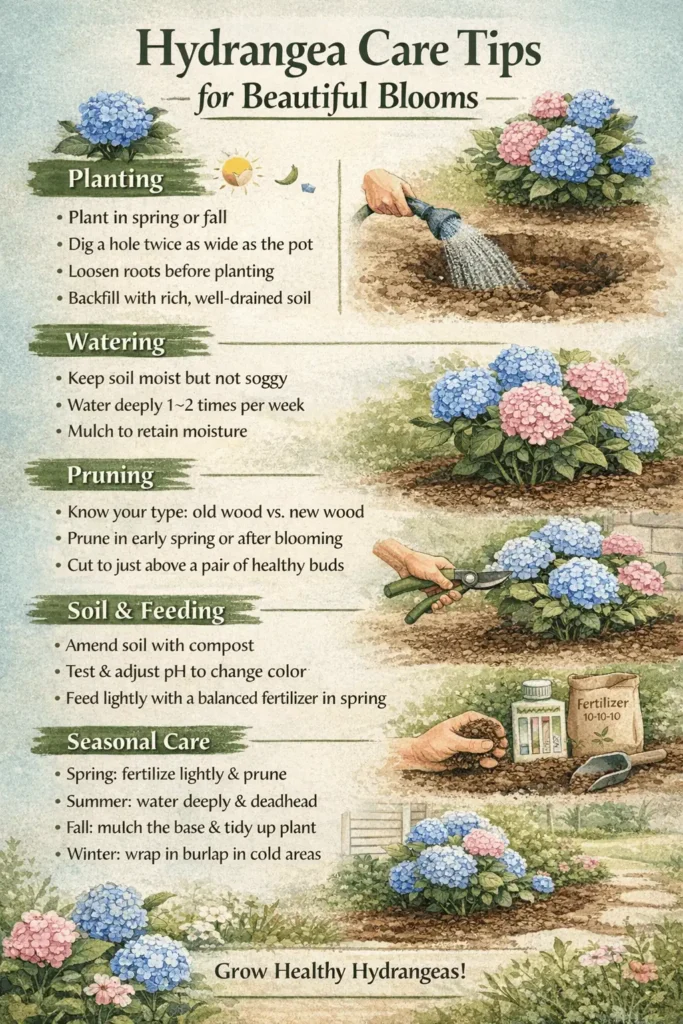
Start simple: plant in early spring or fall, dig a hole twice the pot’s width, loosen circling roots, set the root ball level, backfill with native soil, and water thoroughly. Most varieties like moist, organic-rich, well-drained soil; amend sandy or clay spots with compost or shredded leaves.
New plants need water every 1–2 days in heat. Established plants get a drink when the top inch of soil is dry. Learn basic pruning so you don’t cut next season’s flower buds—bigleaf and oakleaf bloom on old wood, while smooth and panicle bloom on new wood.
We’ll show safe ways to nudge color using pH adjustments and simple tools like a hand trowel, bypass pruners, a hose with gentle spray, and a pH test kit. Expect seasonal cues and small steps you can try today.
Key Takeaways
- Plant in spring or fall; set the root ball level and water in deeply.
- Use moist, organic-rich soil and amend poor sites with compost.
- Water new plants more often; let the top inch dry for established ones.
- Prune by knowing which varieties bloom on old vs. new wood.
- Adjust color safely with pH changes: acid for blue, lime for pink.
Start here: a neighborly overview for gorgeous, low-stress blooms
Place your shrubs where they greet gentle morning light and retreat from hot afternoon rays. This simple sun-and-shade balance is the easiest way to protect blooms from scorch and keep colors rich through the season.
Set a routine that feels doable. Deep water at the base, mulch to keep roots cool, and check soil with your finger. New plants need steady watering in heat; established ones only when the top inch dries.
- Feed lightly in spring, then pause mid-season so foliage doesn’t outgrow flowers.
- Know if your plants bloom on old wood or new growth — that one fact guides pruning timing.
- Give each shrub room, keep mulch a few inches from stems, and aim for good airflow.
“A few steady habits make care feel natural, and the blooms arrive right on time.”
Keep tools simple: a soaker or hose for deep drinks, bypass pruners for clean cuts, and a bucket of compost for steady soil change. Test soil before adding amendments if you want to nudge color.
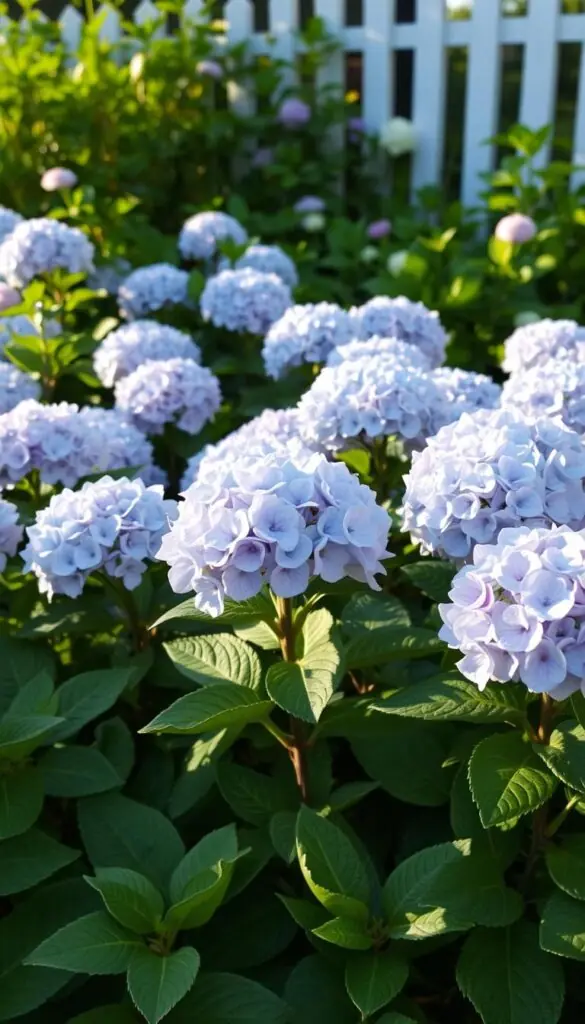
Pick the right hydrangeas for your garden and climate
Match plant habit and hardiness to your site, and you’ll enjoy steadier growth and fuller flowers.
Know your types: bigleaf, panicle, smooth, and oakleaf
Bigleaf (Hydrangea macrophylla) stays mid-sized at about 3–6 ft. It blooms on old wood and its flower color can shift with soil pH. Choose it for classic mopheads or lacecaps and partial shade.
Panicle (H. paniculata) can reach 10–15+ ft. It blooms on new wood, with cone-shaped flowers that age from white to pink. Cultivars like ‘Limelight’ handle more sun and make strong cut blooms.
Smooth (H. arborescens) is an easy 3–5 ft shrub with round white blooms on new wood. It’s reliable for borders and cottage beds.
Oakleaf (H. quercifolia) hits about 7–8 ft and blooms on old wood. Expect four-season interest: flowers, fall color, and attractive bark through winter.
Match varieties to zones and light
- Most species suit USDA zones 3–9; check tags for exact hardiness.
- In zones 7–9, give morning sun and afternoon shade; in cooler zones, many handle more sun with steady moisture.
- For containers, pick compact bigleaf varieties and a large pot with good drainage.
“Pick the form you love—mophead, lacecap, or cone—and match it to light and space for the best results.”
Site and soil setup for vibrant growth and color
Choose a spot where morning light wakes the leaves and afternoon shade keeps blooms cool. This gentle pattern helps petals last and keeps foliage from baking in hot afternoons.
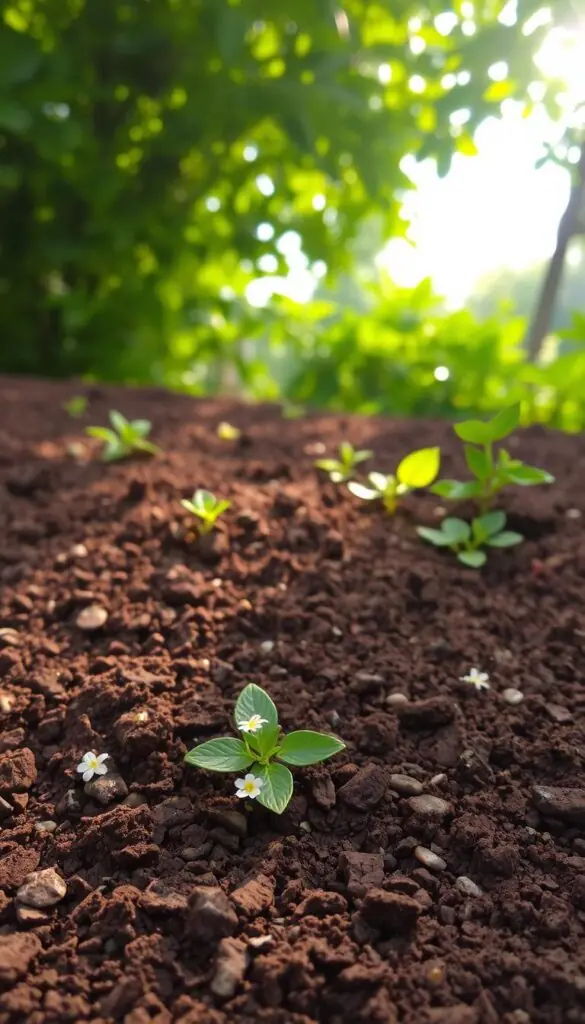
Morning sun, afternoon shade: finding the sweet spot
Walk the yard at sunrise and again in the late day to map light. Place shrubs where they get bright morning sun but retreat from harsh midday rays.
Soil basics: moist, well-drained, organic-rich
Most hydrangeas thrive in loose, slightly damp soil that drains well. If the soil feels sticky or dusty, add organic matter as you plant.
Compost, shredded leaves, and coffee grounds for better structure
Mix a 5-gallon bucket of compost and shredded leaves into your backfill to improve texture and moisture retention. A small sprinkle of used coffee grounds can help in sandy spots.
Acidic vs. alkaline soil: how to change color
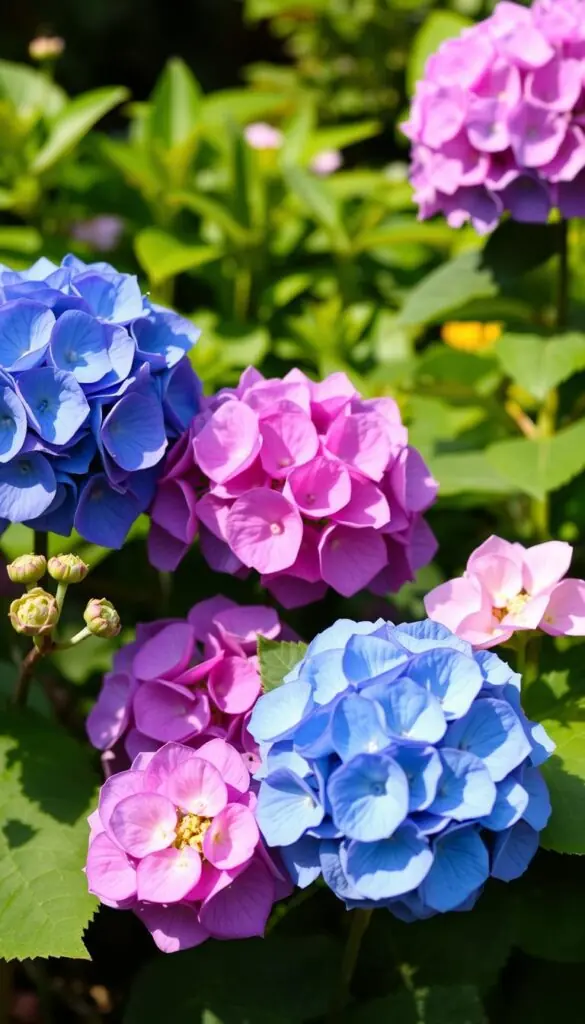
If you want to change color in bigleaf varieties, test before you act. Blue blooms need acidic soil; pink favors alkaline conditions.
Quick pH testing and safe amendments
Use a simple pH kit from the garden center or your extension service, then follow label rates for sulfur or aluminum sulfate to lower pH or garden lime to raise it. Make changes slowly and record results so your color shifts feel natural, not sudden.
"Small, steady edits to soil and light give the clearest, most lasting color."
Planting day made simple: spring and fall steps
Choose a cool morning to set your plant in the ground; the air and soil are kinder then. Before you lift the pot, give it a long drink so the root ball feels heavy and evenly moist.
Prep the hole and roots
Dig a hole twice as wide as the pot and roughen the sides with your shovel so new roots can travel outward. Slide the hydrangeas out and gently loosen circling roots with your fingers; you should feel them relax. Trim only if roots are tightly bound.
Set depth and backfill
Set the root ball so the top sits level with the surrounding soil — never deeper. Backfill with the native soil you removed, breaking clumps so roots meet familiar texture. From two angles check the top is even.
Water and mulch the top
Water slowly at the base until the soil settles and the surface darkens; a second deep drink helps if the ground was dry. Spread 1–2 inches of mulch, leaving a 3–4 inch gap around the stem for airflow and to prevent rot.
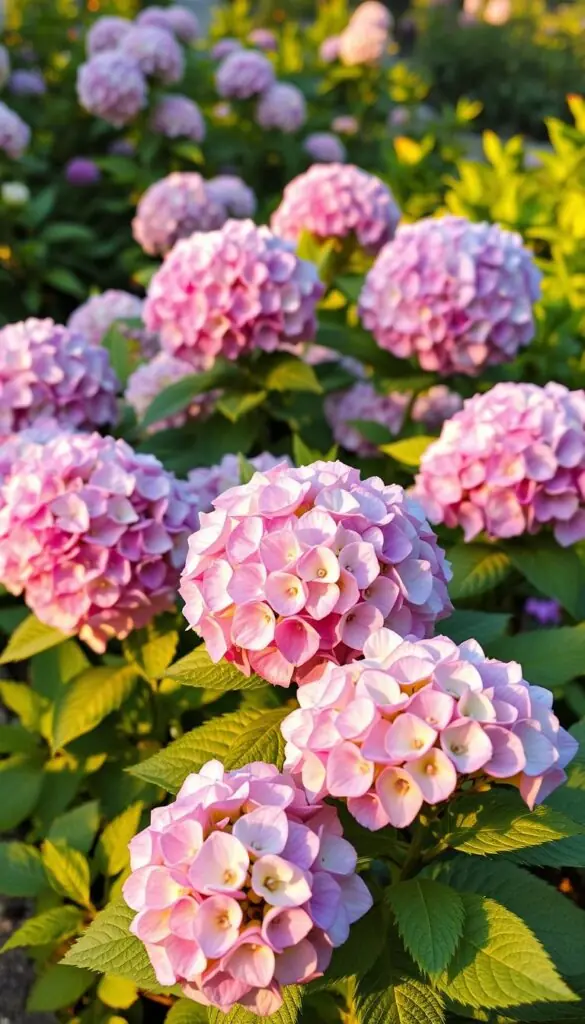
- Plant in the morning and shade on very hot days for the first week.
- Label the plant with type and pruning timing for future care.
- Check the top inch of soil the next day; water gently if it feels dry.
“A calm planting day makes steady roots and stronger blooms.”
Watering that actually reaches the roots
Give your shrubs a slow, deep drink in the cool of the morning so water soaks where it matters most. This quiet routine keeps soil cool and reduces disease by letting leaves dry before night.
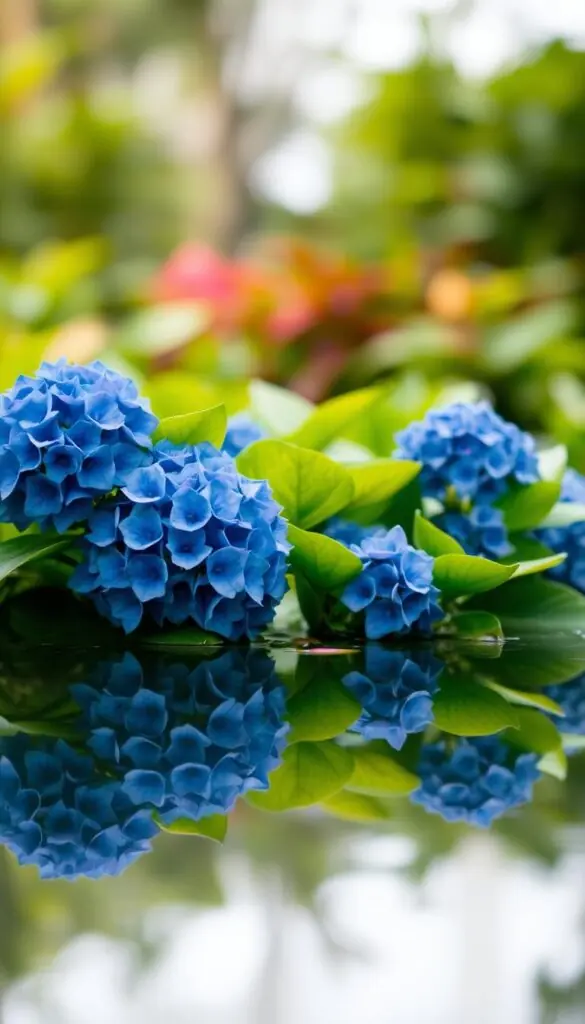
Deep morning watering vs. light sprinkles
Skip quick sprinkles. A soaker hose or a gentle trickle for 20–30 minutes soaks the root zone better than brief showers. That steady soak trains roots to go deeper and hold moisture through hot spells.
Heat, drought, and drooping leaves
Leaves that wilt in the afternoon can recover by dusk. This is often a heat response, not thirst. Avoid adding extra water immediately; watch the soil first.
Soil check method and summer adjustments
- Press your finger 1–2 inches into the soil; if it feels dry, give a deep drink.
- New hydrangeas need water every 1–2 days in heat; established shrubs get water when the top inch of soil is dry.
- After heavy rain, wait two days and recheck. Consistently moist but not soggy soil is the goal.
- Mulch keeps the root zone cool and cuts how often you need to water; keep mulch away from the stem.
"A slow morning soak and a cool finger test will show you the best way to keep blooms thriving."
Hydrangea tips: pruning old wood vs. new wood with confidence
Trim with purpose. Do this, not that: remove weak, crowded growth and keep the strong canes that carry flowers. A clean cut has a satisfying snap and helps the plant heal.
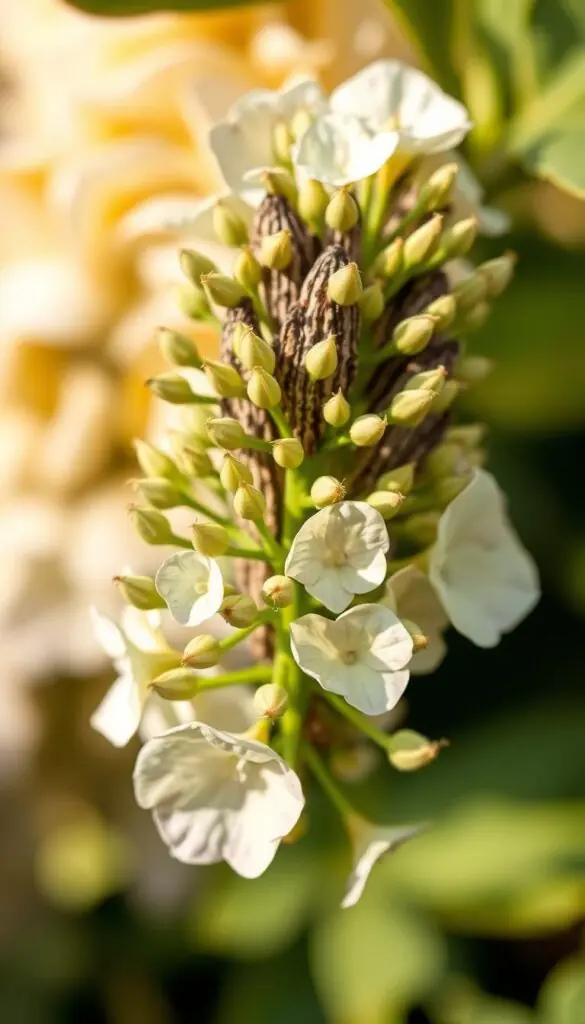
Old-wood timing and approach
Old wood bloomers set their buds the season before. Wait until after summer flowering to prune. Cut no more than one-third of the shrub and remove thin or crossing stems first.
New-wood timing and approach
New wood types can be cut back harder. Prune in late winter or early spring. You may reduce growth to the ground for a fresh burst on new wood.
How much to remove and deadheading
Keep an open, vase-like shape so air moves through the shrub. Look for plump buds and leave them intact. Deadhead spent flowers during the season by cutting above a pair of healthy leaves.
- Identify your plant: bigleaf and oakleaf bloom on old wood; smooth and panicle on new wood.
- Use clean bypass pruners for small stems and loppers for thicker canes.
- Sanitize blades between plants to lower disease risk.
"If you’re unsure, do the least: remove dead or damaged wood and watch how it blooms next year."
Feeding and mulching for steady, lush blooms
A single, careful feeding in spring and a neat mulch layer do more for bloom health than frequent fussing. Start by choosing a balanced, slow-release fertilizer such as 10-10-10 or 12-4-8 and plan your timing for early spring.
Scatter the granules around the drip line — not at the base — and lightly work them into the topsoil. This gentle spread helps roots find nutrients without burning the crown.
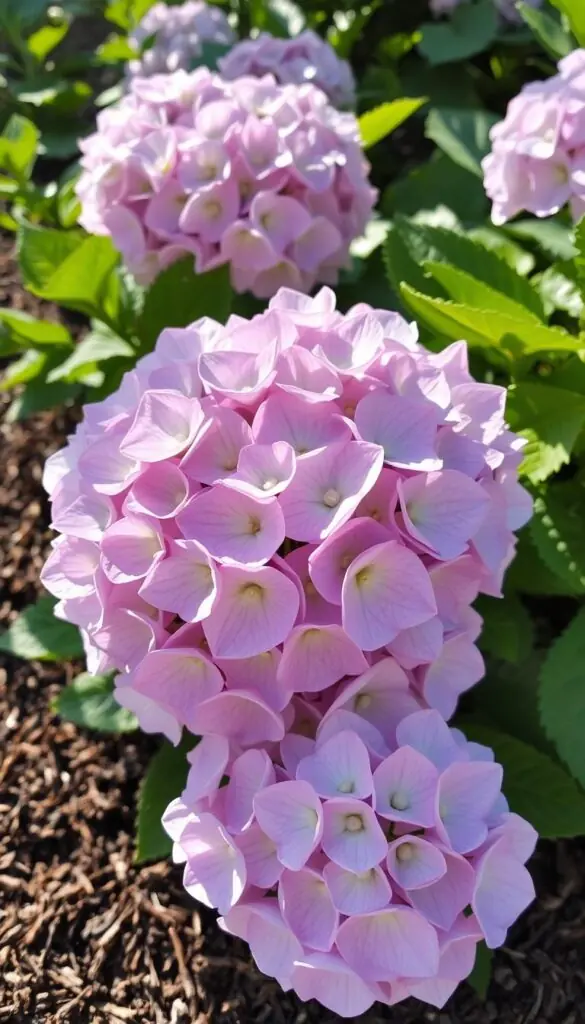
Mulch depth and materials
Lay 1–2 inches of shredded bark, leaf mold, or pine fines to keep soil cool and evenly moist. The mulch should feel cool to the touch and help buffer temperature swings in summer.
- Keep a 3–4 inch clear ring at the stem to prevent rot and allow airflow.
- A light repeat in early fall is optional; avoid feeding in midsummer to prevent lush foliage at the expense of blooms.
- For containers, use a slow-release fertilizer labeled for pots and check moisture more often since soil warms faster.
"Deep, gentle feeding in spring plus a tidy mulch gives you fuller blooms and calmer care through the season."
Containers, roots, and winter protection
A heavy, well-watered container feels reassuring in your hands; that steady weight often means a happy plant. On a patio or porch, choose compact hydrangeas labeled for pots and give them room to grow.
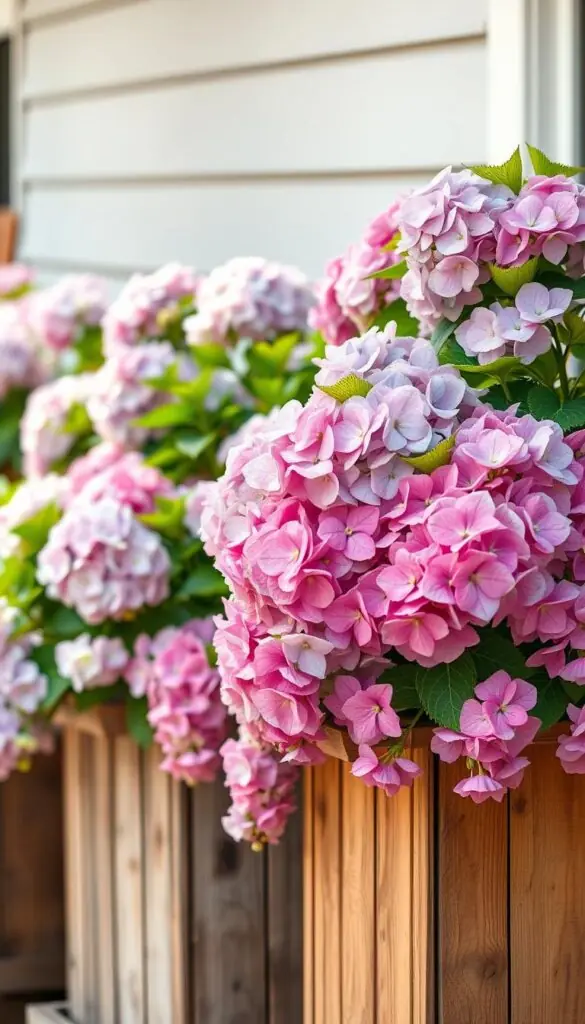
Choose compact varieties, large pots, and frequent watering
Pick a 16–24 inch pot with multiple drainage holes. Use high-quality potting mix, not garden soil, so the top drains but still holds moisture.
Position where they get morning sun and cool afternoon shade. Containers heat up fast, so water more often than in-ground plants and soak until water runs from the bottom.
Root maintenance and repotting rhythm
Each fall, slide the plant from its pot, tease apart circling roots, and remove up to one-third. If roots hug the sides, step up one pot size.
Repot every 3–5 years or do light root-pruning yearly if space is tight. This keeps roots healthy and the plant compact.
Cold snaps and burlap wraps: protecting buds and branches
Before the first hard freeze, water well and move containers near the house, into a garage, or a cool basement. Wrap the pot and branches in burlap so stems and leaves have extra insulation.
- Tie stems loosely under the wrap to stop wind whip.
- Avoid terracotta in freeze-thaw climates; resin or fiberglass holds up better.
- Remove wraps when buds swell in spring and breathe new life into the soil with a light top dressing of compost.
"A little winter care — good soil, steady water, and a warm nook — keeps potted hydrangeas thriving from season to season."
Common problems, quick fixes, and gentle prevention
Catch leaf and stem issues early with a five-minute look each week. A calm check of soil, leaves, and the lower stems saves time and worry later.
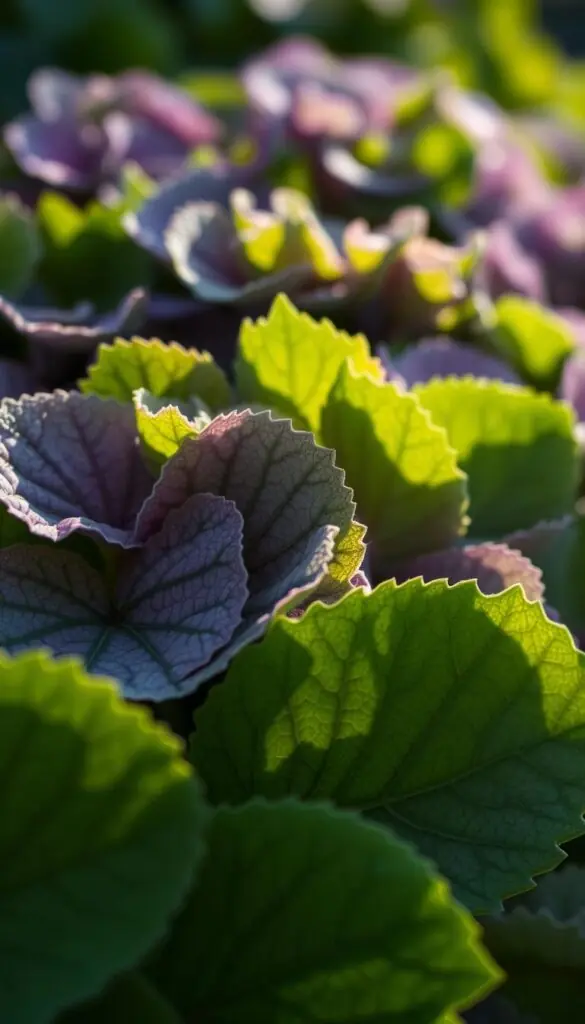
Powdery mildew and leaf spots
Keep foliage dry and let air move through the shrub. Prune a few inner stems to improve light and breeze. Treat powdery mildew at first sign with a labeled fungicide and follow instructions.
For bacterial leaf spot, avoid overhead watering. Remove badly spotted leaves and consider a copper product if the problem continues.
Pests: aphids and beetles
Flip leaves to check for aphids. A firm spray from your hose or insecticidal soap usually clears them. Hand-pick beetles in the morning and drop them into soapy water.
Use neem oil as a preventive spray on stems and leaves when needed, and avoid broad-spray insecticides while pollinators visit flowers.
Heat droop, fertilizer burns, and season care
If plants wilt in a heat wave, add cool mulch, water deeply in the morning, and rig a temporary shade cloth. Yellowing or scorched foliage can mean overfertilizer or salt build-up — flush the soil and pause feeding.
"Small, steady checks and gentle fixes keep your shrubs thriving."
- Keep leaves dry and space plants for airflow.
- Clean up spotted leaves at season end and discard them.
- Act early: five minutes each week prevents bigger work later.
Your year-at-a-glance: seasonal care rhythm in the United States
Treat the year like a friendly checklist: small, timely steps keep your shrubs healthy and the blooms coming.
Late winter to early spring
Late winter: prune new-wood types now (smooth, panicle). Clean tools and shape lightly.
Check wraps and burlap so they’ll protect buds when you need them.
Spring to early summer
Early spring: spread a slow-release fertilizer if needed and top-dress with compost.
Test soil pH before you chase color. Water deeply as new growth appears and refresh mulch to 2–3 inches.
Mid to late summer
Set a steady watering rhythm—deep soaks, not quick sprinkles. Deadhead spent blooms mid-summer to tidy the plant.
After July, pause fertilizer so buds can form for next year.
Fall to winter
Rake diseased leaves and add a thin compost layer in early fall. Top off mulch and leave a small gap at the stem.
Water well before the ground freezes. In cold or exposed spots, wrap vulnerable shrubs with burlap.
- Winter: move containers to a protected spot and check soil once a month.
- Year-round: keep a simple notebook of pruning dates, pH readings, bloom color, and watering. It makes next season easier.
"A steady calendar and small, timely chores help your garden thrive through the season."
Conclusion
With simple routines, your garden will reward you with steady, generous blooms. Keep soil evenly moist, prune by wood type, and feed lightly in spring. These small acts protect buds and extend color from early summer into fall.
With a few steady habits—good soil, deep morning watering, and timely pruning—your hydrangeas will reward you year after year.
Choose the right spot, watch what each plant tells you, and make slow changes. Keep tools handy and your routine light; beauty comes easier when care is simple and consistent.
Most of all, enjoy the cool feel of mulch under your hands and the calm your garden brings. Step outside, breathe in, and let those blooms brighten your days.
FAQ
What soil does my hydrangea prefer for healthy growth?
Your shrubs do best in moist, well-drained, organic-rich soil. Work compost or shredded leaves into the planting hole to improve structure and water retention. For potted plants, use a high-quality potting mix with good drainage and add a slow-release fertilizer in spring.
How do I choose the right variety for my yard and USDA zone?
Know the types—bigleaf, panicle, smooth, and oakleaf—and match them to your zone and sun exposure. Bigleaf types like morning sun and afternoon shade; panicle and smooth types tolerate more sun and colder zones. Pick compact cultivars for containers or small gardens.
When should I plant: spring or fall?
Plant in spring or fall when temperatures are mild. Dig a hole twice as wide as the root ball, roughen the sides, loosen circling roots, set the shrub at the same depth it grew in the pot, backfill with native soil amended with compost, and water deeply.
How do I water to reach the roots without overdoing it?
Water deeply in the morning to encourage deep root growth—about once or twice a week depending on heat and soil. Use the soil-check method: push a finger 2–3 inches into the soil; if it’s dry, water. Reduce frequency in cool, wet weather and increase during heat waves.
How can I change bloom color from pink to blue or vice versa?
Color depends on soil pH and aluminum availability. For bluer flowers, lower pH with sulfur or aluminum sulfate. For pinker blooms, raise pH with lime. Test pH first and make changes gradually; persistent color shifts can take a season.
When should I prune old wood versus new wood?
Prune shrubs that bloom on old wood in summer after flowering to avoid cutting next year’s buds. For types that bloom on new wood, prune in late winter to early spring before growth starts. Remove up to one-third of growth, focusing on weak or crossing stems.
How much should I deadhead and trim for healthier shrubs?
Deadhead spent blooms through mid-summer to tidy the plant and encourage repeat growth. Trim only damaged or crowded stems in other seasons. Keeping strong stems and open structure improves air flow and reduces disease.
What fertilizer and mulching routine works best?
Apply a balanced, slow-release fertilizer in spring. Avoid heavy feeding in midsummer. Mulch with 2–3 inches of organic material like shredded bark or compost to keep roots cool, conserve moisture, and add nutrients as it breaks down.
How do I protect potted shrubs and root systems in winter?
Use large pots for stability, move containers to a sheltered spot, and wrap them with burlap or bubble wrap during cold snaps. For in-ground plants, add extra mulch over the root zone and avoid pruning in fall so buds are protected.
What are common pests and diseases, and how do I treat them gently?
For powdery mildew and leaf spots, improve airflow, water at the base, and use labeled fungicides if needed. For aphids and beetles, try strong hose sprays, hand-picking, or neem oil. Early detection and cultural care prevent most problems.
How do I adjust care through the seasons for consistent blooms?
Late winter to early spring: prune new wood and apply slow-release feed. Spring to early summer: test pH, water consistently, and balance sun and shade. Mid to late summer: deadhead and reduce fertilizer. Fall to winter: top-dress with compost, mulch, and protect from hard freezes.
Can I change soil pH quickly and safely with store-bought products?
Quick fixes like aluminum sulfate work faster but use them carefully and follow label rates. Elemental sulfur changes pH more slowly and is gentler long-term. Always test pH before treating and re-test during the season to avoid overcorrection.
How do I know if my plant needs shade or more sun?
Observe leaves and blooms. Pale, scorched foliage signals too much afternoon sun—move to a spot with morning sun and afternoon shade. If growth is leggy and blooms are sparse, increase light exposure gradually.
What’s the best way to repot and maintain roots in containers?
Repot every 2–3 years into a slightly larger container with fresh potting mix. Loosen bound roots, trim circling roots if needed, and refresh mulch. Keep an eye on moisture—containers dry faster and may need more frequent watering.