Imagine the sunlight catching the dew on rosy petals and the cool scent of eucalyptus as you walk out the back door. You can turn those quick, lovely moments into small, everyday gifts for your home.
Start with what you have and keep it simple. In the cool part of the day, cut stems at an angle, remove leaves below the waterline, and give them a fresh drink in cool water.
Choose vases with a 3–4" opening so you need fewer stems. Use a pin frog or a tape grid for clear glass, or a snug ball of chicken wire for opaque vessels. Follow the easy formula: foliage first, focal flowers next, then filler.
With a clean vase, sharp shears, and a little structure under the blooms, you’ll make relaxed, natural pieces that feel picked from the garden. These simple steps save time and bring color and scent to any day, for you or for family friends.
Key Takeaways
- Cut stems in the cool morning or evening and condition them in cool water.
- Use a 3–4" vase opening to make fewer stems look full and natural.
- Build structure first: foliage → focal → filler keeps the arrangement steady.
- Try thrifted pitchers, compotes, or small urns for charming, budget-friendly vases.
- Simple tools—clean shears, fresh water, and a tape grid or chicken wire—do most of the work.
- Share small bundles to brighten a neighbor’s day and add warmth to your life.
Start with a vision: simple tools, fresh stems, and a neighborly nudge
Decide on a mood first—airy and loose or compact and lush—then gather your tools. That small choice guides the size of your vase or bowl and how many stems you’ll need.
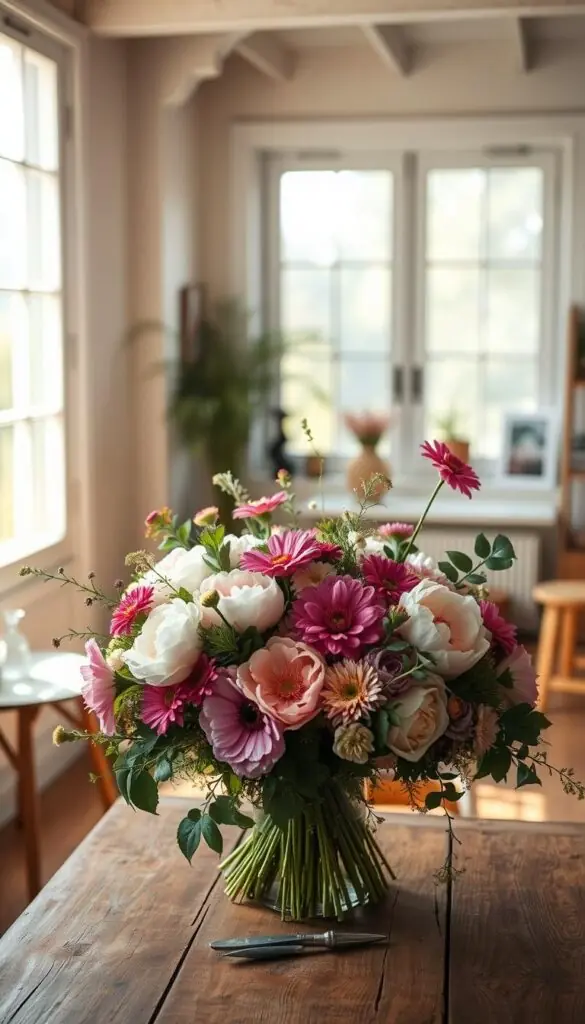
Collect basics on a tray so setup is easy: vases, clean shears, floral tape, chicken wire, a pin frog, and a packet of flower food. Each item helps: shears give crisp snips, tape makes a neat grid, and a pin frog holds precise placement.
For clear glass vases, use a pin frog plus a tape grid across the rim; the grid is an invisible guide as you place blooms. For opaque vessels, cut a 12" square of chicken wire, fold into a snug base, and secure with tape so it won’t shift.
- Fill a bowl with cool water to condition stems while you work.
- Make sure shears are clean and sharp; a crisp cut helps each stem drink.
- Work at counter height with good light—this tip keeps angles clear and steady.
- Prefer foam-free methods? Chicken wire and tape offer reusable structure without hidden foam.
DIY flower arrangements made easy: from prepping stems to a balanced centerpiece
Begin by giving stems a crisp cut and a little time to drink—this small step pays off in lasting blooms. Snip each stem at a 45° angle, strip leaves that would sit in water, and let everything hydrate in cool water for 30–60 minutes.
Create gentle structure. For glass, make a tape grid across the rim or nestle a pin frog at the base. For an opaque bowl, tuck a snug ball of chicken wire in place—no floral foam needed.
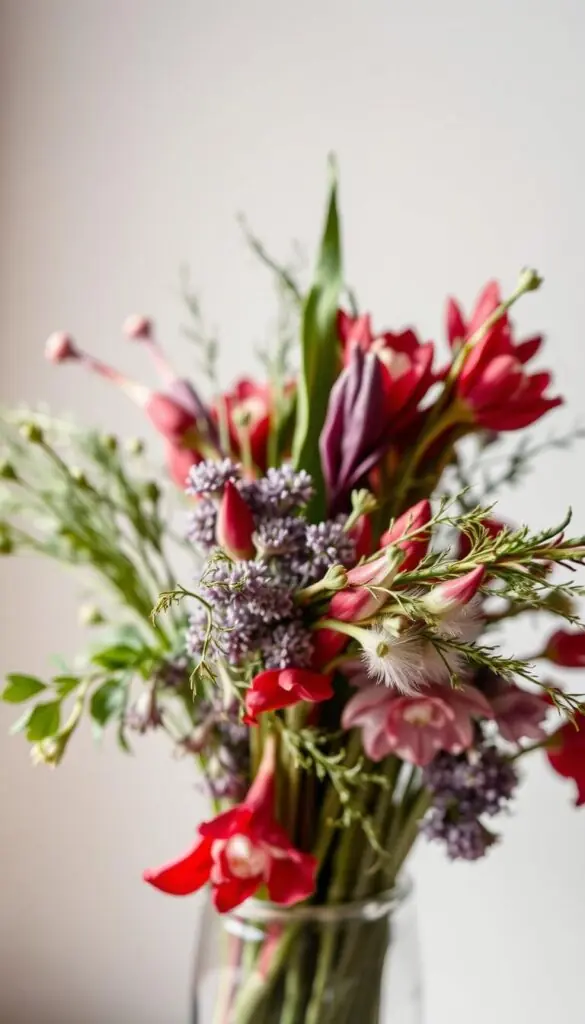
Build the shape with foliage first, add focal flowers next in odd-number groups (3 or 5), then use airy filler to fill gaps without crowding. Let curved stems lead the eye and vary heights for natural movement.
Quick fixes: if water clouds, recut 1/2" and freshen the vase. For woody branches, add a small vertical slit at the base to improve uptake. Add flower food and replace water every 2–3 days; keep arrangements out of direct sun.
| Step | Action | Timing |
|---|---|---|
| Prep | Cut at 45°, strip lower leaves, hydrate | 30–60 minutes |
| Structure | Tape grid, pin frog, or chicken wire | Before placing stems |
| Design | Foliage → focal → filler; odd numbers | As you build |
Big beauty on a small budget: sourcing flowers, stems, and greenery at Trader Joe’s
Stretch a small budget into several lush displays by choosing smart stems at Trader Joe’s. You can fill a few vases for about $35: a 20-tulip bundle for ~$11.99, $3.99 eucalyptus, and spray roses near $5.99. Add a little statice or pussy willow and you’ve got variety and texture.
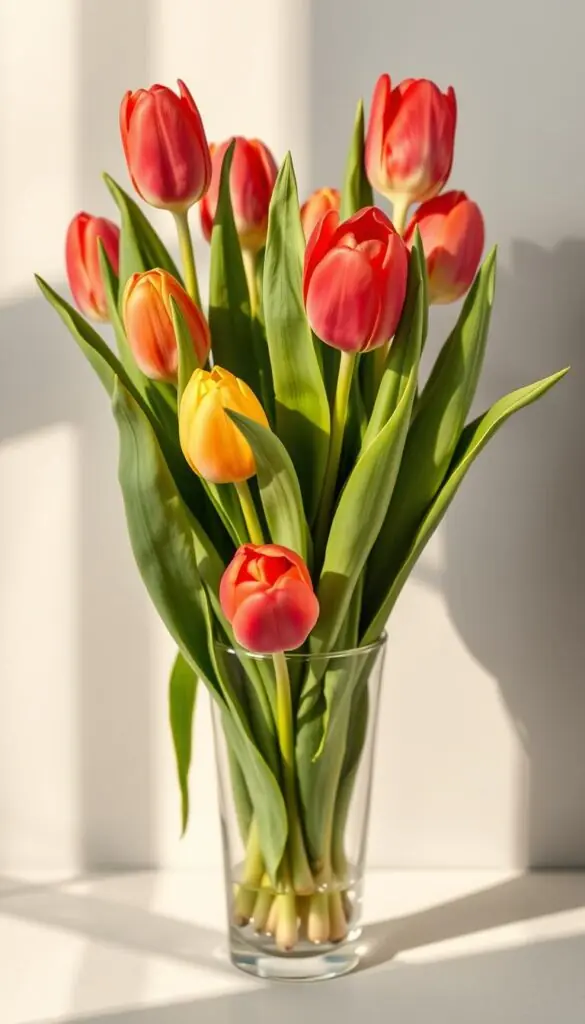
Tulip tricks that work
For tulips, cut straight across and remove lower leaves so nothing sits in the water. Use cold water and drop in an old copper penny (pre-1980) to help them drink.
If stems droop, poke a tiny pinhole just below each bloom. Place tulips in a narrow-neck vase so the stems get gentle support and a tidy, spring look.
Rose refreshers
Trim roses on a diagonal and use the included packet of flower food. Diagonal cuts help woody stems take up water faster.
Pair roses with soft filler like German statice to soften edges and stretch visual impact without extra cost.
Greens that go the distance
Choose eucalyptus for scent and drape, and variegated pittosporum for two-tone texture. Both hold up well and extend the life of your displays.
Vases and vessels
Match mouth size to stem count: a 3–4" opening needs fewer stems. Footed bowls, pitchers, and thrifted glass are budget-friendly options.
If a vessel isn’t watertight, hide a small drinking glass inside and fill that with water. It’s an easy way to use the finds you love.
| Item | Typical Price | Use |
|---|---|---|
| Tulip bundle | $11.99 | Focal stems; narrow vases |
| Eucalyptus | $3.99 | Scent, drape, filler |
| Spray roses | $5.99 | Soft focal + pairs with statice |
| German statice / pussy willow | $2–$4 | Inexpensive filler and texture |
Seasonal spins and faux-friendly options: spring lightness, summer color, fall texture, winter glow
Think seasonally: small shifts in stems and color make big changes at the table. This short guide helps you pick plants and care steps that suit each season and every home.
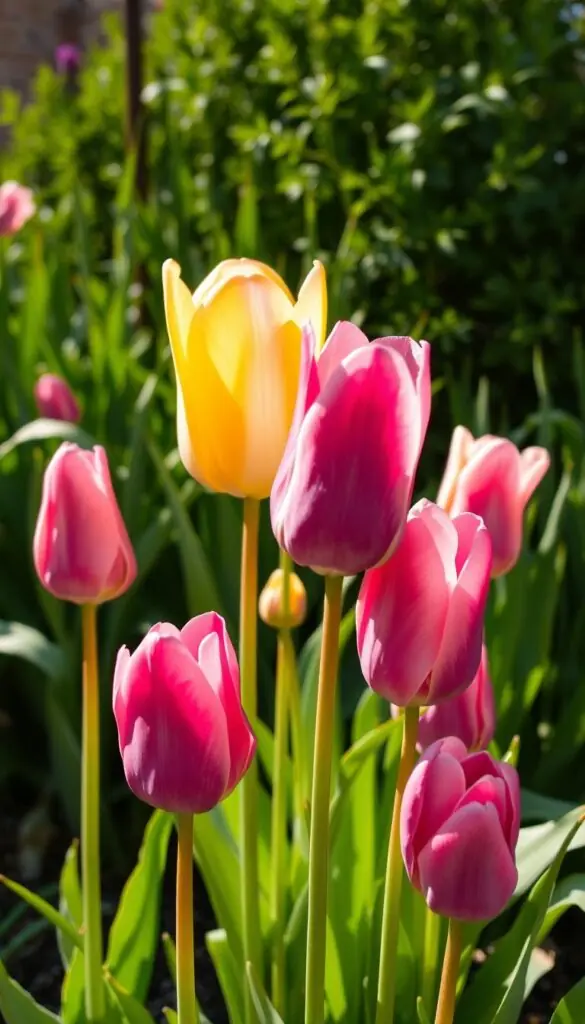
Spring ideas
Spring calls for tulips, daffodils, and apple blossoms paired with airy filler like pennycress. Keep stems short and let the crisp scent feel light on a small table.
Summer tips
Use garden roses and ranunculus with eucalyptus for bright color. Change cool water often and keep vases in a shaded, cool spot to extend fresh flowers.
Fall and winter
For fall, choose muted hellebores, grasses, and seed heads for layered shape and cozy tone. In winter, build low bowls with evergreen sprigs, dried blooms, and soft candlelight for a warm glow.
Faux-friendly how-tos
Use a half-sphere of floral foam or a chicken wire base in a bowl as the base. Trim faux stems, then “fluff” petals by hand or with a short burst of warm air. Arrange in odd-number clusters and triangular patterns for balance. Secure with tape if you’ll travel with the piece.
| Season | Key stems | Care or tip |
|---|---|---|
| Spring | Tulips, daffodils, apple blossom | Short stems, airy filler, fresh scent on small table |
| Summer | Garden roses, ranunculus, eucalyptus | Cool water, refresh every 1–2 days, shaded spot |
| Fall/Winter | Hellebores, grasses, evergreens, dried blooms | Low bowl, layered shape, warm candlelight |
Conclusion
A short routine—snip, structure, place—turns garden picks into a warm, lived-in display.
Make it simple: cut stems at an angle, strip leaves below the waterline, and set a tape grid, pin frog, or chicken wire for support.
Build the arrangement by adding foliage first, your focal bloom next, then gentle filler. Give the vase cool water, a little food, and freshen it every 2–3 days.
If time is tight, grab a small bunch from the store or a few stems from your bed and set a piece on the table tonight. Thrifted bowls or a hidden glass work just fine.
These small steps help your home feel brighter. You’ve got this—enjoy the scent, the color, and the calm that fresh flowers bring to your day.
FAQ
How do I start arranging seasonal blooms from my garden?
Begin with a simple vision. Gather clean shears, a few vases, floral tape or chicken wire, and a pin frog if you have one. Harvest stems in the cool morning, cut at an angle, strip any leaves that will sit below the water line, and immediately hydrate them in cool water. Build the arrangement with greenery first, then focal blooms, and finish with smaller filler stems.
What basic tools should I keep on hand for arranging at home?
Keep a pair of sharp shears, clean vases of varied mouth sizes, floral tape, a roll of chicken wire, a pin frog or frog pin holder, and flower food. These simple tools help you create structure, hold stems in place, and prolong vase life.
What’s the easiest way to make stems stay where I want them in a glass vase?
Create a tape grid across the vase mouth for clear glass. Alternatively, use chicken wire for opaque containers or a pin frog for precise placement. These methods give you a gentle structure so stems sit at pleasing angles without sliding.
How should I prep stems before arranging?
Cut stems at a 45-degree angle to increase water uptake, strip all leaves that would sit below the water, and let them hydrate in cool water for at least an hour. Woody stems like roses benefit from an extra diagonal cut and slight crushing of hard cores to improve thirst.
What order should I place foliage and blooms for a balanced centerpiece?
Start with a green framework—eucalyptus, pittosporum, or other foliage—to define shape. Add your focal flowers next in odd-number groupings, then tuck in filler blooms to soften gaps. Vary heights and angles for a natural, relaxed silhouette.
How often should I change the water and add flower food?
Refresh the water and trim stems every two to three days. Add commercial flower food or a homemade mix (a little sugar, a few drops of bleach, and a splash of lemon) when you change the water to feed blooms and slow bacteria growth.
Any special tips for arranging tulips and making them last?
Tulips like cool water and a brisk trim. Keep them cool, avoid direct sun, and add a little flower food. A tiny pinhole just below the bloom can prevent the stem from splitting. Tulips will often bend and create a graceful, lively shape—work with their curve.
How do I refresh limp roses so they look lively again?
Recut stems on a diagonal, strip lower leaves, and place roses in very cool water with flower food. For woody stems, a short vertical slit at the base or a gentle crushing of the stem end can help increase water uptake. Pair with soft fillers like German statice for a refreshed look.
What greens hold up best and fill gaps without wilting quickly?
Eucalyptus and variegated pittosporum are excellent for structure and texture. They stay fresh longer than many delicate fillers and help mask mechanics like tape or chicken wire while creating lush volume.
How do I pick the right vase or vessel for my stems?
Match the mouth size to your stem count. Narrow mouths suit a few tall stems; wide mouths work for looser, fuller designs. Footed bowls, pitchers, and thrifted glass add personality. For heavy-headed blooms, choose a vessel with a lower center of gravity.
Can I use floral foam or are there better alternatives?
Floral foam gives instant structure but isn’t eco-friendly. Use it sparingly or switch to chicken wire, tape grids, or pin frogs for reusable support. If you do use foam, keep it hydrated and place stems securely to avoid gaps.
How can I create seasonal looks for spring, summer, fall, and winter?
Choose blooms and textures that reflect the season: spring—tulips, daffodils, apple blossoms with airy filler; summer—garden roses and ranunculus with eucalyptus and cool water; fall—muted hellebores, grasses, and seed heads for warmth; winter—evergreen sprigs, berries, and candles for glow. Keep palettes and shapes consistent for a cohesive look.
Any tips for working on a small budget, like shopping at Trader Joe’s?
Buy bulk stems and fillers, then mix a few special focal blooms with abundant greens. Trader Joe’s often has great bunches of tulips, eucalyptus, and cost-effective accents. Thrifted vases and repurposed pitchers stretch your budget while adding charm.
How do I arrange faux stems so they look natural?
Trim faux stems to vary heights, “fluff” petals and leaves, and use a chicken wire cage or floral foam to anchor stems. Combine faux with a few fresh greens or dried elements for realism and texture. Group in odd numbers and vary direction for a lively effect.