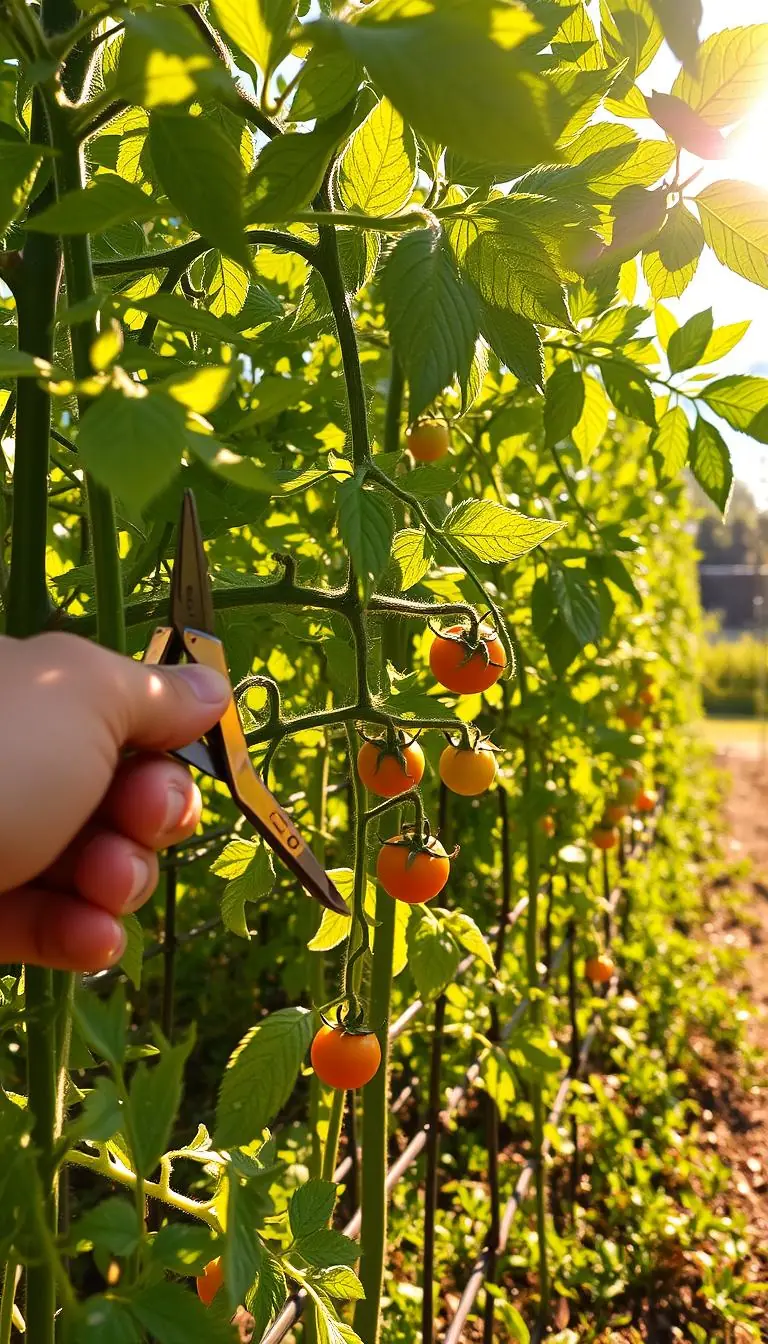
Picture sunlit leaves, the fresh scent of living soil, and a bee hovering over a purple coneflower. Have you noticed bare patches or thirsty beds as the season warms? You can make a few small swaps this weekend that feel doable and meaningful.
We’ll show a calm, step-by-step way to change how you water, plant, and care for beds in Zones 4–9. Simple tools—pruners, hand trowel, planters, a covered compost bin, and a 55-gallon rain barrel—help you act now.
Go peat-free, mulch 2–3 inches, and aim for about 1 inch of water per week with drip emitters sized to match your plants. These moves cut runoff, improve soil health, and save gallons of treated municipal water.
Peatlands store more carbon than forests, yet peat grows only about 1 mm a year; avoiding peat keeps CO2 in the ground. Replacing a square meter of hard surface with planting adds habitat and measurable carbon benefit.
Along the way, we’ll point out common mistakes—overwatering new plants, stripping every leaf, or skipping neat edging—and the easy fixes that protect soil and wildlife. Expect tangible results: crumbly soil, buzzing pollinators, and beds that read as both beautiful and intentional.
Key Takeaways
- One weekend of simple swaps—peat-free choices, mulch, and smarter watering—makes a big local impact.
- Use common tools and a 55-gallon rain barrel to save water and cut reliance on treated supply.
- Follow clear measures: 2–3 inches of mulch and ~1 inch of water per week for most beds.
- Choose native plants like Penstemon and Echinacea to boost pollinators and habitat.
- Small design cues—clean edging and pruned evergreens—help natural spaces feel cared for.
Eco garden prep basics: small spring swaps with big impact
A few small switches this spring can save water, help bees, and keep carbon in the ground.
Peat-free compost swap: Look for bags that explicitly say peat-free. Test texture with your hand—aim for a springy, dark mix with bark fines. Avoid soggy, compact blends. For seed starting use a fine mix; for beds and containers choose a chunkier mix with wood fiber and add 10–20% screened compost.
Sheet mulching instead of digging
Lay overlapping cardboard (remove tape), wet it, add 2–3 inches of screened compost, then 2–3 inches of wood-chip mulch. Wait 3–6 weeks before planting through. This method protects soil carbon and keeps the soil crumbly and alive.
Trade lawn for one square meter of natives
Replace a 1 m² patch of lawn with 3–5 perennials. Sunny examples: Echinacea purpurea (Zones 3–8), Monarda fistulosa (4–9), Schizachyrium scoparium (3–9). Partial shade: Heuchera americana (4–9), Aquilegia canadensis (3–8).
Perennial planters for pollinators
Swap annual-heavy pots for compact perennials like Agastache ‘Blue Fortune’, Coreopsis verticillata, and Salvia nemorosa. Use pots with drainage, top-dress 1 inch of fine bark, and pick a color story—lavender, golden yellow, soft white—for cohesive curb appeal.
Tools to use: hose with spray head, bypass pruners, utility knife, wheelbarrow, and a flat shovel to feather edges. Common mistakes to avoid: don’t till under lawn (it releases carbon), and don’t spread mulch thinner than 2 inches or weeds will return fast.
| Swap | Materials | Measurements | Quick benefit |
|---|---|---|---|
| Peat-based → Peat-free compost | Peat-free bag, screened compost | Mix 10–20% compost for beds | Better texture, less CO2 release |
| Digging → Sheet mulch | Cardboard, compost, wood chips | Cardboard + 2–3" compost + 2–3" mulch | Weed suppression, soil protection |
| Lawn patch → Native perennials | Perennials, mulch, water source | 1 m² = 3–5 plants; space 12–18" | Pollinators increase; local carbon benefit |
| Annual pots → Perennial planters | Pots with drainage, fine bark | Top-dress 1" bark; select compact species | More blooms, constant insect forage |
Build living soil without disturbing it
Start your spring beds without turning a spade: a layered no-dig way keeps soil carbon in place and brings texture, scent, and structure back to life.
Quick start: mark the bed with a hose, scalp existing growth low, and leave roots to feed microbes. Poke the ground with a garden fork every 8–12 inches to open air pockets without flipping the profile. You’ll notice a deep, earthy scent as microbes wake up.
No-dig bed setup for spring: layer-by-layer guide
- Layer 1 — Cardboard: overlap seams 6–8 inches and soak so it molds to the soil.
- Layer 2 — Compost: spread 2–3 inches of mature, screened compost (3/8" screen) to add nutrients and a soft planting surface.
- Layer 3 — Mulch: top with 2–3 inches of shredded arborist chips or fine bark to suppress weeds and slow evaporation.
Compost and mulch pairing: materials, measurements, and moisture control
When planting, cut an X in the cardboard, fold flaps, set the plant so the crown sits level with the compost, backfill with compost, and tuck mulch back. After planting, hand-water slowly until the top 6 inches feel cool and crumbly—aim for damp, not soggy.
"Finished, dark compost is best for beds; avoid piles that smell sour or like ammonia."
Maintenance: top-dress 1 inch of compost each spring and keep mulch at a uniform 2 inches. Use shredded leaves, aged wood chips, or clean straw in veggie rows, leaving 2 inches clear at stems to prevent rot.
Smart spring watering: rain first, drip where needed
Let rain do the heavy lifting, then use drip lines to finish the job for roots that need steady moisture.
55‑gallon starter setup: start with a food‑grade 55‑gallon barrel, downspout diverter kit, first‑flush filter, brass spigot, and an overflow hose routed away from the foundation or into a second barrel. Set the barrel on level cinder blocks for pressure. Fit a child‑safe locking lid and a fine mesh screen to keep mosquitoes out.
Quick install steps and safety
- Cut in the diverter at the downspout elbow height and mount the first‑flush ahead of the barrel to catch roof grit.
- Connect the barrel inlet, attach the overflow to a second barrel or away from the house, and add a short hose to the spigot for watering cans.
- Secure the lid, plug gaps with silicone if needed, and label the barrel for nonpotable use.
Drip and soaker basics
Use a 1/2" mainline with a pressure regulator and filter. Run 1/4" laterals with emitters sized 0.5–2.0 gph. Aim 0.5–1.0 gph for perennials and 1–2 gph for shrubs. Space emitters 12–18" along rows. Soaker hoses work well in straight beds; lay them 12–18" apart and top with mulch to reduce evaporation.
| Item | Spec | Use |
|---|---|---|
| Barrel | 55‑gallon, food‑grade | Store rain for watering |
| Diverter + first‑flush | Downspout kit, debris filter | Keep grit out of barrel |
| Drip emitters | 0.5–2.0 gph | Target roots; zone by need |
| Spigot & overflow | Brass spigot; hose to second barrel | Easy access, prevents overflow |
Zones, schedules, and cues
Sandy soil needs shorter, more frequent runs (20–30 minutes every 2–3 days). Clay soils need slow, deep soaks (45–60 minutes once or twice weekly) to avoid runoff.
Hand‑check moisture: push your finger 2" into the soil. If it feels cool and slightly damp, wait. If warm and dry, water slowly until moisture reaches about 6" deep. Look for dull or slightly cupped leaves in the morning as a true water cue.
"Lead with rain first, then top up with drip only where needed—you’ll lower bills and help roots grow deeper."
Create resilient habitat with native plants and structure
Create small shelter features and layered plantings that invite birds and insects into your yard. These simple moves add year-round life and sound—rustling leaves, soft birdsong, and the hum of early bees.
Pollinator houses and log walls
Mount a reusable wooden tray bee house on an east-facing fence, 4–6 feet high and under a small eave. Fill trays with paper liners and clean them once a year to support beneficial insects.
Make stem bundles from 8–10 inch hollow stems (spent Joe Pye or meadow rue). Tie with natural twine and tuck into a dry sheltered spot for solitary bees and wasps.
Stack 4–8 inch branches in a loose weave to form a low log wall along a bed edge. This creates nooks that shelter ground beetles and other quiet helpers.
Leave leaves strategically
Keep leaves under shrubs and perennials as a soft mulch; they feed soil life without smothering when you rake a clear circle around crowns each spring.
Move path and lawn debris into beds or a wire leaf corral so walking areas stay tidy while beds gain nutrients.
Bird-friendly layers
Plant layered native plants: Fragaria virginiana groundcover, Itea virginica shrubs, and small trees like Amelanchier or Cercis. These provide nectar, cover, and seasonal berries for birds.
Add a shallow birdbath with a perch stone within 6–10 feet of shrubs. Refresh water every 2–3 days. Offer winter seed and suet, then taper back as spring insects peak so birds feed nestlings on protein-rich prey.
"Small structures and thoughtful planting turn a simple yard into a welcoming habitat."
- Placement tips: bee houses east-facing, 4–6 ft high; log walls at bed edges; birdbath near shelter.
- Maintenance: annual cleaning of trays, refresh water, rake leaves from crowns in spring.
Design that looks intentional and stays low-maintenance
Small structural moves turn a rambunctious bed into a calm, inviting landscape you can enjoy every day.
Orderly frames: borders, paths, and pruned evergreens as “cues of care”
Install a clean border—powder-coated steel or brick—so lush beds have a crisp line. One neat edge makes the whole landscape read finished and cared-for.
Define a main path at least 36 inches wide with gravel or pavers and add a narrow loop for exploring. Paths keep feet off soil and simplify maintenance in all seasons.
Add two or three evergreen anchors like clipped boxwood or dwarf juniper. Prune lightly in late winter so structure reads as intentional year-round.
- Group containers in threes near seating; mix pollinator-friendly perennials with a seasonal accent.
- Repeat plant shapes or colors every 6–8 feet to create a steady rhythm that calms the eye.
- Keep a 15-minute weekly routine: edge a few feet, deadhead, and sweep paths—small, steady touches save you time.
Use warm, low-voltage pathway lights to graze textures at dusk. Choose materials that age well—stone, cedar, or corten steel—so patina adds charm without extra work.
"Cues of care—tidy borders, clear paths, seating—help neighbors see your creating eco-friendly garden as an intentional landscape."
Result: a welcoming space that supports wildlife, reduces chores, and shows how creating eco-friendly garden choices can look polished and effortless.
Common spring mistakes to avoid in eco-friendly garden prep
Spring can tempt you to spray early, water often, and tidy every leaf — but those quick fixes often do more harm than good.
Using pesticides “just in case” and disrupting beneficial insects
Skip blanket sprays. Broad‑spectrum pesticides kill pollinators and predators that keep pests in check. Scout first and only act when damage exceeds a real threshold.
Safer alternatives: hand‑pick caterpillars, blast soft pests with a hose, plant nectar sources to attract predators, or use targeted Bt for specific caterpillars.
"Preventive sprays often backfire — you remove allies and amplify pest pressure."
Overwatering new plantings and skipping mulch depth guidelines
Don’t drown new plants. Aim for deep, infrequent water and let the top 1–2 inches dry before the next run.
Water early in the morning to cut evaporation and disease. Mulch math matters: 2–3 inches across beds, pulled back 2 inches from stems.
Ripping out all debris and removing every leaf—starving habitat
Avoid aggressive raking in early spring. Leaves and hollow stems shelter beneficial insects and birds until nights stay reliably above 50°F.
Instead of trashing debris, move it to planting areas or a leaf corral so nutrients and habitat remain on site and waste drops.
- Quick tips: learn a few seedlings, limit lawn renovation to used areas, and give time for nature to reawaken.
Conclusion
Take one calm action this week and one this month to start feeling the change. Set a 55‑gallon barrel to catch rain and use that water on containers; you’ll notice cooler, happier plants and a smaller bill.
This month, build a no‑dig bed with cardboard, compost, and a 2–3 inch mulch layer. The soil will feel springy underfoot and roots will settle in like a glove.
Small moves add beauty and function: a square meter of native plants brings bees and beneficial insects, compost feeds soil, and a young tree quietly stores carbon as it grows.
Come back to this guide as a seasonal checklist. Breathe in wet leaves, listen for birds, and enjoy a low‑maintenance, eco‑friendly garden that rewards you and the planet.
FAQ
What simple swaps can I make this spring to reduce waste and help pollinators?
Swap peat-based compost for a peat-free mix, replace thirsty lawn patches with a small bed of native perennials, and move from annual-heavy pots to pollinator-friendly perennial planters. These switches save carbon, conserve water, and create habitat for bees and beneficial insects while cutting yard waste.
How do I choose a good peat-free compost?
Look for mixes labeled peat-free that list composted bark, coir, leaf mold, or well-rotted yard waste. Check nutrient content and texture—loose, crumbly mixes work best for planting. Local garden centers and brands like Espoma or Black Gold often carry peat-free options.
What is sheet mulching and why is it better than digging?
Sheet mulching layers cardboard or newspaper, compost, and mulch over turf or weedy soil. It suppresses weeds, builds organic matter, retains moisture, and protects soil carbon by avoiding disruption of soil life. It’s great for converting lawn to a planting bed with minimal work.
How much area should I convert from lawn to native plants to make a difference?
Even one square meter replaced with native perennials provides food and shelter for insects and birds. Aim for several small patches across your yard to create stepping stones of habitat. Native species use less water and require fewer inputs once established.
How do I set up a no-dig bed step by step?
Start by laying down cardboard to smother grass, add 2–3 inches of compost, then a thicker layer (3–4 inches) of mulch like wood chips. Plant by cutting through the layers where you place roots. This preserves soil structure and supports microbes and earthworms.
What pairing of compost and mulch works best for moisture and nutrients?
Use a 2–3 inch layer of compost under a 3–4 inch mulch topping. Compost supplies nutrients and retains moisture; mulch reduces evaporation and keeps soil cool. Keep mulch a few inches away from stems to prevent rot.
How do I install a basic rain barrel system for spring use?
Attach a 55-gallon barrel under a downspout with a diverter kit and include a first-flush device to divert initial roof runoff. Place the barrel on a level, sturdy base and add a spigot for gravity-fed watering or attach a pump for drip systems.
When should I use drip irrigation versus soaker hoses?
Use drip lines with emitters for beds with varied plant needs and defined zones—choose emitter sizes based on soil type (lower flow for sandy soils, higher for clay). Soaker hoses work well for long rows or densely planted beds. Both reduce evaporation compared with sprinklers.
How can I tell when soil needs water without overwatering?
Feel the soil 2–3 inches down—if it’s cool and slightly moist, wait. Look for dull, limp leaves or slow growth as signs of need. Mulch and compost help hold moisture so you can water less often and avoid wasting water.
How do I create simple habitat features for pollinators and birds?
Add pollinator houses and log walls with hollow stems and tray habitat, leave leaf piles in tucked areas for insects, and plant layers—shrubs, small trees, and groundcover—for nesting and foraging. Include a shallow water source for birds and bees.
Where should I keep or move fallen leaves to benefit wildlife without making a mess?
Keep leaves in a corner or under shrubs as habitat for overwintering insects. Rake clear the paths and planting areas where seedlings need access. Shredded leaves make excellent mulch and compost material.
What design tips make a yard look intentional but stay low-maintenance?
Use simple borders, clear paths, and a few pruned evergreens as “cues of care.” Group plants by water needs into zones and choose native perennials that self-seed or spread gently to reduce upkeep.
What common spring mistakes should I avoid to protect beneficial insects?
Don’t spray pesticides “just in case.” Avoid removing all debris and every leaf, which destroys habitat. Also, don’t overwater new plantings; follow mulch depth guidelines and check soil moisture before irrigating.
How can composting at home help my soil and reduce waste?
Home composting turns kitchen scraps and yard debris into nutrient-rich material that improves soil structure, feeds microorganisms, and reduces landfill waste. Use a balanced mix of greens and browns and keep the pile moist and aerated.
Are there quick wins to attract bees and beneficial insects this season?
Plant a mix of early- and late-flowering natives, leave some bare soil patches for mining bees, and provide nectar-rich perennials like salvia, lavender, and native asters. Avoid pesticides and offer shallow water sources.