Imagine the warm smell of potting mix and a tray of tiny green tips catching the afternoon light. Have you noticed a patch in your yard that begs for fresh tomatoes or peppers? This is a great time of year to plan and prepare.
You’ll save money and unlock more variety by bringing a few trays into a cozy corner where you control warmth and light. Many warm-season favorites like tomatoes, peppers, and eggplant do best when given an early head start.
Quick tips: check days to harvest so crops ripen before frost, use artificial light when sunlight is weak, and keep soil temperature above 60°F. Avoid windowsills that swing from cold to hot and cause leggy growth.
Key Takeaways
- You can expand varieties and save money by preparing trays now.
- Warm-season crops like tomatoes and peppers benefit from an early start.
- Use artificial light and steady warmth (above 60°F) for strong growth.
- Read packet days to harvest to time outdoor planting before frost.
- Avoid windowsills; they often make seedlings leggy.
- This guide will walk you through timing, sowing, and care step by step.
Start here: a simple, calm path to a thriving spring garden
Begin with a few calm steps and you’ll build a spring garden that feels manageable and joyful.
You’ll find that starting seeds at home is inexpensive and gives you far more color and variety than buying ready starts. Pick a safe spot away from drafts, pets, and heat sources, with access to an outlet for a light.
Think of this as your calm roadmap:
- Set up a clean workspace with good light and room for trays.
- Use containers with drainage and a sterile mix for steady growth.
- Follow a simple process: plan timing, sow seeds, manage light and moisture, then thin and pot up.
- Keep short notes each day so you remember what you sowed and how it responded.
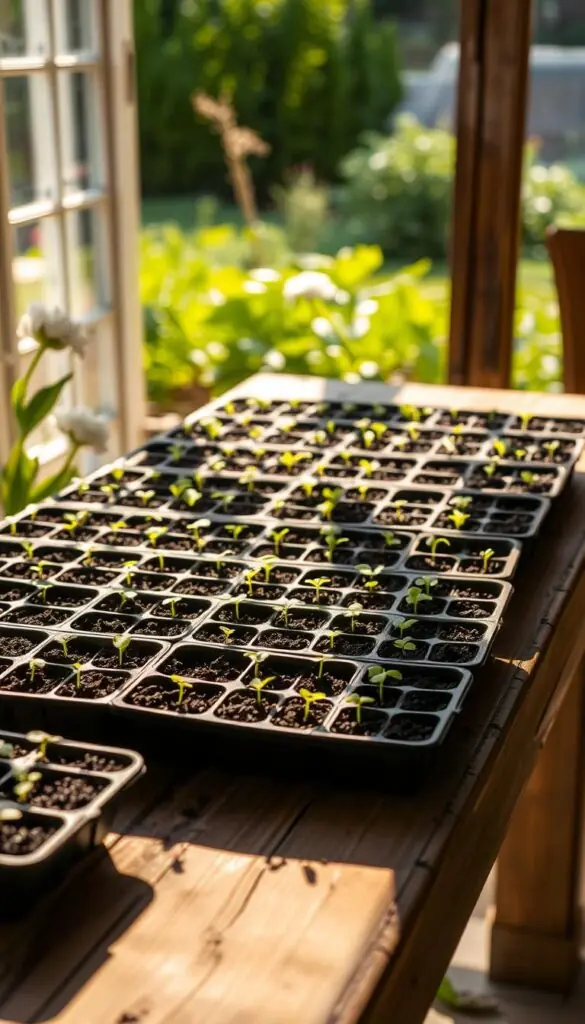
Build a gentle routine: check moisture each day, adjust light height, and enjoy the small wins as the first leaves appear. By pacing yourself you’ll learn the way and feel confident from sprout to transplant.
| Need | Why it matters | Easy option |
|---|---|---|
| Light | Prevents leggy shoots and promotes sturdy growth | LED grow light on a timer (12–16 hours) |
| Drainage | Stops root rot and keeps roots healthy | Cell trays or pots with bottom holes |
| Notes | Keeps track of timing and results | A simple notebook or labeled sticky tags |
Know your timing: count back from your last frost date
Begin with one clear date and let it guide your whole calendar. Find your local last frost and mark it on a calendar. That date is your anchor for planning how many weeks to give each crop under lights before transplant.
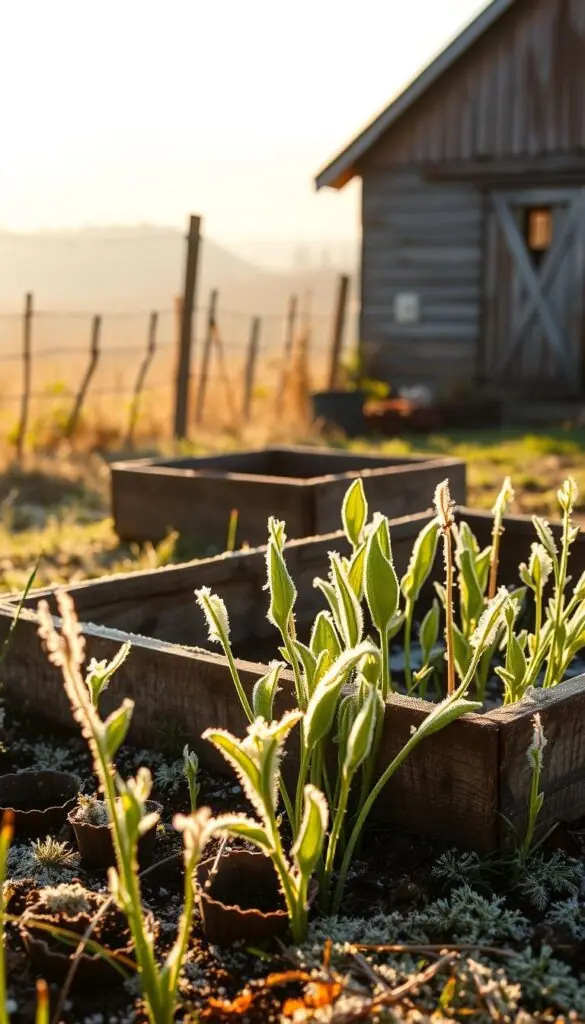
Find your local last frost and set your seed-starting calendar
Look up the average last frost for your area, then count back the recommended weeks for each crop. Use that backward count to set sow dates so you plant at the right time, not too early or too late.
How many weeks before transplant: reading seed packets and charts
Check seed packets for lead times: many warm-season crops want 4–8 weeks; onions need about 10 weeks. Note days to maturity on the packet to make sure your harvest fits the growing season.
Microclimates matter: adjust for foothills, wind, and cool soil
If you garden in foothills or a windy, cool spot, add a buffer week or two. Soil can run about 10°F cooler than air, and many gardeners wait 1–2 weeks after last frost before moving warm-season starts out.
- Use seed packets and trusted charts to set realistic sow windows.
- Build a simple calendar with sow dates, germination windows, and pot-up weeks.
- A few small adjustments now keep you from rushing later and help seedlings meet the garden at the right moment.
Create a cozy seed-starting setup at home
Pick a calm corner in your home where temperatures stay steady and daily care is easy. A tidy zone makes routine tasks feel simple and pleasant. With the right spot and a few good containers, your seedlings take off in the best way.
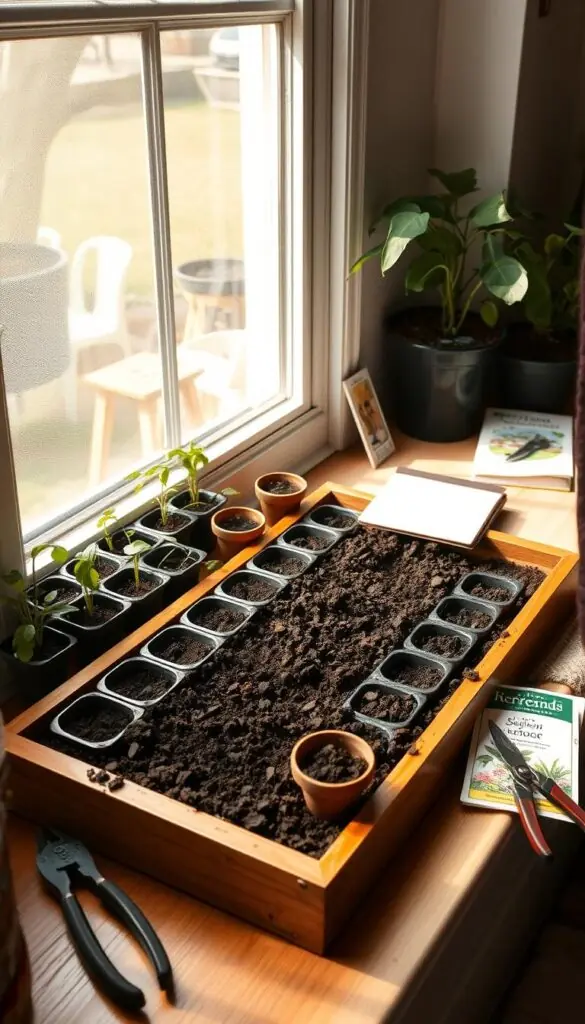
Choose a safe, steady spot (not the windowsill)
Choose a place with steady temps, room to work, and a nearby outlet for lights or a heat mat.
Skip the windowsill. Night chill and daytime heat swings make mixes dry and shoots go leggy. Keep air temperatures above 60°F for steady germination and growth.
Trays, cell flats, and drainage: the right containers for healthy roots
Set trays on a waterproof surface and use cell flats or small pots with real drainage holes. Good drainage protects roots and makes transplanting easier.
- If you reuse containers, soak them with a disinfectant and rinse well to prevent damping-off.
- Use clear domes early to hold moisture and warmth, then remove when seedlings touch the cover.
- Label each tray with variety and sowing date so you can thin and pot up with confidence.
With a tidy setup, daily checks for moisture and light become an easy part of your routine. Small habits now help your plants and soil stay healthy as they grow.
Seed-starting mix and seeds: simple, clean, and set for success
Choose a light, sterile mix and you’ll cut problems early and boost germination rates.
Best mix for germination
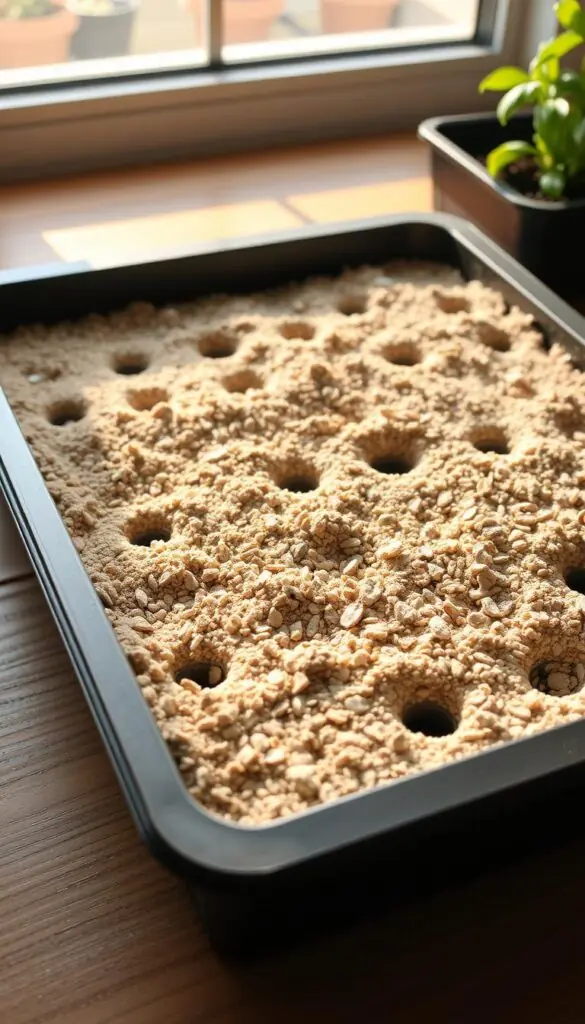
Use a commercial seed-starting mix of peat and vermiculite. It is sterile, lightweight, and free of weed bits. The blend holds moisture evenly and gives tiny roots the air they need.
Pre-moisten the mix in the tray so it settles before you sow. If the surface drops more than 1/2 inch, add a little more and wet again for an even bed.
Smart handling and storage
Choose fresher seeds when you can; they raise germination and give more uniform trays. Keep the seed packets with the tray so you can check depth and spacing as you work.
Store leftovers in an airtight jar in the refrigerator with a desiccant like silica gel or a wrapped pinch of powdered milk. Proper storage keeps viability for years.
Skip unsterilized garden soil for indoor use. Garden dirt can carry pathogens and pests that lead to damping-off. A clean, soilless mix cuts risk and makes care simpler.
- Start with a sterile, lightweight mix that holds moisture evenly.
- Pre-wet trays and top up if the surface settles too much.
- Keep tools minimal: a scoop, labels, and a light dusting of dry mix to cover tiny seeds.
These small, clean habits make sowing calm and tidy. Your seedlings will show steadier growth, and you’ll feel more confident when it’s time to plant outdoors.
Light and warmth: give seedlings what the season can’t
Give seedlings reliable warmth and steady light, and they'll reward you with compact, healthy growth.
Grow lights that work:
LED or fluorescent, full-spectrum simplicity
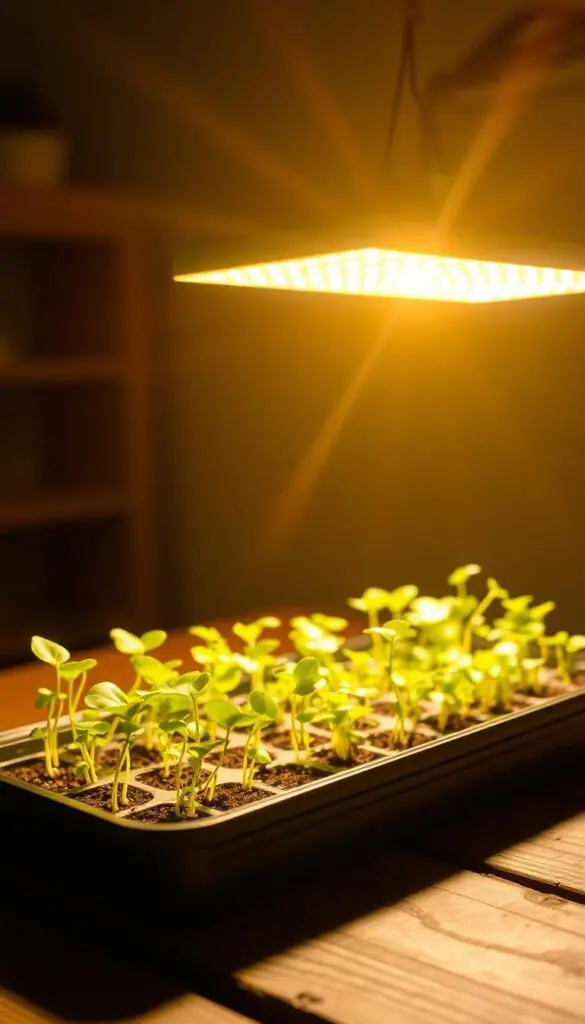
Use LED or fluorescent grow lights rather than a windowsill. Full-spectrum fixtures mimic daylight and keep stems short.
Distance and hours:
Keep lights close and on a timer
Set fixtures about 2–4 inches above the leaves. Aim for 12–16 hours of bright light each day, then give darkness to rest the foliage.
Bottom heat basics:
When a heat mat helps germination
A gentle heat mat under trays warms the soil and speeds germination. Warm-season seeds often do best with soil near 60–70°F. Some hot pepper varieties prefer 75°F or more.
Practical tips:
- Keep heat mats on a steady circuit, not the light timer.
- Raise lights as seedlings grow so leaves stay within 2–4 inches.
- Check soil temps with a probe thermometer for consistent results.
| Need | What to set | Why it matters |
|---|---|---|
| Light type | LED or fluorescent, full-spectrum | Prevents leggy growth and speeds vigor |
| Height | 2–4 inches above leaves | Keeps stems short and leaves strong |
| Hours | 12–16 hours daily | Mimics spring daylength for steady growth |
| Bottom heat | Soil 60–75°F depending on crop | Improves germination and root development |
Seeds to soil: a calm, step-by-step sowing process
Begin by laying out your trays and tools so the whole sowing process feels calm and simple. Gather a permanent marker, a spoon, a small cup of dry mix, and your pre-moistened soil so each step flows.
Depth made easy: the “twice-as-deep” rule and tiny-seed tips
Use the twice-as-deep rule: place most seeds at about two times their width. For very tiny seeds, barely cover them or simply dust with fine vermiculite so they still see light.
Light vs. dark germination: vermiculite dusting and simple covers
Some seeds need light to germinate. Dust a thin layer of vermiculite to hold moisture while letting light through.
Other seeds prefer darkness. Cover trays with a clear dome, plastic, or newspaper until you see sprouts, then remove the cover.
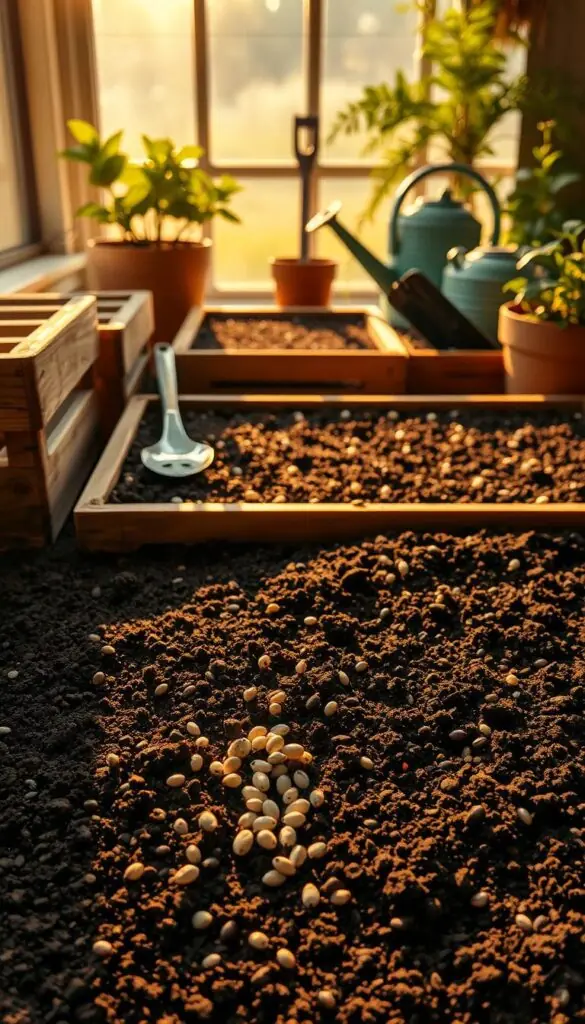
Label every tray: names, dates, and varieties you’ll love later
Place 1–2 seeds per cell for fresh seed; add extras only for older packets and plan to thin. Mist or bottom-water gently so you don’t wash seeds on the surface.
- Pre-moisten your mix and level the surface so seeds make good contact.
- Label each seed tray with crop, variety, and sow date using a permanent marker.
- Make sure you write down sow dates—those notes tell you when to thin and pot up.
Watering and feeding: steady moisture now, gentle nutrition later
Keep your routine calm and predictable—water and food are cues, not chores.
During germination, keep the potting mix evenly moist—not soggy. Use a spray bottle or bottom-water trays so the surface stays intact. Drain any standing water so roots can breathe and the soil stays healthy.
After sprouts appear, let the top half-inch of soil dry before you water again. This reduces rot and trains roots to grow deeper. Touch the mix with your fingertip; a slightly damp feel means wait, a dry top means water.
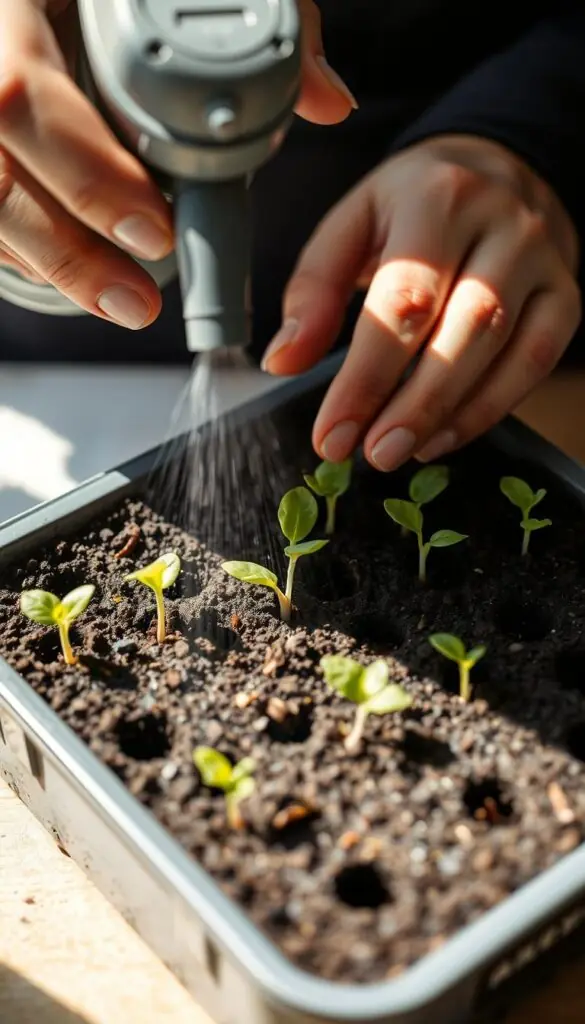
When to feed
Begin fertilizing only after true leaves form—usually a few days to a couple of weeks after germination. Use a balanced, water-soluble fertilizer at 1/4 strength once a week.
- Aim for steady, even water so the mix supports germination and early growth.
- Record water and feed days so you can spot patterns by weeks or changes in room heat or humidity.
- Make sure to use plain water between feeds to avoid salt buildup in the soil.
Stronger seedlings every day: light, airflow, and space
Small daily habits — close light, fresh air, and a little room — shape sturdier growth fast.
Prevent leggy growth: close light and a gentle breeze
Keep your light 2–4 inches above the tops so stems stay short and stocky. Use a timer for consistent hours of brightness each day.
Add a small fan on low or pass your hand over the tray for 30–60 seconds. That soft motion mimics wind and thickens stems.
Thin, then pot up: when roots fill the cell
Trim extra seedlings at the soil line so each young plant gets room. Check the bottom of the tray—when you see a web of roots at the drainage hole, move the strongest into a larger container 1–2 inches wider.
Handle by the leaves, not the stem. If a seedling is large, give it its own light set after potting so it keeps pace.
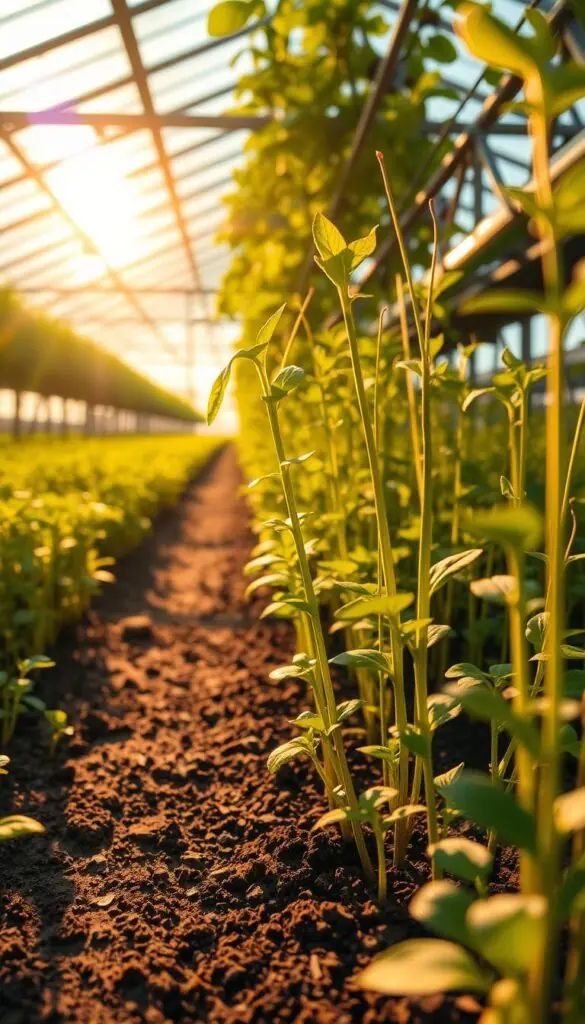
| Action | When | Why it helps |
|---|---|---|
| Lower light (2–4 in) | Daily, as seedlings grow | Prevents legginess and builds compact stems |
| Gentle airflow | Several minutes each day | Strengthens stems and reduces humidity issues |
| Thin at soil line | When multiple sprouts share a cell | Reduces competition for light and nutrients |
| Pot up to larger container | When roots fill the cell | Gives room for root growth and steady development |
seed starting, indoor plants: your quick-reference guide
Quick timing rules help you choose what to sow now so harvests arrive when your garden needs them.
Warm-season favorites to sow now
Tomatoes, peppers, eggplant: start seeds about 4–8 weeks before your last frost. In cooler areas, lean toward 8 weeks so transplants catch up outdoors.
Cool-season choices and lettuce timing
Brassicas and head lettuce do well with an earlier start. Aim for 10–11 weeks so transplants are ready for the first calm spring window.
Onions from seed
Plan onions from seed roughly 10 weeks before last frost. They need a long run to form strong bulbs, so give them room and steady light once sprouted.
Herb spotlight: basil
Basil is forgiving—start about 6 weeks before you plan to move it out after frost danger passes. It germinates fast and loves warmth and steady light.
- Adjust windows for microclimates; foothills or windy sites may call for a 1–2 week delay.
- Keep notes by variety and label trays with weeks-before-frost and dates.
- When unsure, sow a small batch now and another a week later to hedge your bets.
Troubleshooting the early weeks with confidence
A calm checklist turns slow starts into steady progress in just a few days.
Slow or no germination? First, confirm soil warmth. Many warm crops want 60–70°F; hot peppers prefer 75°F or more.
Check temperature, depth, and age
Make sure seeds germinate by verifying sowing depth and that packets are fresh for the year.
Keep the mix moist but not saturated. Drain excess water from trays and avoid standing pools.
Leggy, yellow, or purple leaves
If seedlings stretch and lean, lower your grow light to 2–4 inches and increase daily hours slightly.
Pale or yellow leaves after true leaves appear often need a mild feed at 1/4 strength once a week.
Purple tints can signal cold stress—raise soil temps or add a heat mat and move trays away from drafts.
- When sprouts lag, check soil warmth, depth, and seed age first.
- Keep the mix evenly moist during germination and remove standing water.
- Record what you change and allow a few days for results.
Hardening off: the gentle way to move seedlings outdoors
Give your young starts a calm, stepwise move outside so they meet sun and wind without shock.
A 7–14 day plan to build resilience
Plan a quiet 7–14 day period to teach seedlings sun and breeze in small steps.
On the first day, place trays in bright shade for about 2 hours during a mild afternoon.
Each day add 1–2 more hours and a bit more sun, and bring trays in at night for several days.
Cold frame: a helpful halfway house
Use a cold frame to bridge cool nights and warm afternoons. Vent it a little more each day so air moves through.
Close the frame if a hard frost looks likely and reopen when temperatures rise.
Watch the forecast and pause if needed
"Pause the schedule if frost dips into the week; protecting growth now saves hard work later."
Rotate trays so each side gets even light and avoid leaning. Check moisture more often—the outdoor period dries mixes faster.
| Action | When | Why |
|---|---|---|
| Begin exposure | 7–14 days before transplant | Builds toughness without shock |
| Daily increase | Add 1–2 hours per day | Gradual sun prevents wilting |
| Cold frame use | Cool nights or windy days | Controls temp and wind way exposure |
Final note: this gentle period helps your garden get sturdy seedlings ready to thrive when you finally set them in the soil.
Transplanting day: set roots up for a great season
Plan transplant day like a small ceremony—calm, prepared, and focused on roots and routine. Wait until after your last frost and give the garden a week or two to warm. That brief delay helps soil catch the same steady warmth as the night air.
When to move seedlings
Move trays once nights are reliably warm. Many gardeners wait 1–2 weeks after the last frost to be safe.
Choose a cloudy day or late afternoon so new leaves do not burn. Hardened starts may wilt briefly but usually recover as roots find the bed.
Planting well: simple steps that reduce stress
Water the seed tray deeply before lifting each start, then water again in the hole after you set the plant. This settles soil around the root ball and removes air pockets.
If you use peat or paper pots, trim the collar to soil level and cut a hole in the bottom so roots move freely into the bed.
- Set each plant at the correct depth and firm soil gently.
- Keep a hose or watering can ready for a deep soak on transplant day.
- Consider a light row cover the first week to buffer wind while roots anchor.
Conclusion
Simple rituals—check moisture, move lights, and give a little air—shape a healthy growing season. This calm way of care makes seed starting feel doable and steady. When timing, light, warmth, and gradual hardening align, young seedlings develop strong stems and roots.
By starting seeds indoors you widen choices and match harvests to your climate window. Keep brief notes so you learn what worked and what to change next time.
Enjoy the daily rhythm. Pause if the weather throws a curve. With patience you’ll turn small trays of seeds into a productive garden that fills your table and lifts your spirits.
FAQ
How far ahead of my last frost should I start warm-season vegetables like tomatoes and peppers?
For tomatoes and peppers, begin sowing about 6–8 weeks before your average last frost date. Count back from that date, check the seed packet for exact timing, and plan for extra time if you’ll transplant through a cold spring. Use grow lights and a steady 65–75°F environment to keep seedlings compact and healthy.
Where is the best place in my home to set up trays and lights?
Choose a stable, draft-free spot with easy access to a power outlet for lights. Avoid relying on a bright windowsill; instead, mount LED or fluorescent full-spectrum lights 2–4 inches above the leaves and run them 12–16 hours daily. Keep trays on a level surface and ensure good airflow with a small fan to prevent damp problems.
What’s the ideal mix for starting seeds so they germinate well?
Use a sterile, lightweight seed-starting mix that holds moisture but drains excess. Look for peat-free blends with coconut coir, perlite, and fine composted bark. This reduces disease risk and gives tiny roots room to grow without compacting.
How deep should I plant different seeds?
Follow the “twice-as-deep” guideline: sow seeds at about two times their width. Very tiny seeds stay on the surface or get a light dusting of mix; larger seeds like peas and beans go about 1 inch deep. Seed packets and online charts give specific depths for each crop.
How often should I water trays while seeds are germinating?
Keep the mix evenly moist but not waterlogged. Use a spray bottle or bottom-watering method to avoid disturbing seeds. Once seedlings show true leaves, let the surface dry slightly between waterings to encourage stronger roots.
When should I start fertilizing seedlings?
Wait until seedlings develop true leaves—usually the second set after the initial cotyledons. Then begin a mild, balanced feed once a week, using a half-strength water-soluble fertilizer to avoid burning young roots.
My seedlings are tall and thin. How do I prevent leggy growth?
Move lights close (2–4 inches) and keep them on 12–16 hours a day. Improve air circulation with a small fan on low to simulate a breeze, and avoid overheating the root zone. If stems are floppy, gently brush them daily to strengthen tissue.
How and when do I transplant seedlings into larger pots?
Pot up when roots fill the cell or the seedling looks crowded—usually after the first true leaves appear. Carefully lift by the leaves (not the stem) and transplant to a slightly larger container with fresh potting mix, firming soil around the root ball and watering in well.
Which cool-season crops are best started indoors and when should I move them out?
Brassicas (broccoli, cabbage) and head lettuce transplant well from indoor starts. Begin them 4–6 weeks before last frost for cool-tolerant crops, and harden off gradually before moving outdoors. They tolerate cooler soil and can go out earlier than warm-season crops.
How do I harden off seedlings so they survive the first week outdoors?
Harden off over 7–14 days. Start with a few hours in bright shade, then slowly increase sun exposure and time outdoors. Introduce wind and cooler nights gradually. If frost threatens, bring seedlings inside or cover them until conditions improve.
What problems cause slow or no germination and how do I fix them?
Check three key things: seed age and quality, planting depth, and soil temperature. Old seeds have low viability. Too-deep sowing or chilly mix (below recommended temps) slows germination. Use a heat mat for warmth and fresh, sterile mix to improve success.
Can I store leftover seeds and how should I keep them fresh for years?
Store seeds in a cool, dry place in labeled, airtight containers. A refrigerator works well for many varieties; include a desiccant pack to control humidity. Proper storage can keep viability high for several years depending on the crop.
Do I need bottom heat for my trays, and when is a heat mat helpful?
Bottom heat speeds germination for warmth-loving crops like peppers and eggplant. Use a seedling heat mat when soil temperature needs to be raised a few degrees above ambient, especially in cool basements or early-season starts.
How do I label trays so I don’t forget varieties and dates?
Use waterproof plant tags or tape on the tray edge and include the variety name and sowing date. A simple spreadsheet or notebook with tray maps helps track germination times and transplant schedules, so you know when each variety will be ready.
Which herbs and vegetables reliably do well with a 6-week indoor start?
Basil is a great 6-week indoor start, as are many tender herbs. For vegetables, give tomatoes and some peppers a bit longer (6–8 weeks), while quick greens and herbs can move from pot to garden after about six weeks if hardened off.
How do I handle yellow or purple leaves on young seedlings?
Yellowing often signals overwatering or nutrient deficiency—let the mix dry slightly and check fertilizer. Purple leaves usually point to cool root temperatures; raise ambient and soil temps and ensure a balanced feed. Adjust light and airflow as needed.