Imagine the warm scent of fresh bark and the soft rustle of leaves as you step outside. Do you ever notice dry patches on your lawn or wish the view from your kitchen window looked more unified? You’re not alone.
You’ll get calm, practical guidance in a friendly voice. We’ll show what a fresh, even layer does for soil and plants and how it helps hold moisture, cuts down on weeds, and evens temperature swings through the seasons.
Start with a simple rule: organic layers usually sit 2–3 inches deep; small stone options are about 1 inch. Apply in spring after hard frost danger passes, and in fall after a few freezes to insulate roots. Avoid piled-up “volcanoes” against trunks so your plants can breathe.
Grab basic tools — a wheelbarrow, rake, spade, and gloves — and you’ll find the job smooth and satisfying. Below is a quick visual to help you picture the result.
Key Takeaways
- Proper layering protects soil, reduces water loss, and keeps your landscape tidy.
- Use 2–3 inches for organic materials; 1 inch for small stones.
- Time applications: spring after frost, fall after freezes.
- Keep material away from crowns and trunks to prevent rot.
- Simple tools and a short plan make the task quick and rewarding.
Why Mulch Matters for Beautiful, Low‑Stress Beds
A tidy covering does a surprising amount of heavy lifting for your soil and plants. You’ll see the benefits fast. A good layer holds moisture so the top stays damp and cool on hot afternoons.
What you’ll notice this season:
- Less hand-pulling because the blanket blocks light at the soil surface and slows weeds.
- Fewer waterings as moisture lasts longer between sessions.
- Steadier temperatures that protect roots and help steady growth.
How it helps over time:
Organic material breaks down and feeds microbes. Those microbes improve structure and make pore spaces for air and water. In sandy spots the soil holds moisture better. In clay, the surface loosens so water soaks in instead of running off.
"A simple layer can turn high-maintenance plots into calm, healthy garden spaces."
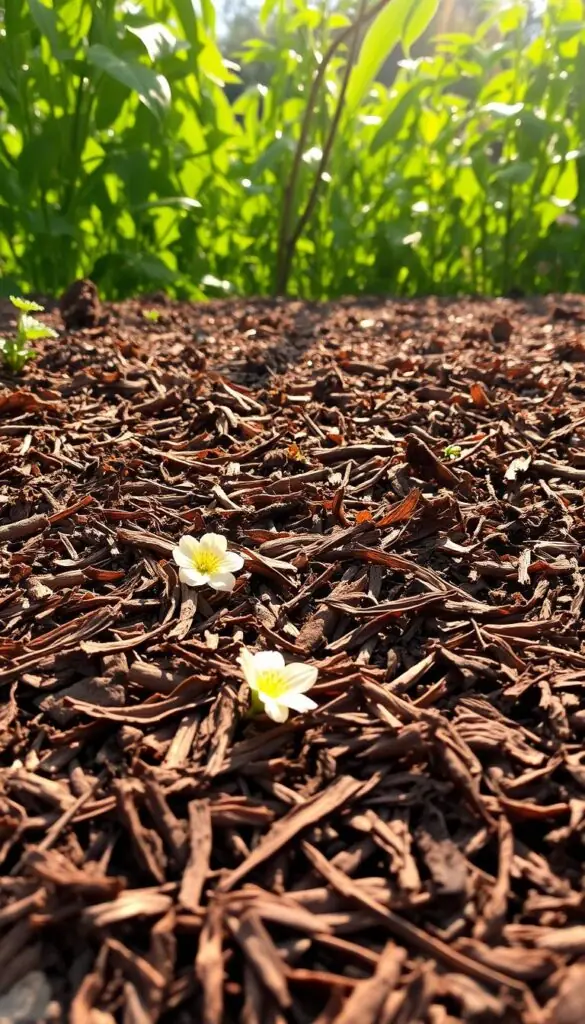
The result is cleaner plants, less erosion, and a quiet, tidy surface underfoot you can enjoy all season.
Choose the Right Mulch for Your Plants, Soil, and Season
Match material, plant type, and local weather to get a tidy, long‑lasting layer that helps your garden thrive. Start by thinking about what each option does for soil and roots.
Organic options add nutrients and soften soil over time. Shredded bark gives a classic look and resists compaction. Sifted compost feeds roses, vegetables, and shrubs. Leaf mold from autumn leaves is light and ideal under perennials and bulbs.
Inorganic choices last longer and suit low‑water settings. Crushed gravel or stone works for xeric plantings and paths but can warm the root zone. Landscape fabric helps suppress weeds; black plastic warms soil for early vegetables when used carefully.
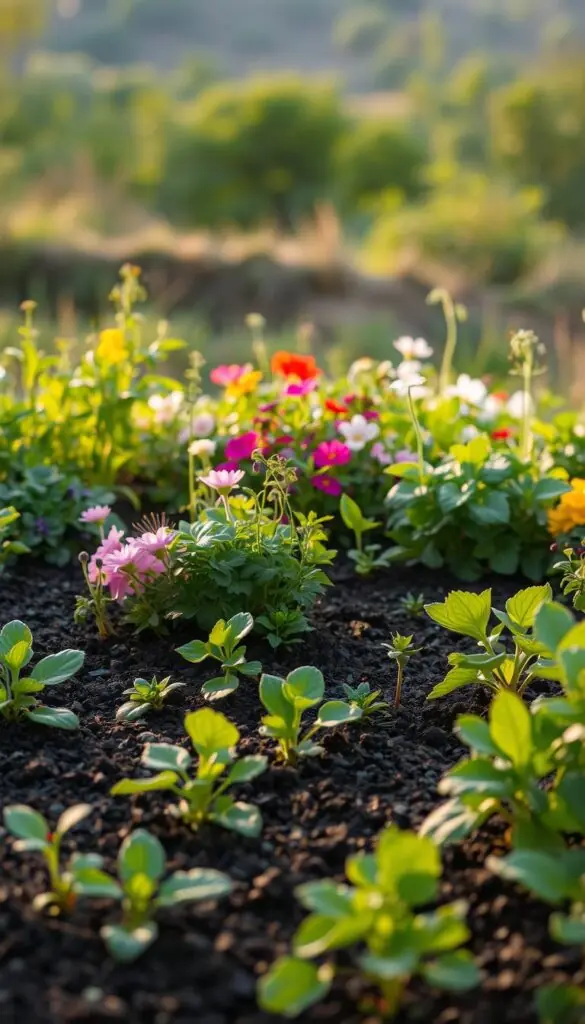
Match material to place: use compost or straw in vegetable rows, fine bark for perennials, and heavier chips where wind blows. In hot, dry U.S. zones choose lighter colors to reflect heat; in cool regions, darker materials help absorb spring warmth.
- Simple rule: pick what helps your plants and suits your climate.
- Choose local materials where possible for the best results.
mulch flower bed: A Simple Step‑by‑Step You Can Do Today
A tidy, step‑by‑step routine makes refreshing your planting areas quick and satisfying. Start with tools at hand: wheelbarrow, rake, spade, hand fork, gloves, and a soaker hose or drip line.
Prep the area
Pull visible weeds and lift stubborn roots with a hand fork. Rake the surface until the soil is smooth so the layer sits flat.
Water thoroughly first; cool, damp soil helps the material lock in moisture and reduces early drying.
Set irrigation before covering
Lay soaker hoses or drip tubing and test the flow. Pin lines gently so they don't shift and remain accessible under a light cover.
Apply the covering
Scoop from a wheelbarrow with a spade and place in small piles. Use a rake to pull it into an even 2–3 inch layer for organics, or about 1 inch for small stone.
Keep a neat ring of bare soil around stems and crowns — the width of your palm for perennials and 6–12 inches from tree trunks.
"A smooth, even covering keeps roots cool, reduces chores, and helps plants use water better."
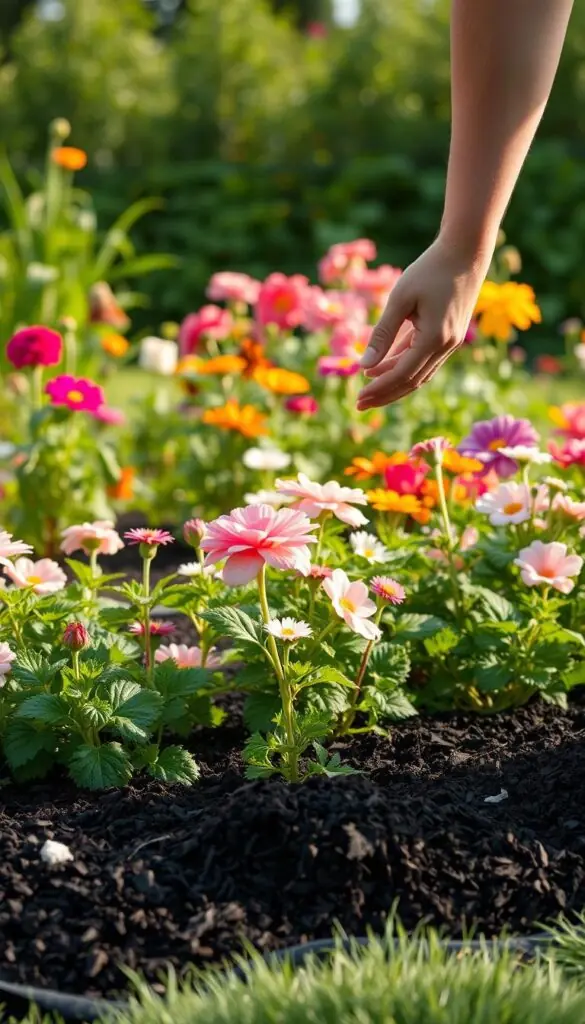
| Step | Action | Why it matters |
|---|---|---|
| 1 | Remove weeds; level soil | Prevents pockets where weeds regrow; ensures even coverage |
| 2 | Water soil; set irrigation | Locks in moisture and lets drip lines work under the cover |
| 3 | Spread to target depth | 2–3 inches for organics; ~1 inch for stone for airflow |
| 4 | Keep clear around stems | Prevents rot and pest issues near crowns and trunks |
- Quick tips: feather material to paths and brush stray bits off pavers for a clean look.
- Step back and scan for thin spots or mounds to even out coverage.
Make sure to check the system and soil after a week. That small, calm effort rewards you with less weeding and a healthier garden.
Seasonal Timing: When to Mulch in Spring and Fall
A few easy checks — frost dates, soil feel, and plant buds — guide the best timing. These cues help you pick the right weeks so work is quick and effective.
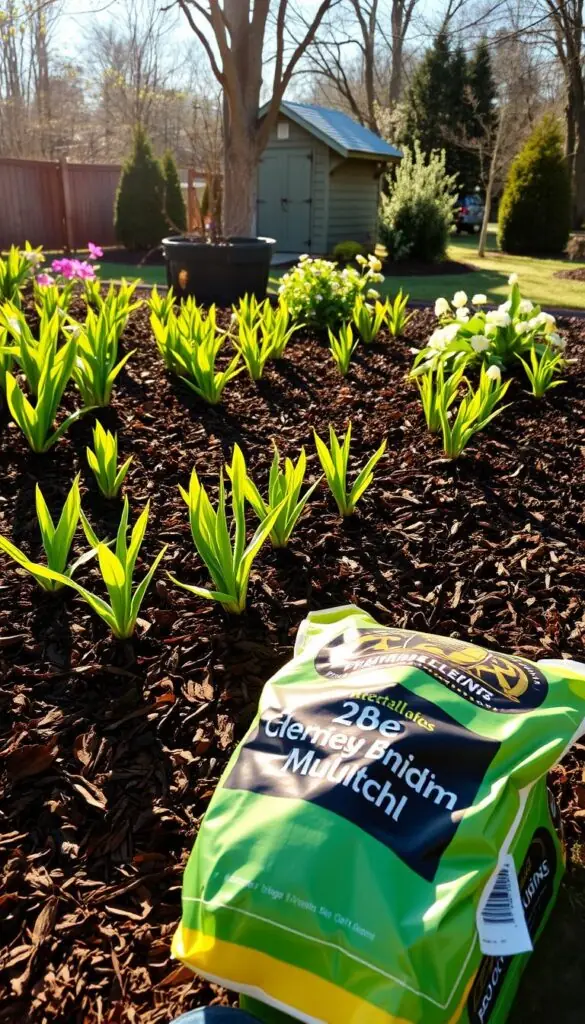
Spring: after hard frost danger passes and soil has warmed
Wait until the last hard frost has passed and the top inch of soil feels cool but not icy. Remove winter material so the ground can warm and new growth isn’t held back.
Fall: wait for several freezes, then insulate roots for winter
Do not mulch too early. Let the ground have several freezes so it is firm and cold. Then apply a 3–4 inch blanket to protect roots from freeze‑thaw heaving.
What to refresh mid‑season and what to leave until year’s end
- Top off thin or faded spots mid‑season with a light sprinkle instead of a full refresh.
- If storms splash soil on leaves, a quick rake and small refresh tidy things in minutes.
- Plan a larger refresh each spring, then a targeted late‑fall layer where winters bite hardest.
- If you live in hot months, work in the cool morning or evening and check soil moisture before you spread; water a day before if needed.
"Timing your work by simple, visible cues keeps beds tidy and roots safe all year."
How Much Is “Just Right”? Depth, Coverage, and Cubic Yard Math
A few simple numbers will remove the guesswork and help you order just what you need. Use the short rules below to pick the right depth for each material and to convert area to volume easily.
Depth guide by use and texture
Fine compost or shredded leaves: aim for about 2 inches. It settles quickly and feeds the soil as it breaks down.
Coarse bark or larger chips: plan closer to 3 inches so the layer locks together and resists washout.
Small stones or gravel: about 1 inch keeps air and water moving at the surface.
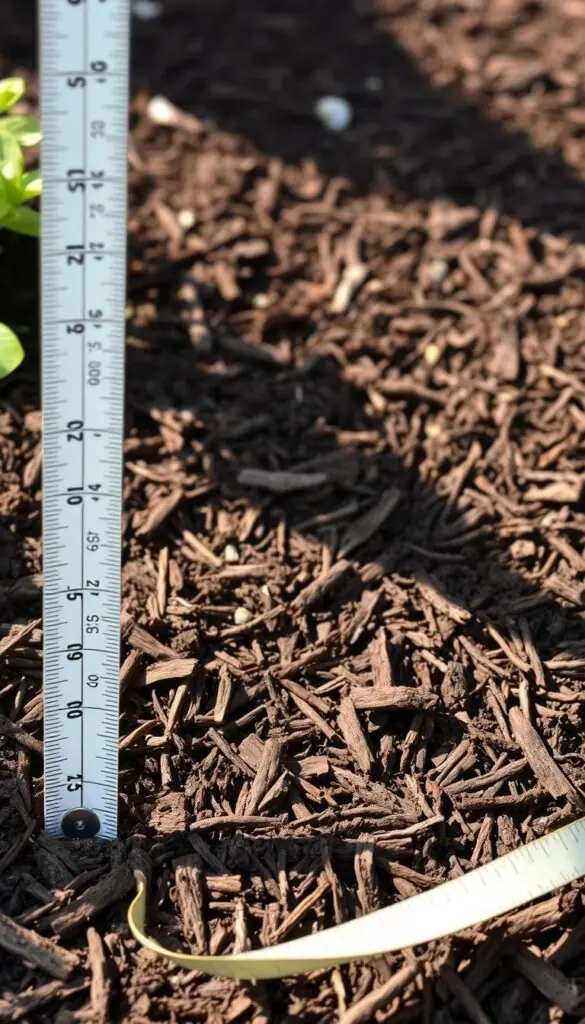
Quick coverage math
Use this easy formula: Area (sq ft) × depth (inches) ÷ 12 = cubic feet needed.
- Example: a 12×10 bed = 120 sq ft. At 2 inches you need 20 cubic feet; at 3 inches, 30 cubic feet.
- One cubic yard = 27 cubic feet, so 30 cubic feet is just over 1 yard—order 1.25 yards to be safe.
- Round up for fluffy material and allow a little extra for settling after rain.
"Measure depth in a few spots with a ruler so you don’t end up with mounded patches."
On slopes, choose coarser material that locks in place. On flat garden paths, finer textures feel smoother underfoot.
Finally, make sure to leave a small reserve for touch‑ups so you never run short after a storm. Avoid too much mulch near crowns to keep roots healthy.
Common Mulching Mistakes to Avoid
A few simple checks will stop common errors that make beds soggy or stunt plants.
Over‑doing the surface can suffocate roots and invite decay. Keep material a few inches away from trunks and crowns. Those “volcano” piles trap moisture, attract pests, and can damage bark.
Over‑mulching and soggy soil
A thick layer holds moisture too long and can lead to root rot. If the covering looks wet and compacted, rake it to aerate and let it dry. Remove the wetest parts and replace with a lighter, well‑draining top.
Nitrogen tie‑up from fresh wood chips
Fresh chips can temporarily lock up nitrogen near the surface. Mix in a gentle nitrogen source—alfalfa meal or cottonseed meal—or add a thin layer of compost to balance things.
Smothered perennials and bulbs
Keep crowns clear so new shoots can push up. Too much mulch over crowns buries emerging growth and encourages rot. In fall, wait for hard freezes before applying heavier coverings around perennials.
"Start light and add gradually; it's easier to build up than to remove excess."
| Mistake | Sign | Quick fix |
|---|---|---|
| Piled material at trunks | Soft, dark bark and chewing insects | Pull back to bare soil and reshape a shallow ring |
| Fresh wood chips only | Slow green‑up, pale leaves | Top with compost or add a nitrogen amendment |
| Deep cover over crowns | Stunted shoots or rot | Clear a palm‑width gap and thin the layer |
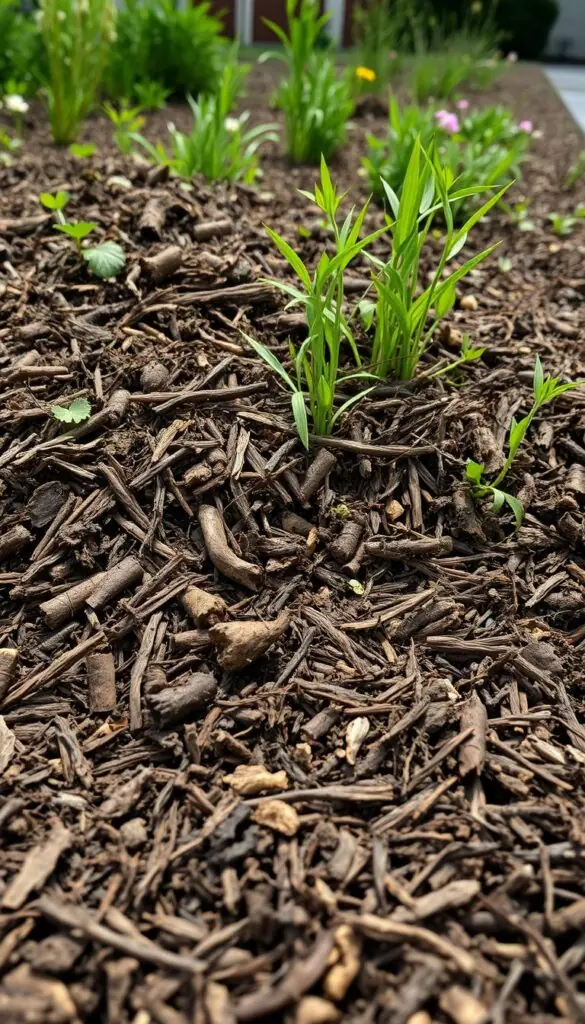
- Don’t cover active weeds: pull them first so seeds aren’t trapped against warm, moist soil.
- Adjust irrigation: mulch cuts evaporation—reduce water to avoid waterlogged roots.
- When unsure: start with less and top up; small additions are kinder to soil and plants.
Pro Tips, Tools, and Little Comforts That Make It Easy
Small adjustments and a few thoughtful tools make the job faster and kinder to your back. Gather a wheelbarrow, spade, steel rake, hand fork, gloves, a knee pad, and a 5‑gallon bucket before you start. These items keep work steady and neat.
Cardboard vs. fabric: wet cardboard under organic layers exhausts stubborn weeds and breaks down into the soil. Permeable landscape fabric works best under gravel or low‑maintenance strips. Fasten fabric tight so air, water, and fertilizer still move through.
Covering drip lines: tuck tubing just under the surface and cover lightly so you can find and service lines later. This keeps a clean landscape look without blocking access.
Texture, color, and scent matter. Fine bark flatters delicate perennials while chunkier chips suit bold shrubs. Deep brown tones make greens pop; golden straw brightens vegetable rows. Sniff the warm bark or the sweet compost—those small pleasures make garden work feel good.
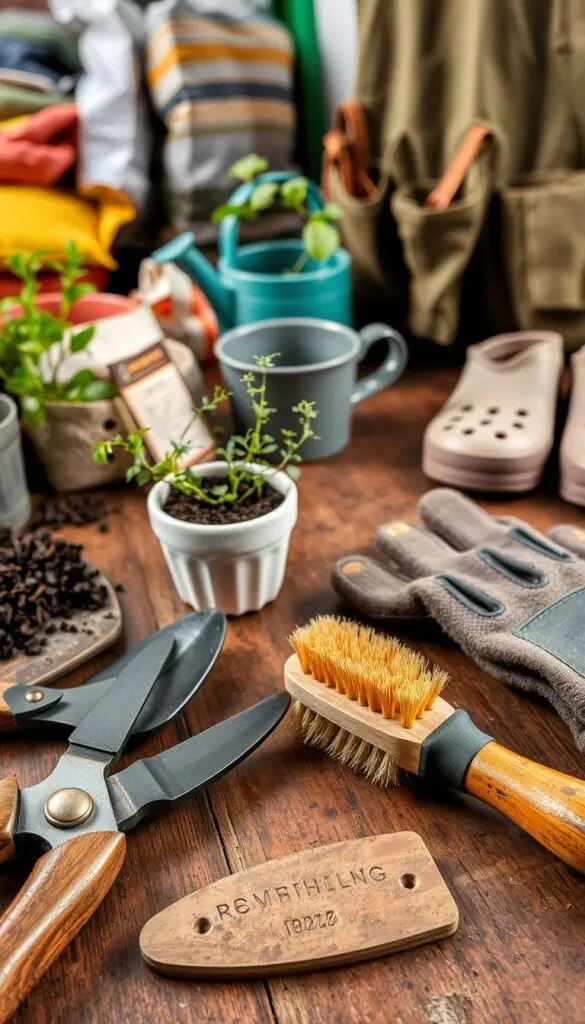
"Work in the cool morning, sip water often, and take short breaks — good pacing preserves your energy and joy."
| Tool or Material | Best Use | Why it helps |
|---|---|---|
| Wheelbarrow, spade, rake | Transport and spread | Saves time and reduces bending |
| Wetted cardboard | Under organic cover | Blocks weeds; breaks down into soil |
| Permeable landscape fabric | Under gravel or paths | Suppresses weeds; allows air and water |
| Drip tubing | Buried lightly beneath surface | Neat appearance; easy maintenance |
Conclusion
A tidy layer brings immediate rewards: less weeding, steady moisture, and kinder soil for your garden.
With one afternoon of spreading, your beds look refreshed and your plants settle into gentler conditions. You’ll cut back on chores and enjoy more time outside.
Applied at the right depth and season, a good covering moderates temperature, reduces erosion, and improves soil over time.
Keep trunks and crowns clear, refresh lightly when color fades, and your outdoor spaces stay neat from spring into winter.
Step outside, breathe in the woodsy scent, and feel proud — you gave your landscape exactly what it needs.
FAQ
What is the best material for planting areas and why?
The best choice balances moisture retention, weed suppression, and soil health. Organic options like shredded bark, compost, and leaf mold add nutrients and improve soil structure as they break down. Inorganic options such as gravel and stone work well where you want long‑lasting coverage and less decomposition. Match the material to plant needs, climate, and the look you want.
How deep should I apply the layer for organic and inorganic materials?
For most organic materials aim for about 2–3 inches; that holds moisture and lets air reach roots. For heavier materials like coarse wood chips you can go a bit thicker, but avoid piling around stems. For gravel or stone a thinner layer is fine—enough to cover bare soil without burying crowns or roots.
When is the best time to put down coverings in spring and fall?
In spring wait until the last hard frost risk has passed and soil has warmed; this helps bulbs and perennials break dormancy. In fall wait until after a few freezes so roots are entering dormancy, then add a protective layer to insulate through winter.
How do I prepare the area before applying material?
Start by pulling weeds and removing grass clumps. Water the soil if it’s dry, smooth the surface, and set any irrigation like soaker hoses or drip lines in place. Lay down cardboard if weeds are a persistent issue, then spread the chosen material evenly.
Can I put the material right up against trunks and crowns?
No—keep material pulled back from stems, crowns, and trunks. A small clear ring lets air circulate and prevents rot and pest problems. Aim to leave a few inches of bare soil around trunks and the crown of perennials.
What about using fresh wood chips—will they steal nitrogen from soil?
Fresh wood can temporarily tie up nitrogen as microbes break it down. To avoid nutrient stress, mix compost into the topsoil, use aged chips, or add a light nitrogen feed when you apply fresh material around heavy feeders like vegetables and roses.
How often should I refresh the surface during the growing season?
Check midseason and add a light topping if the layer has thinned or broken down. Organic materials often need topping every 6–12 months; inorganic surfaces last much longer. Refresh sooner if erosion or heavy rain exposes soil.
Are grass clippings or leaves okay to use?
Yes—dry, shredded leaves and aged grass clippings make excellent organic matter. Avoid thick wet clumps of fresh clippings that can mat and block water and air. Mix clippings into compost or spread them thinly and allow to dry first.
How do I calculate how much material I need for a project?
Measure square feet and decide desired depth in inches. Multiply area by depth (in feet) to get cubic feet, then divide by 27 to convert to cubic yards. Most garden centers list coverage per cubic yard to help you estimate.
Will coverings help with watering and soil temperature?
Yes—a good layer reduces evaporation, keeps soil cooler in summer and warmer in early spring, and moderates temperature swings. That leads to steadier growth and less frequent watering.
When should I avoid using certain materials around vegetables or bulbs?
Avoid fresh wood chips directly on newly planted seeds or shallow bulbs; they can impede germination and tie up nitrogen. Straw, compost, or finely shredded leaf mold are gentler choices for vegetable rows and newly set bulbs.
What tools and small comforts make the job easier?
A wheelbarrow, a sturdy rake, gloves, a spade, and a good pair of pruning shears keep things simple. Cardboard, landscape fabric, and a measuring tape help with prep and neat edges. Play music, sip water, and take short breaks—gardening should feel peaceful.