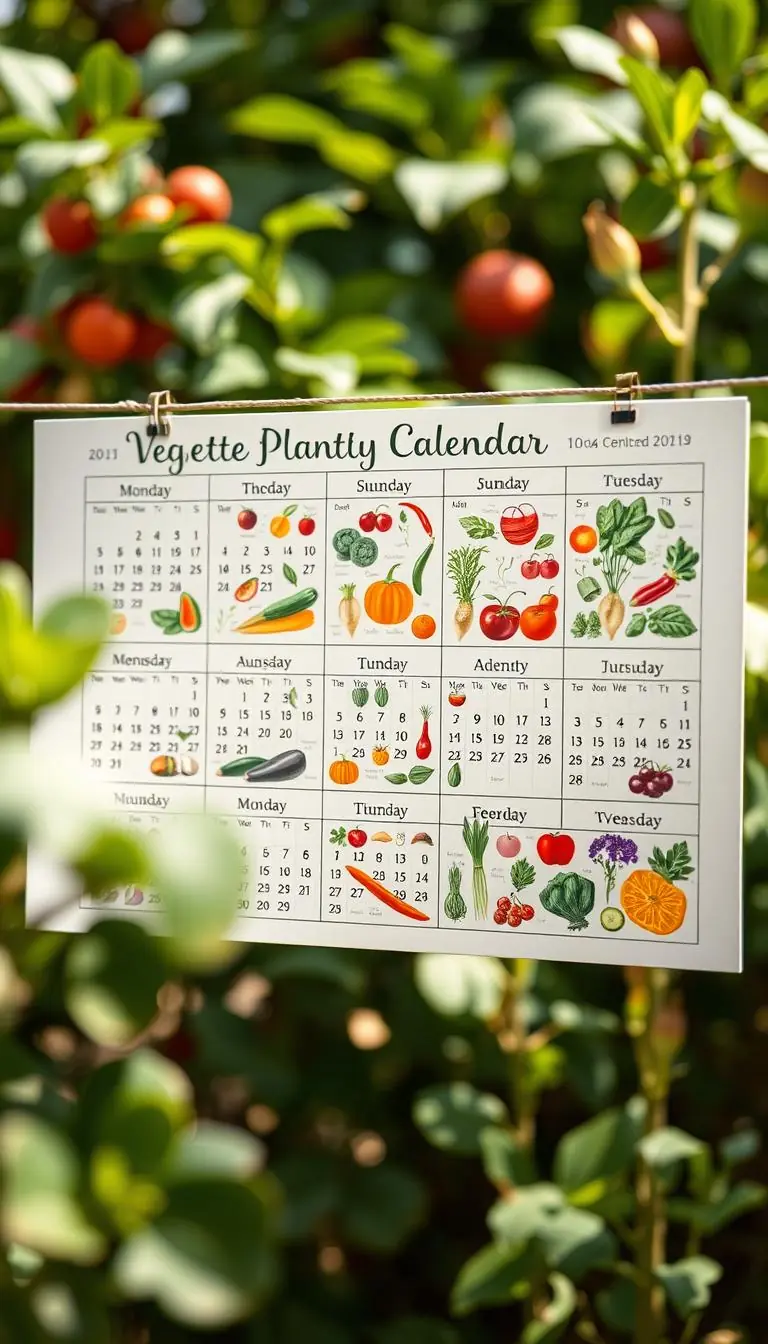
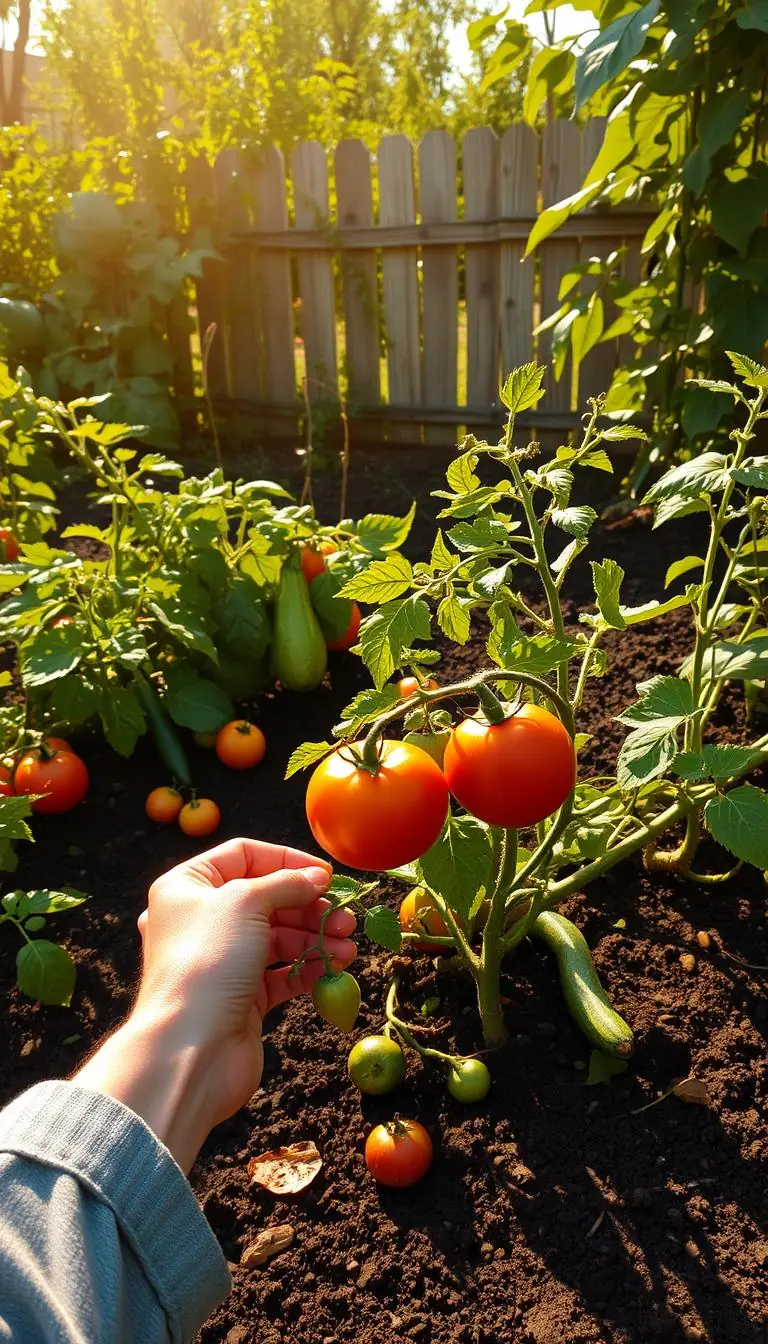
Early morning air smells of earth and late tomatoes as you walk the beds. Have you noticed which vines are crisp and which herbs still glow? This gentle check helps you decide what to do first so your garden rests well and your produce keeps its best quality.
Start calm and simple. Take a slow circuit to note areas that need tidying. Plan tasks by time and ease so you avoid overwhelm and protect fruits vegetables you want to keep.
We show easy, home-scale practices for handling bins, pruners, and buckets. You’ll learn when to rinse with clean water, what to compost, and how to keep contact surfaces dry. These steps lower contamination risk and keep food safe without turning your yard into a lab.
By the end you’ll feel steady and ready. Small tools, clear order, and a few sensible habits make wrap-up peaceful and give your garden a fresh start for next season.
Key Takeaways
- Start with a calm walk to assess beds and plan tasks.
- Sort what to compost and what to trash to protect soil and produce.
- Clean visible dirt with water, then sanitize food-contact surfaces as needed.
- Use simple tools—gloves, pruners, buckets—and keep handling gentle.
- Reduce standing water and design flow so clean areas stay clean.
Set the stage for a clean, calm finish to the season
Start by watching the air and soil—those small cues tell you the best time to begin.
Begin when mornings feel crisp and the soil crumbles dry on your shovel. In colder zones you’ll start earlier; warmer areas can spread tasks over weekends. That simple cue helps protect produce and slows field heat after harvest.
Pick a dry day and a short window of time—two calm hours to focus on one bed. Plan a route from dirty jobs to tidy ones. Keep a small bench as your clean contact point so you don’t double back with muddy boots.
- Harvest early when temperature is low; shade and cool quickly to preserve quality.
- Minimize standing water and adjust drainage so work areas stay dry.
- Keep tools—a bucket, sharp pruners, hand rake—nearby to save time and energy.
- Rinse heavy dirt at the hose, but keep that splash zone away from your clean bench to limit bacteria on surfaces.
| Vegetable | Optimal storage temperature | Notes |
|---|---|---|
| Leafy greens | 32–36°F | Cool quickly; high humidity |
| Cucumbers | 50°F | Avoid chilling injury |
| Tomatoes | 55–65°F | Store at room to cool temps for best flavor |
Post-harvest cleanup: a step-by-step path from messy beds to fresh starts
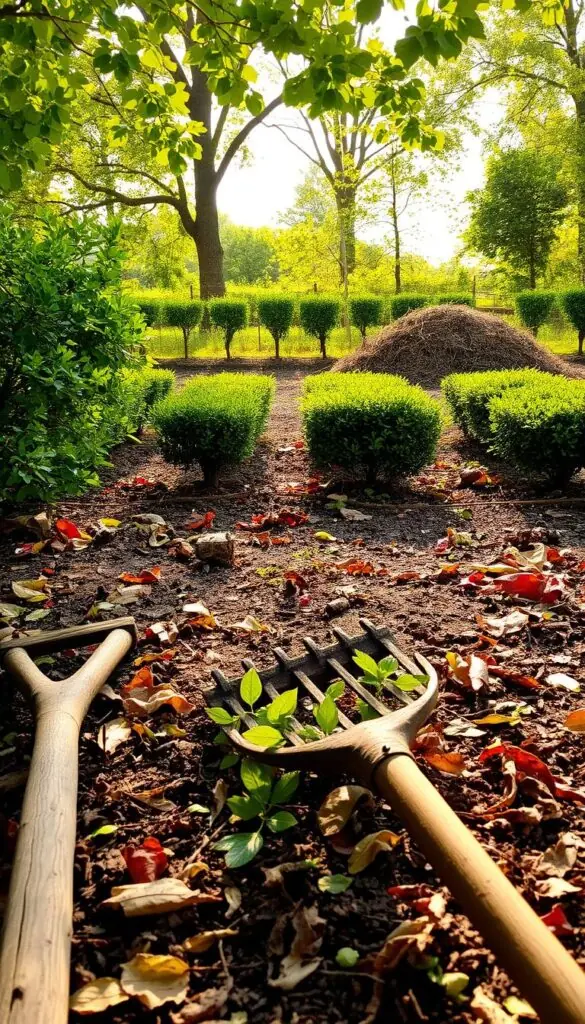
Walk your beds slowly and listen for the snap of dried stems before you start sorting debris.
Sort plant material first. Compost healthy, pest-free bean vines and spent lettuce roots. Bag and trash anything with blight, mildew, or suspicious wilting to prevent contamination and protect produce safety.
Shake loose dirt back into the bed and rake any dirt debris into one pile. That keeps your clean path tidy and limits cross-contamination to packing and storage areas.
Treat tools and gloves like food-contact equipment
Remove bits of plant matter from pruners, knives, and gloves. Scrub with mild detergent, rinse with clean water, then apply a labeled sanitizer and let items air-dry. A damp tool can harbor bacteria so dry time matters.
Clean and sanitize high-touch surfaces and containers
Focus on bins, buckets, tabletops, and hose nozzles—these contact points spread issues fast. Use a smooth-bristle brush for seams and wood surfaces. Remember: a dirty surface cannot be sanitized; clean first, then sanitize to prevent biofilms and contamination.
Quick pest check and smart storage
Open shed doors, check traps, seal small gaps, and remove old bags from buildings. Store cleaned equipment with lids off until dry and keep cull piles out of buildings, removing trash daily to reduce pest pressure and protect produce.
| Task | Why it matters | Quick tip |
|---|---|---|
| Sort debris | Prevents disease spread and protects produce | Compost healthy vines; bag blighted leaves |
| Tool cleaning | Keeps equipment safe for contact with food | Clean → rinse → sanitizer → air-dry |
| Surface care | Stops biofilms and contamination on high-touch areas | Repeat often on wood and seams |
| Pest check | Prevents infestations in packing and storage areas | Place traps; seal gaps; remove trash daily |
Wash, water, and cooling basics to protect fresh produce and prevent contamination
Choose your water source first. Use municipal tap water or a well you've tested. Never use ponds or streams for washing; those surface sources risk contamination.
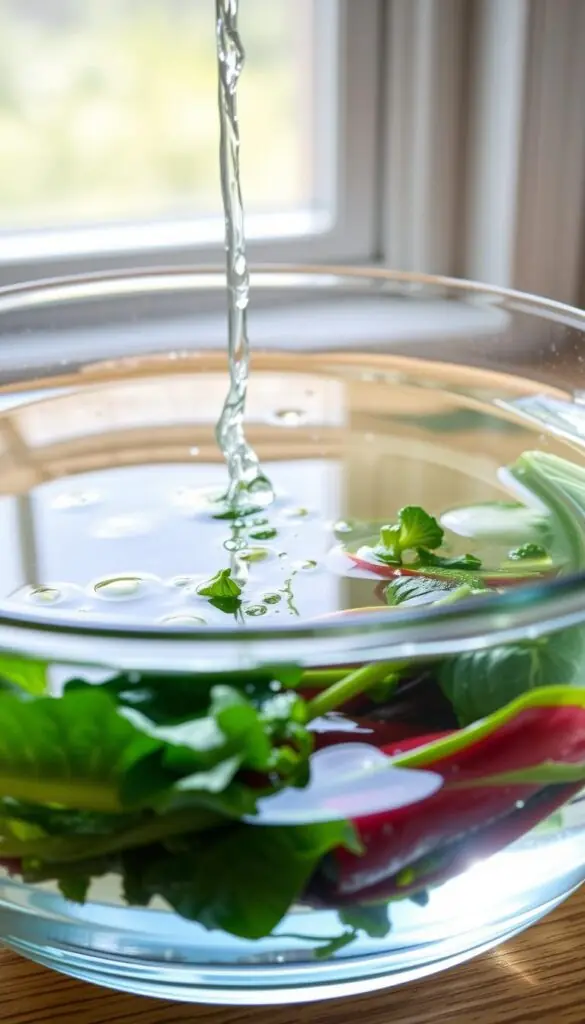
Test well water once or twice a season and mark the date where you store equipment so you remember when to retest. A simple lab check keeps your source trustworthy and your food safety simple.
Match wash water to the crop
Make wash water just a touch warmer than the produce — cool to your touch, not cold. That prevents water and pathogens from being drawn into small cuts and keeps greens crisp.
Sanitizers and clean contact surfaces
Use sanitizers labeled for food-contact surfaces or wash tanks. Chlorine works well when pH is 6.5–7.5; monitor that with test kits and follow label rates. Keep benches, bins, and equipment clean, then sanitize.
Quick, correct cooling
Move harvest to shade, then cool fast to remove field heat. Aim for 32–36°F for lettuce, about 50°F for cucumbers, and 55–65°F for tomatoes.
- Change dunk water when it gets murky; avoid recycled water buildup.
- Use a probe thermometer in the middle of a bin to check produce temperature, not just room air.
- Keep buildings dry and clear around washing areas to reduce splashes and contamination.
Sort, store, and keep quality high in simple, clean containers
Sort and stack with care so each harvest stays fresh and damage-free.
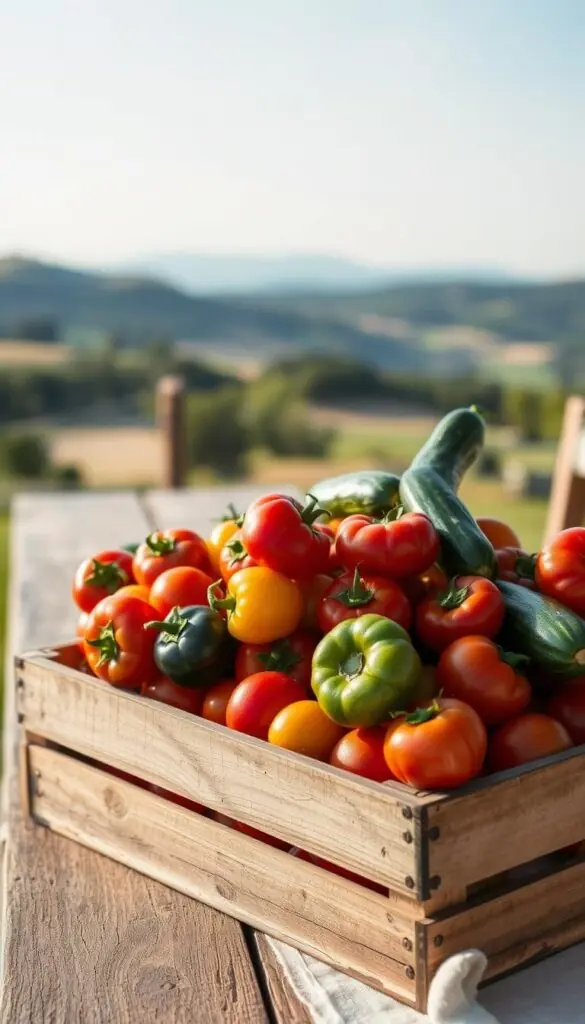
Gentle handling matters. Sort on a clean, dry surface and cradle tomatoes and soft fruits like small treasures. One dull thud can become a bruise that invites bacteria and shortens shelf life.

Smart containers and packing materials
Use smooth, rigid containers and avoid overfilling. Line boxes with a clean towel or food-safe liner so contact surfaces stay gentle on skins and reduce contamination.
Storage temperature and quick targets
Cool in shade, then move to the right shelf. Aim for greens at 32–36°F, peppers 45–50°F, cucumbers about 50°F, tomatoes 55–65°F, and potatoes 40–45°F.
Keep ethylene in check
Keep apples, bananas, and ripe tomatoes away from greens and roots. Ventilate storage areas and use electric cooling wisely to reduce ethylene buildup and protect quality.
- Stack lightly and cushion fragile vegetables to prevent cracking and punctures.
- Label storage areas—“ready to eat,” “needs washing,” “long keepers”—to simplify use and boost produce safety.
- Wipe and air-dry containers between uses to limit residue and contamination.
Design a clean flow in your shed or garage and keep pests out
Think of your packing area as a gentle one-way street for produce. Design a path that moves harvest from rinse to bench to cooling so you avoid backtracking and reduce contamination risk.
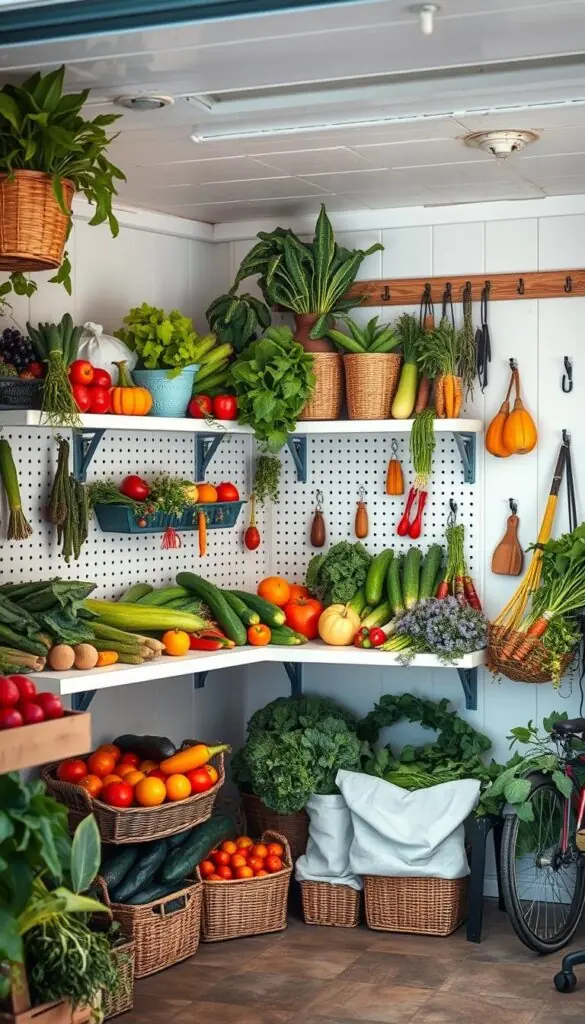
Create a dirty-to-clean workflow with good drainage and covered surfaces
Sketch a U-shaped or L-shaped layout: hose at the entry, a sturdy bench mid-route, and your fridge at the far end. That simple line keeps dirty tasks away from clean surfaces and storage areas.
Keep a rubber mat at the hose, hang a squeegee by the door, and slope a board toward a drain pan. Cover clean bins and store them on shelves, not the floor, so contact points stay tidy.
Simple, consistent pest management inside buildings and storage areas
Place traps along walls, seal pencil-width gaps with caulk, and trim grass around buildings. Remove trash and cull piles daily and keep pallets one foot from walls for quick inspection.
- Label equipment for field use versus packing to prevent cross-use and slow contamination.
- Don’t use bait in packing areas; cover fresh produce and keep doors closed when you can.
- Post a tiny checklist—“sweep, squeegee, wipe bench, check traps”—and do a five-minute cooling check weekly.
Small, repeatable habits win. Rinse mud from boots outside and brush off dirt debris before you enter. These calm routines protect food safety, keep equipment ready, and make buildings feel orderly and safe for fresh produce.
Conclusion
Take a slow, grateful walk through your beds and notice the small wins—clean bins, neat rows, and bright fruit.
You've done the work that keeps produce fresh and safe. Remove debris, wash with detergent, rinse, then sanitize food-contact surfaces. Use potable water and match wash water and cooling to the product and fruits you handle.
Keep a one-way flow through areas, dry equipment and surfaces, and manage pests with simple exclusion and routine checks. Clear drains and remove trash daily to reduce pressure on storage and packing.
Trust these gentle habits. They improve produce safety, save time, and make your farm or backyard feel tidy. Pour a warm cup of tea and enjoy the season’s quiet—your calm care made this harvest shine.
FAQ
When should I start cleaning up my garden after harvest in my region?
Begin when mornings are cool and dry and before heavy fall rains. In northern U.S. zones, aim for early to mid-fall after main harvests. In milder climates, finish major clearing by late fall, taking advantage of dry days to reduce soil compaction and pathogen spread.
What plant material should I compost and what should I throw away to avoid spreading disease?
Compost healthy, disease-free leaves and stems that have had no obvious rot or fungal growth. Destroy or discard plants with signs of wilting, soft rot, sunken lesions, or persistent fungal fruiting bodies—these can harbor pathogens that survive composting at low temperatures.
How should I clean and sanitize my tools and gloves?
Remove soil and debris first, wash tools with soap and water, then apply a food-contact sanitizer such as diluted chlorine or quaternary ammonium per label directions. Rinse if required, and allow tools and gloves to air-dry completely before storage to prevent biofilm formation.
How do I clean garden surfaces and containers to prevent pathogens and biofilms?
Scrub surfaces with detergent to remove visible dirt, rinse, then apply a labeled sanitizer for food-contact surfaces. For plastic bins and crates, use a brush and hot water, followed by a sanitizing solution. Let everything air-dry in a clean, covered area.
What should I check for when doing a quick pest inspection in sheds and storage areas?
Look for droppings, nests, chew marks, insect frass, and pest entry points. Check stored produce and packing materials for signs of infestation. Seal gaps, elevate boxes off the floor, and keep areas dry to discourage pests.
How do I choose a safe water source and should I test my well water for produce washing?
Use a municipal supply when possible. If you rely on well water, test it routinely for microbial contamination and chlorine levels. If tests show risks, treat the water or use potable replacement water for washing and rinsing produce.
Why match wash water temperature to the produce, and how do I do it?
Wash water colder than produce can draw water and microbes into tissues. Match or slightly warm wash water to the produce temperature to prevent uptake. Measure produce temperature in the field or cooling area and adjust wash water accordingly.
Which sanitizers are appropriate for food-contact surfaces and wash tanks?
Common choices include chlorine (sodium hypochlorite), peracetic acid, and quaternary ammonium compounds. Follow label instructions for proper concentration and contact time, and avoid mixing chemicals. Rinse when required and monitor sanitizer levels regularly.
How quickly should I cool harvested produce and what are safe target temperatures?
Remove field heat as soon as possible. Many vegetables are best chilled to 32–41°F (0–5°C) depending on crop sensitivity. Use forced-air cooling, hydrocooling, or ice when appropriate, and avoid temperatures that cause chilling injury for sensitive crops like tomatoes.
What handling steps reduce bruising and cuts that invite bacteria?
Handle produce gently, use cushioned surfaces, avoid overfilling bins, and train workers to use proper lifting and carrying techniques. Sort out damaged items promptly to prevent cross-contamination with healthy produce.
What packing materials and containers help prevent damage and contamination?
Use smooth, food-grade plastic crates or bins that are easy to clean and sanitize. Avoid porous or broken containers. Line boxes with clean, approved packing material when needed and rotate packing supplies to prevent buildup of dirt and microbes.
What are typical storage temperature and humidity targets for common vegetables?
Leafy greens: 32–36°F and high humidity (95%); root crops like carrots and beets: 32–40°F and 90–95% humidity; tomatoes: 50–55°F and moderate humidity to avoid chilling. Check crop-specific guidance and monitor conditions with a thermometer and hygrometer.
How can I control ethylene to protect greens and sensitive crops?
Store ethylene-producing items like apples and ripe pears separately from ethylene-sensitive greens and roots. Use ventilation, dedicated storage areas, or ethylene scrubbers for mixed storage spaces to limit quality loss.
How do I design a dirty-to-clean workflow in my shed or garage?
Create distinct zones: dirty (incoming produce and soiled tools) to clean (washing and sanitizing) to dry/pack (clean storage). Ensure good drainage, covered clean surfaces, and clear signage. A one-way flow minimizes cross-contamination.
What simple pest-management steps work inside buildings and storage areas?
Keep floors and surfaces clean, store food and packing materials in sealed containers, seal cracks and vents, set traps where appropriate, and inspect regularly. Maintain low moisture and remove spilled produce promptly to reduce pest attractants.