You kneel in the yard, feeling cool soil crumble between your fingers and smelling the warm, woodsy scent of fresh mulch. Have you noticed crowded beds or a patch that would shine in a sunnier spot? This is the kind of small change that can lift your whole home garden without fuss.
In this short guide we help you see the right time to move perennials and the gentle process that keeps roots safe. Cooler, overcast days and steady temperatures make moves easier. Water the day before, dig a generous root ball, set plants at the same depth, then water thoroughly.
Soil matters: choose a spot with well-prepared soil and have the new hole ready before you lift a plant. Top with 2–3 inches of shredded cedar or hardwood mulch to hold moisture and steady soil conditions.
We’ll walk through simple tips—clean tools, ring-cut at the dripline, pinch off blooms if needed, and check moisture daily for three weeks—so you feel calm and ready for success.
Key Takeaways
- Move perennials in fall when plants are dormant and soil is cool.
- Prepare the new hole first, water ahead, and lift a generous root ball.
- Use 2–3 inches of mulch to retain moisture and even soil temperatures.
- Keep soil evenly moist and check with a finger to knuckle depth daily.
- Working on overcast days reduces stress and boosts chances of success.
Find the Right Fall Window for Your Garden
Pick a stretch of mild autumn days so your plants can focus on roots, not new growth.
Best by region: In many U.S. gardens, especially Zones 5–7, early to mid-fall is ideal. Nights cool while afternoons stay comfortable. That time helps roots settle before hard frosts arrive.
Reading your weather
Choose a cloudy day with a light breeze. Avoid heat waves and any forecast for hard frost. These simple conditions reduce leaf stress and keep moisture steady.
Soil cues
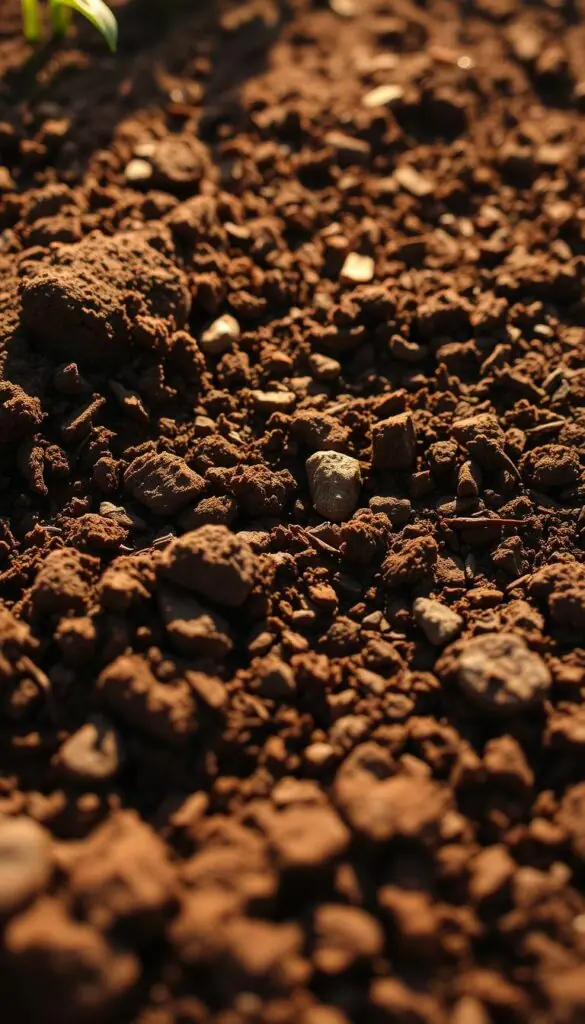
Check the soil by squeezing a handful. The ground should hold together when pressed but crumble when nudged—moist, not soggy. If very dry, pre-water the spot so the soil can knit back around roots.
- Aim for steady, mild temperatures—cool nights and warm-but-gentle afternoons.
- Keep sessions short: move one plant at a time so roots spend minimal time exposed.
- Watch changing sunlight angles and pick the new spot for the right spring light.
Know When a Plant Really Needs to Move
Watch how a plant stands and you'll know when it's time to move it.
If a sun-loving specimen stretches toward light with pale leaves and fewer blooms, that shift in sunlight is a clear cue. Conversely, shade favorites that end up in full sun may show bleached or scorched foliage the next season.
Overcrowded beds tell a story too: thin, tangled growth, reduced flowers, and poor air flow all point to a need for more space.
Moving a clump a few feet can refresh the whole garden. If you’re heading to a new house, bring along treasured perennials so their memories bloom again in your next yard.
| Sign | What to look for | Quick fix |
|---|---|---|
| Light mismatch | Stretched stems, pale leaves, fewer blooms | Move to brighter or shadier spot as needed |
| Sun shock | Bleached or scorched edges on leaves | Relocate to filtered light and provide shade |
| Overcrowding | Tangles, thin growth, poor flowering | Divide or shift clumps to improve airflow |
- Watch leaf color and posture day to day for early cues.
- A small move now prevents greater stress and supports spring growth.
Prep First: Site, Soil, and Tools
Before you lift a single root ball, set the stage: clean tools, a filled hose, and a ready hole.
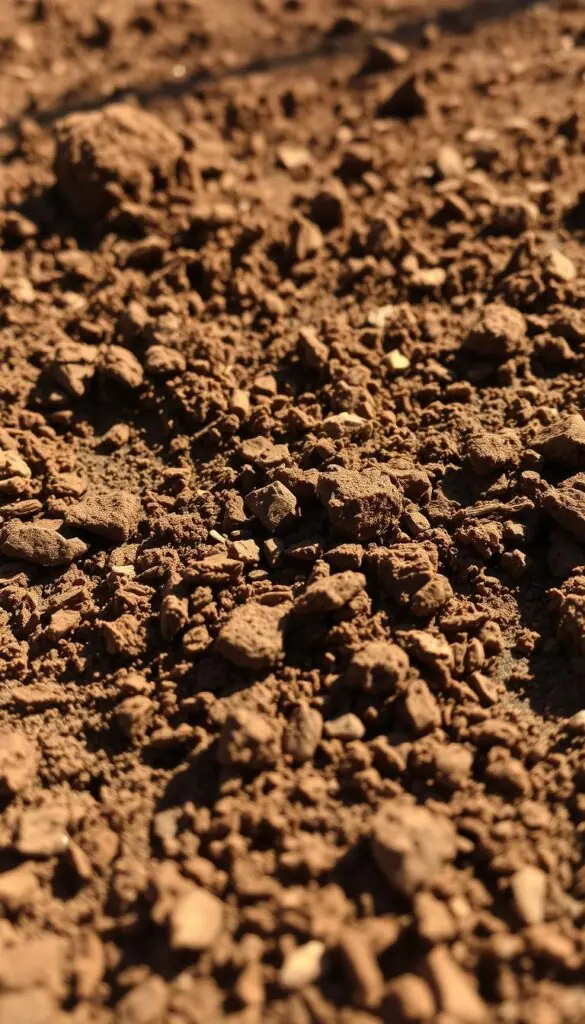
Clean blades and handles in warm, soapy water to cut infection risk. Lay out a spade, trowel, hand pruners, mulch, and a hose or watering can so everything is within reach. This tidy work space shortens exposure time for the plant’s system.
Dig the new hole first. Make it at least 6 inches wider and deeper than the root spread, or up to double the diameter for big clumps. A larger hole gives roots loose space to slip outward and meet friendly soil.
- Blend compost and worm castings into the planting area until the soil feels soft and crumbly.
- Skip high-phosphorus fertilizer in fall; the goal is steady root settling, not forcing top growth.
- Check drainage by filling the hole with water; it should soak in within an hour.
"Stage well and the rest goes easier."
Keep backfill on a clean tarp, mark the plant’s front with a tie, and avoid compacting when you return soil. These small tips help your plants settle into their new space with less stress.
How to transplant flowers step by step
Follow these simple steps to move a plant with confidence—short, calm actions help roots settle and reduce shock.
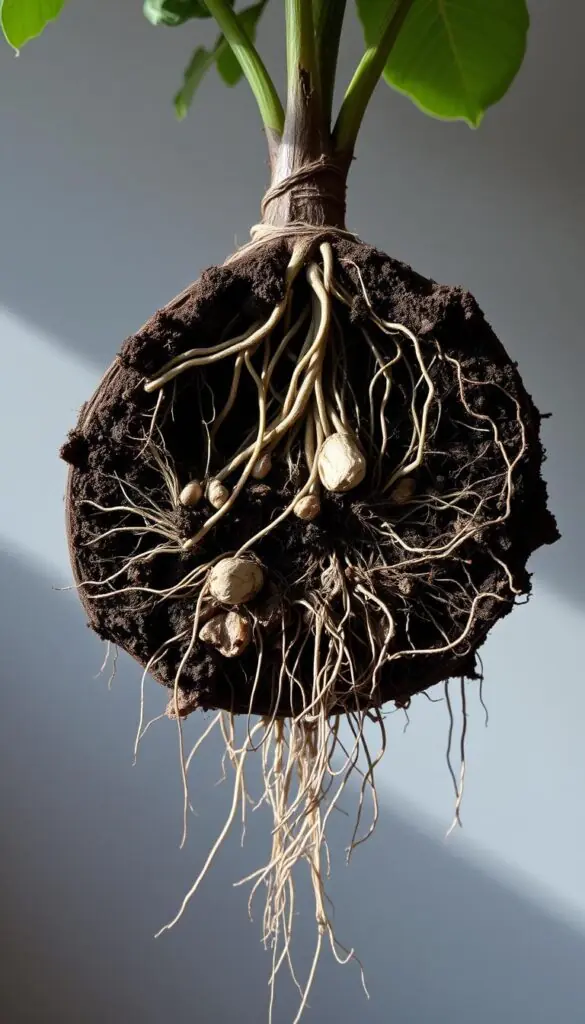
Water the day before and again the morning of moving
Water thoroughly the day before so the soil holds together. Give a light watering the morning of the move. The cool splash helps roots release cleanly from the ground.
Cut a clean circle at the dripline and lift the root ball gently
Use a sharp spade to cut a straight ring at the dripline. Slide the blade under and lift the root ball with soil intact. Support the ball from below; do not tug on stems.
Set at the same depth, backfill without compacting, and water to settle soil
Place the plant in a pre-dug hole so the original soil line matches the new ground. Backfill with the saved soil and crumble it in by hand. Water slowly until the soil around the roots shows a gentle sheen and sinks a bit.
Top with 2–3 inches of organic mulch
Spread 2–3 inches of shredded mulch to hold moisture and even temperatures. Remove any spent flower or heavy bloom so the plant gives energy to root recovery. A small care bit now boosts long-term success.
- Quick tip: If you notice air pockets, add a pinch more soil and water again; avoid compacting.
- Final touch: Turn the plant so its best side faces the path for daily pleasure.
Post-Transplant Care in the Weeks Ahead
In the days after you set a plant in its new spot, small daily actions make a big difference.
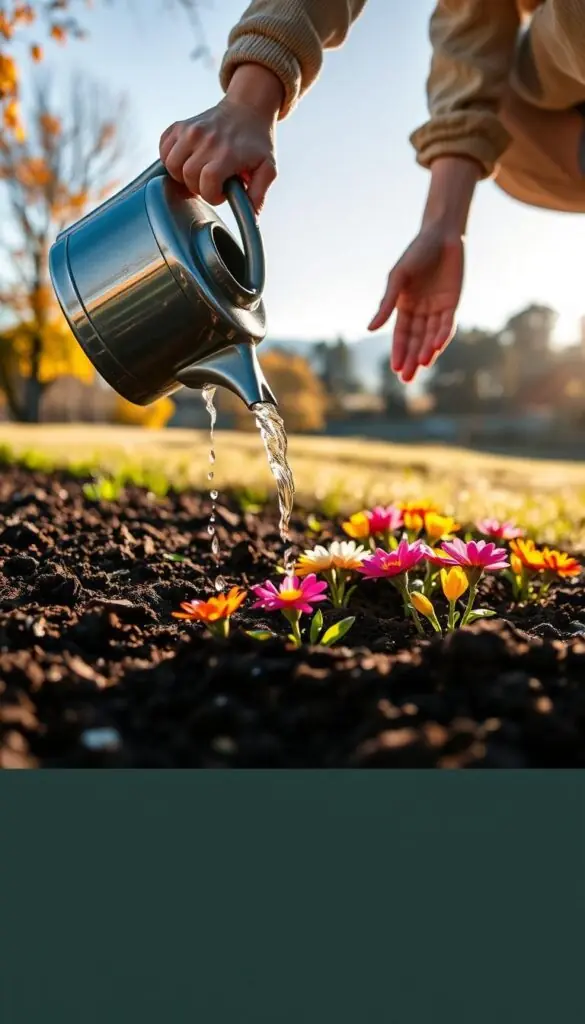
For the first two to three weeks, check soil with your finger each day. If it feels dry to the first knuckle, water at the base early in the day. Slow, deep watering helps the root system knit into surrounding soil without leaving pockets.
If afternoons bring bright sun or brisk wind, give temporary shade with a mesh panel or umbrella. Light cover lowers leaf stress and keeps temperatures and moisture steadier during settling time.
Avoid adding fertilizer in fall. The goal is calm root recovery, not new top growth. Snip spent blooms and torn leaves so the plant can focus energy below ground.
- Keep soil evenly moist, never soggy, for the first few weeks.
- Add a thicker mulch ring before a cold snap to buffer conditions and retain moisture.
- Watch posture and color; perky leaves and gentle new root tips signal steady success.
"Simple, steady care now gives your plants the best chance to settle and thrive."
Common Mistakes That Cause Transplant Shock
Early morning or late afternoon moves save plants from heat stress and make recovery easier. Choosing a cool hour is one simple way to cut shock and keep leaves from wilting under hot sun.
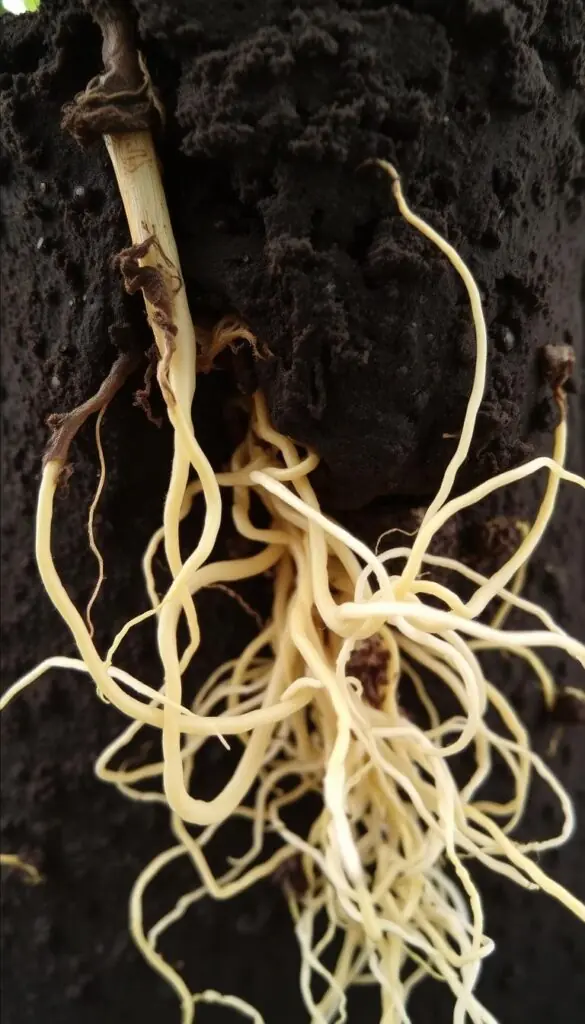
Moving at midday under hot sun
Don’t dig and move at midday when direct sun and heat raise stress. Instead, work in the morning or late afternoon.
Quick fix: If you must move during the day, shade the plant immediately and water gently to cool the ground and foliage.
Planting too deep or leaving air pockets
Setting the crown below grade or leaving gaps around the root ball traps moisture or dries feeders. Match the original planting depth.
Quick fix: Backfill in stages and water as you go to settle soil around roots and eliminate hidden air pockets.
Letting soil dry out during the first three weeks
Newly moved plants need steady moisture. Dry spells in the first three weeks cause the most damage.
- Keep a simple watering log for the first few days—consistency beats occasional heavy soaks.
- Lightly rake and add fresh mulch to prevent surface crusting so water soaks into the profile.
- Watch for early wilt; act fast with water and temporary shade.
"Simple steps—cool timing, correct depth, and careful backfill—prevent most shock."
Special Cases: Perennials, Annuals, and Seedlings
When you lift a big clump or a tiny start, small changes in technique protect the root system and help recovery.
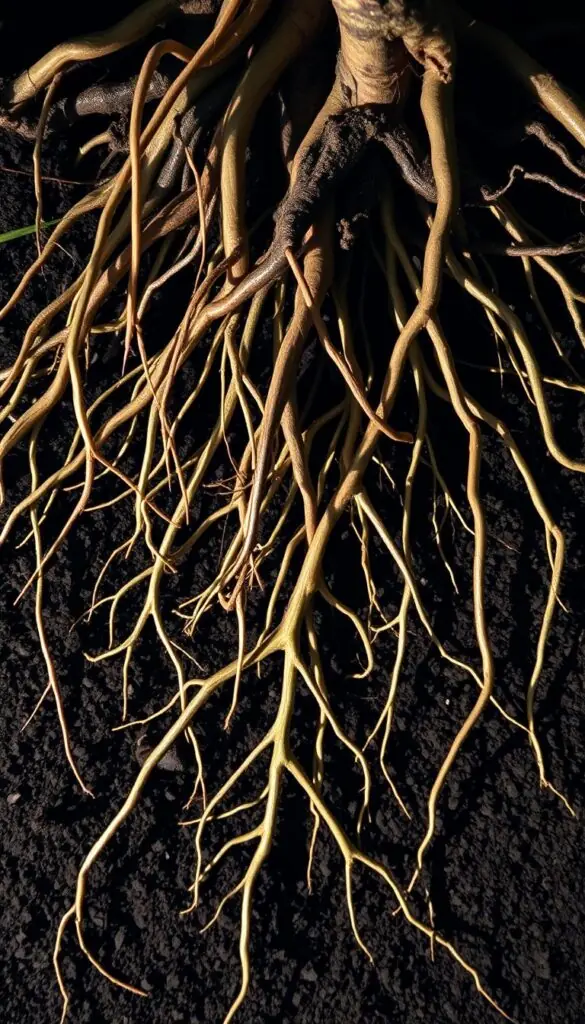
Perennials with large root systems
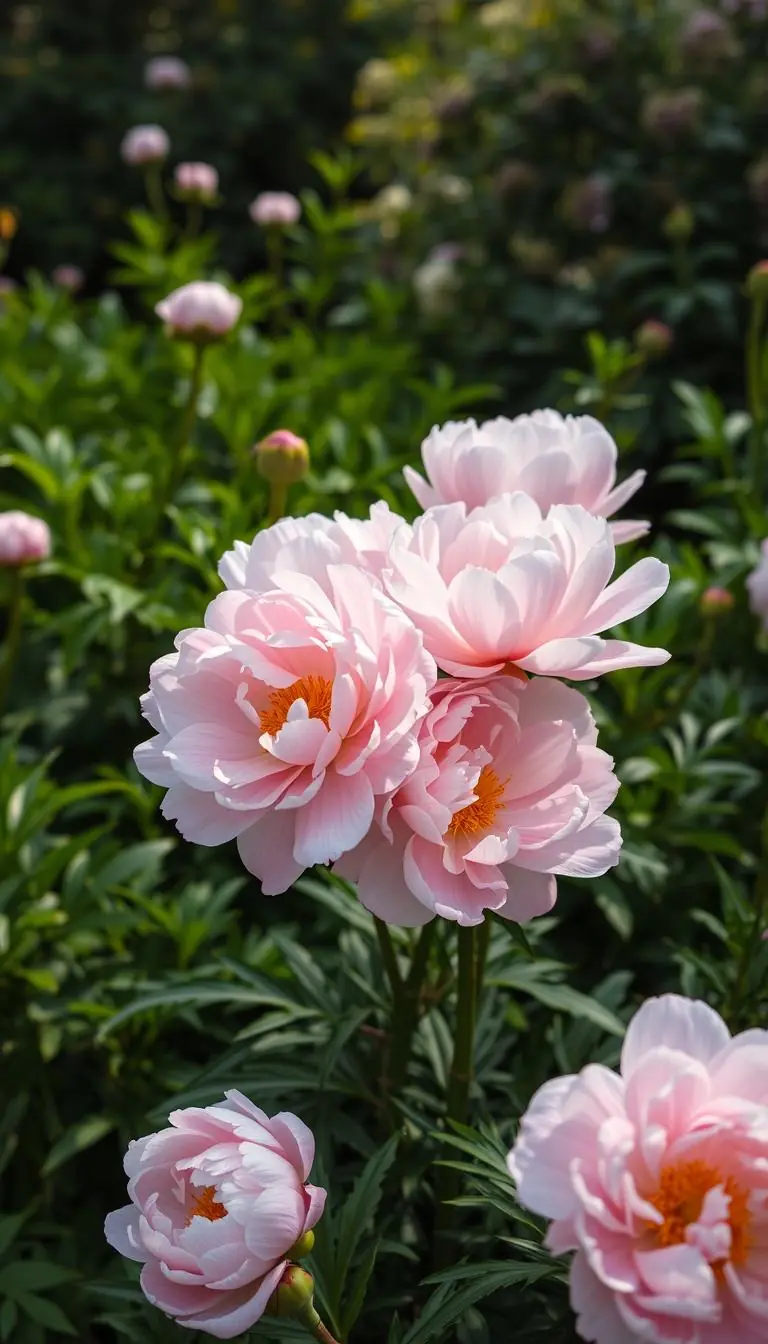
For mature perennials like peonies and hostas, measure at the dripline and cut a wide ring.
Lift with soil around the root ball and prepare a hole at least 6 inches wider and deeper than the root mass.
Tip: A bigger hole gives the root system room to spread without cramping.
Blooming plants
If a plant is in bloom—asters or mums, for example—pinch off the blooms before you move it.
Removing blooms sends energy back into the root system so the plant can reestablish faster.
Seedlings and small starts
Water seedlings first and transplant when true leaves appear.
Handle by the leaves or the root ball; never lift by the stem, which can snap easily.
After planting, nest the root ball at the original depth, firm gently, and water slowly.
- Move cool-season annuals in early spring or fall; wait until frost risk passes for warm-season plants.
- Choose a place with the right light for next spring and leave enough space so mature size won’t crowd neighbors.
- Group plants by water needs at home to simplify care and reduce stress over the season.
| Case | Key action | Why it matters |
|---|---|---|
| Large perennials (peony, hosta) | Cut wide, lift with soil, hole 6" larger | Prevents root cramping and supports quick root spread |
| Blooming plants (asters, mums) | Pinch off flowers before moving | Directs energy to roots for faster recovery |
| Seedlings (zinnia starts) | Handle by leaves or root ball, water first | Protects stem and fragile root system |
| Fast expanders | Allow extra space; plant farther apart | Reduces crowding and disease, supports summer growth |
"Be gentle, give space, and water to help roots settle—plants often perk up by morning."
Conclusion
Fall gives you a gentle window to reset beds and let roots settle without rush.
When you transplant flowers in fall, you give your garden a calm restart. Cool temperatures and soft soil make it easier for roots to find new ground and prepare for spring growth.
Keep the process simple: prepare the hole, lift gently, set at the same depth, water to settle, and add mulch to hold moisture. Skip fertilizer now and watch soil feel and leaf posture in the first weeks.
Take a slow walk around your refreshed beds at day's end. Enjoy the look, trust your steady steps, and know each careful move helps plants thrive.
FAQ
When is the best time in fall to move plants in my region?
Choose a window when nights are cool but not freezing and daytime highs stay mild. Aim for a stretch of several cloudy, calm days without heat waves or hard frost. This reduces stress and gives roots time to settle before winter.
How can I tell if the soil is ready for planting?
Good planting soil holds its shape when squeezed but isn’t waterlogged. It should be moist and workable—too wet compacts and cuts off air, too dry makes digging and root contact difficult. If the ground breaks into a loose ball that holds together, you’re good to go.
What signs show a plant really needs to be moved?
Move a plant if its light conditions change (sun-loving varieties now in shade or vice versa), if it’s crowded and producing fewer blooms, or if roots are pushing up or growing out of the pot. Look for straggly growth, tangled stems, and time-worn placement that no longer fits the design.
What tools and supplies should I have on hand before starting?
Gather a clean spade, trowel, hand pruners, a hose or watering can, organic mulch, and a bucket for soil amendments like compost or worm castings. Clean tools reduce disease risk and make the job smoother.
How large should the new hole be?
Dig a hole wider and slightly deeper than the root ball so roots can spread easily. Wider is better than deeper—backfill so the crown sits at the same level it did before. Avoid planting too deep, which can smother stems and encourage rot.
How should I prepare the planting mix?
Improve native soil with a couple handfuls of compost or worm castings to boost structure and nutrients. Avoid high-phosphorus fertilizers in fall; focus on improving drainage and root-friendly organic matter that helps moisture retention without creating soggy conditions.
What are the key steps to move a plant safely?
Water the plant the day before and again the morning you move it. Cut a clean circle at the dripline and lift the root ball gently. Place it in the new hole at the same depth, backfill loosely to avoid air pockets, and water well to settle the soil. Finish with 2–3 inches of organic mulch to keep temperatures even and conserve moisture.
How often should I water after relocating a plant?
Keep soil evenly moist for the first few weeks. Check daily with your finger an inch or two down; water when the topsoil feels dry. Avoid overwatering—soggy soil starves roots of oxygen—while preventing drying that stresses a newly moved root system.
Should I give fertilizer after moving plants in fall?
It’s best to avoid feeding in fall. Fertilizers that promote new top growth can leave plants vulnerable to cold. Let the plant focus on root recovery; if you must, use a low-nitrogen, root-focused amendment and only in mild climates where growth won’t be forced into winter.
How much should I prune after moving a mature plant?
Prune lightly—remove dead or damaged leaves and spent blooms to reduce stress. Don’t do heavy pruning; that forces new growth and pulls energy away from root establishment. For large perennials, a modest shaping is usually enough.
What common mistakes cause transplant shock and how do I avoid them?
Avoid moving plants at midday under hot sun, planting them too deep, leaving air pockets around the root ball, or letting the soil dry out in the first three weeks. Work during cool parts of the day, set plants at the correct depth, tamp lightly to remove gaps, and keep the root zone evenly moist.
Are there special tips for big-rooted perennials or tiny seedlings?
For large perennials, dig wider than you think and lift the root ball carefully to keep it intact. For blooming plants, pinch off flowers so the plant redirects energy to roots. Handle seedlings by their leaves or root ball—not the stem—to avoid crushing delicate tissue.