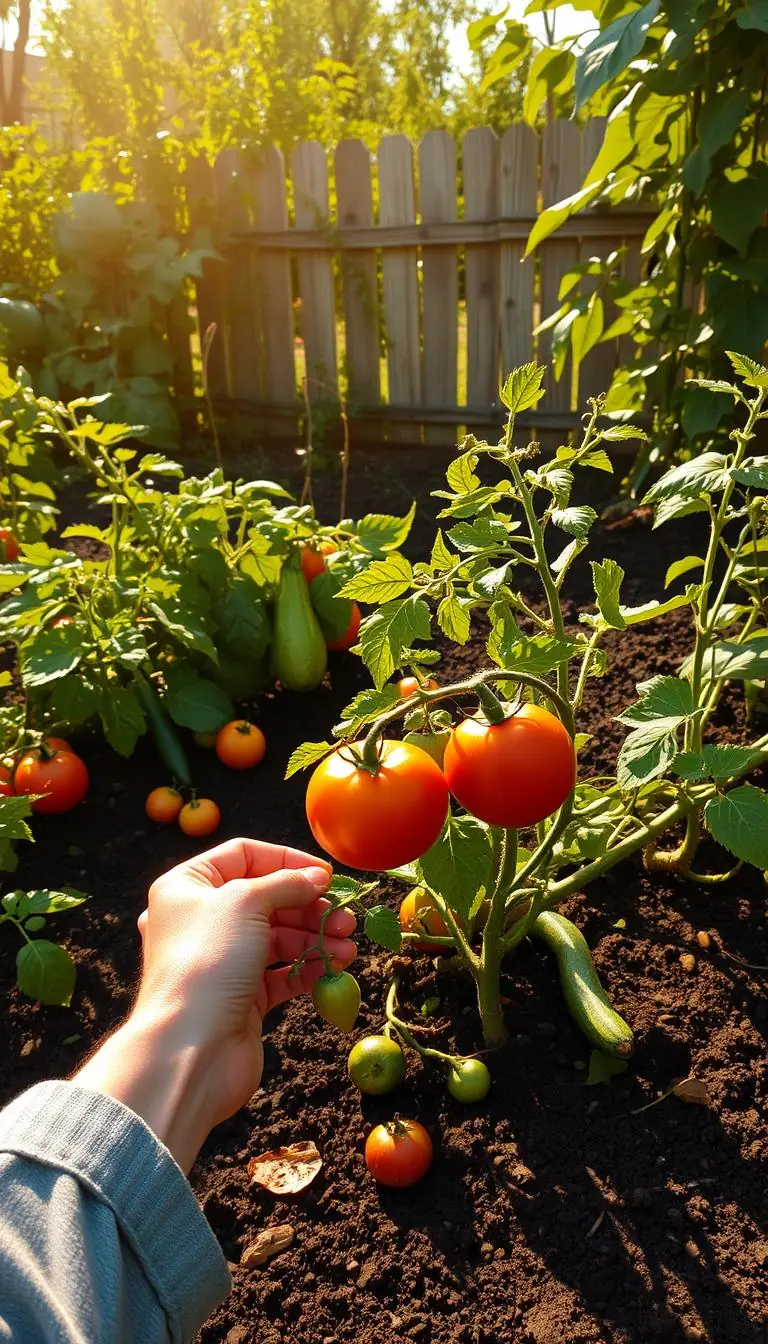
You kneel by a tray, feeling warm, sunlit soil between your fingers and smelling the fresh, earthy mix. That quiet moment is where confident gardening begins.
In this short guide, you’ll get a calm roadmap to seed starting so you know when to start seeds and when to move plants into the garden.
We keep steps simple with real examples like tomatoes, peppers, and lettuce. You’ll learn easy tools—a soil thermometer, a small heat mat, trays, and a timer—that make the process peaceful and tidy.
Expect a yearly rhythm: plan in winter, sow in late winter to early spring, and harden off as days warm. Packets list days to harvest and frost guidance, which helps you pick varieties that finish before frost.
Key Takeaways
- You’ll learn the full process so you feel steady and prepared.
- Start long-season vegetables indoors to extend your growing season.
- Use LED lights close to seedlings rather than a sunny windowsill.
- Keep leftover seeds in airtight containers with a desiccant.
- Watch soil temperature and moisture for quicker, even germination.
Start here: a calm plan for a beautiful, simple seed season
Start small: a clear weekly routine makes the whole season feel manageable.
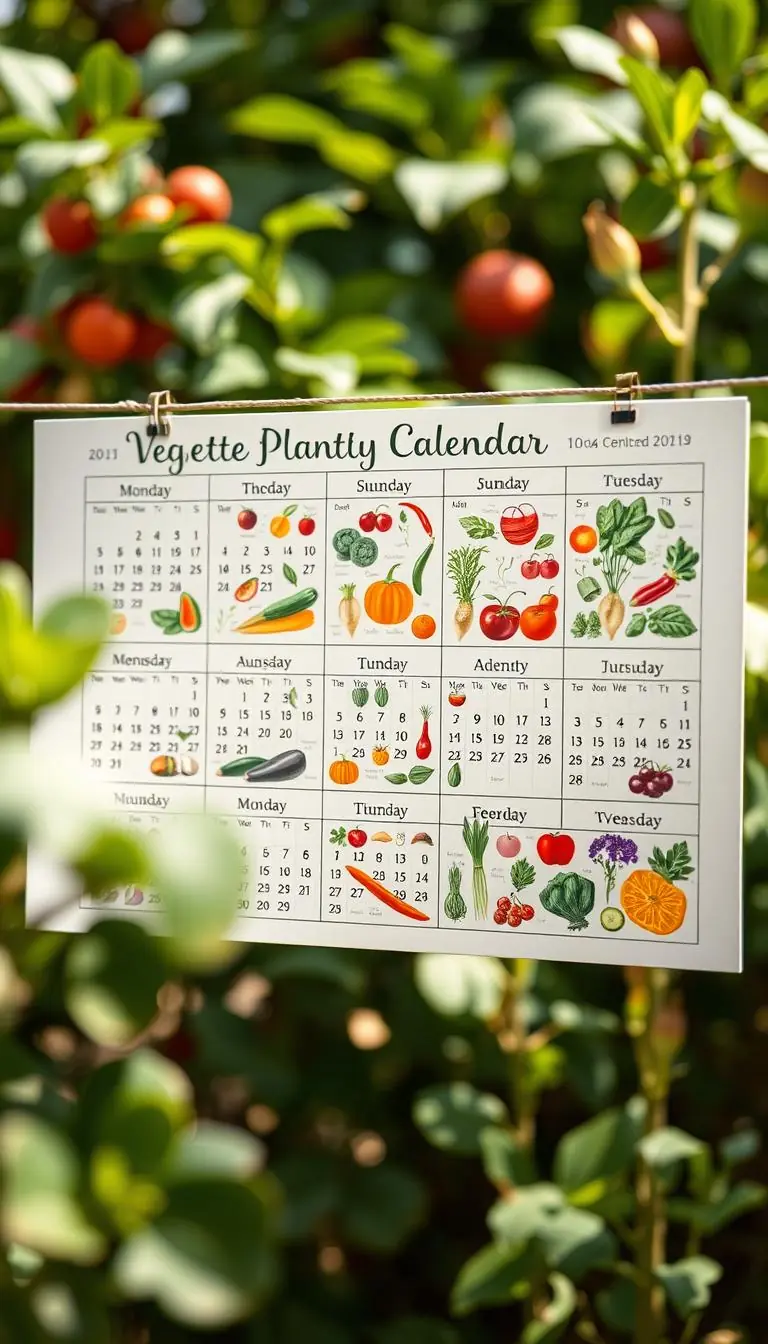
Begin with a quick sketch of your garden and a warm cup of tea. Count spaces for tomatoes, peppers, greens, and a few flowers so you order the right number of seeds.
Work backward from your last frost and note a target week for each crop. Use the packet dates as a guide and adjust for your microclimate.
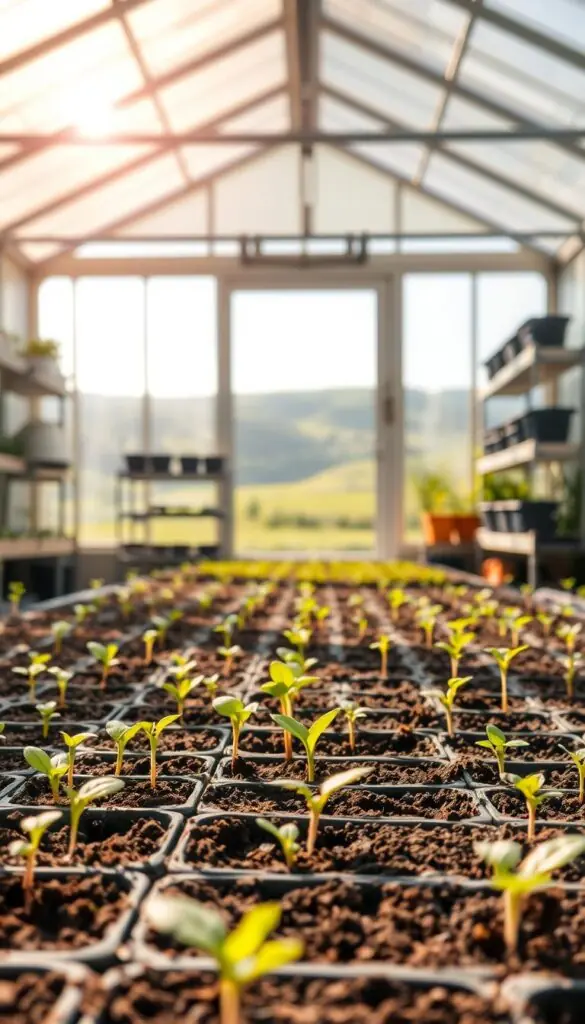
Keep the area simple: a small table, a tray, a light, and a notepad. Track sowing dates, germination, and potting up so next year is easier.
- Buy fresh seeds for core crops and a few extras to replace losses.
- Store packets in a labeled, airtight tin to stay dry through the year.
- Group crops by timing so you sow in calm, 30-minute sessions.
| Task | When | Why | Quick tip |
|---|---|---|---|
| Sketch beds | Week 1 | Decide transplant numbers | Count extra for losses |
| Set sowing weeks | 2–4 weeks before sowing | Avoid last-minute rush | Work backward from frost |
| Prepare station | One week before | Simple setup saves time | Keep it spill-friendly |
| Track progress | Ongoing | Improves next season | Use phone reminders |
Map your last frost date and count back with confidence
Pin down your local frost date first—then count back with confidence for every crop.
Look up your average last spring frost and write it at the top of your garden plan. This single date becomes your timing anchor for the season.

Find your local frost dates and microclimates
Note where your yard keeps or sheds cold. Hilltops are cooler and wind-exposed. Low spots trap frost. Patios and south-facing walls hold heat.
Talk with neighbors or check local extension maps to confirm your dates. Small quirks in your yard change the best transplant week more than broad averages do.
How many weeks back to start common plants
Count back by weeks from your last frost:
- Onions: about 10 weeks before the date.
- Tomatoes and peppers: 6–8 weeks (use 8 in cooler regions).
- Brassicas (cabbage, kale): 4–6 weeks before planting out.
Give warm-loving plants an extra buffer and transplant them 1–2 weeks after last frost. Soil often lags air temps by ~10°F, so this keeps roots cozy.
Use your seed packets as a starting point, then adjust for your backyard. Mark a flexible planting window rather than one hard day. Each season you’ll learn more, and timing will feel natural and calm.
Seed starting basics: what to grow indoors vs direct sow
A simple rule guides most choices: give warmth-loving crops a cozy head start, and let roots grow where they'll stay.
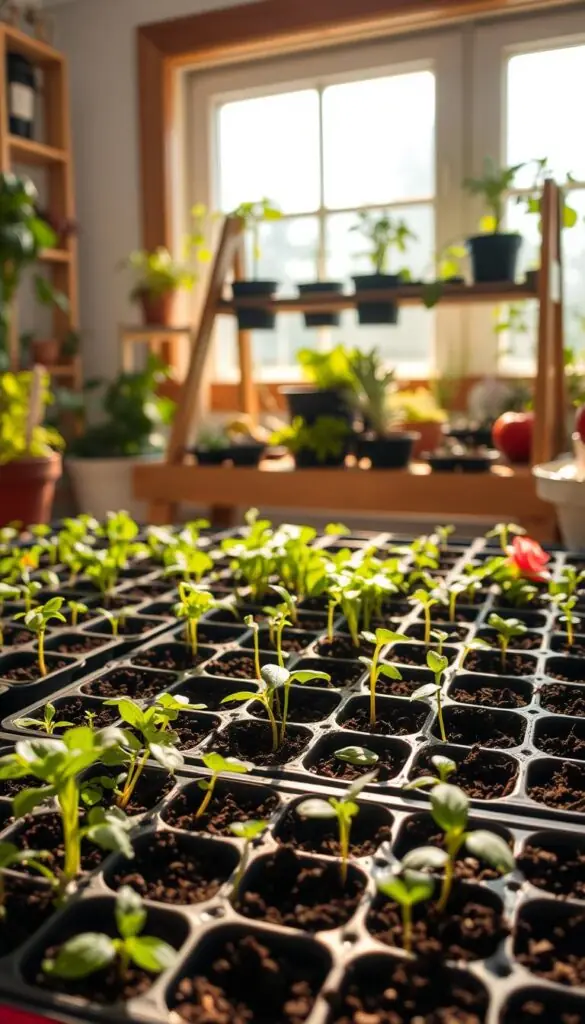
- Tomatoes, peppers, eggplant, and melons benefit from steady warmth and longer weeks under light.
- Onions are a common exception—many gardeners start them inside for stronger transplants and more variety.
Cool-season and root crops that thrive when direct sown
Carrots, beets, radishes, and turnips dislike root disturbance. They do best when you sow them straight into fine, weed-free beds.
Many greens—lettuce, spinach—and brassicas can sprout outdoors early when soil is cool and crumbly. The crisp spring air helps them stay compact and healthy.
"If your season is short, favor indoor starts for long-season crops so harvests arrive on time."
| Method | Good for | Why |
|---|---|---|
| Indoor trays | Tomatoes, peppers, eggplant, melons, onions | Controlled warmth, longer growth time, better variety choice |
| Direct sow | Carrots, beets, radishes, turnips | Taproots avoid disturbance; simpler bed establishment |
| Either (test) | Cucumbers, peas | Try a few indoors and a few outside to see what your garden prefers |
Keep it simple: start a few inside, scatter the rest outside when the soil smells sweet and warm for heat lovers. Read the packet, match your frost timing, and let the season teach you what works best.
Choose seeds and read packets like a pro
Reading a packet well is the clearest way to match plants to your climate and schedule.
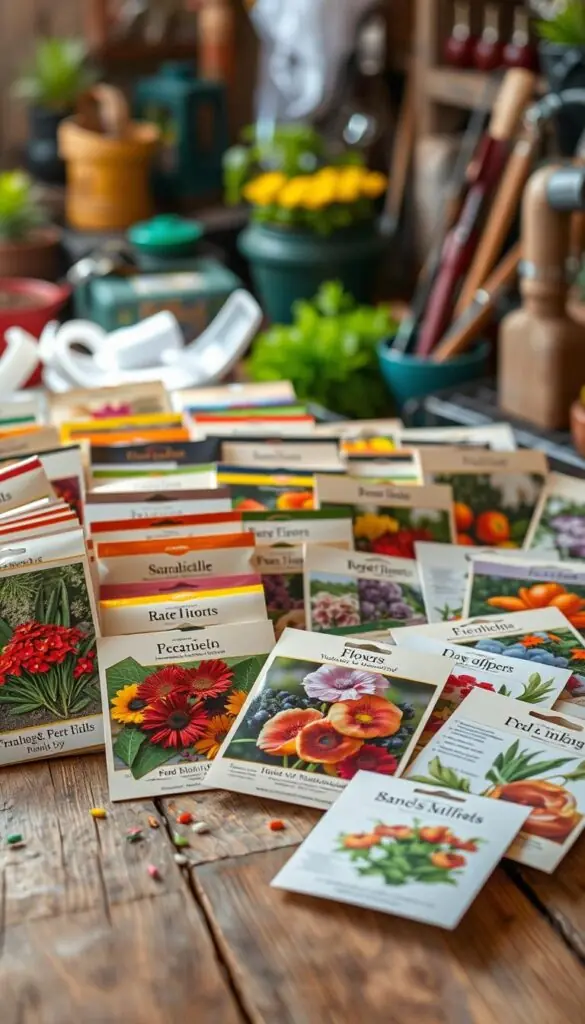
Check days to maturity on each packet so crops ripen before autumn frost. Use that number to pick varieties that finish in your growing window.
Days, germination period, and sowing depth
Note the packet's germination time and expected days to harvest. Some seeds sprout in a few days; others take weeks.
Use a simple depth rule: a seed goes about twice as deep as it is wide. That works for most small garden crops.
Saving leftover seed and a quick viability check
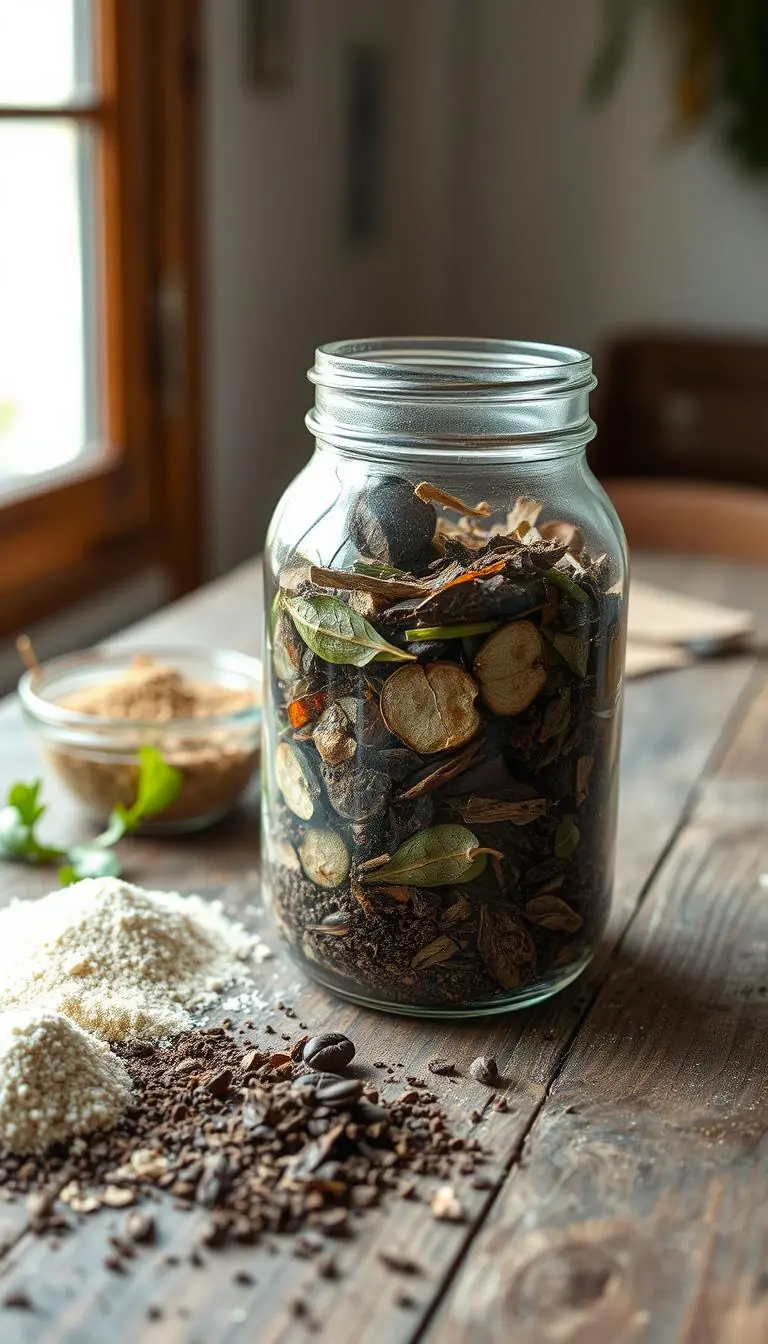
Store extras in an airtight jar in the fridge with a small silica gel pack or a teaspoon of powdered milk wrapped in tissue. Label by crop and year so you know what's freshest.
Run a paper-towel test: wet a towel, place a few seeds, fold and check germination in 5–7 days. If few wake, sow extra to reach the number you need.
- Choose a few name-brand seed packets for clear instructions and reliable labels.
- Pick varieties you love — it's an easy way to keep gardening joyful all season.
"A well-read packet is a gardener's quiet shortcut to success."
Set up your seed starting station
Pick a calm spot that feels tidy and reliable. Choose a quiet corner away from heavy traffic, pets, drafts, and excess heat. Keep air temperatures above 60°F so young plants wake and grow without stress.
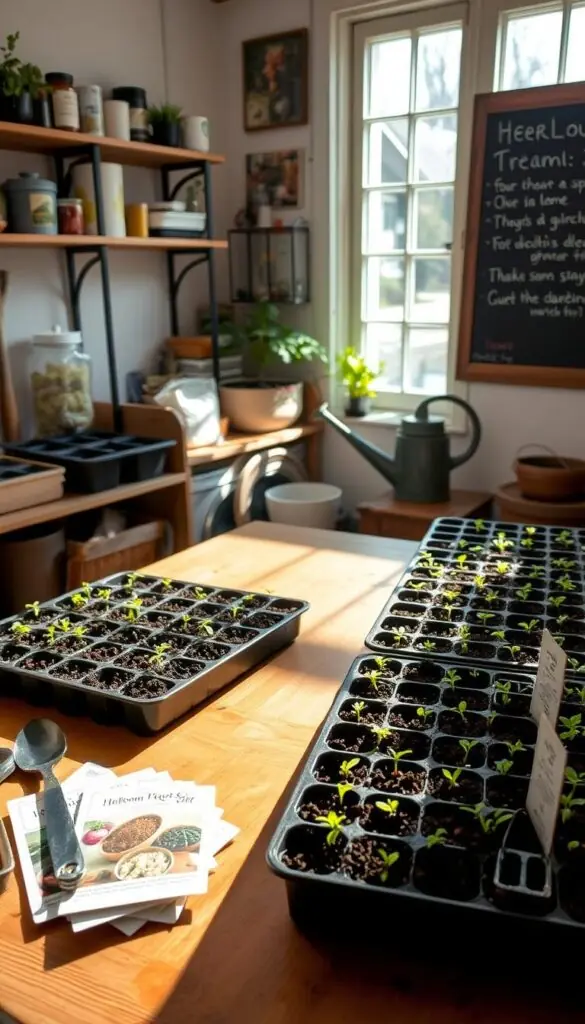
Power and protection: place your table near an outlet for lights and timers. Protect surfaces with a tray so spills are no worry and cleanup is quick.
Trays, cell packs, and drain-ready containers
Use seed trays, cell packs, or small pots that have drainage holes to avoid soggy roots. If you reuse a plastic container, disinfect it in a diluted solution for 30 minutes, then rinse and dry.
When to use domes — and when to remove them
Clear plastic domes hold humidity and warmth for freshly sown trays. Remove the dome as soon as green tips appear or leaves touch the lid to prevent mold and leggy stems.
Labeling that stands up to water and light
Mark every row with a waterproof permanent marker and the sow date. Group crops by height and timing for easier care.
- Keep a small fan nearby for gentle airflow — the soft hum supports sturdy stems.
- Lay out tools (spray bottle, scoop, tags) within reach so sowing feels calm and unhurried.
Light and heat: gentle sun, bright LEDs, and bottom warmth
Bright, close light and a gentle layer of bottom warmth make a big difference for tiny plants.
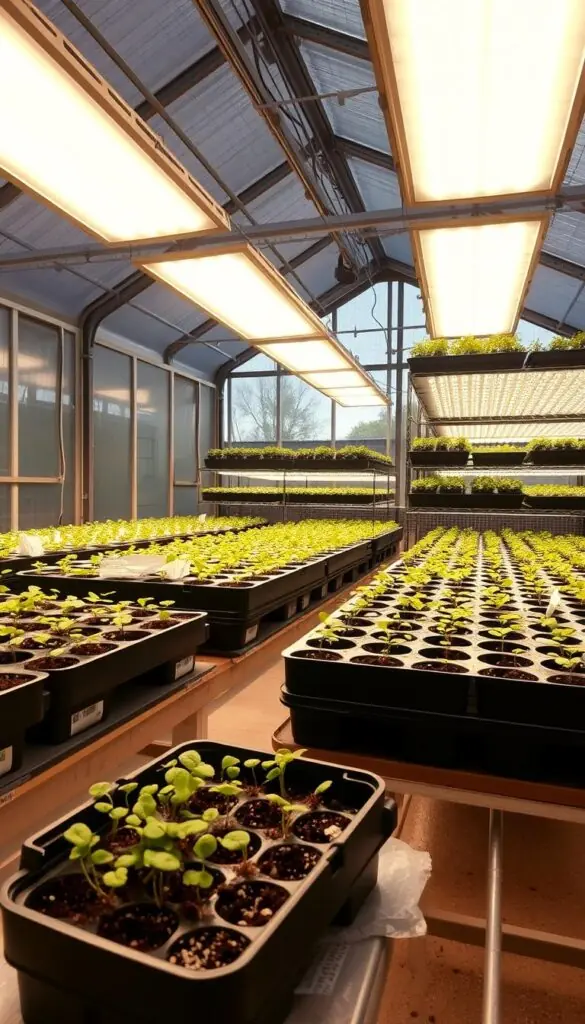
Grow lights: height, hours, and simple timers
Keep full-spectrum LEDs or fluorescent fixtures 2–4 inches above the tops of your seedlings. Set a simple timer for 12–16 hours daily so plants get bright day and a short, restful night.
Tip: Hang lights on chains and raise them weekly as leaves grow to preserve that close, clear glow.
Bottom warmth and when to use heat mats
Gently warm potting mix encourages faster germination and stronger roots. Use a heat mat for peppers, tomatoes, and melons if your room runs cool.
Plug the mat into its own outlet so it stays on when the lights click off. Feel the mix—warm, not hot—and you’ll know it’s right.
Why windowsills often disappoint
Windowsills give uneven sun, big temperature swings, and leggy growth. A bright lamp + steady warmth beats a sunny window most of the time.
Give trays a little moving air; soft airflow firms stems and lowers disease risk. If plants stretch, lower the light, add a bit more hours, and cool the room a touch to balance growth.
| Need | Best option | Key setting |
|---|---|---|
| Bright steady light | Full-spectrum LED/fluorescent | 2–4 in above tops, 12–16 hrs |
| Faster germination | Heat mat | Warm mix; mat on separate outlet |
| Simple setup | Avoid windowsill | Use lamp + gentle air circulation |
Potting mix and moisture that spark germination
A fluffy potting mix and steady moisture set the stage for quick, even germination.
Use a sterile, soilless seed-starting mix made of peat and vermiculite to cut disease and weeds. This light mix keeps soil airy so tiny roots get oxygen while the medium holds just enough water.
If you prefer an amended blend, add finished compost at 20%–35%. Be sure the compost is free of herbicide residues before mixing it in. A small amount of compost adds nutrients without collapsing the texture.
Pre-wetting and gentle watering
Pre-wet the mix until it feels like a wrung-out sponge. No dry pockets, no soggy clumps. Fill each container level to the rim, tap to settle, but don’t compact the soil.
Bottom-watering works best: set containers in trays, pour water into the tray, and let the mix sip up moisture for a few minutes. Then pour away any excess. This prevents soggy roots and keeps crowns dry.
"If the mix feels cool and springy between your fingers, you’re in the moisture sweet spot."
Quick cues and care
- Choose mixes that list peat and vermiculite for gentle moisture retention.
- Avoid heavy top watering that can float seeds or crust the surface.
- Use a gentle mister for very small seeds — it’s like a soft spring drizzle.
- Trust your fingertips: cool, slightly springy mix equals correct moisture.
| Need | Best option | Why it helps |
|---|---|---|
| Clean, fast germination | Sterile soilless mix (peat + vermiculite) | Reduces disease and holds moisture without compacting |
| Extra nutrition | Amended mix (20%–35% finished compost) | Adds food for seedlings without losing airflow |
| Consistent moisture | Bottom-watering in trays | Prevents overwatering and protects delicate roots |
Sow, cover, and wait: the quiet magic of germination
The real magic is simple: place each small unit where it can touch moisture, cover as the variety prefers, and give it gentle time to wake. This is a calm, tactile step—press seeds lightly into pre-wet mix so they touch damp soil; don’t bury them in dry dirt.
Depth rules and light vs. dark germinators
Use the “twice as deep as wide” rule for almost every grain or bead you sow. Tiny ones need only a dusting of mix; larger pieces go a little deeper.
Some require brightness to sprout. For these, sift a thin layer of fine vermiculite so light still filters through while moisture stays put.
Others prefer darkness. Cover trays with newspaper or a light-blocking plastic until the first green bends up, then remove the cover.
Real-world examples and friendly timing
Lettuce and brassicas often show in a few days. Peas and beans follow soon after. Warm-loving peppers and tomatoes take longer and ask for patience.
- Group similar sizes in one cell or tray so watering and covers match.
- Label every cell with crop and date to track days to germination.
- A clear plastic dome helps keep even moisture before sprouting; lift daily for air and settle it back.
"Press seeds into damp mix, cover as instructed, and give them the quiet they need to rise."
Daily care: water, air, and humidity balance
Each morning you can quietly check trays and keep moisture in balance.
Check moisture first thing. Feel the surface and press the mix lightly. It should feel cool and just damp below the top layer. Overwatering causes more harm than a slight underwatering.
Moisture tests that work
Try the pencil test: push a pencil in halfway, pull it out, and look for an even darkening on the tip.
Learn your tray weight. Heavy means wait; light means thirsty. These simple cues save you guesswork.
Humidity domes and airflow to prevent damping off
Remove domes as soon as green tips appear. High humidity (above ~85%) invites damping off.
Set a small fan on low so leaves tremble slightly. Move trays off cold window ledges and avoid drafts that chill tender stems.
"A calm, consistent routine is your best defense against damping off."
- Water gently at the base or from below; avoid splashing leaves.
- Keep lights close so seedlings stay compact and humidity stays balanced.
- Let the top of the mix dry slightly between waterings to encourage deeper roots.
Feeding, thinning, and potting up for steady growth
When leaves unfurl and roots begin to show, a small feeding routine helps growth. This keeps young plants resilient without overwhelming them.
When to fertilize seedlings and how much
Wait until each tray has several true leaves before you feed. Young seedlings draw energy from the original food cache, so early feeding usually isn't needed.
Use a water-soluble fertilizer at about one-quarter strength once a week. Water with plain water between feeds to avoid salt buildup and watch leaf color for clues.
Thinning to one strong plant per cell
Thin crowded sprouts gently and early. Keep the strongest plant in each cell so light and air reach its leaves evenly.
- Use sharp scissors and cut extras at soil level.
- Never tug extras; that preserves neighboring root systems.
- Space trays so leaves do not shade each other.
Potting up tomatoes, peppers, and eggplants
Pot up when roots reach the bottom or leaves crowd neighbors. Move to a container 1–2 inches wider and use a fresh, airy mix to encourage healthy root growth.
Hold by a leaf or the rootball, not the stem. Firm the new mix lightly, water softly, and enjoy that fresh, earthy scent as the plant settles.
"A gentle routine of feed, thin, and pot keeps seedlings steady and ready for the garden."
Troubleshooting seedlings before they trouble you
Catch problems early: quick checks can save a whole tray of tiny plants.
Quick look, quick fixes: walk trays daily and scan stems, leaves, and the mix. A short habit prevents slow decline and keeps growth steady.
Leggy stems, pale leaves, and poor roots
Leggy growth usually means low light or too-warm air. Lower your fixture and cool the room a few degrees to shorten stretch.
Pale leaves point to low nutrition. Start a gentle feed when true leaves appear and watch color return.
Poor root growth comes from soggy or compacted soil, cold temps, or weak drainage. Check holes, lift trays to drain puddles, and repot when roots circle the pot.
Damping off prevention with clean media and air
High humidity plus poor airflow invites damping off. Use sterile media, avoid overwatering, and remove domes once sprouts appear.
Run a small fan on low to keep fresh air moving. If stems pinch and topple, remove affected cells to protect the rest.
Pests and spacing: quick fixes that save a tray
- Peek under leaves for aphids or fungus gnats; rinse plants, use sticky traps, or isolate trays.
- Space seedlings so leaves do not overlap; crowding invites pests and slows light access.
- After watering, press the mix lightly around a wobbly stem to steady the plant and support root contact.
"Small, steady tweaks put trays back on track."
Troubleshooting is part of the process. With calm checks and simple actions you’ll keep seedlings healthy and ready for the next way forward.
Hardening off: teach indoor seedlings to love the outdoors
Take a few gentle days to teach indoor plants the rhythm of outdoor life. Think of hardening off as calm, sensory practice: soft shade, cool air, and a little sun so young roots and leaves adapt without shock.
A gentle 7–14 day schedule with shade, sun, and wind
Begin 1–2 weeks before planting out. Day 1: two hours in bright shade with mild air, then back inside before evening chill.
Add an hour or two each day and inch trays toward morning light. Save harsh afternoon sun for the last days. Skip days with frost warnings or fierce wind.
Fans, hand-brushing, and light mist to build sturdy stems
By midweek, let leaves feel dappled sun and a soft breeze; they’ll darken and thicken. Run a small fan nearby or brush your palm across tops once or twice daily.
Mist lightly if humidity is low, then let foliage dry. A coldframe with increasing vents works well—open it more each day so trays learn wind and full sun before transplant time.
"A patient week or two now means a happy, resilient plant on transplant day."
Transplant day: timing, technique, and tender roots
Choose transplant day with care: a mild, overcast afternoon makes a kinder welcome for young plants.
Check soil temperature first. In the morning, press a thermometer or your hand into the top inch—warm to the touch or a garden thermometer reading in the safe range means go-time. Avoid days close to a hard frost.
Water trays about an hour before you move plants so each cell slips out with the rootball intact. Handle each starter by its leaves or the rootball—never squeeze the stem. Set crowns at the same depth; tomatoes can sit a little deeper to encourage extra root growth.
Peat pots, plastic collars, and helping roots find new soil
If you use peat or paper pots, trim the top rim to soil level. Slice small holes in the bottom and sides so roots grow through instead of circling. This lets the pot break down while roots explore native soil.
Planting technique and gentle finish
Dig a hole just large enough so the rootball meets fresh earth without air pockets. Firm soil gently around the plant until it sits steady. Water in slowly; when you smell that rich, earthy scent, the soil has settled around roots.
- Choose a cloudy late afternoon or mild morning to reduce sun shock.
- Use row covers for the first few days to buffer wind and chill.
- Keep plastic off foliage—support covers on hoops so air moves freely.
- Give a final gentle drink at dusk so plants greet the next day hydrated and calm.
"A careful transplant day—warm soil, soft light, steady hands—helps roots settle and plants thrive."
Conclusion
Finish the year knowing a few easy steps will give you healthier plants and earlier harvests.
You now have a simple, proven way to raise healthy starts from seed to garden with calm confidence. A few steady habits—close light, gentle watering, and patient hardening—make all the difference.
Indoors, you gain more variety and a longer growing season. Outdoors, you’ll see sturdy plants settle in fast when you match timing to your last frost and give them a gentle welcome.
Keep notes this year, share extra seedlings with neighbors, and pause to enjoy the warm soil and bright leaves. Your garden does not need to be perfect to be joyful; it simply needs your steady care.
Step outside with your morning coffee, smile at the fresh green, and relish one small success at a time.
FAQ
When should I start seeds indoors and when should I move seedlings outside?
Start seeds indoors based on your local last frost date — count back the weeks recommended on the packet for each plant. Warm-season crops like tomatoes, peppers, and eggplants usually need 6–8 weeks indoors before transplanting. Cool-season crops and root vegetables often do better when direct sown into the garden. Move seedlings outside after hardening off and when nighttime soil temperatures match the crop’s needs; avoid transplanting before frost risk passes.
How do I create a calm plan for a simple, successful season?
Begin with a short list of favorites you know you’ll use. Map your last frost date, gather trays, potting mix, lights, and a heat mat if needed, and make a weekly checklist: sowing, watering, light adjustments, and thinning. Keep containers labeled, work in a spill-friendly spot, and pace your sowing so you don’t end up with too many seedlings at once.
Where can I find my local frost dates and how do microclimates affect timing?
Use your county extension website, the National Weather Service, or garden apps to find average last frost dates. Then adjust for microclimates: urban areas, south-facing slopes, and sheltered spots warm earlier; valleys or higher elevations stay cold longer. Add a week or two depending on your specific site.
How many weeks before the last frost should I start common plants?
As a basic guide: tomatoes, peppers, and eggplants 6–8 weeks; brassicas and onions 4–6 weeks; annual flowers 4–8 weeks depending on species. Check the days to maturity and germination period on packets and count back from your transplant date to be sure.
Which crops should I start indoors and which should I direct sow?
Start indoors: warm-season crops that need a long season (tomatoes, peppers), tender herbs, and some annual flowers. Direct sow: most root crops (carrots, beets), peas, beans, and many cool-season greens, which dislike transplanting and prefer to germinate in garden soil.
What should I look for on seed packets to plan timing and depth?
Look for days to maturity, germination temperature, and sowing depth. These tell you how long seedlings need indoors and whether seeds require light or darkness to germinate. Packets also list spacing and soil preferences, which help with thinning and transplanting.
Can I save leftover seed and how do I test viability?
Yes. Store seeds in a cool, dry place in airtight containers. To check viability, place 10 seeds on a damp paper towel, seal in a plastic bag, and watch germination over the packet’s expected period. If 7–8 out of 10 sprout, viability is good enough to sow.
How should I set up a seed-starting station at home?
Choose a stable, spill-friendly surface with access to electricity and sunlight. Use trays or cell packs with drainage holes, a sterile potting mix, a clear plastic dome for humidity when needed, and waterproof labels. Keep a small fan nearby for airflow and an easy-to-reach water source.
What temperature and air conditions do seedlings need?
Most seedlings prefer daytime temps of 65–75°F and slightly cooler nights. Consistent temperatures and gentle air movement help strong stems and reduce disease. Use a heat mat for warmth-loving seeds and a small fan for airflow once cotyledons appear.
How high should grow lights be and how many hours should they run?
Position LEDs 2–6 inches above tops for seedlings, adjusting as they grow to keep light even and prevent legginess. Run lights 12–16 hours a day using a simple timer. Dim or raise lights if plants show signs of light stress.
When does bottom heat help and how do heat mats work?
Bottom heat speeds germination for warm-loving plants like peppers and tomatoes by warming the root zone. Heat mats set to seed packet temperature improve consistency. Remove or lower heat once seedlings emerge to avoid overly rapid, weak growth.
Why don’t windowsills always work for growing seedlings?
Windowsills can give uneven light and temperature swings, which cause leggy, pale seedlings. South-facing windows sometimes provide too much heat or glare; north-facing ones often lack intensity. Grow lights give steady, balanced light and more reliable results.
What’s the difference between sterile seed-starting mix and amended potting blends?
Sterile seed-starting mixes are fine-textured, low in nutrients, and reduce disease risk — ideal for germination. Amended mixes include compost or fertilizer for longer-term growth. Use sterile mix for sowing, then pot up into richer blends as seedlings develop roots.
How should I water to encourage germination without causing soggy roots?
Pre-wet the mix until evenly moist but not dripping. Use capillary watering, a gentle spray, or bottom-watering to keep humidity steady. Avoid standing water and allow the surface to become just slightly drier between waterings to prevent damping off.
How deep do I sow different seeds and which need light to germinate?
Follow packet depth recommendations: tiny seeds often need surface sowing or a light dusting of mix; larger seeds go deeper. Seeds that need light include many annual flowers and herbs; others prefer darkness. When in doubt, sow at a depth about twice the seed’s thickness.
Can you give real examples of seed size and typical days to sprout?
Sure: lettuce (small seed) often sprouts in 3–10 days and may be surface-sown; carrots (small but denser) take 10–21 days and do best direct sown; tomatoes (larger) sprout in 5–10 days and like warm conditions. Check packets for specifics.
How do I test moisture reliably for seedlings?
Use a simple pencil, weight, or touch test: stick a wooden skewer or pencil into the mix — if it comes out mostly clean, water. Lift the tray to judge weight. Lightly touch the surface; it should feel slightly damp, not wet. These quick checks beat guessing.
When should I use humidity domes and how do I avoid damping off?
Use domes to retain moisture during germination, then remove gradually as seedlings emerge to encourage airflow. Prevent damping off by using sterile media, avoiding overwatering, providing good air circulation, and spacing seedlings so humidity isn’t trapped.
When and how much should I fertilize seedlings?
Begin light feeding once true leaves appear, about 1–2 weeks after germination. Use a half-strength balanced fertilizer or a gentle organic tonic weekly. Increase concentration slowly as plants grow and you pot up into larger containers.
How and when should I thin seedlings?
Thin when seedlings have their first set of true leaves. Remove the weaker stems so only one robust plant stays per cell or the recommended spacing in trays. Thinning prevents root competition and promotes sturdier growth.
How do I pot up tomatoes, peppers, and eggplants successfully?
Move up when roots fill the initial cell and true leaves appear. Use slightly larger pots and a nutrient-rich potting mix. Tomatoes benefit from burying part of the stem to encourage extra roots. Be gentle to avoid root breakage and water well after transplanting.
What causes leggy stems, pale leaves, or poor roots and how do I fix them?
Legginess comes from insufficient light; raise lights or increase hours. Pale leaves often signal low fertility or improper temperatures; adjust warmth and begin gentle feeding. Poor roots may come from overwatering or compacted mix — repot into fresher, looser media.
How can I prevent pests and quickly fix spacing issues?
Inspect trays daily, keep a clean workspace, and use proper spacing to discourage pests. Remove and isolate affected plants, use insecticidal soap for small infestations, and increase airflow to reduce mold and fungus gnats.
What’s a gentle schedule for hardening off indoor-grown seedlings?
Over 7–14 days, gradually increase time outdoors. Start with a few hours in shade, then add morning sun and wind exposure. Use fans or hand-brushing to strengthen stems and mist lightly to mimic outdoor humidity changes.
How do I prepare for transplant day so roots and plants handle the move?
Transplant on a cool, cloudy afternoon or evening to reduce shock. Water seedlings before moving, handle by the leaf canopy not the stem, and set roots into warm garden soil at proper depth. Use row covers or peat pots if frost remains a possibility.