Sun warms your shoulders, and the soil smells faintly of earth as you kneel to check tiny seedlings. Have you ever wondered why some rows thrive while others sulk? You are not alone.
In this friendly guide, we’ll name the usual problems and offer calm, practical fixes you can try today. Think clear light, steady water, and the right timing for each crop.
We keep advice simple: when to harden off seedlings, how compost improves soil texture, and why LED grow lights or a heat mat help certain plants set fruit.
Small tools—soaker hoses, a moisture meter, a hand trowel—make work easier and more satisfying. You’ll learn quick seasonal moves, like watching frost dates and spacing to cut disease risk.
By the end, you’ll see simple ways to turn frustration into steady progress. These tips help you grow with confidence, season after season, and enjoy more lush, healthy beds by next week.
Key Takeaways
- Match sun, water, and time to what each crop needs.
- Start with easy wins: light, soil, and consistent watering.
- Use compost, proper spacing, and small tools for quick improvement.
- Try LED lights or a heat mat for slow-starting seeds and peppers.
- Simple seasonal steps and regular harvesting boost yields and reduce disease.
Planting in the Wrong Light: Give Vegetables the Sun They Crave
Sun and shade change through the season. Learn to read those shifts so each plant gets its best spot. A little attention now saves time and poor harvests later.

Warm-season stars
Tomatoes, peppers, and eggplant need about eight hours of full sun to set fruit well. Place these where the mid-morning through late afternoon light is steady. Without that sun, vines grow leafy but stingy with harvests.
Cool-season greens
Lettuce, kale, and broccoli do fine with five to six hours of gentler light. A bit of afternoon shade keeps leaves tender and prevents bitterness on hot days.
Watch seasonal shade
Walk the garden on a bright day and mark sunlit beds. Track shadows as trees leaf out; fences or sheds can steal prime hours by June.
- Use a light-meter app or photos every two hours to map sun patterns.
- Give climbing plants room and trellis on the north side so they don't shade neighbors.
- Warm cool soil early with dark mulch to help sun-loving crops start faster.
Watering on Autopilot Instead of with Intention
A simple habit change — when and how you water — can make a big difference by midseason.
Water at sunrise when the air is calm and cool. Leaves dry fast and the soil warms slowly. This cuts leaf scorch and lowers fungal risk so your plants start the day refreshed.
Check containers and new seed trays more often on hot days. In summer, pots can dry out between sunrise and noon. A quick finger test one inch down tells you more than a rigid schedule.

Keep soil moist, not soggy
Aim for slow, deep soaking at the soil line so roots drink, not leaves. The soil should feel like a wrung-out sponge — darkened but not dripping. Overwatering can drown roots and invite damping-off in young seed starts.
Helpful, simple tools
- Run a soaker hose under 2–3 inches of mulch to save time and cut evaporation.
- Use a basic moisture meter in raised planters to remove guesswork.
- Mulch with straw or shredded leaves to keep soil cool and lock in moisture.
If you water every day by habit, change one step: check the soil first. These small ways reward gardeners with steadier growth and fewer problems over the season.
Ignoring Your USDA Zone and Seasonal Timing
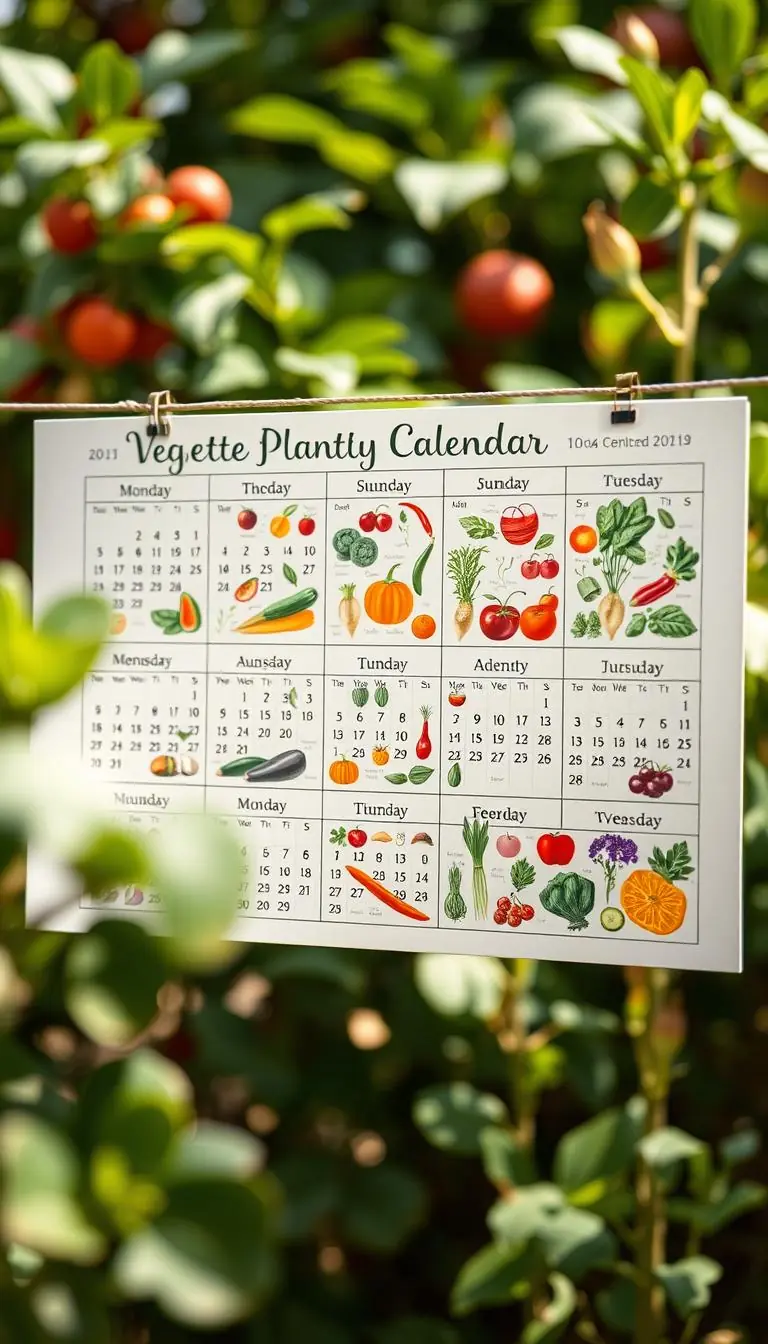
Your planting calendar starts with one simple step: know your USDA zone and work from there. The updated Hardiness Zone Map changed many areas, so check it this year before buying seeds or dream plans.
Use the updated USDA Hardiness Zone Map to plan your season length
Look up your zone and the last and first frost dates. That tells you how long your warm season really is and helps you choose crops that will finish in your window.
Match crops to your window
In cooler zones, start peppers and eggplants indoors with heat and bright light so they arrive in the garden ready to grow. For short seasons, pick early tomatoes or determinate types that ripen faster.
Mind frost dates and temperature thresholds for direct sowing
Read seed packets for soil temperature and days to maturity. Watch soil warmth as well as air temps—tender plants sulk in cold ground even after a sunny day.
- Quick steps: note frost dates on the fridge, check the zone map, and mark transplant weeks.
- If a late frost looms, cover young plants with row cover or old sheets overnight.
- Recheck the map every few years—some gardeners gained extra weeks this update.
Starting with the Hardest Crops First
A simple order—leaves, roots, then fruit—helps you learn steady habits and enjoy weekly harvests.
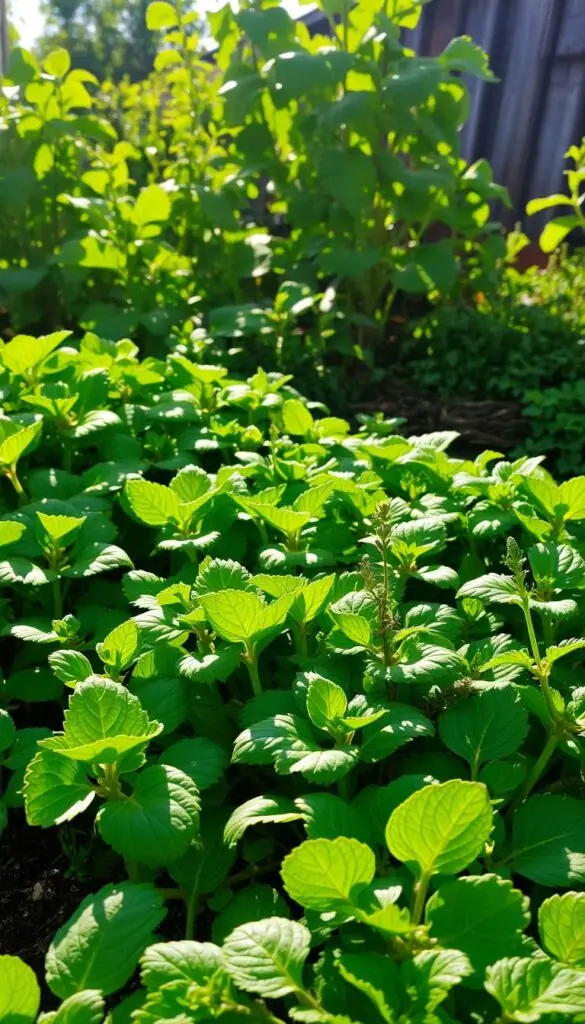
Begin with leaves, then roots, then fruit: build confidence fast
Start the season with tender salad greens and herbs you can snip in about 30 days. The crisp texture and bright scent of fresh leaves are satisfying and teach quick care routines.
Next, sow radishes and early carrots. These root crops show you spacing and thinning without long waits. They help you notice soil feel and watering rhythms.
Tomatoes test patience; greens deliver quick, weekly wins
Tomatoes are thrilling but ask for steady light, warmth, and support over long stretches. If you jump into them too soon, you risk the common mistake of burnout from slow results.
Save most of your bed for easy greens at first. If you must try a tomato, pick one sturdy variety and trellis it well. Use early successes to learn your garden's microclimates—sunny corners for basil, cooler spots for lettuce that stays sweet.
- Start with greens for fast rewards.
- Move to roots to practice spacing and thinning.
- Tackle fruiting plants once you’ve found your rhythm.
Over the season, these small wins build skill and patience. By late summer you’ll keep fruiting plants fed, pruned, and supported—turning time into bowls of colorful produce and a garden that feels generous, not frustrating.
Skipping Soil Testing and Choosing Raised Beds by Default
Start by learning what your soil really needs—it's the one thing that sets every season right.
A simple soil test from your extension office or an online lab tells you pH and available nutrients. It’s affordable and fast. You can also check texture with a handful: crumbly loam means good drainage; sticky clay means slow water movement.
When to test and when to build
If your yard feels compacted, stays soggy after rain, or has rubble, a raised bed gives roots a fresh start. But if native soil drains well and smells like rich compost, you may save money by planting directly after amending.
Depth, compost, and simple steps
Depth matters: make beds deep enough for strong roots on tomatoes and squash. Shallow bed walls lead to thirsty, wobbly plants.
- Start with a soil test so you know the numbers for nutrients and pH.
- Work in two to three inches of compost each season; the earthy, sweet smell means life is returning to the soil.
- Skip blanket fertilizer until test results guide balanced feeding.
In short, test, amend, and then decide. These small steps give your garden steady gains and fewer surprises all season.
Overcrowding Plants and Forgetting About Mature Size
Give each plant the room it needs now, and you’ll thank yourself in midsummer when beds are easy to walk and harvest.
Seed packets list final size for a reason. Before you plant, check those numbers so every specimen has enough space to breathe and soak up light.
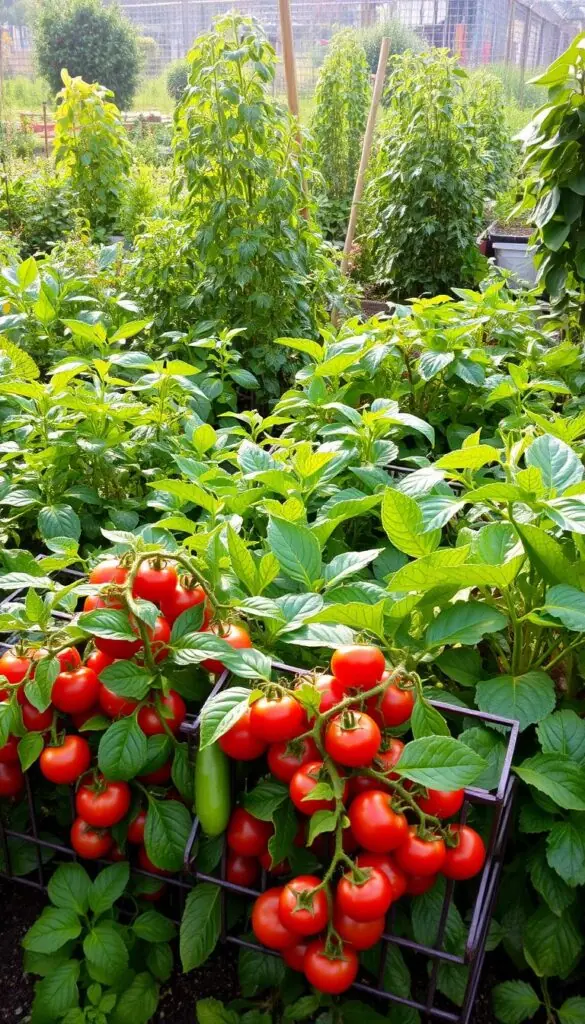
Simple spacing rules and visual cues
Large summer growers — tomatoes, squash, melons, and pumpkins — need generous lanes. Picture a zucchini leaf as big as a dinner plate; that helps you leave room to spare.
Train, stagger, and leave paths
Stagger big plants in a zigzag so leaves don’t overlap. That improves airflow and keeps fruit cleaner after rain.
- Train vines up a trellis to save floor room and keep fruit off damp soil.
- Leave a simple stepping path to water, prune, and harvest without crushing roots.
- If you overplanted, thin now — moving a small plant is easier than fighting a jungle later.
A little restraint at planting time returns healthy growth and easier picking in your garden. Small choices now mean cleaner fruit, better airflow, and less work when the heat of summer arrives.
Vegetable Gardening Mistakes with Nutrients: Overdoing or Misusing Fertilizer
When plants surge with foliage but stop flowering, the cause is often a feeding habit gone too far.
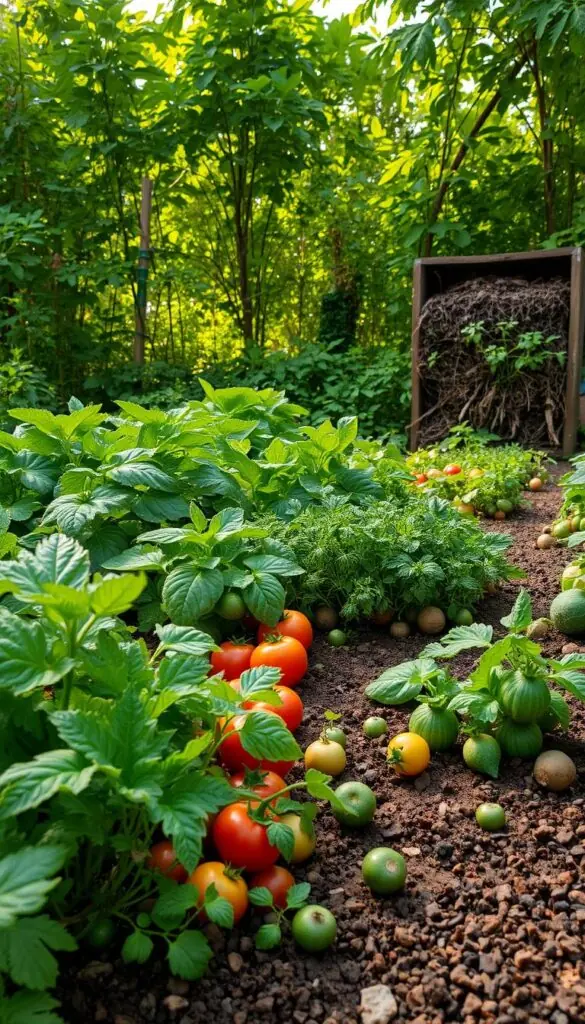
Skip lawn fertilizer; it pushes leaves at the expense of fruit
Lawn products are high in nitrogen. They make big, glossy leaves but few blooms.
Near beds, that extra nitrogen nudges your soil toward leaf growth instead of fruit set. Treat this as a common mistake to avoid.
Balanced, organic options and timing
Use a gentle foliar like fish emulsion as a weekly boost until buds form. Follow the label.
Stop foliar feeding once flowers appear so energy shifts to setting fruit. Water any fertilizer in at the base to help roots, and avoid spraying leaves in hot sun.
Compost routinely to replenish what your garden gives
Layer compost each season to feed soil life and improve structure. Good compost feeds plants slowly and keeps nutrients steady.
Healthy beds show it: deep green leaves that smell fresh and steady flowering on tomatoes and peppers feel satisfying.
- Skip lawn feed near edibles.
- Apply fish emulsion only until buds appear.
- Layer compost yearly for lasting soil fertility.
- Note color and blooms; they tell you when to stop feeding.
Seed-Starting Missteps: Mix, Depth, Heat, and Light
A calm, steady start indoors gives seeds the best chance to sprout into sturdy transplants.
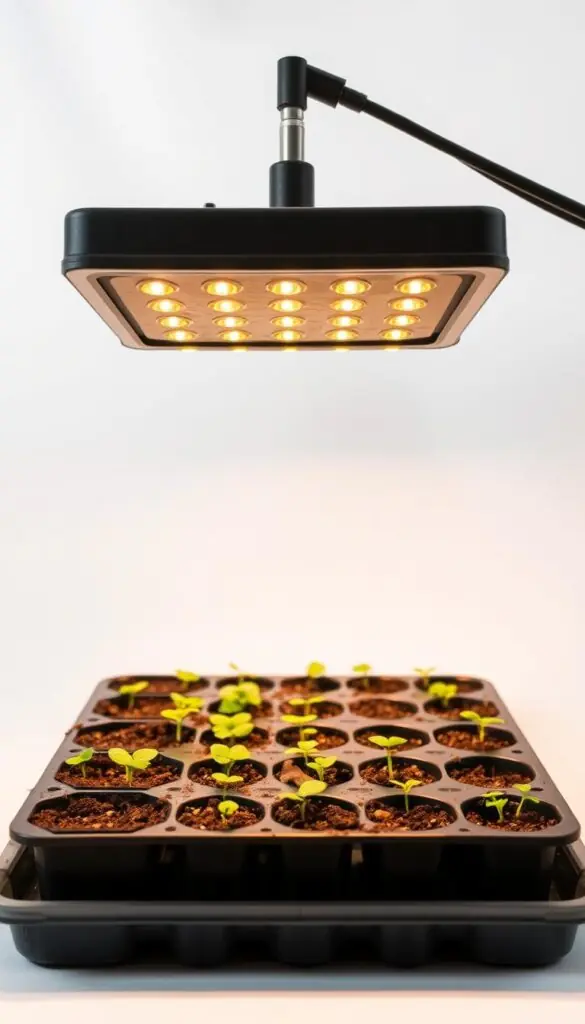
Choose the right mix
Use a lightweight seed-starting mix so tiny roots push through easily. It improves germination compared with heavy potting soil.
Plant at the correct depth
Check the packet and set each seed at the recommended depth. Lay the seed and cover gently rather than burying it deeply.
Provide gentle bottom heat and bright light
Use a small heat mat for peppers and tomatoes; warm soil wakes those seeds faster.
Windowsills often lie—give trays 6–10 bright hours under LED grow lights to keep stems stocky and leaves rich.
- Water from the bottom to avoid damping off and let the top of the mix dry slightly before refilling.
- Keep lights 2–3 inches above the canopy and raise them as plants grow.
- Start hardening off a week before transplanting: more sun and breeze a little each day.
- Transplant on a mild, overcast day so seedlings settle without stress.
| Seed Type | Soil | Heat | Light |
|---|---|---|---|
| Peppers | Light mix | 70–85°F bottom heat | 6–10 hrs LED |
| Tomatoes | Light mix | 70–80°F helpful | 6–10 hrs LED |
| Leafy greens | Light mix | Room temp | 6–8 hrs LED |
Forgetting Companions—and Allelopathy
A few smart plant friendships make a big difference in bloom, taste, and pest control.
Try tucking aromatic herbs like basil and dill near your rows. Their scent attracts helpful insects and can nudge certain pests away.
Mix cheerful flowers such as marigolds at row ends to invite pollinators and brighten beds. These small additions also help the soil stay shaded and moist.
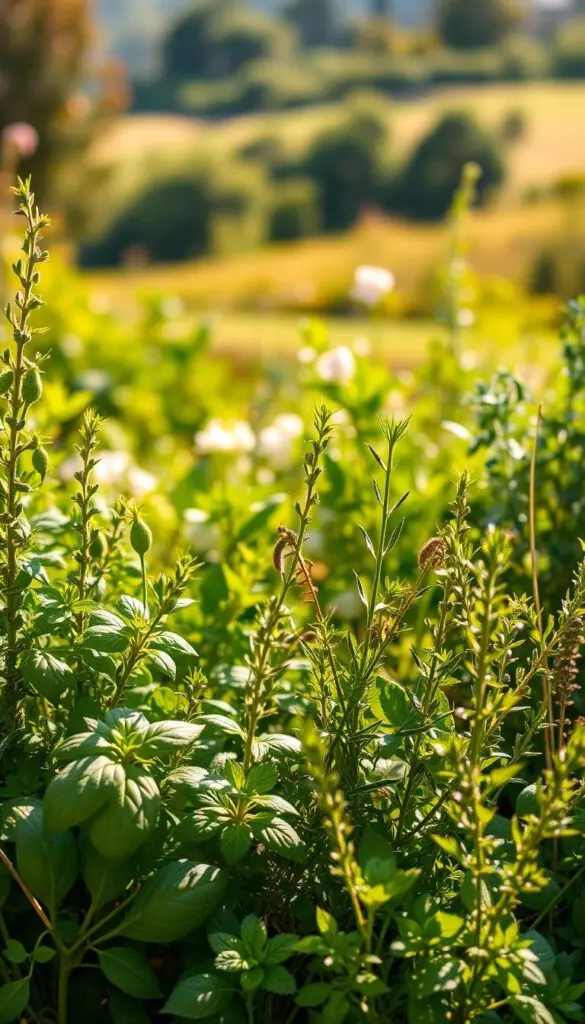
- Tuck herbs among veggies to lure pollinators and predators of common pests.
- Place marigolds and nectar flowers where pollinators can easily find them.
- Give allelopathic plants — those that release growth-inhibiting compounds — their own patch to protect nearby seeds and young plants.
- Keep it simple: one or two good companions per bed beats an overcomplicated tangle you can’t tend.
If a plant struggles next to a vigorous neighbor, move it a few feet. These small shifts are easy ways to learn what works for your garden and your soil.
Jot down pairings that thrive; over time your beds become a custom map that helps people grow with confidence.
Leaving Bare Soil Instead of Succession Planting or Mulching
A patch of bare soil feels like a missed chance; a little action turns it into steady production.
When a crop finishes, tuck new seeds or seedlings in the same week. This keeps your bed productive through the season and makes the most of your time.
If you’re not ready to replant, spread a fresh layer of straw or shredded leaves. The cool, shaded soil smells earthy and looks neat. Mulch holds moisture, cuts how often you must add water, and blocks weed growth.
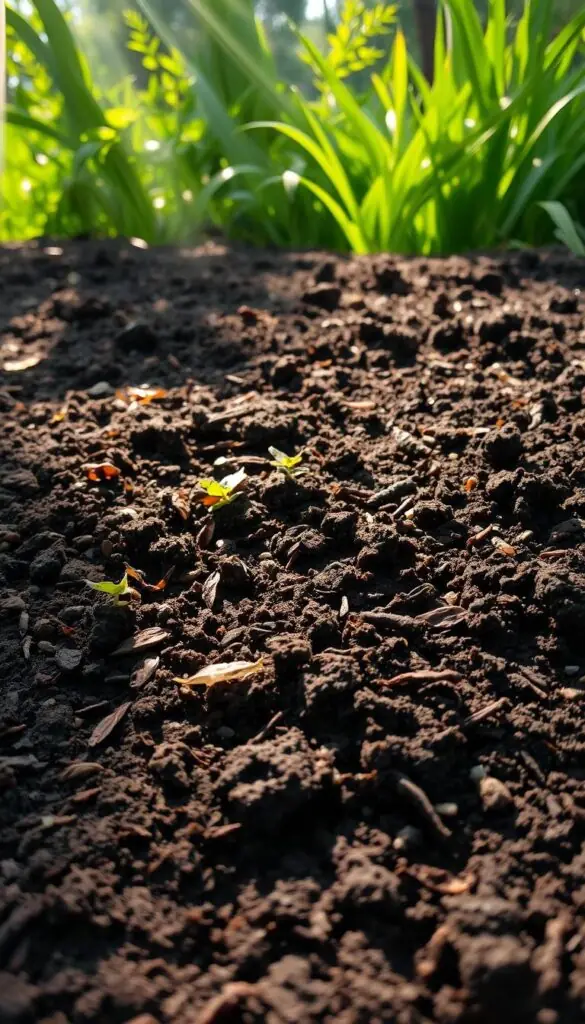
Keep a small stash of compost and mulch nearby so you can refresh beds the day you harvest. That simple habit helps gardeners avoid erosion and keeps soil life working for your plants.
- Tuck quick follow-ups in: after peas try bush beans; after lettuce plant basil or fast radishes.
- If not planting, mulch to cool the ground, protect roots, and reduce pest hideaways.
- Use a short planting calendar so bare spots become openings, not chores.
Small steps now — seed one row or lay a bale of mulch — add up to healthier soil, cleaner paths, and happier plants all season.
Planting the Same Crop in the Same Bed Year After Year
A simple swap each season keeps beds lively and reduces the problems that creep in over years.
When you repeat the same family in one bed, pathogens and nutrient gaps build up in the soil. Over time, disease becomes more common and roots struggle.
Rotate families to cut disease
Move nightshades, brassicas, and cucurbits so each family lands in fresh ground. This simple visual switch breaks pest and disease cycles and evens out nutrient drawdown.
Rest and rebuild between seasons
Add a generous layer of compost at season end to return lost nutrients. Sow a quick cover crop—clover or rye—to feed soil life while the bed rests.
- Keep a sketch of last year’s layout; rotation is easier when you can see it.
- In small gardens, rotate by bed section or use containers to change crops.
- Deep beds support strong roots and resilient plants through weather swings.
| Year | Bed A | Bed B | Between Seasons |
|---|---|---|---|
| Year 1 | Nightshades (tomato/pepper) | Brassicas (cabbage/kale) | Compost + clover cover crop |
| Year 2 | Roots (carrot/turnip) | Cucurbits (squash/cucumber) | Compost + rye cover crop |
| Year 3 | Cucurbits | Nightshades | Compost + mixed flowers |
Letting Plants Sprawl, Stall, or Overripen
A tidy, lifted vine makes the whole bed easier to walk and keeps ripe fruit in reach. Vining and indeterminate varieties respond well to a little guidance. With support and light pruning, you get cleaner fruit and steadier growth.
Prune and trellis for airflow and yields
Tie tomatoes early to stakes or a vertical net and remove crowded shoots so sunlight and breezes move through leaves and stems. Prune lightly each week—snip one or two suckers and keep the main leader steady.
Harvest often to keep plants productive
Pick in the cool morning when fruit is firm and cool. Frequent harvesting signals the plant to set more clusters instead of stalling.
Pluck at first blush: tomatoes that are slightly colored will finish inside, saving the plant energy for the next set.
Grow up to save space and cut pest pressure
Train cucumbers and squash up trellises to free ground space and keep fruit clean after rain. Raised fruit dries faster after watering, which helps limit pests that thrive on wet soil and splash.
- Tie and train early so stems learn their upward path.
- Keep pruners handy and wipe blades between plants to reduce disease spread.
- Use sturdy stakes or vertical nets so walking the garden is simple—no crawling through tangles.
Conclusion
With a few simple habits you can shift from fussing over plants to enjoying steady harvests. Spend a little time on sun placement, calm-morning watering, and basic soil care. These steps help you avoid the most common mistakes and save time.
Use tools that match the job: LED lights and a heat mat for strong starts, fish emulsion and compost to feed roots, and a raised bed only where it helps. Watch your tomato clusters and pick often; that steady harvest keeps production moving.
Plant flowers and herbs to welcome beneficial insects, rotate beds, mulch, and grow up when you can. These simple, steady choices make your garden more resilient and joyful.
You’ve got this. Keep it beautiful, keep it simple, and enjoy the warm sun, the scent of fresh leaves, and the bright flavor of homegrown fare.
FAQ
How much sun do my plants really need?
Aim for eight hours of full sun for warm-season crops like tomatoes, peppers, and eggplant. Cool-season greens such as lettuce, kale, and broccoli do fine with five to six hours. Watch how shade from trees, sheds, or fences shifts through the season and pick the sunniest spot your bed or container can get.
When is the best time of day to water?
Water in the calm morning so foliage can dry before evening. That reduces disease risk and lets plants use moisture during peak growth. Seedlings, pots, and summer producers need closer checks — keep soil moist but not soggy to avoid root rot or damping-off.
How do I know when to start seeds or transplant outdoors?
Use the USDA Hardiness Zone Map and local frost dates to time starts. In cooler zones, start peppers and eggplants indoors early under lights with bottom heat. Wait to set tender plants out until nighttime temps are consistently above their thresholds.
Which crops should I tackle first as a beginner?
Start with quick wins: leafy greens and herbs give fast rewards and teach you moisture and light needs. Save patience-testing crops like tomatoes for once you’ve built confidence with easy growers.
Do I need a soil test before using raised beds?
Yes. Test for nutrients, pH, texture, and drainage to decide what amendments your soil needs. Raised beds help when native soil is poor, compacted, or drains badly, but they still need enough depth and good compost for roots to thrive.
How much space should I leave between plants?
Follow seed-packet spacing and plan for mature size. Give vining crops and indeterminate tomatoes room or train them vertical. Proper spacing improves airflow, reduces disease, and boosts yields.
How can I avoid over-fertilizing and hurting fruit production?
Avoid high-nitrogen lawn fertilizers that favor leafy growth over fruit. Use balanced organic feeds like fish emulsion sparingly until buds form, and rely on regular compost to rebuild nutrients naturally.
What common seed-starting errors should I watch for?
Use a lightweight seed-starting mix, plant at the correct depth, and avoid overwatering. Provide bottom heat for warmth-loving seeds, and use LED grow lights for 6–10 hours instead of a sunny windowsill. Harden off seedlings gradually before transplanting.
Are companion planting and allelopathy important?
Yes. Good companion combos can deter pests and improve growth. Beware allelopathic plants that inhibit neighbors; research pairings and use spatial planning to avoid conflicts.
Should I leave beds bare between crops?
No—either succession plant or cover and mulch beds. Continuous cover with cover crops or mulch protects soil structure, conserves moisture, and keeps weeds down while rebuilding fertility.
How often should I rotate crops in the same bed?
Rotate families yearly if possible. Moving nightshades, brassicas, and cucurbits around reduces soil-borne disease and pest build-up. Use cover crops and compost between seasons to restore nutrients.
What’s the best way to manage sprawling plants and harvest timing?
Prune vining tomatoes, trellis climbers, and train squash to save space and improve airflow. Harvest regularly; picking tomatoes slightly early can preserve plant energy and speed up new fruit set. Growing vertical yields cleaner fruit and easier picking.