Imagine sunlight on a windowsill and the peppery scent of fresh leaves when you open your kitchen window. Have you ever wanted a small, useful garden that fits a busy day and a sunny windowsill? You’re in the right place.
You’ll get calm, neighborly guidance and short steps you can try today. We start with forgiving choices like parsley, chives, and mint and show how to set them up so leaves stay lush and fragrant.
Most herbs thrive with about six hours of sun and well-draining soil—think potting mix with perlite or coarse sand and pots that have drainage holes. Water when the top inch of soil is dry, ideally in the morning. A south-facing window gives strong light indoors; outdoors, raised beds and containers improve drainage.
We’ll also cover pruning points for fuller growth, simple pest fixes, monthly timing from spring starts, companion ideas like pairing basil with tomatoes, and quick harvest tips so your home cooking bursts with flavor.
Key Takeaways
- Start with forgiving herbs for an easy win on a sunny windowsill or patio.
- Provide around six hours of sun and use well-draining soil with pots that drain.
- Water when the top inch of soil is dry, preferably in the morning.
- Prune regularly for bushy growth and better flavor for the kitchen.
- Begin in spring and follow simple monthly checks to avoid frost and pests.
Start here: a simple, beautiful herb garden you’ll actually use
Start small and bright: place a few pots where you pass by daily and they will become part of your routine.
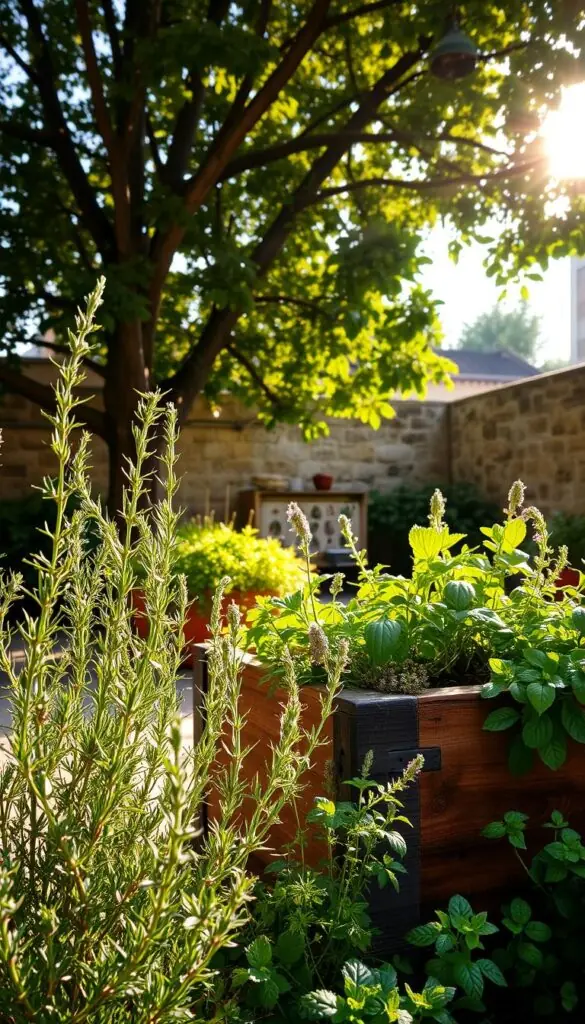
Choose a sunny windowsill, a bright porch, or a patio spot that gets steady light. A south-facing window gives the best indoor glow.
Pick 8–12 inch containers with drainage holes and saucers. Fill them with a fluffy potting mix mixed with a handful of perlite or coarse sand so the soil feels light and crumbly.
- Group sun-loving plants together so you water and tend them at the same time.
- Start with forgiving herbs like oregano, chives, and a small patch of parsley; try basil once nights warm up in spring.
- Keep a trowel, hand pruners, and a watering can nearby to make tending quick and pleasant.
Label each pot and tuck them where you spend time—near the grill, by the back door, or beside the kitchen sink. This simple point will help herbs grow and turn your garden into an everyday joy.
Beginner-friendly picks that rarely fail
Begin with a tiny trio that teaches routine and gives big flavor returns. These starters are forgiving and give you clear cues—aroma, texture, and steady growth—that help you learn fast.
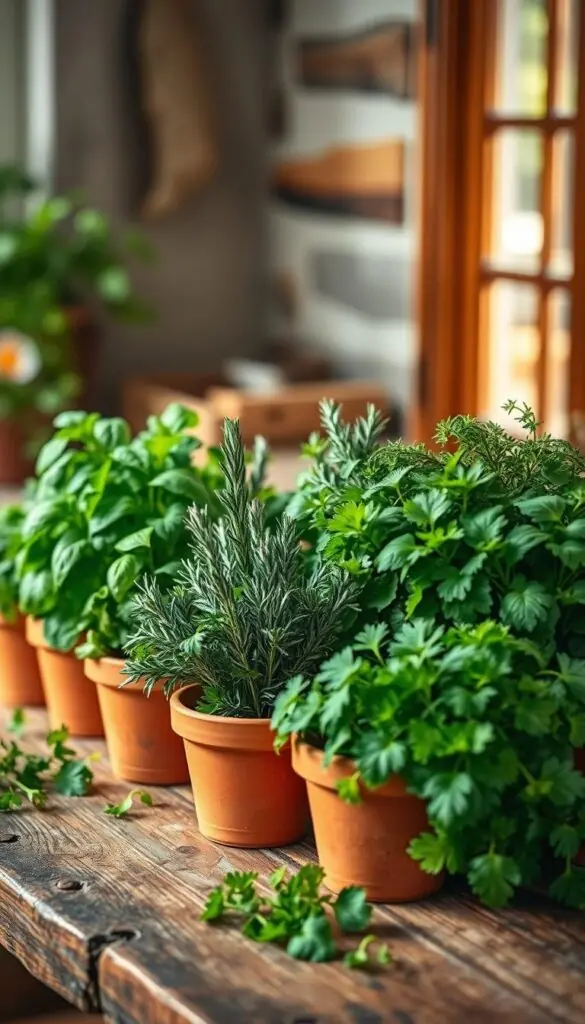
Why they build your confidence
Basil loves warmth and bright sun. It rewards you with glossy leaves and a warm, peppery aroma when soil stays lightly moist.
Parsley is steady in cooler spots and keeps producing clean, green flavor with little fuss.
Mint grows fast and spreads; pot it alone so roots don’t take over other plants.
Other easy herbs to try next
- Chives — mild onion notes and purple blooms on a sunny sill.
- Thyme & oregano — thrive in lean soil and full sun; their oils smell strong when brushed.
- Sage — silvery leaves, drought-tolerant with good airflow.
- Lemon balm — soft citrus scent and happy in partial shade.
| Herb | Best spot | Soil | Quick cue |
|---|---|---|---|
| Basil | Sunny, warm | Moist, well-draining | Glossy, fragrant leaves |
| Parsley | Cooler light | Even moisture | Consistent green growth |
| Mint | Partial sun | Rich, moist | Fast spreading runners |
Start with two or three favorites so you learn their rhythms. As you gain confidence, add more plants in spring to expand flavor and routine.
Set your herbs up right: light, soil, and drainage that keep roots happy
Set up your pots where the sun actually falls and the herbs will reward you with steady growth. Small choices — a bright sill, airy soil, a hole in the pot — make a big difference for happy roots.
Light made simple: 6–8 sunny hours vs. partial shade
Many herbs need about 6–8 hours of direct sunlight to thrive. Check where sunlight hits at breakfast, lunch, and late afternoon to find the real bright spots.
Some plants tolerate partial shade, so give those a bit of afternoon relief if summer heat spikes.
Soil and drainage: fluffy mix, perlite/sand, and a pot with holes
Blend standard potting mix with perlite or coarse sand until it feels light and fluffy. This airy texture helps water move and keeps roots from sitting soggy.
Always use containers with drainage holes and make sure extra water can escape. Good drainage prevents rot and keeps growth steady.
Containers and raised beds: when a sunny windowsill wins
A south-facing windowsill often beats a dim yard. If winter light fades, add a small LED grow light on a timer.
- Aim for 6–8 hours of direct sun for sun-loving varieties; give others a touch of shade in hot afternoons.
- Place pots where sunlight falls — mark spots and revisit through the day to confirm.
- In heavy clay soil, raised beds are an easy way to improve drainage and root health.
- Leave space between pots for airflow and note each spot in a simple garden map so you remember what works.
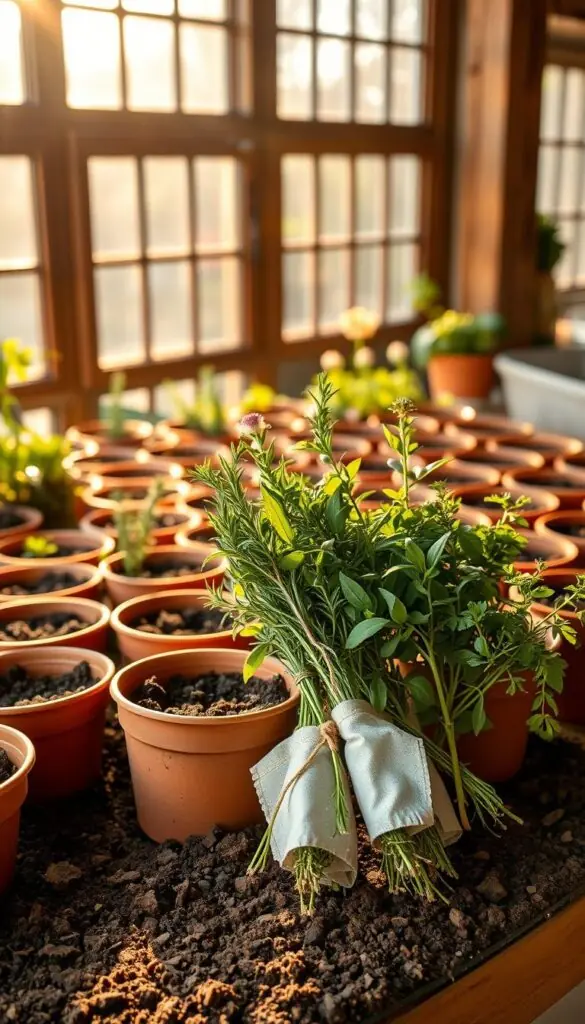
basil parsley mint care
A few simple habits will keep these three kitchen favorites lush and ready for your next meal.
Basil basics: warmth, even moisture, and regular pinching
Keep this plant warm and sunlit—aim for six hours of bright light and steady soil moisture without waterlogging.
Pinch stems above a leaf pair each week to stop flowering and encourage bushy growth. If leaves droop by afternoon, water in the morning and add a thin mulch to steady soil swings.
Parsley preferences: cooler temps, steady water, no soggy feet
Parsley prefers cooler spots and evenly moist soil. Avoid standing water at the crown so roots stay healthy.
Harvest by snipping outer stems at the base. That nudges fresh inner stems to fill in and keeps flavor bright.
Mint manners: moist soil, afternoon shade, and containment
Mint loves steady moisture and a bit of afternoon shade in strong summer sun. Plant it alone in a pot so runners don’t take over the garden.
You’ll notice a cool scent when you brush the leaves—an easy sign the plant is happy. Keep a clean pair of snips nearby for quick, tidy cuts.
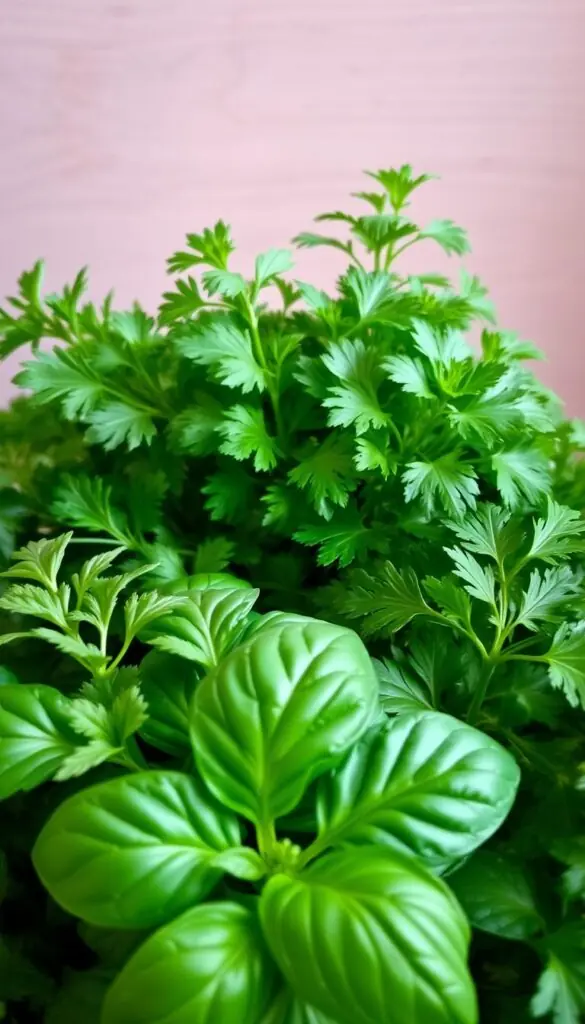
Watering without worry
Learn a few quick checks and you’ll stop guessing when to water. A simple, repeatable routine keeps soil balanced, roots happy, and leaves lively.
Top inch test, morning routine, and avoiding root rot
Use the top-inch test: press your finger into the soil. If it feels dry to your first knuckle, it’s time to water in the morning.
Watering in the morning gives foliage time to dry through the day and lowers fungal risk. Good drainage prevents rot at the root and keeps growth steady.
Bottom watering vs. gentle surface watering
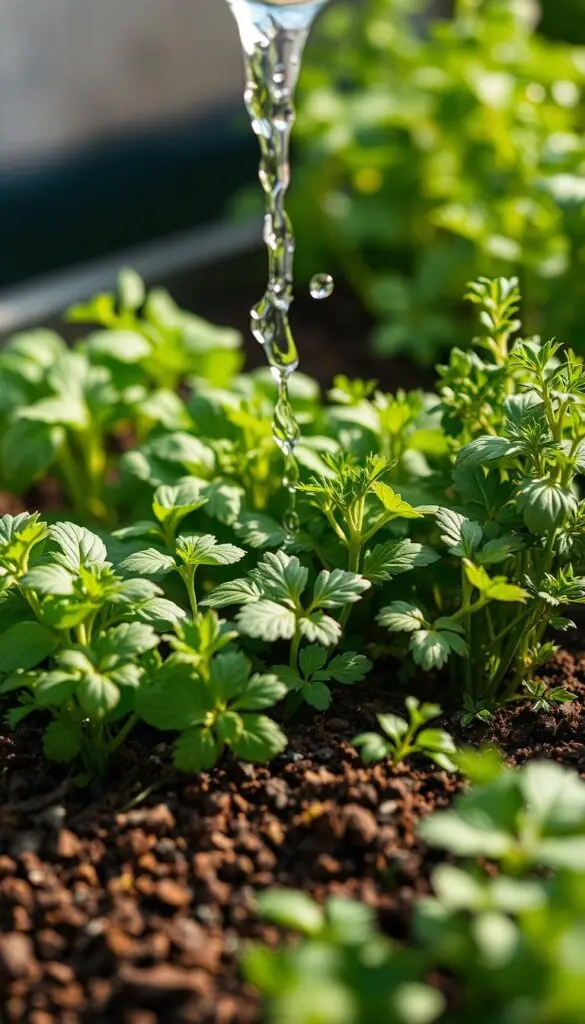
Bottom watering can evenly moisten soil without wetting leaves. For a tidy windowsill, set pots on a tray and let them soak for 10–20 minutes, then drain excess.
If you water from the top, use a watering can with a small rose to create a soft rain. Water slowly until a little runs from the bottom so nutrients stay put and roots aren’t shocked.
- Lift a pot — a dry pot feels surprisingly light. Use that as a daily point of reference.
- Rotate pots a quarter turn after watering so growth stays even on all sides.
- If leaves look dull or the plant wilts by midday, check both moisture and drainage before adding more water.
| Check | When to act | Best method |
|---|---|---|
| Top-inch dry | Morning | Surface with rose or bottom soak |
| Pot feels light | Any day | Top up water; soak if very dry |
| Leaves wilt midday | Inspect now | Assess drainage, then water gently |
Pruning and harvesting for bushy, fragrant growth
A few small snips can turn lanky stems into a dense, fragrant pot you’ll reach for every day.
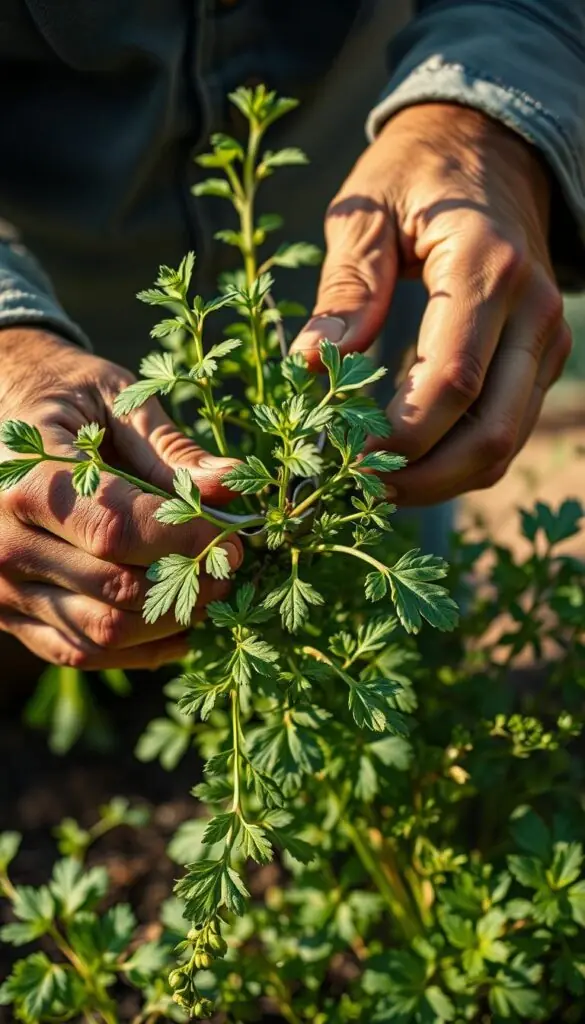
Pruning nudges plants to invest in leaves and branching rather than flowers. When you prune, look for tiny side shoots and healthy pairs of leaves as your cutting points. Clean, confident cuts help the stem heal and push out new growth fast.
Pinch points and quick visual cues
- Pinch basil just above a leaf pair where tiny side shoots appear; each cut doubles future growth points.
- Clip parsley by cutting outer stems at the base to keep inner leaves tender and productive.
- Trim mint often to prevent leggy, woody stems; short, frequent snips keep the scent bright.
Timing your snips to steer flavor and vigor
Harvest in late morning once dew has dried. Oils are strongest then and the flavor is fullest.
Never remove more than one-third of a plant at once. This helps quick recovery and steady growth.
| Action | Where to cut | When to do it | Aftercare |
|---|---|---|---|
| Pinch for branching | Above a leaf pair on active stems | Every 1–2 weeks | Light water if soil is dry |
| Harvest outer stems | Base of plant for leafy renewal | Late morning | Keep tools clean and sharp |
| Remove flower buds | At bud base to prevent seeding | As soon as buds appear | Encourages leafy growth and flavor |
| Tidy woody growth | Cut back long, woody stems | During active season | Feed lightly if growth slows |
Quick tip: Wipe blades between cuts and water lightly if the soil is dry. That simple routine keeps your herb pots lush and aromatic all season.
Where to grow: garden beds, containers, or a sunny windowsill
Pick a spot that fits your routine and sunlight, and your small garden will repay you daily.
In-ground garden works well if you have space. It suits larger plantings but is hardest to control if your soil is heavy.
Raised beds improve drainage and warm faster in spring. Use them when outdoor soil is compacted or clay-heavy.
- Containers shine on porches and balconies. They move as sun shifts and fit small spaces.
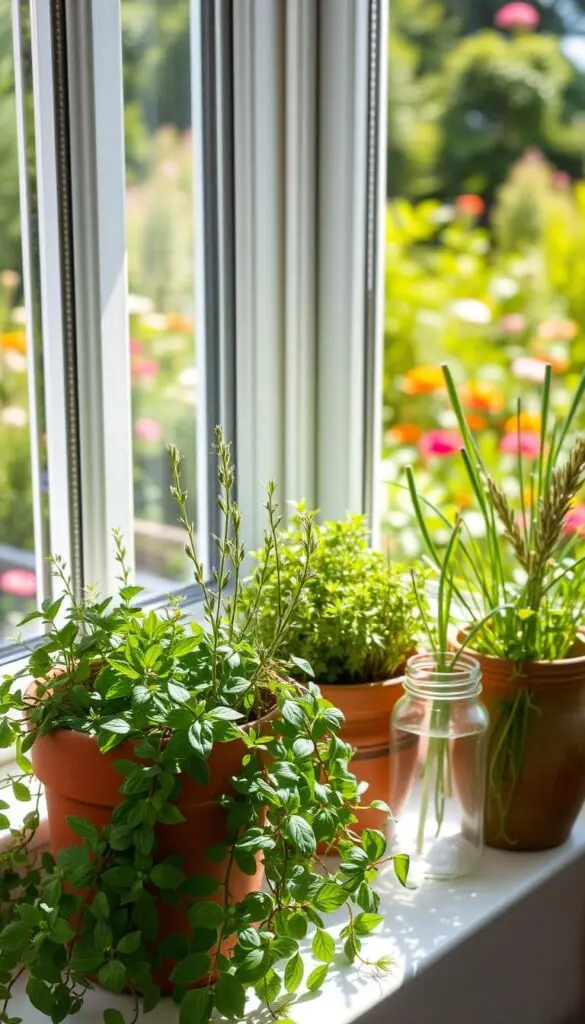
- A sunny windowsill is perfect for thyme, oregano, and lemon balm in small pots. It makes daily snipping simple.
Make sure every pot has a drainage hole and a saucer so water never pools. Mix similar herbs together so you water and feed on one schedule.
Keep frequently used plants near your door. Refresh the top inch of soil midseason in containers to keep herbs vigorous.
Seasonal timing across U.S. climates
Shift your planting by the season and the map of your climate so herbs thrive all year.
Spring starts and first steps
Check your last frost date and use a frost-date lookup to pick the right day to plant. Wait until the soil reads about 50°F with a simple soil thermometer before moving warm-season plants outdoors.
Start seeds indoors 6–8 weeks before the last frost. Harden seedlings for several days before planting to avoid shock.
Summer adjustments
In hot months, water in the morning and offer afternoon shade for mint and parsley when heat spikes. Move pots to a cooler spot during heat waves.
Fall refresh
Sow cool-season herbs like cilantro and parsley in early fall for crisp, cool harvests. Succession sow every few weeks so you always have fresh leaves without a glut.
Winter options
Over darker months, bring favorites to a bright windowsill. Add a small LED grow bar on a timer if light is weak. Protect roots by keeping soil slightly drier at the bottom and check pots weekly.
| Season | Key task | Tool |
|---|---|---|
| Spring | Seed indoors; plant after last frost | Frost date lookup, soil thermometer |
| Summer | Shade tender pots; water early | Timer, shade cloth |
| Fall | Sow cool-season herbs again | Calendar, seed packets |
| Winter | Move indoors; add grow light | LED grow bar, south-facing window |
Companion planting that boosts flavor and reduces pests
A few smart neighborings in your pots can boost taste and keep pests at bay. Place plants so they share light and water habits. That makes weekly tasks easier and keeps flavors concentrated.
Weekend pairings to try
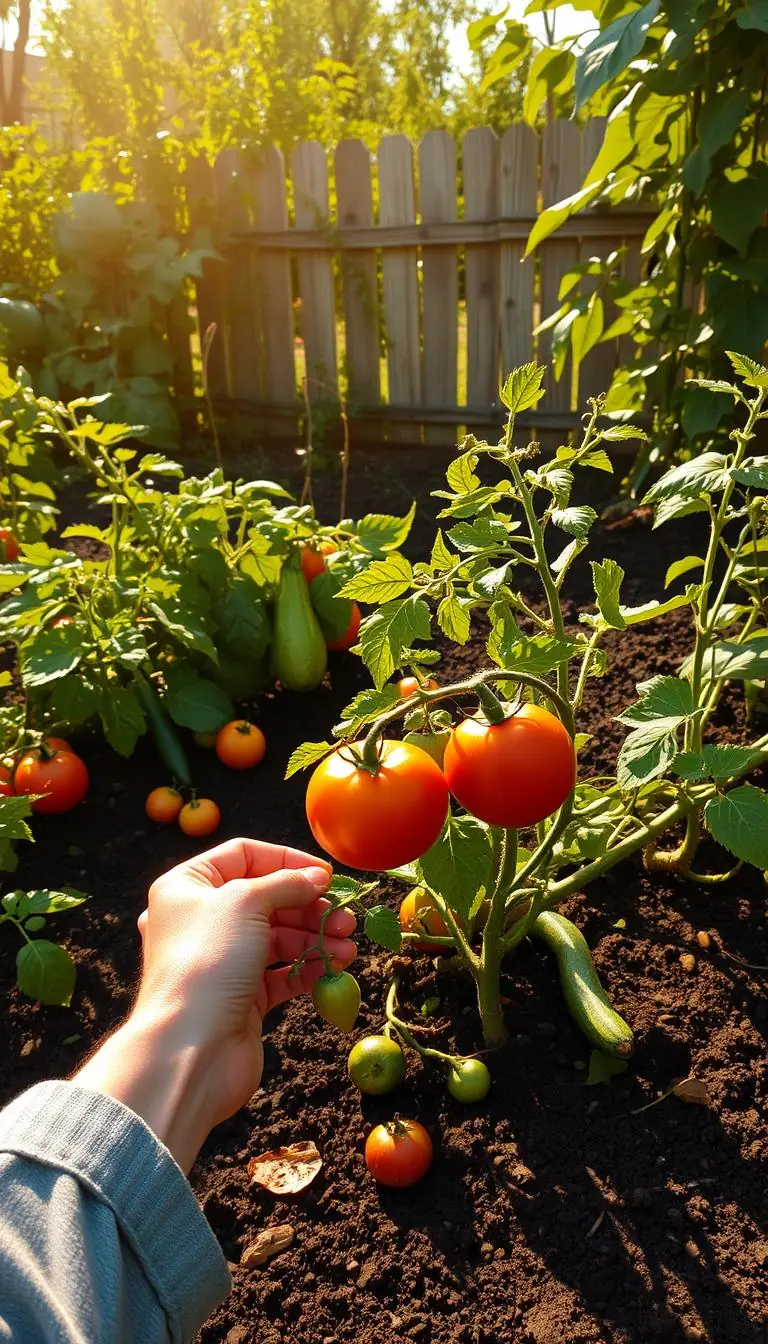
Tuck basil by tomatoes for quick kitchen picks and better flavor at the grill. Tomatoes often grow tall, so plant them north of sun-loving pots to avoid shade.
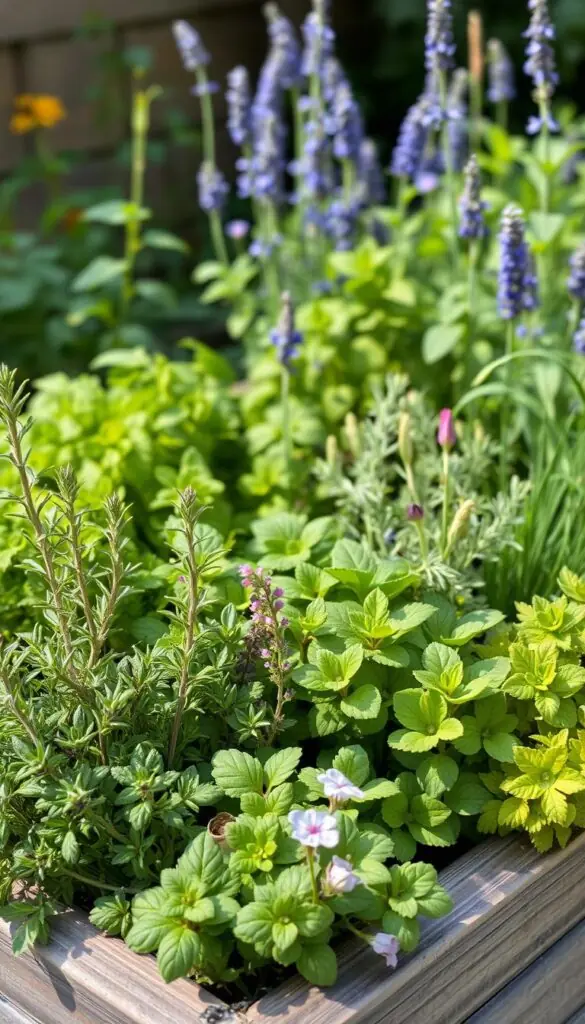
- Group thyme, sage, and oregano together in a lean, sunny bed. They like similar soil and light.
- Give each plant room for airflow; crowded pots invite mildew and pests.
- Keep mint in its own pot nearby so it flavors drinks without spreading.
- In spring refresh mulch lightly; in summer trim flower stalks to keep oils strong.
- Add marigolds at edges for color and mild pest distraction.
| Pairing | Why it works | Spacing | Light |
|---|---|---|---|
| Basil + Tomatoes | Easy harvests; pest help | 12–18 in. apart | Full sun |
| Thyme + Sage + Oregano | Shared dry soil needs | 8–12 in. between | Sunny, well-drained |
| Mint alone | Prevents spread to beds | 1 pot per plant | Partial sun |
| Marigolds on edge | Visual and pest distractor | 6–8 in. apart | Full sun |
Companion plantings simplify routines. When you group herbs like this, watering and pruning match natural needs and your small garden stays thriving.
Pests and diseases: calm, quick fixes
A calm approach and a few household tools are all you need to keep pests from stealing your harvest.
Check the undersides of leaves and the junctions of stems and soil each week. Early detection is the key point to stop spread and encourage steady growth.
Aphids, mites, and whiteflies — rinse, neem, and airflow
Start with a firm rinse of water to knock off soft pests. Use a spray bottle or a strong kitchen faucet stream aimed at the bottom of the plant to dislodge insects.
After rinsing, apply a diluted neem oil spray in the evening following label directions. Prune crowded stems and open the canopy so air moves freely through foliage.
Fungal issues — spacing, soil-level watering, and prompt pruning
To prevent mildew, water at the soil line rather than wetting the leaves. A long-spout can or a simple drip setup helps keep foliage dry.
Remove and discard any spotted or mildewed leaves; do not compost heavily infected material. Refresh the top layer of soil in containers midseason to cut down on eggs and spores.
| Pest / Problem | Signs | First action | Follow-up |
|---|---|---|---|
| Aphids | Clusters under leaves; sticky residue | Rinse and hand-remove | Evening neem spray; prune if dense |
| Spider mites | Tiny webs; speckled leaves | Strong water spray on bottom | Increase humidity slightly; neem if needed |
| Fungal leaf spots | Brown or grey spots on leaves | Cut out affected leaves | Space plants; water soil only |
Quick checklist: check undersides, rinse, neem at night, thin stems, water at soil level, and repot if roots are cramped. Jot what worked in your gardening log so you fix future flare-ups faster.
Fertilizer: just enough for healthy growth and great flavor
A little nutrition at the right times helps your plants reward you with steady growth.
Start by mixing compost or a slow-release granule into fresh soil when you plant. That gives a gentle, season-long head start and keeps the soil lively without heavy feeding.
Heavy feeders like those that push lots of leafy growth benefit from a light feed in spring and again midseason if growth slows. For containers and a sunny windowsill, nutrients wash out faster, so use a diluted, water-soluble feed about every month.
Light feeders and simple timing
Light feeders such as oregano and thyme do best with minimal additions. Too much fertilizer makes stems lanky and dulls flavor. Stop feeding a few weeks before a big harvest to keep oils and taste concentrated.
- Mix compost into soil at planting for steady nutrient release.
- Water first, then feed—moist soil moves nutrients to roots.
- Use slow-release granules for low-maintenance beds.
- Keep a simple log of what you used and when.
| Feeder type | Examples | When to feed | Container note |
|---|---|---|---|
| Heavy | Chives, leafy kitchen herbs | Spring; midseason if needed | Diluted monthly feed |
| Light | Oregano, thyme, rosemary | At planting only or very light midseason | Slow-release preferred |
| All pots | Cilantro, mixed mixes | Water before feeding; stop before harvest | Containers leach nutrients; monitor soil |
Quick point: avoid over-fertilizing to preserve flavor. A calm, simple plan is the best route to healthy, sunlit herbs and steady growth.
Propagation and quick restarts
Propagation is a cheap, satisfying way to refill pots and share plants with friends.
Many kitchen herbs root easily from cuttings. Use clean scissors, a glass of water, or small pots of moist soil to get new starts fast.
Cuttings that work well
Snip 4–6 inch stems just below a node and strip lower leaves so no foliage sits in the water or soil.
- Place stems in a clear glass of water or a small pot of damp, light soil.
- Refresh the water every few days until roots appear, then pot up in a loose mix.
- Keep cuttings in bright, indirect light until new growth shows, then move them into more sun.
Seeds you should sow where they’ll grow
Some herbs prefer direct sowing rather than transplanting. Sow seeds thinly in the spot they’ll live.
- Keep the soil evenly moist while seedlings emerge.
- Thin young plants so air can move between them and roots aren’t crowded.
Quick restart tip: If a pot is tired, a cutting can fill the gap quickly. Label each start with the date so you can repeat what works.
| Method | Best for | Time to root | Notes |
|---|---|---|---|
| Water cutting | mint, rosemary, sage | 1–3 weeks | Easy to watch roots; pot once 1–2 in. form |
| Moist soil cutting | rosemary, thyme, sage | 2–6 weeks | Use light mix; keep damp but not soggy |
| Direct sow | parsley, cilantro | 7–21 days | Sow where plants will grow; thin for airflow |
Kitchen magic: using your herbs the day you harvest
Right after you harvest, leaves are at their most aromatic—use them fast for the brightest flavor.
Bring a handful into the kitchen and taste summer in a spoonful. Fresh herbs add instant aroma and depth to simple cooking. A few quick ideas will turn your snips into lively dishes in minutes.
Fresh ideas: pesto, tabbouleh, herb butters, and mint tea
- Pesto: Whirl fresh basil leaves with olive oil, nuts, garlic, and a pinch of salt for a sauce that tastes like summer. Freeze in small portions for fast weeknight meals.
- Tabbouleh: Toss chopped cilantro or oregano with bulgur, lemon, tomato, and olive oil for a bright, clean side that pairs with grilled dishes.
- Herb butter: Mash soft butter with thyme and oregano, then spoon it over roasted vegetables or warm bread for immediate comfort.
- Mint tea: Steep fresh mint leaves in hot water for a soothing tea; add honey if you like it sweet.
Snip from a sunny windowsill right before cooking. The oils in the leaves lift quickly, so sprinkle chopped herbs at the end of cooking to keep aroma vivid.
Quick touches: keep a small jar of mixed herb salt to finish eggs, soups, and salads. Freeze extra pesto in cubes so future dinners taste fresh in seconds.
Preserving extra herbs for months of flavor
When your garden gives more than you can use, simple preserving steps stretch that bounty into months of flavor.
Dry sturdy leaves by tying small bundles and hanging them in a cool, dry spot until the leaves feel crisp at the touch. Once dry, strip the leaves, place them in airtight jars, and note the month on the label. This keeps flavor concentrated and easy to reach.
For tender herbs, chop and spoon them into small ice cube trays. Add water top quality—clean, neutral water—or a splash of olive oil, press lightly to remove air pockets, and freeze. Pop cubes into soups, sauces, or a warm tea straight from the freezer.
- Rinse and pat leaves dry on a towel before drying; surface moisture slows the process.
- Flash-freeze loose sprigs on parchment, then pack them for tidy storage.
- Keep a small preserves basket in your kitchen so saving extras becomes a quick routine.
Point: make small batches to reduce waste and label each jar or bag by month so you use the oldest first. These little steps keep your kitchen stocked with bright garden flavor for months.
Common mistakes beginners can skip
A few simple checks will stop common mistakes before your pots show stress.
Overwatering is the top cause of root rot. If soil smells sour or stays wet, make sure pots have drainage holes and lift saucers after you water.
Poor drainage hides under wet soil. Mix in perlite or coarse sand to loosen the soil and let excess water escape. Mediterranean herbs like oregano and thyme prefer drier cycles; let soil dry slightly between waterings.
Pale, stretched stems mean too little light. Move unhappy pots to more sun or add a small grow lamp for a few hours each day.
- Don’t let pots sit in full saucers of water; lift them to drain.
- If growth stalls, check roots — a root-bound plant needs a bigger pot and fresh soil.
- Give each pot room; crowded clusters invite mildew and slow growth.
- In spring, refresh tired soil and clean tools so cuts stay neat and disease-free.
| Problem | Sign | First fix | Why it matters |
|---|---|---|---|
| Overwatering | Sour soil, yellow leaves | Improve drainage; water less | Prevents root rot and loss |
| Low light | Leggy, pale stems | Move to brighter sun or add light | Supports strong growth and oils |
| Crowding | Slow growth, mildew risk | Space pots; prune for airflow | Reduces disease and boosts vigor |
Simple weekly routine to keep herbs thriving
A simple seven-day routine will turn small tasks into steady growth for your windowsill garden.
Pick one day each week and make it your garden check-in. At that time, press one finger into the top inch of soil. If it feels dry, water in the morning so leaves dry during the day and fungus risk stays low.
Turn pots a quarter turn so every side gets even light. Snip small amounts for the kitchen—short, regular harvests encourage bushy plant growth.
Scan leaves for spots or pests. A quick rinse or a tidy trim now stops small problems from growing into bigger ones.
- Once a month, add a thin layer of fresh mix to containers to renew nutrients.
- Use bottom watering sometimes to rehydrate dry soil evenly without wetting foliage.
- Wipe the windowsill and leaf surfaces with a damp cloth so more light reaches the plant surface.
- Keep a tiny log: note the day you watered, pruned, or fed to make next week easy.
Point: these small weekly steps add up. Over a month, they build habit, confidence, and steady growth so your herbs grow into a reliable, fragrant kitchen resource.
Conclusion
A small rhythm of light, soil, and short snips will make herbs a steady part of your home.
With the right sun, well-drained soil, and a simple weekly check, your garden will give steady flavor to the kitchen. Water by feel, prune a little often, and give each plant breathing room.
, Lean on sturdy friends like basil, parsley, and mint while you add thyme, oregano, cilantro, and lemon balm over time. Each month, tidy, taste, and enjoy the small rewards.
When in doubt, step outside, touch the soil, and breathe in those fresh green scents. Your plants will grow, your meals will sparkle, and we’re cheering you on as you savor the process.
FAQ
What are the best herbs for beginners and how can you use them?
Start with easy, multi-use herbs like basil, parsley, and mint. They brighten salads, sauces, drinks, and teas. Keep plants near the kitchen so you’ll harvest fresh leaves for things like pesto, tabbouleh, herb butter, and mint tea.
How much light do herbs need and where should you place them?
Most culinary herbs prefer 6–8 hours of sun or a bright, sunny windowsill. Some, like mint and parsley, tolerate partial shade and appreciate afternoon relief in hot summers. Use a south- or west-facing window when growing indoors.
What kind of soil and drainage keep herb roots healthy?
Use a loose, well-draining potting mix with perlite or sand. Pots should have drainage holes to prevent soggy feet. Raised beds need sandy, fluffy soil so roots don’t sit in water and develop rot.
How often should you water and how do you avoid root rot?
Check the top inch of soil; water when it’s dry. Water in the morning so foliage dries during the day. Bottom watering works well for containers—set the pot in a shallow tray and let roots soak up moisture—then drain excess.
How do you prune and harvest to encourage bushy growth?
Pinch or snip just above a leaf node to encourage branching. Harvest regularly but avoid removing more than one-third of the plant at once. Timing snips before flowering keeps leaves flavorful and abundant.
How should you manage mint so it doesn’t take over the garden?
Grow mint in a pot or a contained bed to limit its spreading roots. Trim it back often and divide plants yearly to keep them vigorous and under control.
Can you propagate herbs from cuttings, and which ones are easiest?
Yes—many herbs root quickly from cuttings. Mint, sage, rosemary, and thyme root well in water or moist potting mix. Parsley and cilantro are better direct-sown from seed.
When should you plant herbs across different U.S. climates?
In most regions start after the last frost in spring once soil warms. Succession sowing through early summer keeps a steady supply. In warm climates you can grow many herbs through fall; in cold zones, bring containers indoors or use grow lights in winter.
What pests and diseases commonly affect herbs and how do you treat them?
Watch for aphids, spider mites, and whiteflies—use a strong water rinse, insecticidal soap or neem oil. Prevent fungal problems by spacing plants, watering at the soil level, and improving airflow around foliage.
How often should you fertilize potted herbs?
Use a balanced, diluted fertilizer every 4–6 weeks for containers. Light feeders like thyme and rosemary need less; heavier feeders benefit from slightly more regular feeding to stay lush and flavorful.
What’s the best way to preserve extra herbs?
Dry bundles in a warm, airy spot for long-term storage, or freeze chopped herbs in ice cube trays with water or olive oil for quick use. Both methods keep flavor for months and save harvests from going to waste.
Which companion plants help herbs thrive and reduce pests?
Pair Mediterranean herbs together—oregano, sage, and thyme—or plant basil near tomatoes for mutual benefit. Many herbs repel pests and attract pollinators when grouped thoughtfully.
What are the most common beginner mistakes and how do you avoid them?
Avoid overwatering, poor drainage, too little light, and crowding pots. Start with good soil, a sunlit spot, and regular, light pruning. That simple routine prevents most early problems.
How can you create a simple weekly routine to keep herbs thriving?
Each week check soil moisture, harvest a few stems, inspect for pests, and trim leggy growth. Rotate containers for even light exposure and fertilize lightly every month during the growing season.