Feel the crisp air and the scent of damp soil as you step outside and spot the first green leaves poking up. Have you ever wanted to see fresh salad greens and crunchy roots while the mornings still bite with cold?
You can start your spring garden with calm confidence. Choose a few cool-loving seeds and raised beds that warm and drain faster. Spinach, peas, radishes, lettuce, kale, carrots, and broccoli all shrug off light frost and reward you quickly.
We’ll show simple steps you can use today: loosen the soil, add compost, plant at the right depth, and protect tender transplants with lightweight row covers. Small tools—a garden fork, trowel, and watering can—are enough to get going.
Expect many quick plants to be ready harvest in weeks, not months, and learn when to thin, mulch, and water in the morning. By taking these calm, clear steps, you’ll enjoy a lively, productive start to the growing season.
Key Takeaways
- Pick cool-tolerant varieties so you can plant while nights are crisp.
- Raised beds warm sooner and improve drainage for faster germination.
- Follow simple depths and spacing to get reliable, quick results.
- Protect young plants with row covers and water in the morning.
- Small tools and compost make planting feel easy and rewarding.
Why Early Spring Matters: Cool Weather, Light Frost, and a Faster Start
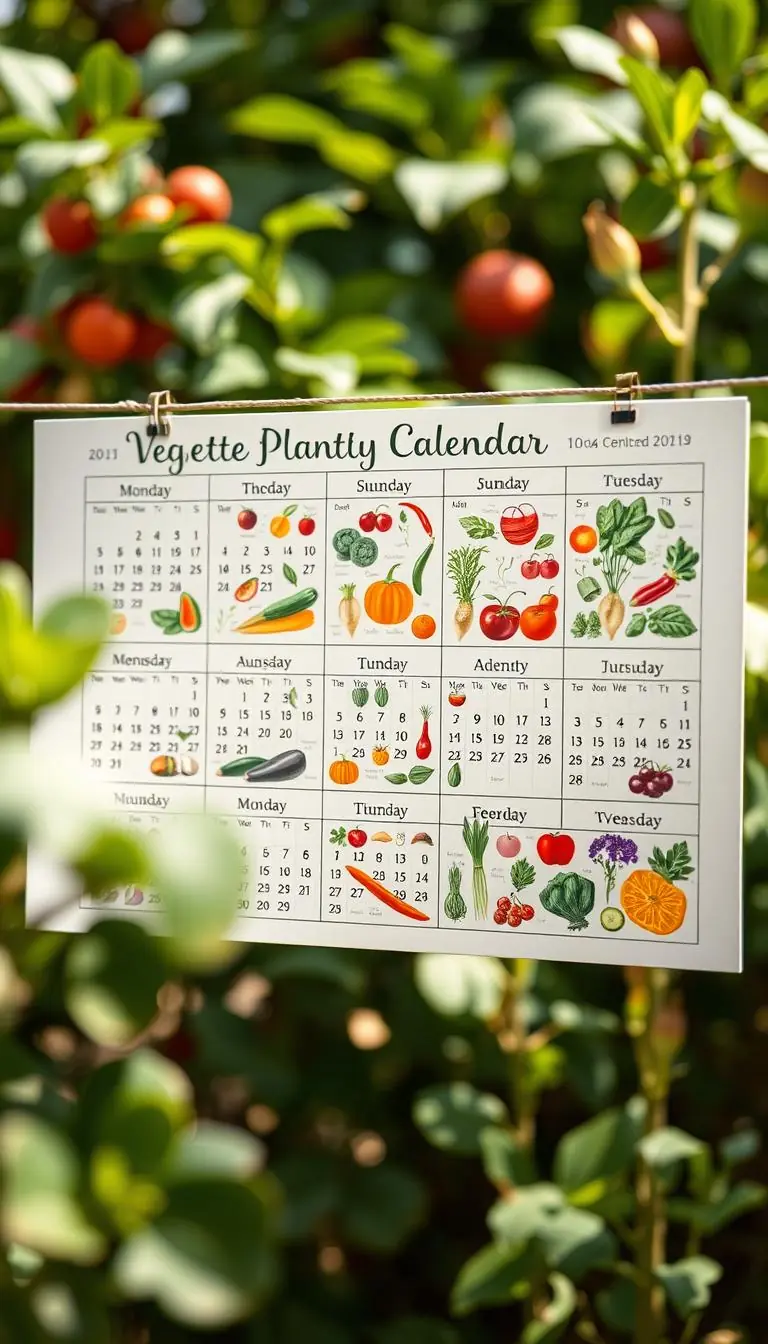
When temperatures stay on the cool side, your garden can get a fast, healthy start. Knowing your zone and the last frost date gives you confidence to plan and protect young growth.
Find your USDA zone on the Plant Hardiness Zone Map and note the average last frost date for your area. Use that date to time sowing and to decide when to cover tender plants if a cold snap shows up.
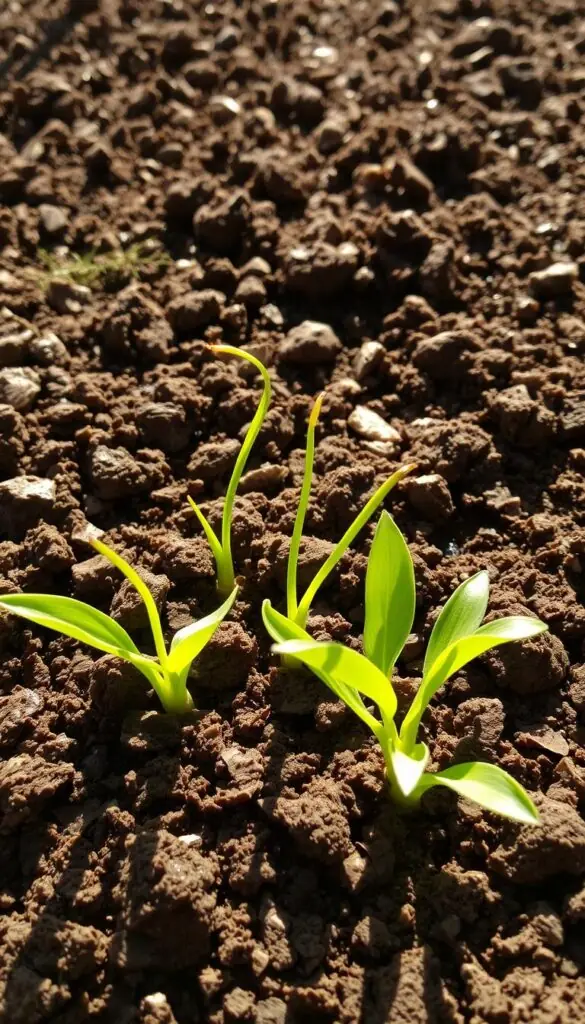
What “soil can be worked” feels like: the ground is thawed, not waterlogged, and it breaks into soft crumbs under your fork or trowel. If it still clumps like cold clay, wait a day or two to avoid compaction.
Quick timing tips
- Sow peas, spinach, and radishes 3–6 weeks before the last frost when the ground is workable.
- Peas do best with early planting; heat lowers yield. Spinach bolts when it gets warm, so don’t delay.
- Watch for soggy soil and overnight dips; a lightweight row cover can add protection.
| Sign | Action | Best timing |
|---|---|---|
| Soil crumbles under a fork | Sow cool-loving seed | 3–6 weeks before last frost |
| Soil is sticky or puddled | Wait and mulch to protect structure | After a dry day |
| Forecast shows light frost | Cover with row cloth overnight | Same night |
Take notes on your first planting day each year. Over a few seasons you'll learn local rhythms and use space well through the whole spring season.
Set Up for Success: Beds, Soil, and Simple Tools You’ll Actually Use
Good beds and simple tools give you an advantage when the ground thaws. Raised beds warm sooner and shed excess water. That helps seeds sprout and young plants get a faster start.
Raised beds warm sooner and drain better
Choose raised beds for an earlier, more reliable start. They warm and dry faster than in-ground soil. After a rain, a well-built bed drains clean and is easy to work.
Loosen, compost, and a balanced organic fertilizer for steady growth
Loosen the top 8–10 inches with a garden fork until the soil feels airy and crumbles through your fingers.
Spread 1–2 inches of dark, crumbly compost. It should smell earthy and look rich. Mix in a balanced organic fertilizer for steady growth, especially for brassicas and other hungry plants.
- Keep a simple kit: fork, trowel, rake, watering can, small hoe for tight spaces.
- Water in the morning so foliage dries by evening.
- Hold off on mulch until the bed is nicely warm to avoid trapping cold.
- Plan your space with low plantings up front and trellised peas at the back.
These small steps make your spring planting calm and reliable. Tend the beds now and enjoy a fuller season in your gardens.
Frost-Tolerant All-Stars to Plant First
Start your planting list with a handful of reliable, frost-tough vegetables that reward you fast. These choices give you quick taste and steady growth as spring light returns.
Leafy greens that shrug off chill
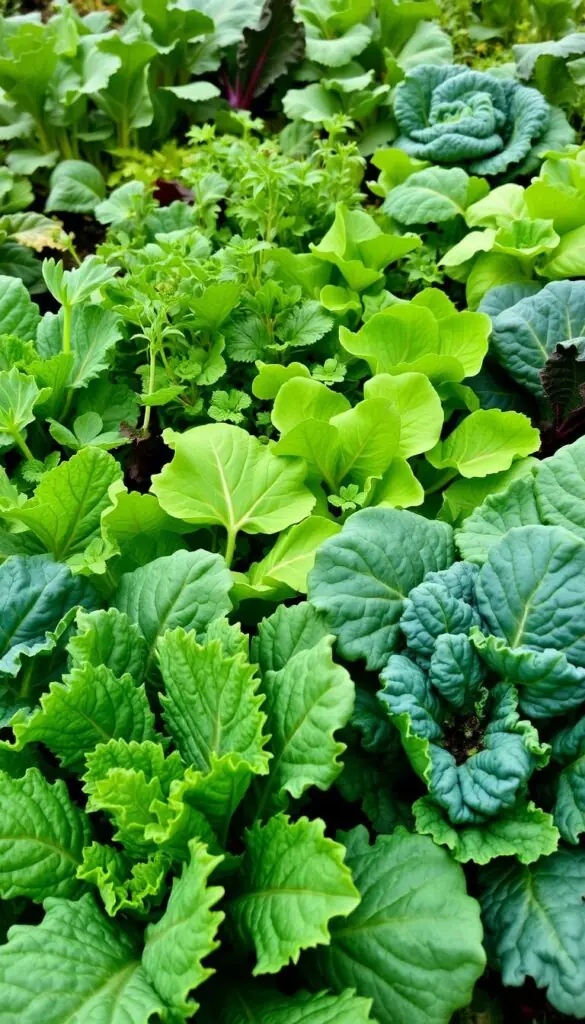
Choose ruffled kale for texture and depth of flavor; it often improves after a touch of frost.
Velvety spinach forms a lush crown when thinned to 3–5 inches and is ready in about 28–45 days.
Lettuce mixes give baby leaves fast — sow 1/4 inch deep for a ready harvest in 21–35 days.
Roots that sweeten in cold soil
Crisp radishes are a quick win: plant 1/4–1/2 inch deep, space 1–2 inches, and harvest in 21–30 days.
Turnips offer mild sweetness and dual-purpose greens, with roots maturing in 35–60 days.
Carrots and beets like loose soil; thin carrots for straight roots and space beets 3–4 inches because each seed cluster produces several seedlings.
- Swiss chard ‘Celebration’ adds color and keeps producing from baby leaves (25 days) to full-size (up to 60 days).
- Peas (1 inch deep, 2 inches apart) need early trellising; pods take about 55–70 days and reward with sweet flavor.
- Mix fast and slow varieties so you harvest while later plantings mature.
| Vegetable | Depth / Spacing | Days to Ready Harvest |
|---|---|---|
| Lettuce mixes | 1/4 inch deep | 21–35 days |
| Spinach | Thin to 3–5 inches | 28–45 days |
| Radish | 1/4–1/2 inch deep, 1–2 inches apart | 21–30 days |
| Turnip | Shallow sowing, thin seedlings | 35–60 days |
| Peas | 1 inch deep, 2 inches apart, trellis | 55–70 days |
Peas Love the Chill: Snow and Sugar Snap Peas for Early Crunch
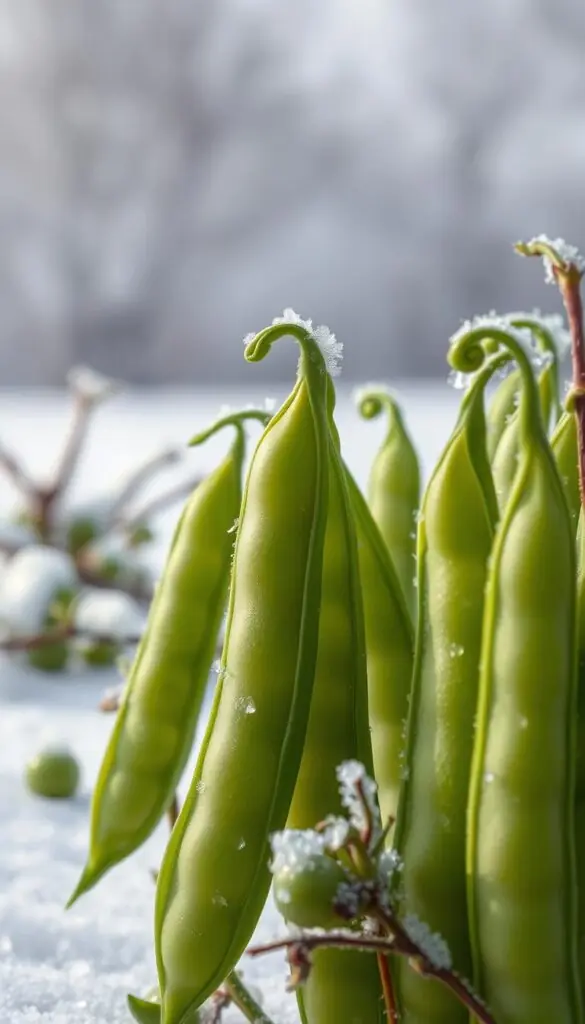
When soil thaws and mornings stay cool, peas reward you with sweet, crunchy pods. Planting them is simple and very satisfying. You’ll enjoy crisp texture and fresh flavor straight from the trellis.
How to plant — direct sow seeds 1 inch deep and 2 inches apart, with rows spaced 18–24 inches. Press the large seeds into the soil so they contact moisture and begin steady germination.
Set support right away
Install a trellis, netting, or bamboo teepee immediately after sowing. That avoids digging later and keeps vines climbing cleanly.
Plan for flavor and a second season
Snow and sugar snap varieties take about 55–70 days to mature. Plant in spring and plan a late-summer sowing for a crisp fall harvest before frost ends the season.
Kid-friendly tip
Pick often to encourage more pods. Let children nibble shoots and pods at the trellis—there’s a satisfying snap and a sweet taste that hooks new gardeners.
- Water regularly but avoid soggy soil; peas dislike standing water.
- Grow snow peas for flat, tender pods and sugar snaps for thick, juicy pods you can eat whole.
- Remove vines that fade in heat and replant with beans or cucumbers for continued productivity.
| Task | Depth / Spacing | Timing |
|---|---|---|
| Sow | 1 inch deep, 2 inches apart | As soon as soil can be worked (spring) |
| Row spacing | 18–24 inches | Set trellis at planting |
| Harvest | N/A | About 55–70 days; sow again for fall |
Spinach, Lettuce, and Baby Greens: Fast, Tender, and Cut-and-Come-Again
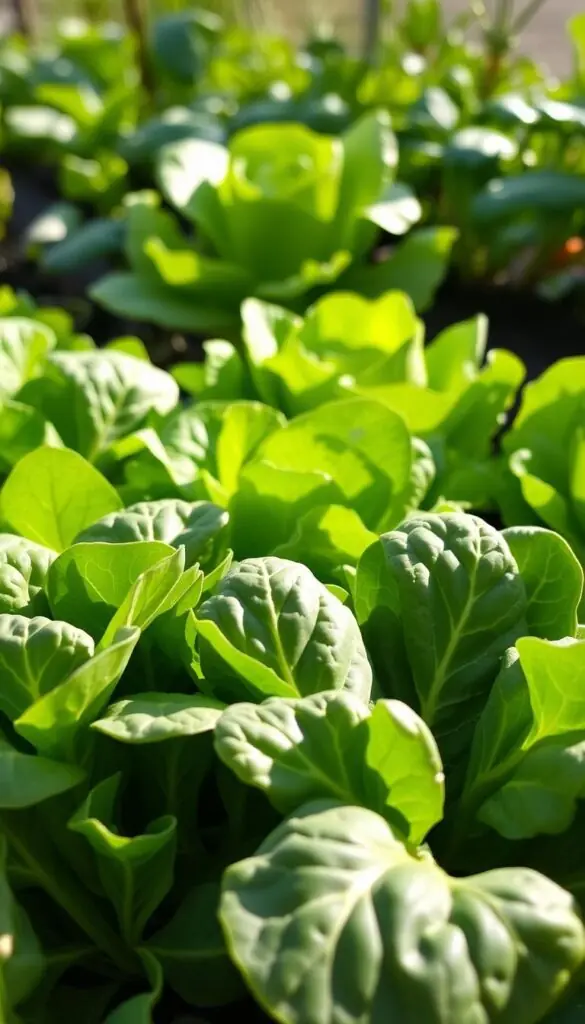
Spinach, Lettuce, and Baby Greens: plant small patches for fast, steady harvests. These greens give tender leaves you can pick a few at a time and enjoy fresh in salads. Aim to sow seeds when the soil is workable and mornings are still cool in spring.
Spinach: Sow early and thin for full rosettes
Sow spinach about 4–6 weeks before your last frost. Thin seedlings to 3–5 inches so each plant forms a strong rosette.
Harvest outer leaves in 28–45 days while the center keeps growing. Pick in the morning when dew lifts for the crispest texture.
Lettuce mixes: shallow sowing for quick baby leaves
Direct sow lettuce mixes 2–4 weeks before last frost at about 1/4 inch deep. Keep the surface evenly moist so seeds germinate quickly and leaves stay tender.
Baby greens are ready in 21–35 days with a cut-and-come-again approach. Snip a bowlful and watch new growth unfurl.
| Plant | Sow / Spacing | Days to ready harvest |
|---|---|---|
| Spinach | Sow seeds 4–6 weeks before frost; thin to 3–5 in. | 28–45 days |
| Lettuce mixes | 1/4 inch deep; thin or cut as needed. | 21–35 days |
| Baby greens | Succession sow every 1–2 weeks | 21–35 days |
- Water in the morning so leaves dry by evening to reduce disease.
- Offer light afternoon shade when sun strengthens to keep flavors sweet.
- Re-sow a small strip every 1–2 weeks for continuous salads.
- Add a pinch of compost tea mid-season to keep growth gentle and steady.
Radishes and Turnips: Peppery Pops and Dual-Purpose Greens
Short-season roots bring quick rewards and bright flavor to your spring beds. Radishes and turnips are perfect when you want fast results and tasty leaves to use right away.
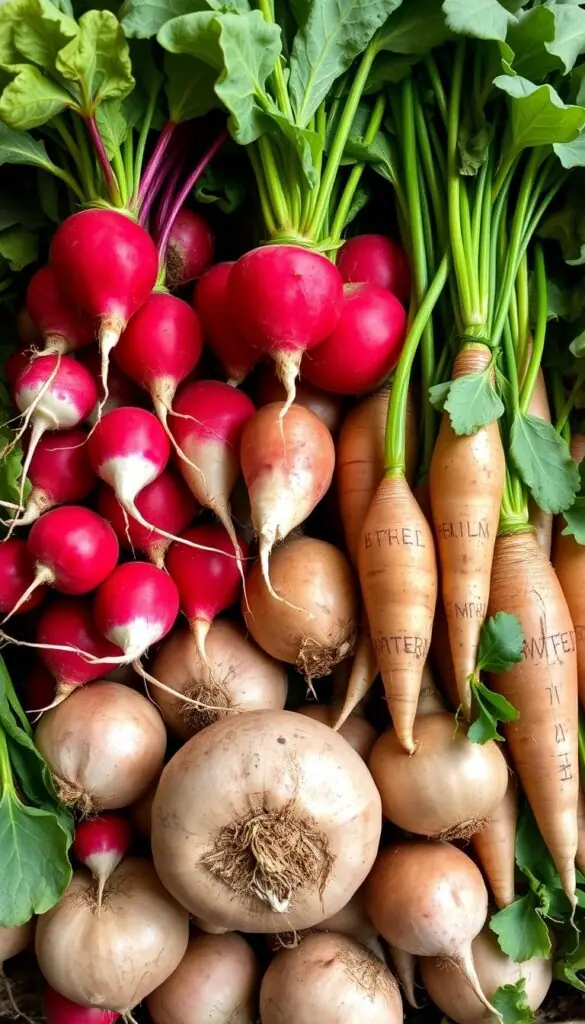
Radish basics: direct sow seeds 1/4–1/2 inch deep and space them 1–2 inches apart. Plant in fine, loose soil so roots form smooth, crisp rounds.
Thin promptly to 1–2 inches. Crowded plants make small, overly spicy roots and lots of leafy tops. Keep soil evenly moist to avoid pithy texture.
Radish timing and harvest
Harvest in about 21–30 days. Look for bright color and a peppery scent when you pull one—those signs tell you the flavor is ready. Succession sow a short row every 1–2 weeks for steady harvests through cool weather.
Turnips for two uses
Turnips mature in roughly 35–60 days depending on variety. Their leaves are ready even sooner and make a tender, mildly sweet addition to salads or sautés.
- Thin turnips to 3–4 inches so bulbs swell without getting woody.
- Pick baby turnips for delicate flavor; roast larger roots for richer sweetness.
- Add a light row cover to protect leaves from flea beetles in spring.
- Use thinnings and young leaves in salads for a fresh, peppery note.
| Plant | Sow depth / Spacing | Days to harvest |
|---|---|---|
| Radish | 1/4–1/2 in deep; 1–2 in apart | 21–30 days |
| Turnip (roots) | Shallow sow; thin to 3–4 in | 35–60 days |
| Turnip (greens) | Thin for leaf growth | Leaves ready before roots |
Kale and Swiss Chard: Cold-Hardy Greens with Color and Texture
Cold-tough greens brighten gray mornings and reward you with steady harvests. Curly blue-green kale offers structure and depth. Rainbow-stem Swiss chard 'Celebration' adds color and long-season returns.
Timing and sowing: sow kale about 3–4 weeks before your last frost so plants establish in cool light. Sow chard 2–3 weeks before that same date, about 1/2 inch deep. Both respond well to steady moisture and a light top-dress of compost mid-season.
Sowing, spacing, and harvest rhythm
Plant kale seeds in rows with 12–18 inches between mature plants. Baby kale leaves are ready in about 25–30 days. Mature leaves take roughly 50–65 days and improve after a light frost.
Direct sow chard and thin to 6–12 inches depending on how large you want the leaves. Pick outer leaves often and leave the center growing so plants keep producing through spring and into warmer weather.
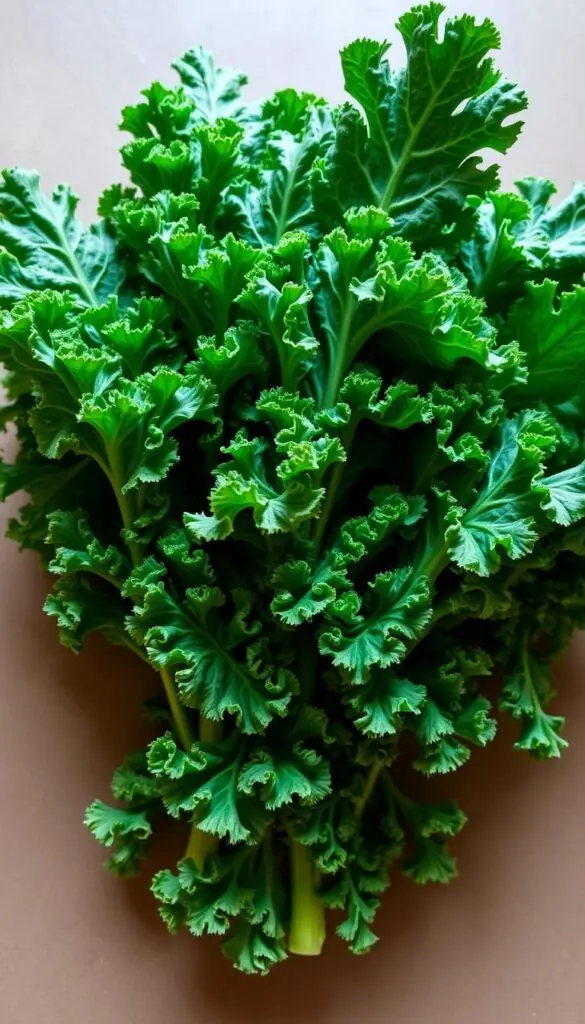
- Start kale early so it builds flavor in cool light.
- Mix kale and chard for a colorful, edible border.
- Use a light row cover to deter pests while letting sun through.
- Rinse leaves in cool water right after harvest for crisp texture.
| Plant | Sow / Spacing | Days to harvest |
|---|---|---|
| Kale | Sow 3–4 weeks before last frost; thin 12–18 in. | 25–30 (baby) / 50–65 (mature) |
| Swiss chard ‘Celebration’ | Sow 2–3 weeks before last frost; 6–12 in thin. | Leaves ready in 30–45 days; continuous season harvest |
Carrots and Beets: Sweet Roots for Cool Soil
Pulling a sweet, earth-scented carrot from cool ground is one of spring’s small joys. Roots reward simple care: fine seedbed, steady moisture, and timely thinning.
Carrots: direct sow seeds about 1/4 inch deep in loose, stone-free soil. Keep the surface evenly moist until sprouts show; tiny seeds need good contact with damp soil to germinate.
Shallow sowing and thinning for straight roots
Thin seedlings to 1–2 inches apart once true leaves appear. Crowding makes forks and skinny roots. A gentle early thin gives straight, plump carrots.
Choose a quick variety like ‘Little Finger’ for a first harvest in 55–60 days. For steady supply, sow a small mix of standard and quick types and follow with another sowing in a few weeks.
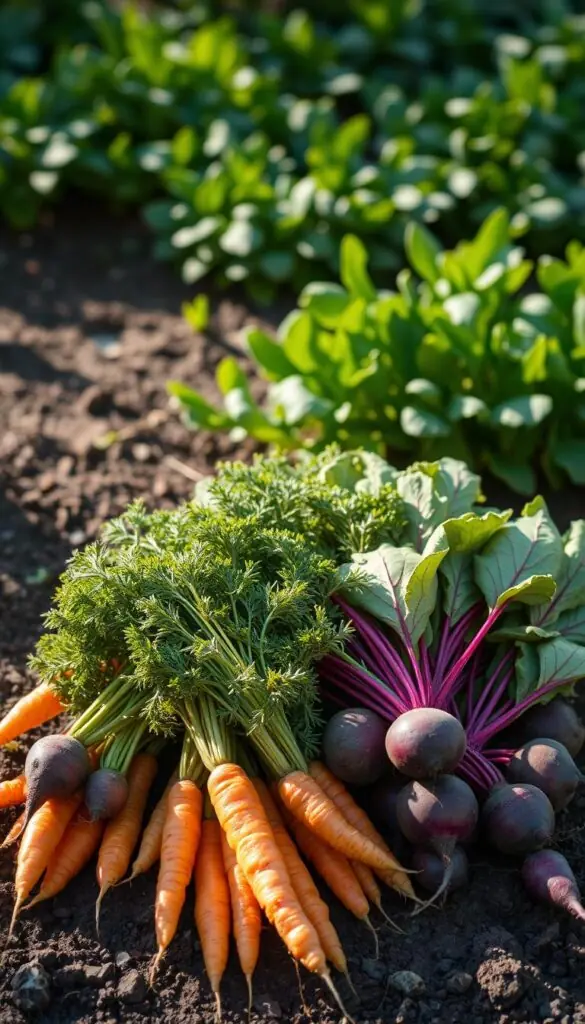
Beets: cluster seeds and tasty greens
Sow beet seed clusters about 1/2 inch deep. When seedlings emerge, thin each cluster to one plant and space to 3–4 inches so roots can size up.
"Snip young thinnings and use them as salad greens—tender, colorful, and full of flavor."
- Prepare a fine seedbed so tiny carrot seeds make even contact with moist soil.
- Water gently to avoid crusting; consistent moisture prevents misshapen roots.
- Mulch lightly after the bed warms to hold moisture and keep roots sweet.
- Harvest carrots on a cool morning for crisp texture; beet roots ripen in about 50–60 days.
| Plant | Depth / Spacing | Days to ready harvest |
|---|---|---|
| Carrot | 1/4 in deep; thin to 1–2 in | 55–60 days (early varieties) |
| Beet | 1/2 in deep; thin to 3–4 in | 50–60 days |
| Greens | Use thinnings and young leaves | Ready before root harvest |
Tip: Roast beet roots with their greens or toss thinnings into salads for an easy garden-to-table finish.
Broccoli and Cauliflower: Cool-Weather Brassicas Done Right
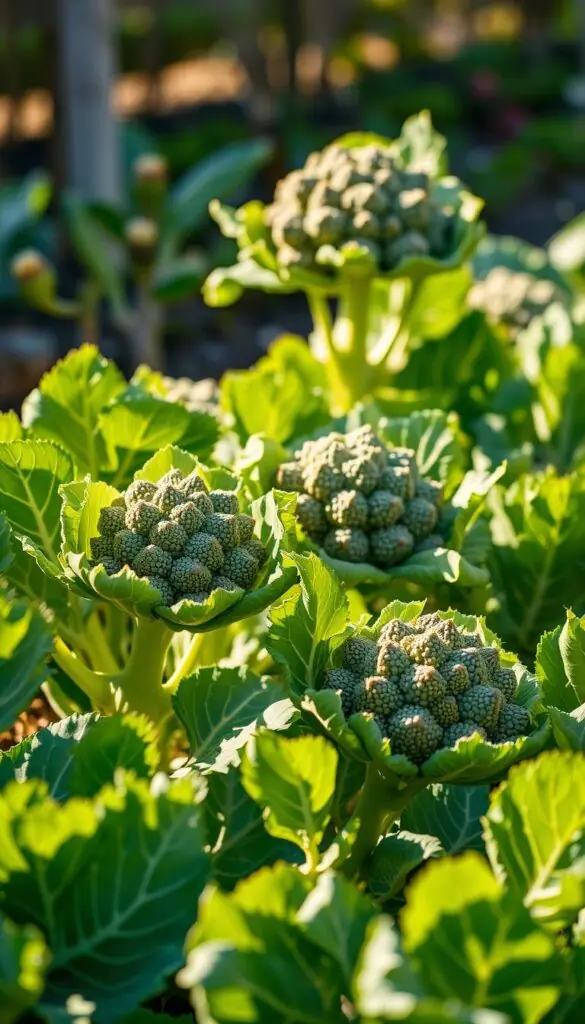
Set broccoli and cauliflower into rich, loose soil so they can build heads while temperatures stay mild. Give them room and steady care now, and you’ll enjoy neat, compact heads before the summer heat arrives.
Transplant steps
- Buy healthy starts or grow your own, then loosen the bed and mix in a shovelful of compost before planting.
- Planting depth: straighten leggy seedlings and bury stems a bit deeper than in the pot; remove lower leaves that would sit under the soil.
- Space generously: set broccoli 18–24 inches apart and cauliflower 24–30 inches apart so heads can size up without crowding.
Pest and moisture basics
Cover transplants with low hoops and insect netting to block cabbage worms while still letting light and rain through.
Water at the base to keep foliage dry and reduce disease during cool, damp spells. Mulch once the soil warms to hold moisture and steady growth.
Timing and what to watch for
Harvest before warming days push plants to bolt. If heads run small, don’t worry—broccoli often sends useful side shoots a few days later.
After harvest, clear the bed and replant with warm-season favorites like beans, cucumbers, or zucchini to make the most of the season.
| Task | Detail | Timing / Notes |
|---|---|---|
| Transplant | Loosen soil, add compost, bury leggy stems | Set in spring when soil is workable; avoid hard frost nights |
| Spacing | Broccoli 18–24 in; Cauliflower 24–30 in | Give space for heads and airflow |
| Pest barrier | Hoops + insect netting | Protect from cabbage worms while allowing light |
| Harvest | Pick before heat causes bolting | Heads ready in varying days; watch warming trends |
Protecting Early Crops from Late Frost and Cold Snaps
A sudden cold snap can feel alarming, but a few simple protections keep young plants safe. These steps are calm, neighborly, and easy to do on short notice.
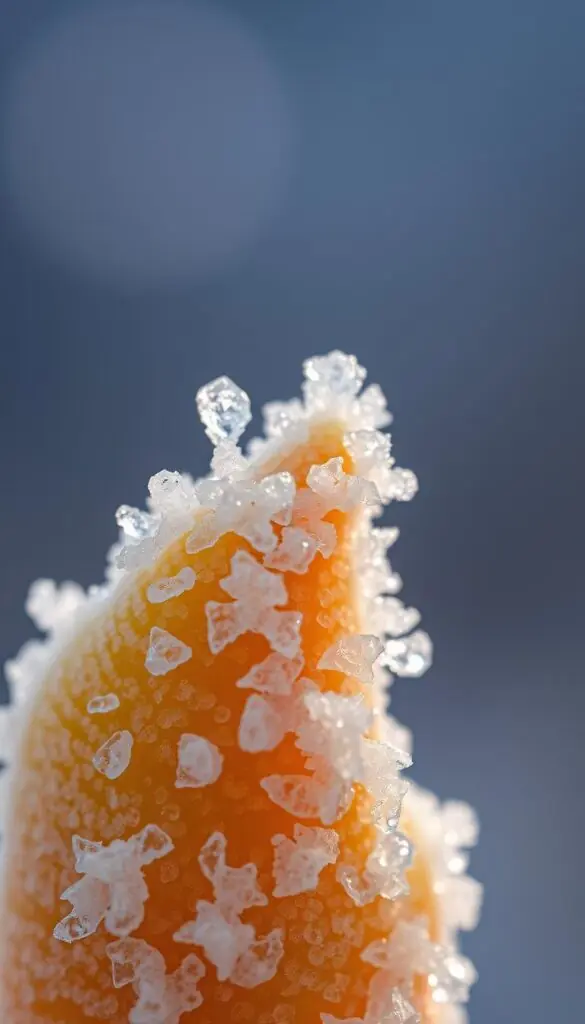
Row covers and frost blankets on simple hoops
Lightweight row covers or frost blankets let sun and water through while blocking chill. Drape fabric over low hoops so it does not touch leaves on freezing nights.
Pin edges with stones or clips to stop drafts. For a hard dip in temperatures, double-layer the fabric for extra warmth.
Water in the morning and mulch after soil warms
Give beds a good soak in the morning. Moist soil holds gentle warmth overnight better than dry ground and lowers frost risk.
Wait to mulch until the soil has warmed well. Mulch added too soon can trap cold and delay growth through the season.
- Watch the forecast and cover ahead of a cold night.
- Remove covers on mild days to improve airflow and lower disease risk.
- Label beds so you can cover the right rows quickly.
| Action | Why it helps | When to do it |
|---|---|---|
| Drape row cover on hoops | Blocks frost while allowing light and water | Before a forecasted frost night |
| Water in the morning | Soil holds warmth and reduces leaf freezing | Daily during cool spells |
| Delay mulch | Prevents cold trapping around roots | After soil and nights stay consistently warm |
Succession Planting and Spring-to-Fall Swaps for a Longer Growing Season
Keep a steady planting rhythm and your beds will offer something fresh most weeks. Stagger sowings every 1–3 weeks so lettuce, spinach, radishes, and turnips finish at different times.
Planting small amounts often keeps your table full and reduces waste. When a bed frees up, replant it promptly with a warm-season choice to extend the growing season into summer and fall.
Stagger sowings every 1–3 weeks for steady harvests
Sow a few rows of greens or radishes now, then sow again in one to three weeks. This gives you continuous salad bowls and a steady flow of roots.
Replant spaces with beans, cucumbers, or zucchini as weather heats
Examples you can use: after peas fade, plant bush beans; when radishes finish, tuck in cucumber seeds or starts; after broccoli or cauliflower, set zucchini.
| Swap | Replace with | Days to harvest |
|---|---|---|
| Peas | Bush beans | 50–60 days |
| Radishes | Cucumbers | 50–70 days |
| Broccoli / Cauliflower | Zucchini | 40–55 days |
- Plant a little, often—every 1–3 weeks—to keep fresh greens and roots coming.
- Keep a tray of labeled seeds by the door so replanting happens the same day a bed clears.
- Add a scoop of compost when you replant to refresh soil and support the next set of crops.
- Track sowing dates and first harvests; over time you’ll learn the best time to pivot from spring to summer plantings and into fall.
Main-Season Alternatives Once Temps Rise: When to Pivot from Early Crops
As temperatures climb, swapping tender greens for heat-tolerant vegetables keeps your garden productive. This gentle pivot keeps beds full and flavors bright through the summer season.
When soil warms above about 60°F, direct sow bush beans where peas ran. They are simple to plant seeds for and take roughly 50–60 days to start producing fresh pods with a clean, grassy flavor.
Tuck compact cucumbers into small spaces for crisp, refreshing harvests. Choose bush or vining types based on the space you have. Add zucchini like 'Black Beauty' for high yield; harvest young for the best texture.
- Slip basil starts near paths for easy snipping; it thrives in heat and lifts salads with herb flavor.
- Pick varieties bred for resistance so plants stay productive through summer heat.
- Give each plant enough space to breathe; proper spacing reduces disease and improves fruiting.
- Water deeply at the base and harvest often to encourage steady production.
| Plant | Where to plant | Spacing / Notes |
|---|---|---|
| Bush beans | Replace pea rows | Plant seeds after soil ≥60°F; 2–4 in apart; 50–60 days |
| Compact cucumbers | Small gaps or containers | Space 12–18 in; 50–70 days; pick often for crispness |
| Zucchini ('Black Beauty') | Sunny plot | Space 24–36 in; 40–55 days; harvest small for best flavor |
| Basil | Beside paths or near beds | Space 8–12 in; loves heat; snip frequently to boost growth |
Conclusion
When you trust the soil and the rhythm of the weather, small actions lead to big harvests.
Planting in spring now gives you quick returns and opens beds for warm-season swaps later. Raised beds, compost, and a balanced fertilizer set a steady foundation.
Protect tender plants on chilly nights with row covers, water in the morning, and replant as beds clear to stretch the growing season into fall.
You’re ready: follow simple steps, keep tools and notes handy, and savor the scent of damp soil, the snap of a pea pod, and the color of chard stems.
Enjoy the process—gardening is as much about calm mornings as it is about full baskets at harvest. With gentle care, your space will thrive.
FAQ
What are the best vegetables to plant in early spring that tolerate light frost?
Leafy greens like spinach, lettuce mixes, kale, and Swiss chard; root crops such as radishes, turnips, carrots, and beets; and peas and brassicas (broccoli, cauliflower) all handle cool weather and light frost well. These varieties germinate or grow in cool soil and often taste sweeter after a chill.
How do I know when my soil can be worked in spring?
Soil is ready when it crumbles easily in your hand and feels slightly warm and neither sticky nor powdery. If it compacts into a wet clump, wait; if it falls apart and drains, you can till lightly, loosen beds, and add compost and balanced organic fertilizer.
How do I find my USDA zone and last frost date?
Look up your USDA hardiness zone on the USDA plant hardiness map or via gardening sites such as the National Gardening Association. Your last frost date is listed by zone; plan sowing and transplanting around that date and count back weeks for cold-tolerant seeds or starts.
Should I start seeds indoors or direct sow for peas and most cool-season vegetables?
Peas and many roots and leafy greens are best direct sown. Sow pea seeds about 1 inch deep and 2 inches apart, with a trellis ready. Spinach, lettuce, radishes, carrots, and beets can also go straight in once soil is workable. Transplant brassicas and some kales started indoors for a stronger start.
What planting depths and spacing should I use for common early crops?
General guidelines: peas 1 inch deep, 2 inches apart; radishes 1/4–1/2 inch deep, 1–2 inches apart; lettuce mixes 1/4 inch deep; spinach thin to 3–5 inches; carrots shallow sowing and thin; beets thin clustered seeds. Follow seed packet timing for days to harvest.
How do I protect young plants from late frosts or cold snaps?
Use lightweight row covers or frost blankets supported on simple hoops to trap warmth. Water in the morning to reduce freeze stress and remove covers on sunny afternoons. Mulch after the soil warms to conserve moisture and moderate temperatures.
When should I transplant broccoli and cauliflower outdoors?
Transplant brassicas into loosened, compost-rich soil a few weeks before your last frost or when seedlings have several true leaves. Space them generously to allow air flow and use hoop netting if cabbage worms are common in your area.
How often should I succession sow for steady spring harvests?
Stagger sowings every 1–3 weeks depending on the crop. Fast growers like radishes and lettuce benefit from weekly or biweekly sowings. This keeps a steady supply and lets you replant spaces with warm-season beans, cucumbers, or zucchini as temperatures rise.
Can I harvest greens and still get more later from the same plants?
Yes. Use the cut-and-come-again method: harvest outer leaves of spinach, lettuce, kale, and chard and leave the crown to regrow. Regular, gentle harvesting encourages steady production throughout the cool season.
Do carrots and beets need special care in cool soil?
Sow shallowly and keep consistent moisture to prevent cracking. Thin seedlings so roots grow straight and have adequate space. Beets tolerate thinning; you can eat the small greens. Both crops often taste sweeter when grown in cooler soil.
How do I transition beds to warm-season vegetables as spring turns to summer?
Time succession plantings so cool-season crops finish as soil and air warm. After harvesting, amend soil with compost, then transplant or sow warm-season crops like beans, cucumbers, and zucchini. Remove cool-season residues and give new plants space and steady water.