Imagine the scent of damp soil after a light rain and the crisp snap of a just-picked root at your back step. Have you ever wished for a small, sunlit patch where you can pull sweet roots any time? You can do this easily, even on a balcony or patio.
You’ll learn a calm, reliable way to grow carrots in pots that fits your daily routine. We keep steps short and practical so you can start with tools you already own: a watering can, a trowel, and a #5 nursery pot or similar.
Expect clear guidance on soil mix, seed depth, thinning, and when to water. Containers often give steadier germination than bare ground, and a single pot can yield a lot—some gardeners report many finger-thick roots from one pot sown in cool months.
Key Takeaways
- Use the right pot and loose soil for straight, healthy roots.
- Sow thinly and thin seedlings gently to avoid crowding.
- Water evenly; don’t let the surface dry during germination.
- Choose shorter varieties suited to pots and small spaces.
- Watch seasonal cues so planting time fits your local garden rhythm.
Why Grow Carrots in Containers: Beauty, Control, and Reliable Results
With a little soil and a sunny spot, you can enjoy tidy, flavorful harvests right outside your door.
Growing carrots in containers gives you control. You manage soil and moisture, so roots stay straight and sweet. Potted setups cut down on soil-borne pests and let you move plants to shade during a heat wave.
You’ll also find watering easier to read. In a pot you can see drainage and test moisture with a fingertip. That steady moisture often means more consistent germination than dry garden beds.
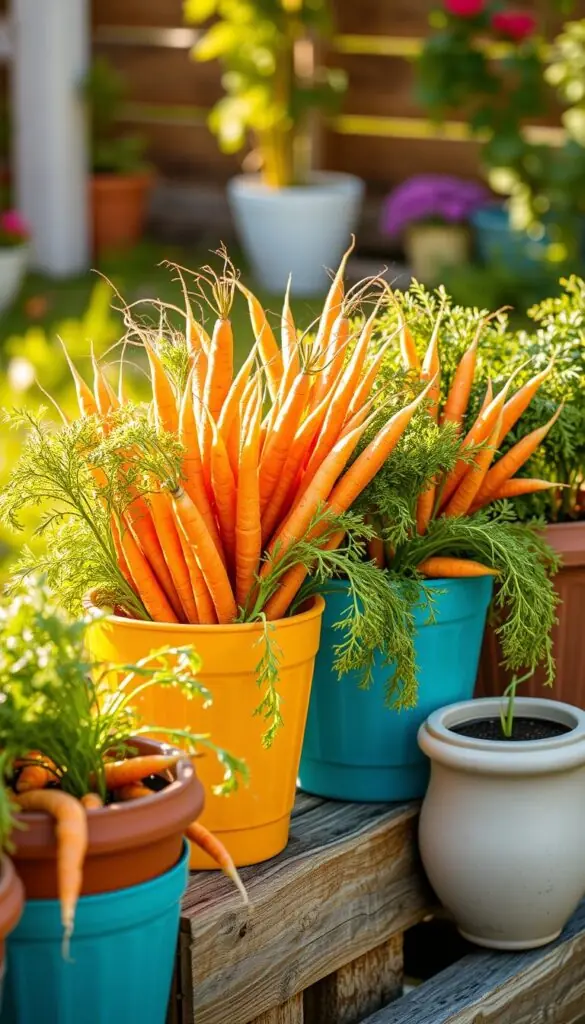
- Place pots where sun is best and shift them if needed.
- Save space while getting generous yields with succession planting.
- A pot at kid-height invites snacking and small hands in the garden.
| Benefit | Why it Helps | Quick Tip |
|---|---|---|
| Soil control | Fresh mix reduces pests and compaction | Use loose, well-draining soil |
| Moisture management | Even moisture yields sweeter roots | Check with your fingertip, water gently |
| Portability | Move plants for sun or shade | Group a few pots for easy succession |
Start small, enjoy the pretty greens, and try growing carrots one pot at a time — it’s a simple, rewarding way to add fresh flavor to your home.
Choose Carrot Varieties That Thrive in Pots
Picking the right seed makes a big difference. A compact variety gives you straight, sweet roots with less fuss. Start with short or medium types for reliable results in small spaces.
Best short and medium types
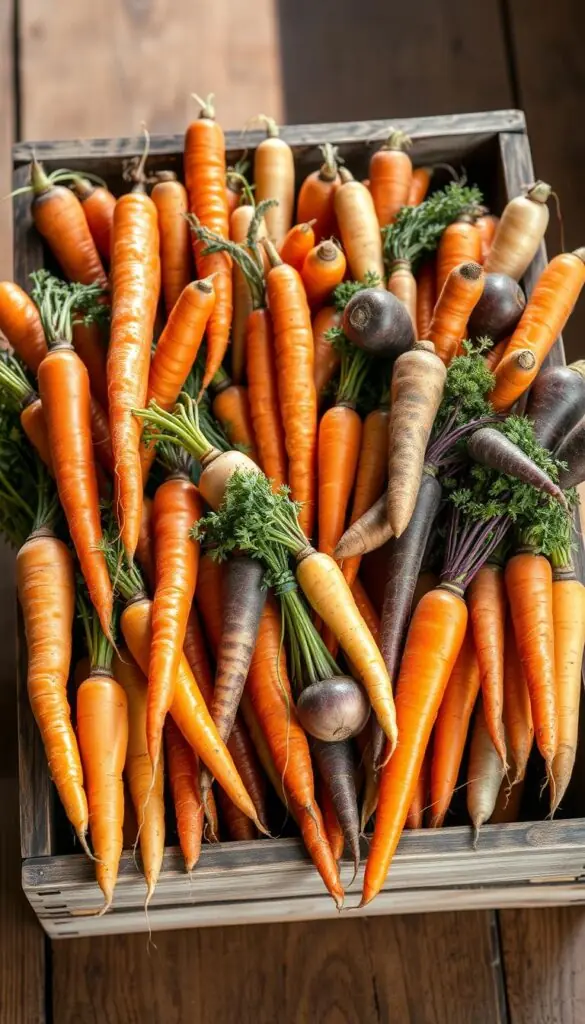
Mokum and Nantes are sweet and forgiving — great for snacking or juicing. Little Finger fits tight spacing and is perfect for lunchbox treats. Parisian Market and Red Cored Chantenay make stout, tasty roots for roasting.
When to pick longer types
If you love long, elegant roots, choose Imperator types. Give them room: aim for about 16–18 inches of soil so the taproot won’t hit bottom. That extra depth prevents forked or deformed roots.
Match varieties to how you cook
Think about use as you plant. Nantes presses well for juice. Round types like Tonda di Parigi brown beautifully in the oven. Heat-tolerant Shin Kuroda stands up to warm summers and keeps texture tender.
- Pick compact varieties for small pots: Mokum, Nantes, Little Finger, Parisian Market.
- Match seed packet days to pot depth and plan harvest timing.
- Mix a couple of varieties for color and staggered harvests—just match depth to the longest root.
Select the Right Container: Depth, Width, Material, and Drainage
Start with the right size and material so your harvest is tidy and dependable.
Depth and diameter matter. Choose 6–12 inches of soil for short types and 16–18 inches for long roots so the taproot won't hit the bottom. A #5 nursery pot (about 11–12 inches tall and 10–11 inches wide) works well for short to medium types.
Go wider when you can. Larger pots hold moisture longer and give you space for several plants. That extra width also reduces crowding and odd-shaped roots.
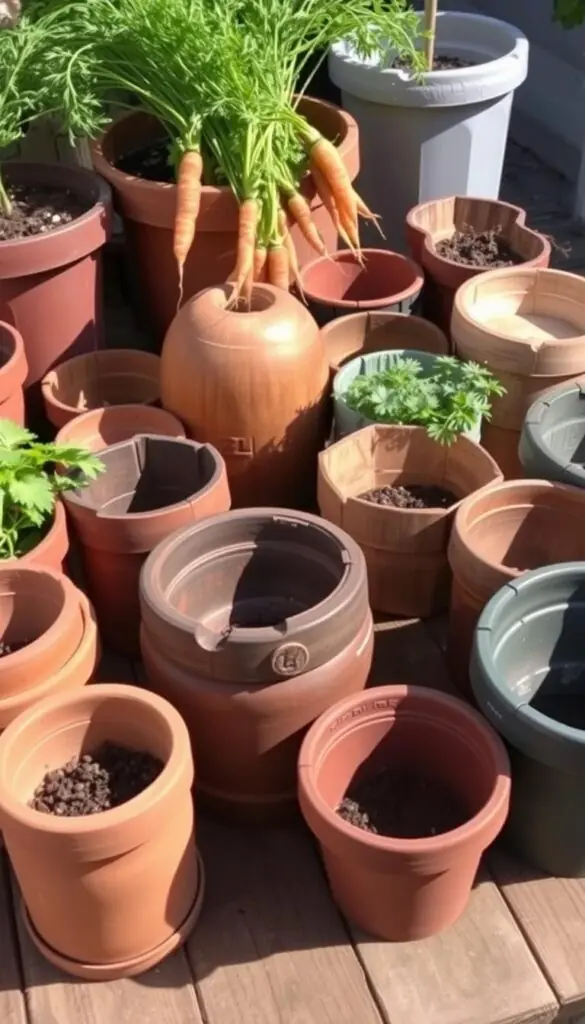
Materials: feel and function
- Terracotta feels cool to the touch and breathes, but dries faster.
- Wood and fabric pots stay cooler and add a natural look.
- Plastic or metal is lightweight—use light colors and shade to prevent overheating.
Drainage and placement
Make sure there are multiple drainage holes so water runs out the bottom freely. Use a saucer only if you can empty excess water.
| Feature | Why it Helps | Quick Tip |
|---|---|---|
| Depth (inches) | Prevents forked roots | 6–12" short, 16–18" long |
| Material | Temperature and moisture control | Terracotta/wood/fabric stay cooler |
| Drainage | Prevents soggy soil at the bottom | Multiple holes, dump saucer water |
Build a Carrot-Friendly Potting Mix
Think of the mix as a soft runway for young roots — airy, steady, and just damp enough.
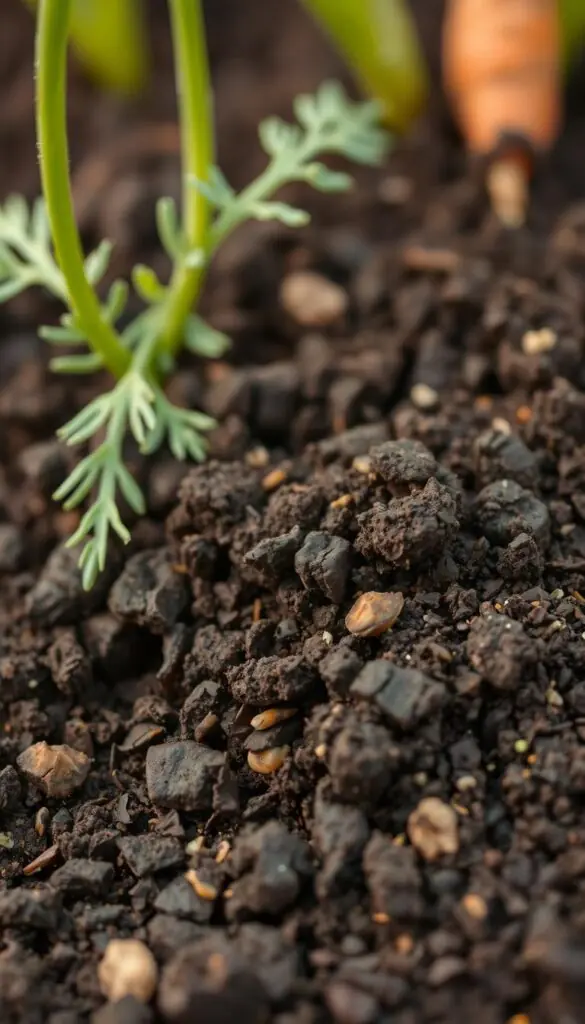
Use a soilless potting media for light texture and a clean start. A soilless blend reduces weed seeds and helps drainage so roots grow straight toward the bottom.
Try a ready bag like FoxFarm Happy Frog or another balanced product labeled for vegetables. If the bag lacks nutrients, blend in a balanced fertilizer (for example, 5-5-5) at the rate on the label before sowing seeds.
Simple recipe and tips
- Mix 70% soilless potting media + 20% coarse compost + 10% perlite for extra drainage.
- Add a light, balanced vegetable fertilizer if the mix has no nutrients.
- Fill pots to about one inch below the rim so water won’t spill and seedlings get light at the top.
| Ingredient | Why | Amount |
|---|---|---|
| Soilless mix | Light, weed-free texture | 70% |
| Compost | Gentle nutrition (not heavy) | 20% |
| Perlite | Improves drainage to bottom | 10% |
Avoid garden soil, topsoil, and pure manure mixes. They pack too tightly, hold too much water, and can bring pathogens that harm young vegetable roots.
Keep the texture loose so seedlings push through easily and water runs toward the bottom without pooling.
Sow Carrot Seeds the Easy Way
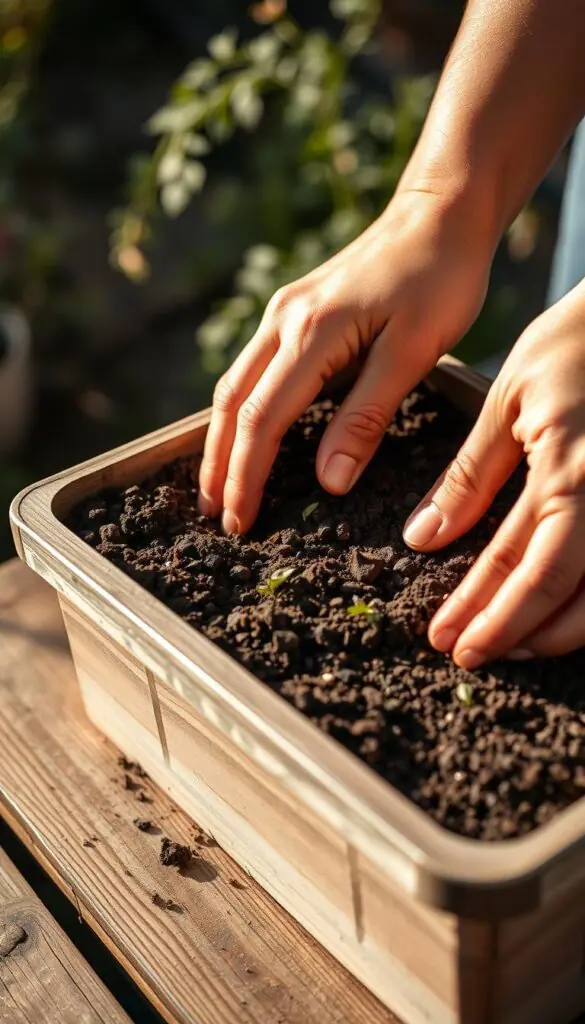
Start by giving your potting mix a gentle drink so seeds settle in and sprout evenly. Fill the pot to within about an inch of the rim with moist potting soil. Light, damp media helps seed contact and steady germination.
Make shallow furrows about 2 inches apart or broadcast seeds for a quick bed. Sow carrot seeds roughly 1 inch apart or thin later. Tamp the surface lightly so you can’t see the tiny seed, then cover thinly.
Water and cover for steady sprouting
Use a watering can with a fine rose or mist spray to give a fine rain — not a splash. Keep the surface evenly moist for 7–14 days.
Press a piece of burlap or a small row cover over the pot to cut evaporation. In warm spells, place containers in bright shade so the top doesn’t crust or dry.
"Aim for about 50–80°F for the fastest germination. As soon as green hooks appear, remove the cover and move the pot into full sun."
- Pre-wet the mix so early watering sinks evenly.
- Keep checks twice a day in hot weather; make sure the soil stays damp, not soggy.
- If you sow densely, thin later for straighter roots and room to grow.
Watering and Light: Soil Moist, Not Soggy, With Sun-Savvy Placement
A simple watering routine helps roots stay tender and avoids bitter, woody texture.
Water deeply until you see it drain from the bottom, then pause and let the surface dry slightly. This way moisture reaches the full root zone and prevents wet pockets at the bottom.
Use a finger test or a moisture meter to check. Aim for soil that feels cool and lightly damp an inch below the top. Small pots dry faster than larger containers, so check them more often.
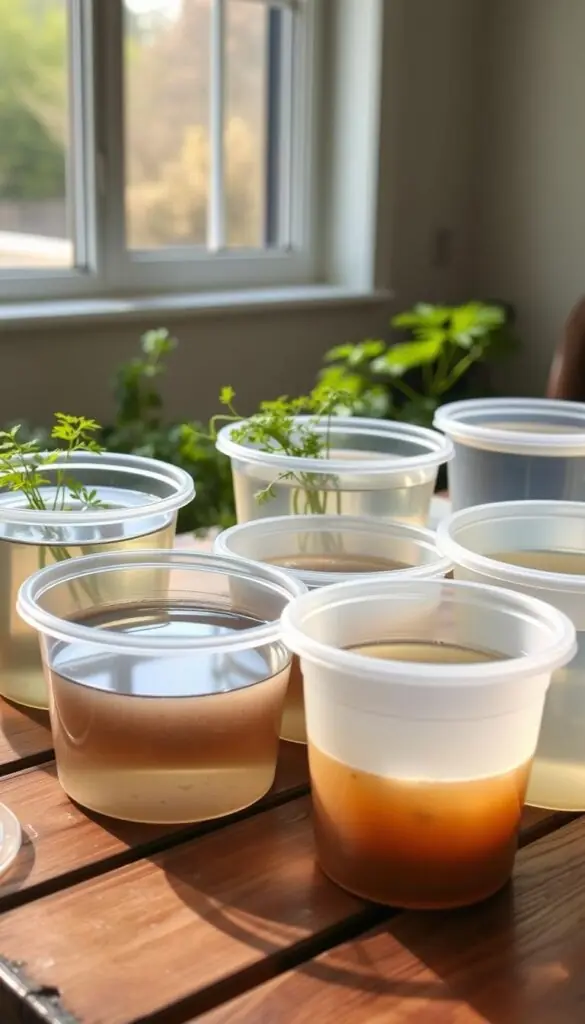
Set a simple rhythm
- Water until a steady trickle appears from the bottom, then stop.
- Slow, deep watering beats quick splashes that only wet the top.
- Keep notes for a week to find the best watering schedule for each pot size.
Sun, heat domes, and staying cool
Give your roots 6–8 hours of sun, but protect them in heat waves. During a heat dome, slide pots into afternoon shade or shield the hot (south) side with a light panel.
| Need | Why it matters | Quick fix |
|---|---|---|
| Even moisture | Prevents splitting and woody flavor | Deep watering to bottom, then slight dry |
| Sun hours | Supports sweet root growth | 6–8 hours sun; move to shade in heat |
| Heat protection | Stops stress and bitter roots | Use light-colored pots or shade the hot side |
"If leaves flop midday in summer, check moisture sooner; pots dry faster than garden ground."
Seedlings to Strong Tops: Thin, Space, and Protect
Give your young greens a little room and gentle protection so they grow into sturdy, flavorful roots.
Start with a calm, two-step thinning plan. When the first leaves (cotyledons) show, thin seedlings to about 1 inch apart. Use scissors to snip extra seedlings at soil level so you don't disturb nearby roots.
About a month later, thin again to roughly 2 inches. This second pass gives each carrot a fair amount of space to form a straight taproot and full shoulders.
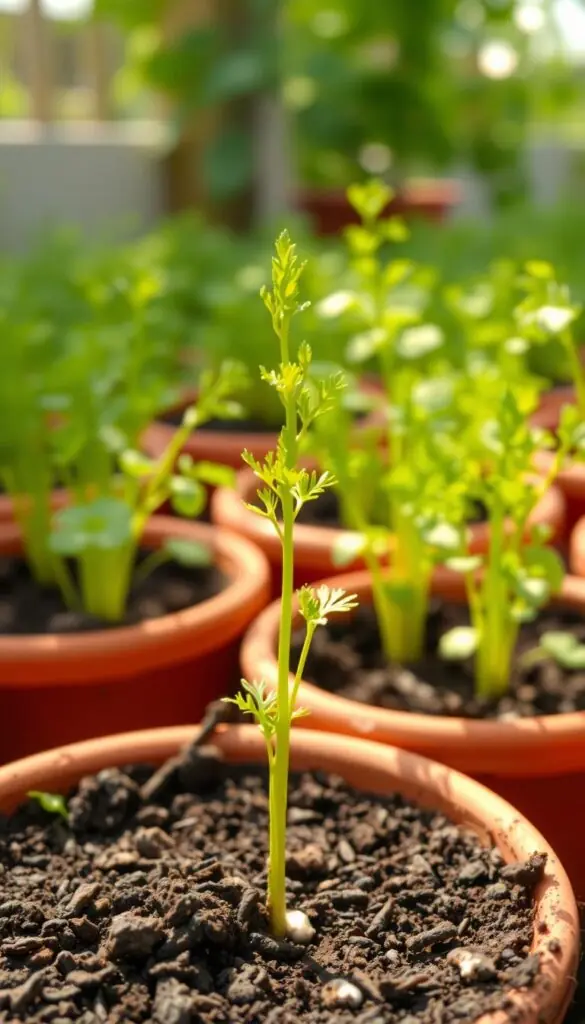
Protect tender tops and deter critters
Lay 1/4-inch hardware cloth over the pot until tops reach about 3 inches. This keeps birds away while light and rain pass through. Elevate pots on bricks or a stand to discourage pill bugs and slugs; peek underneath and remove any hiding pests.
- Thin on a cool, calm morning so soil stays settled and seedlings perk up quickly.
- Taste a few thinnings—they’re fragrant and carroty, a tiny preview of harvest.
- Use the same two-step routine in beds or on the ground; it works well at any scale.
| Stage | Spacing | Quick Tip |
|---|---|---|
| Cotyledon thinning | ~1 inch | Snip with scissors at soil level |
| Final thinning | ~2 inches | Thin to even space for uniform roots |
| Protection | Hardware cloth until ~3 inches tall | Elevate pots; lift occasionally to remove pests |
"Make sure you thin gently and early — your patience now pays off with sweeter, straighter roots."
Feeding, Topping Off, and Avoiding Common Mistakes
A gentle feeding plan keeps roots happy without pushing leaf growth at the expense of flavor.
Feed lightly and on schedule. Mix a balanced vegetable fertilizer into the soil at planting, or plan a low-nitrogen, phosphorus-forward feed once the foliage reaches 2–4 inches. If the mix looks lean, repeat near 6–8 inches. Too much nitrogen makes hairy, forked roots, so keep rates modest.
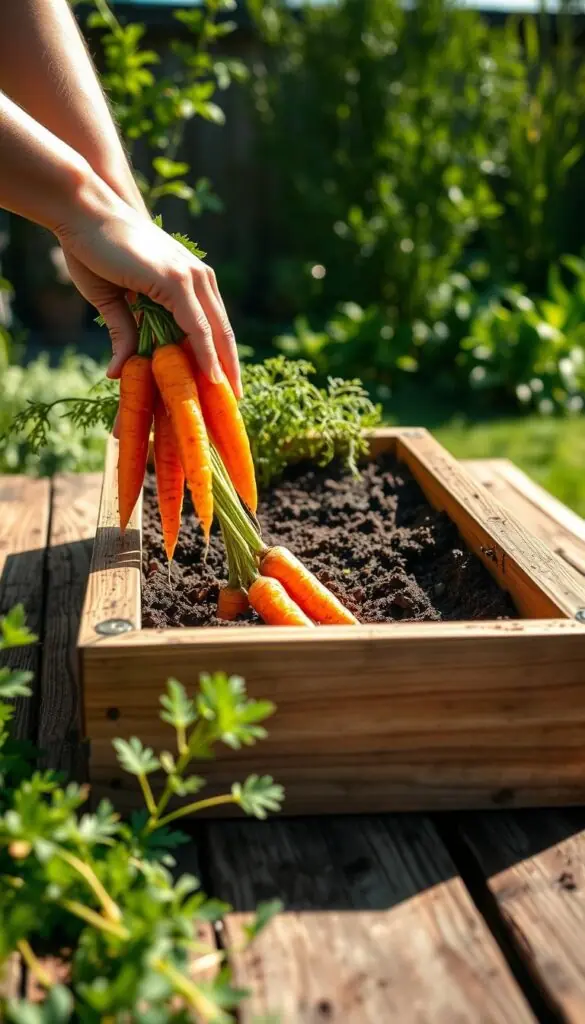
Practical steps to follow
- Feed lightly with a balanced fertilizer or a low-nitrogen blend that favors roots over leaves.
- Time feedings to foliage height—around 2–4 inches, and again near 6–8 inches if needed.
- Water after feeding so nutrients move into the root zone without pooling on top.
- Make sure not to crowd feeding and watering on the same day if drainage is slow; a steady way works best.
Covering exposed shoulders
If the carrot tops peek above the soil and the shoulders begin to green, gently hill fresh mix over them. This quick fix prevents greening and bitterness and keeps roots tender.
"If growth stalls, check soil texture and moisture before adding more fertilizer—often airier soil is the real fix."
| When | What | Why |
|---|---|---|
| At planting | Balanced mix in soil | Provides baseline nutrients |
| 2–4 inches foliage | Low-N feed | Encourages root development |
| 6–8 inches foliage | Optional light feed | Supports steady growth if mix is poor |
A quick top-off of light mix midseason keeps the setup tidy and supports even root shoulders. If growth looks slow, check soil moisture and texture first—then feed only as needed so your vegetable patch stays healthy and tasty.
container carrots: Timing, Harvest, and Storage
Harvest time is a small ritual: check a test root, then decide if your pots are ready.
Signs of readiness
Start checking around the seed packet’s days to maturity. Most varieties reach full size about 60–80 days after sprouting.
Look for sturdy leaf bases and colorful shoulders just at the soil line. If shoulders don’t show, brush the topsoil gently to check size.
Two easy harvest methods
- Quick harvest: tap the pot sides, tip gently, and the roots often slide free with little breakage.
- Pick-as-needed: loosen the mix with a slim tool (a long nail or stake) near the root, then lift one-by-one.
Aftercare and storage
Snip the tops right away — leaves draw moisture from the roots if left on.
Rinse soil off, pat dry, and chill in the refrigerator. Properly stored, they stay crisp and sweet for days.
"Harvest a test carrot first and enjoy the moment — it's the best way to learn your garden's rhythm."
| When | Check | Quick tip |
|---|---|---|
| Around packet days | Shoulders at soil line | Brush soil, then decide |
| Quick harvest | Tap & tip pot | Minimal root damage |
| Pick-as-needed | Loosen then lift | Less disruption to other roots |
Seasonal Notes for U.S. Gardens: Spring Sowing, Summer Shade, Fall Flavor
Plan sowings around cool windows so your harvest comes in waves rather than one scramble.
Cool-season sowing windows: In most U.S. zones, start in early spring as soil warms and again in late summer for sweet fall roots. Aim for short succession runs so you avoid a single, crowded harvest.
Succession for steady harvests
Start a new pot every 2–3 weeks. That staggered approach keeps your kitchen stocked and spreads out work across days.
- Use separate small pots or beds for each sowing.
- Mark calendar reminders for sowing and quick moisture checks.
- Match potting depth to the variety—inches matter for straight roots.
Warm-climate tweaks
In hot regions, give morning sun and afternoon shade so greens stay tender. Choose light-colored containers and check water and moisture more often during heat spells.
| Need | Quick fix | Why it helps |
|---|---|---|
| Drainage | Check exit from the bottom | Prevents rot after heavy rains |
| Depth | Match to variety | Prevents forked roots |
| Heat | White pots & shade | Keeps soil cool and steady |
"When in doubt, plant again—cool weather returns and the garden rewards a flexible, seasonal rhythm."
Conclusion
, A few simple habits turn small pots into a steady source of sweet roots.
Growing carrots containers works because you control the soil, potting mix, and drainage. A single #5 pot can yield dozens when you use light media, steady watering, and timely thinning.
Keep a small stash of carrot seeds and choose varieties that match your depth and space. Top off mix if shoulders peek, add a touch of compost, and remove greens at harvest for better storage.
Enjoy the process: tune your routine, savor the scent of damp soil, and share the crisp reward at the table. With gentle care, containers make it easy to grow carrots and bring fresh flavor home.
FAQ
What size pot and depth do I need to prevent forked roots?
Choose a pot at least 10–12 inches deep for most short and medium varieties, and 12–14 inches or more for long types like Imperator. Width matters too — a 10–12 inch diameter gives roots room to grow. Good depth and loose mix help roots develop straight without hitting hard layers or compacted soil.
Which varieties work best for pots and small spaces?
Go with short and stump-rooted types such as Mokum, Little Finger, Parisian Market, Red Cored Chantenay, and Nantes for containers. They’re bred for shallow, tidy roots and give reliable results in limited soil volume.
How should I prepare the potting mix for healthy roots?
Use a light soilless potting mix blended with some compost for nutrients and drainage. Avoid heavy topsoil or manure-only mixes. Add a balanced, low-nitrogen fertilizer and a bit of phosphorus to support root formation. The goal is loose, well-draining, moisture-retentive texture.
How do I sow seeds so they germinate well in pots?
Pre-wet the mix, fill to about an inch below the rim, then make shallow furrows about ¼ inch deep. Sow thinly, lightly cover, and gently water. Keeping the surface evenly moist during germination is key — use burlap or a light row cover to reduce drying.
How often should I water and how much light do seedlings need?
Keep the soil consistently moist but not waterlogged. Check with a finger or moisture meter; water when the top inch feels dry. Place pots in full sun where possible, but in hot afternoons give some shade or move lighter-colored pots to prevent the mix from overheating.
When and how should I thin seedlings?
Thin first at the cotyledon stage to about 1 inch apart, then again later to 2–3 inches for small types or 3–4 inches for larger roots. Remove the weakest seedlings and leave evenly spaced plants so each root has room to swell.
What pest protections work best in pots?
Use physical barriers like hardware cloth to deter birds and elevate pots to reduce slug and pill bug access. Keep the surface clean of debris, and check regularly for leaf damage. Organic slug traps and hand-removal work well in small plantings.
How should I fertilize during the season?
Feed lightly with a low-nitrogen, root-focused fertilizer about halfway through the growing period. Too much nitrogen encourages tops instead of roots. A balanced, diluted liquid feed every few weeks supports steady development.
How do I know when carrots are ready to harvest?
Look for sturdy stems, visible shoulders at the soil line, good color, and the days-to-maturity on the seed packet. Feel the root gently to check diameter. When in doubt, pull one to test texture and flavor.
What’s the easiest way to harvest from a pot?
For many plants, slip the whole root ball from the pot and harvest en masse; for staggered harvests, loosen the surrounding soil with a fork and pull individual roots. Be gentle to avoid damaging remaining plants.
How should I store freshly harvested roots?
Remove greens, rinse lightly, and dry. Store in the refrigerator in a perforated plastic bag or a box with damp sand to keep them crisp. Properly stored roots can stay fresh for weeks.
When should I sow in spring, summer, or fall for best flavor?
Sow cool-season windows in spring and late summer for fall harvests; cooler soils produce sweeter roots. In warm regions, plant earlier in spring or in fall and use afternoon shade and extra moisture through hot spells.
Can I grow long Imperator types in pots, and what adjustments are needed?
You can if you provide deeper containers (14 inches or more) and a very loose, deep mix to avoid crowding. Otherwise choose shorter varieties for less fuss and more consistent shape in shallower pots.
How much compost should I add to the potting mix?
Mix in about 10–20% mature compost by volume. Enough to supply nutrients and improve texture, but not so much that the mix becomes heavy. Avoid fresh manure or overly rich blends that can burn young roots.
Do I need special drainage or saucers for pots?
Yes — good drainage holes are essential to prevent waterlogging. Use saucers to catch overflow, but empty them after watering so the pot doesn’t sit in standing water. Proper drainage keeps roots healthy and reduces rot risk.