Imagine bright green stems leaning toward the light on your kitchen sill, the soft scent of mint or basil warming the air.
You can turn those tender tips into new plants with a few simple steps. In this friendly guide you’ll learn a calm, neighbor-tested way to propagate herbs that saves money and fills your garden with life.
We start with clear, practical choices: when to snip in U.S. seasons, which cuttings root fast in water, and which woody stems prefer sand or soil for stronger roots. You’ll see how soft green tips often root in one to two weeks in water, while sand or soil takes closer to a month but gives sturdier results.
Keep tools simple: clean pruners, a jar of water, or a small pot with coarse sand. We’ll guide you from that first snip on a sunlit kitchen counter to transplanting without shock, so your new plants feel at home.
Key Takeaways
- Soft, spring-green cuttings root faster in water; woody stems do better in sand or soil.
- Water starts are quick (1–2 weeks), soil or sand takes longer but yields stronger roots.
- Use clean tools, bright indirect light, and remove lower leaves to focus energy on roots.
- Match timing to U.S. seasons—snip when stems feel spring-soft for best success.
- Move slowly from water to pot to avoid shocking tender roots.
Why Propagating Herbs from Cuttings Is the Easiest Way to Expand Your Garden
Snipping a sunny stem is the fastest, most satisfying way to add new plants to your kitchen or patio. You’ll smell fresh basil and see bright new growth within weeks, which makes this method feel like an instant win.
Late spring and early summer give the best start—warm days help cuttings root quickly and grow strong before cooler months arrive. Take a soft tip, tuck the leaf node into unfertilized potting soil, and the plant’s own hormones focus at that node to encourage healthy roots.
A gentle tug test after 4–6 weeks tells you when to pot up. If the stem resists, roots have formed and the plant is ready for a new home.
Why choose cuttings?
- Fast and budget-friendly — no seed trays or wait time.
- Keeps flavor and scent consistent across your garden.
- Easy in small spaces — a sunny sill and a jar of water work well.
| Method | Speed | Best For | Care Notes |
|---|---|---|---|
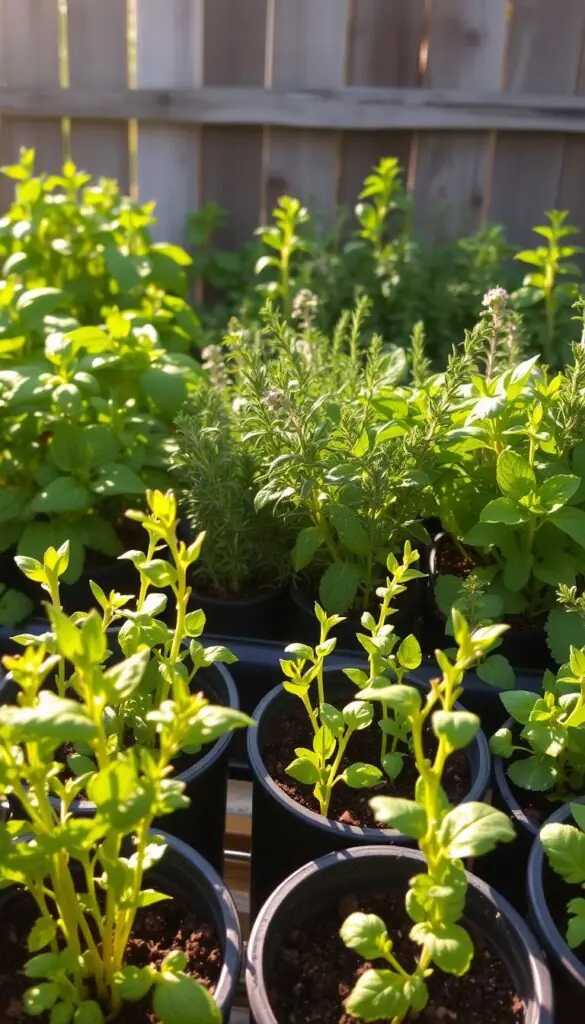
| Water | 1–2 weeks (roots visible) | Basil, mint, soft stems | Change water weekly; bright indirect light |
| Soil | 3–6 weeks (stronger roots) | Rosemary, sage, semi-woody stems | Use unfertilized mix; bury leaf node |
| Sand or mix | 4+ weeks | Woody stems, longer-term growth | Keep moist, gentle airflow |
Seasonal Timing in the U.S.: When to Take Cuttings for Best Results
Timing your snips with the seasons makes rooting much easier and more reliable. In late spring and early summer, look for fresh, flexible new growth that bends like a green straw. These softwood stems often root fastest and sometimes show tiny roots in just a week or two in water.
By late summer and into fall, stems firm up into semi-hardwood. These cuttings do better in moist sand or potting soil and may take about 4–6 weeks to develop strong roots.
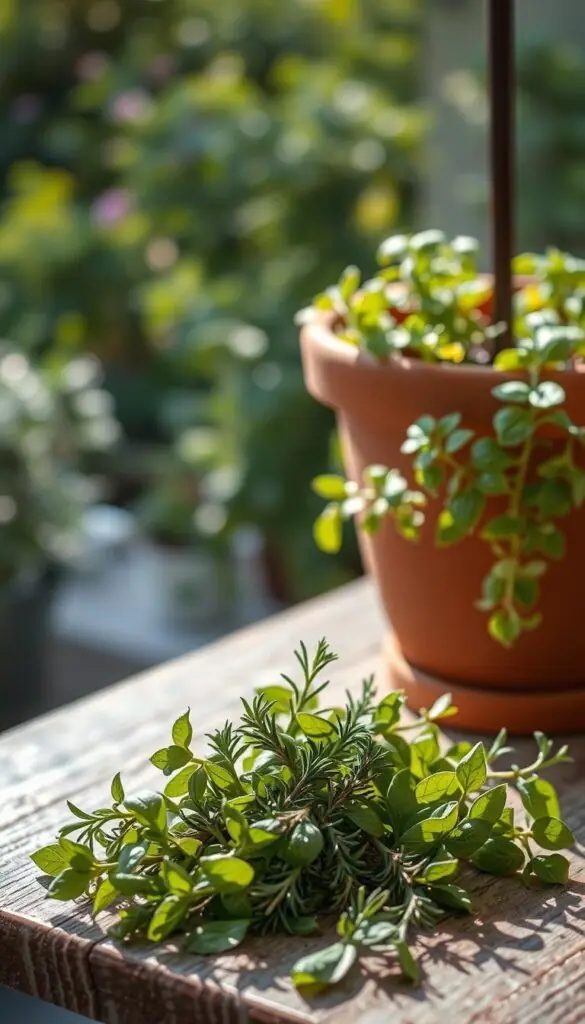
Hardwood — last year’s growth that snaps when bent — usually needs a rooting hormone dip and a grittier mix. Always cut just below a node where the leaves meet the stem; that’s where roots begin.
- Give yourself time before winter: root a few weeks before first frost.
- Feel the stem: soft and bendy = quick; firm and brownish = slow and steady.
- During heat waves, move trays to an east window or use shade cloth so cuttings don’t wilt.
Choose the Right Stems: Softwood, Semi-Hardwood, or Hardwood
Start by feeling the stem—its texture tells you how it will root. A quick touch, a look at color, and a small sniff help you pick cuttings with confidence. That first choice sets the tone for healthy growth and faster results.
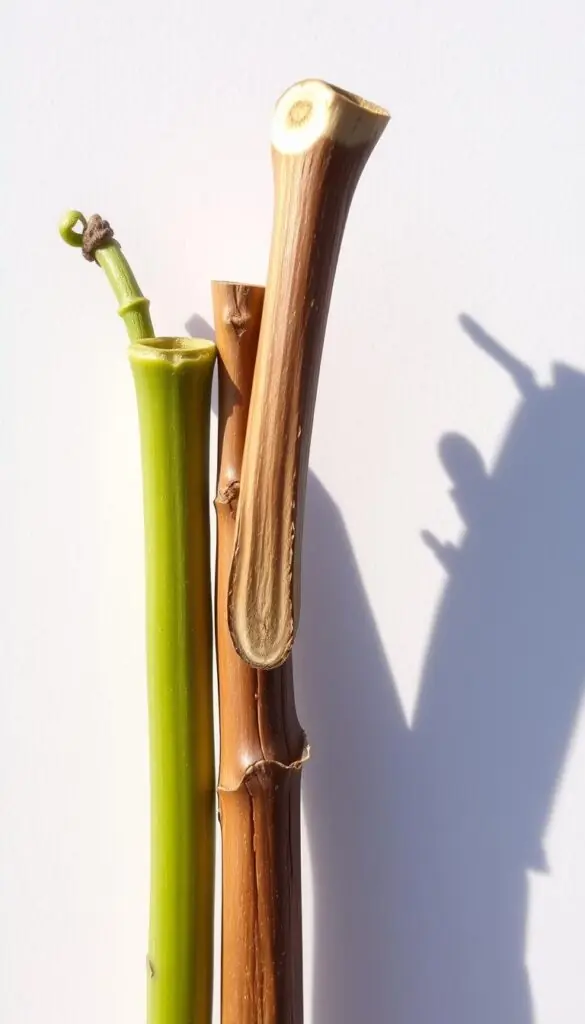
How to identify flexible softwood vs. firm hardwood by feel
Softwood is springy and bright green. Bend it gently; it flexes without breaking. These tips, often at the plant's end, root fast in water and show quick progress.
Semi-hardwood looks slightly browned and has some give. It needs patience and a steady medium like sand or potting soil.
Hardwood feels dry and snaps cleanly. This older growth benefits from a rooting hormone dip and a gritty mix to coax root initials.
Which herbs root faster in water and which prefer sand or soil
- Tender kitchen favorites such as basil and mint usually root fast in water on your counter.
- Woody species like rosemary and sage prefer sand or soil for stronger roots.
- Always cut just below a node and leave a couple inches of lower, leaf-free stem so you can set the cutting without wet foliage.
- Pick healthy stems with fresh leaves and no pests; if top leaves are large, trim them to reduce moisture loss.
- If unsure, take a few of each type—watch which textures and seasons give the best results in your space.
Tools and Materials You’ll Need for Clean, Simple Success
A tidy workspace and a few simple items put you on track to root success. Gather these neighborly, affordable tools and you’ll feel ready to try new plants from cuttings.
Essentials that feel good in your hand:
- Keep a small, sharp pair of bypass pruners or snips that cut cleanly through stems; make sure you wipe blades with rubbing alcohol between each plant.
- A few clear glass jars let you watch roots form; place them on a sunny kitchen sill so light warms the water and tiny roots show.
- Have a shallow tray or several small pots filled with a light mix—potting soil blended with coarse sand or perlite works well for a grittier growing medium.
Other helpful, simple items:
- Plant labels and a pencil to track which cutting came from which plant and the date.
- A spray bottle for misting leaves and a zip-top bag or clear dome to make a mini greenhouse that keeps humidity up.
- Measure a few inches on your snips or use a small ruler so cuttings are consistent, and stage everything on a clean kitchen tray to move them easily.
- If you use hormone, keep a small dish for dipping to avoid contamination, and have fresh water ready so your herbs move from snip to jar or soil quickly.
In short: set out tools, wipe blades, remove lower leaves cleanly at the node, and choose the right pots or jar. This simple way keeps your new cuttings happy and gives your garden the best start.
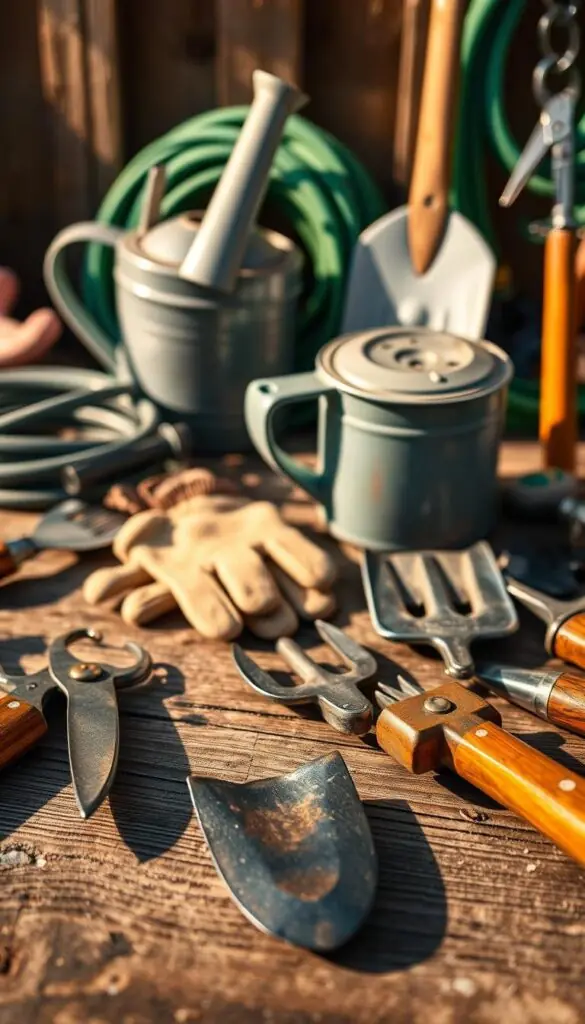
Step by Step: Taking Healthy Herb Cuttings
Begin by choosing fresh, flexible growth and make a clean cut just below a leaf joint. This first choice helps the new plant focus energy where roots will form.
Where to cut
- Pick a healthy, non-flowering stem. Cut just below a node where leaves attach. Aim for about five inches long or a couple inches shorter if needed.
- Make a single, clean snip so the tissue is not crushed. Make sure your shears are wiped with rubbing alcohol between plants.
Leaf prep
- Remove the lowest leaves and any buds so the cutting channels energy to its base. Pinch leaves off cleanly to avoid hurting nodes.
- If top leaves are large, trim them in half to cut moisture loss. Keep a small cluster of leaves at the tip.
Planting and early care
- Set the cutting into a small pot of moist, unfertilized potting soil. Bury the lowest leaf node about an inch deep so hormones gather where roots start.
- Firm the mix with your fingertips so the stem stands steady. Water to settle air pockets and cover loosely with a clear bag or dome for humidity.
- Place in bright, indirect light. Check moisture daily and give a tiny tug after 2 weeks. If the cutting resists, roots are forming and the cuttings will be ready to up-pot in 4–6 weeks.
- For basil, you can start in a jar and move to soil when roots are a few inches long.
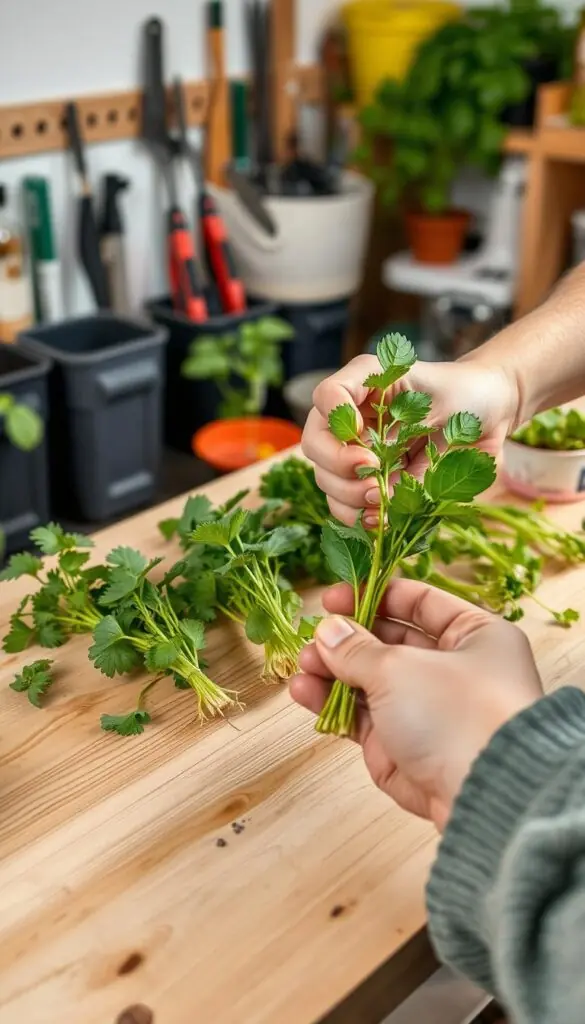
| Step | What to do | Quick check |
|---|---|---|
| Cut | Slice just below a node; 4–5 inches long | Stem is flexible and green |
| Prep leaves | Remove lower leaves; trim large ones | No wet foliage near soil |
| Plant | Bury node ~1 inch in moist potting soil | Stem stands steady without wobble |
| Care | Humidity, bright indirect light, check water | Gentle tug shows resistance in 4–6 weeks |
Water vs. Soil or Sand: The Best Growing Medium for Your Cuttings
Choosing where to start a cutting sets the tone for its first weeks of life. One clear jar can show pearly threads of root in days. A gritty sand tray takes longer, but the plant grows stronger over time.
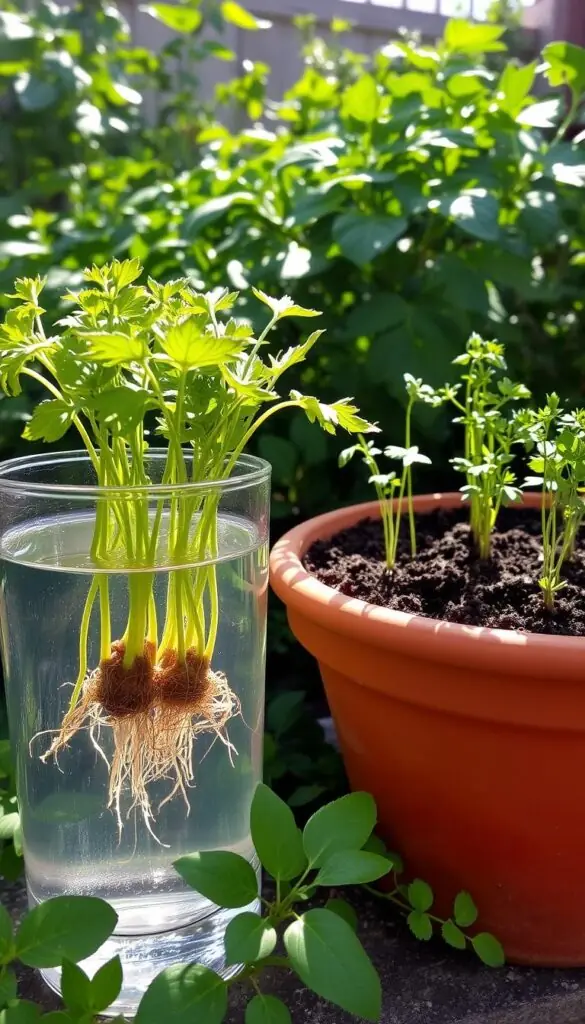
Rooting in water
Water starts are wonderfully visual. Set prepared cuttings in clear jars in bright, indirect light and enjoy watching thin white roots appear in 1–2 weeks.
Change water weekly so it stays fresh and oxygenated. Keep leaves water-free so foliage does not sit wet and cloud the jar.
Rooting in sand or potting mix
Sand or a light potting mix makes sturdier plants. This growing medium takes about a month to produce dense, healthy roots. The texture is pleasantly gritty and holds moisture without becoming soggy.
Keep the mix evenly moist and allow gentle airflow to prevent rot. Woody stems often refuse water starts and respond better in sand or soil with a light dusting of hormone if needed.
Transition tips
When water-rooted cuttings have a few inches of root, pot them gently. Plant into moist potting mix, water in, then give dappled light and a day or two of slightly higher humidity.
Let the surface dry a bit between drinks so roots branch instead of sitting wet. In a small kitchen, jars on a tray or a shallow sandy flat both work well—choose the way that fits your space and patience.
| Method | Speed | Best for | Key care |
|---|---|---|---|
| Water jars | 1–2 weeks | Basil, mint, soft stems | Change water weekly; keep leaves water clear of submersion |
| Sand / potting mix | 3–6 weeks | Rosemary, sage, woody stems | Keep evenly moist; good airflow; optional hormone for hardwood |
| Transition | When roots ~2–3 in. | Water-rooted cuttings moving to pots | Pot up gently, water in, acclimate with dappled light |
Rooting Hormone 101: When and How to Use It
A small dose of the right rooting aid can make tough cuttings take hold when plain water won't do. Rooting hormone contains an auxin-like growth regulator that nudges a stem to form a root where it otherwise might not.
Chemical vs. natural options:
- Commercial rooting hormone powders and gels are precise and simple to use for semi-hardwood and hardwood stems.
- Natural choices — organic honey, willow water, or fresh aloe vera — give a gentler approach for edible gardens.
How to apply:
- Lightly moisten the base of trimmed stems.
- Dip into powder or gel, tap off excess.
- Place immediately into pre-poked holes in moist soil or sand; don’t let the dipped end sit in water.
Keep the medium evenly moist and bright but indirect. Label treated versus untreated cuttings so you learn what works best. A light coat is enough — overuse can stress the cutting. For woody cuttings, this extra step raises your chance of healthy roots and stronger young plants.
Plant-by-Plant Notes: Basil, Mint, Rosemary, Thyme, Oregano, and More
A few sensory cues — scent, stem feel, and leaf size — tell you how to start each cutting.
Basil and mint
Basil: Take 3–4 inches long, non-flowering pieces. Remove most lower leaves and keep a couple at the top. Set in water by a bright window and change the water every other day. Expect new roots in 2–3 weeks, then transplant into potting soil.
Mint: Soft, fragrant stems root fast in water. Trim to include a few nodes and refresh the jar often so the scent stays clean and fresh.
Rosemary, lavender, and sage
These woody types do better in sand or soil. Use a gritty mix, keep the base dry of wet leaves, and give warmth and bright light. Roots form slowly; be patient while fine white roots develop.
Thyme, oregano, and kitchen favorites
Oregano: Slower—about four weeks. A light natural rooting hormone in water can help.
Thyme: Start in soil and use a clear bottle as a cloche to keep warmth without wetting leaves.
Other easy starters
Lemon balm, marjoram, and scented geraniums are cheerful kitchen-counter starters in water. Cut just below a node and keep tops compact to reduce stress while new roots form.
"Cut just below a node and keep a compact top; smaller leaf area means less stress while roots form."
| Plant | Best start | Timing | Quick tip |
|---|---|---|---|
| Basil | Water jar | 2–3 weeks | 3–4 inches long; change water every other day |
| Mint | Water jar | 1–2 weeks | Include several nodes; refresh water often |
| Rosemary / Lavender | Sand or potting soil | 3–6 weeks | Warm bright spot; gritty mix for drainage |
| Oregano / Thyme | Soil (thyme) / water + hormone (oregano) | 4 weeks (oregano) / 3–5 weeks (thyme) | Use cloche for thyme; dab hormone for oregano |
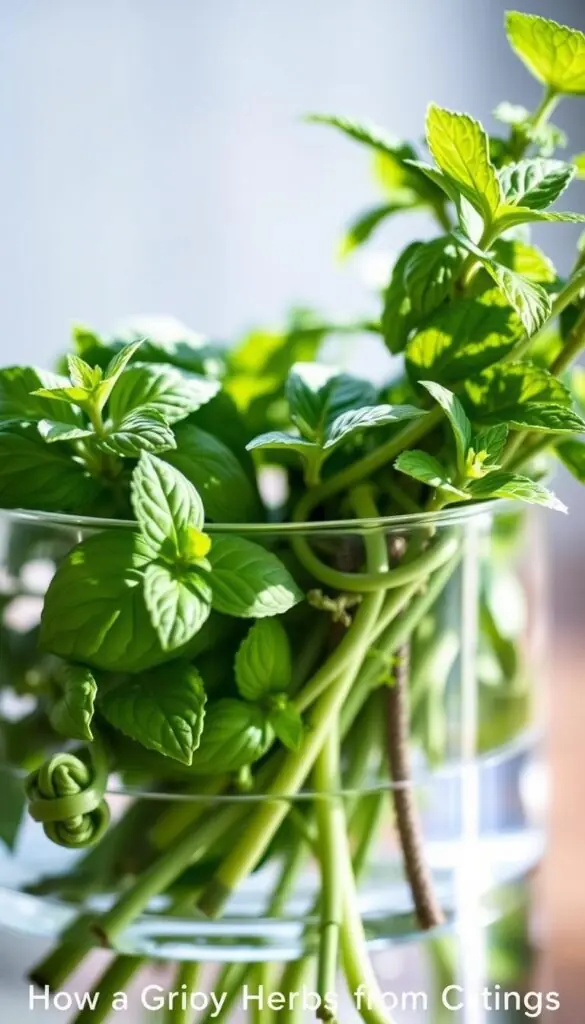
Caring for Cuttings While They Root: Light, Humidity, and Water
A small, sheltered routine of light, humidity, and clean water keeps tender cuttings healthy. Place them where light is bright but indirect so leaves stay cool and green. An east window or a spot behind a sheer curtain works well.
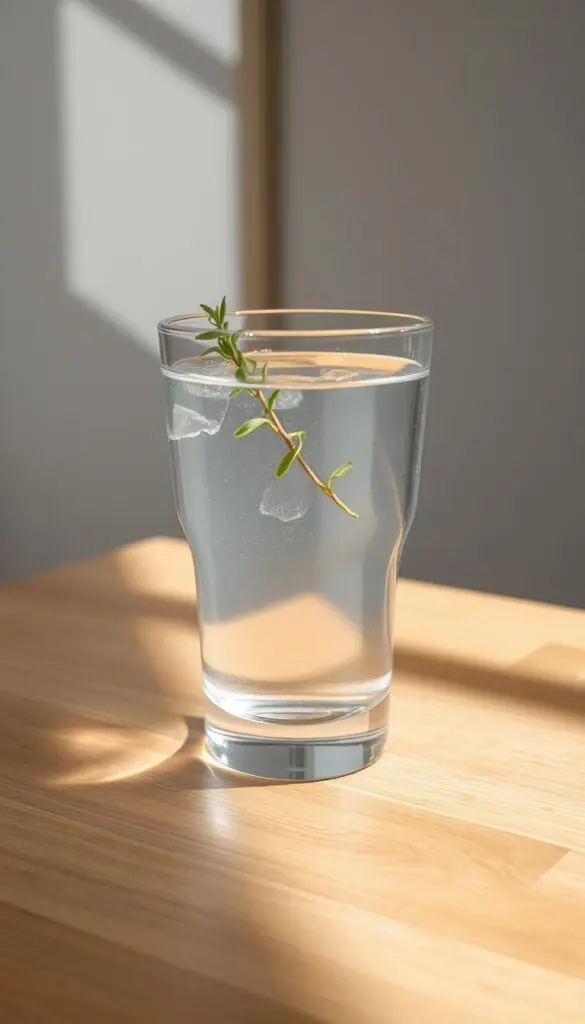
Bright, indirect light and gentle airflow
Dappled light and soft air help steady growth without stress. Avoid hot afternoon sun and heater vents. Give jars or pots room so air moves and foliage does not crowd.
Mini greenhouse tricks to prevent leaf wilt
Use a loose plastic cover or a clear bottle as a mini greenhouse. Keep the cover off the leaves so condensation does not touch them. Crack the cover daily for gentle ventilation to stop mildew.
- Check moisture each day; water soil starts when the top feels dry.
- For water starts, keep jar water clear and fresh; change water on a set rhythm.
- If leaves droop, mist lightly and move to slightly lower light for a day.
- After a couple of weeks, try a gentle tug—resistance means roots are anchoring.
| Care task | Frequency | Why it matters |
|---|---|---|
| Light | Daily placement | Prevents scorching; encourages steady green growth |
| Humidity cover | Keep on until roots form, vent daily | Reduces water loss through leaves and prevents wilt |
| Water refresh | Weekly (or as needed) | Keeps bases clean and oxygen high for root formation |
Keep notes on where each cutting lives and how you care for it. The small routine you build now will help your plants thrive and your garden feel more abundant.
Potting Up New Roots: From Jar or Tray to Pots and Beds
When your cutting resists a soft tug, prepare a snug home for its roots. A quick, gentle plan keeps fragile roots safe and helps new growth settle in.
Choose the right pot and mix. Pick a small pot just big enough for the root ball so moisture stays even. Use a fresh, airy potting mix; for woody types add coarse sand, for basil keep the mix soft and light.
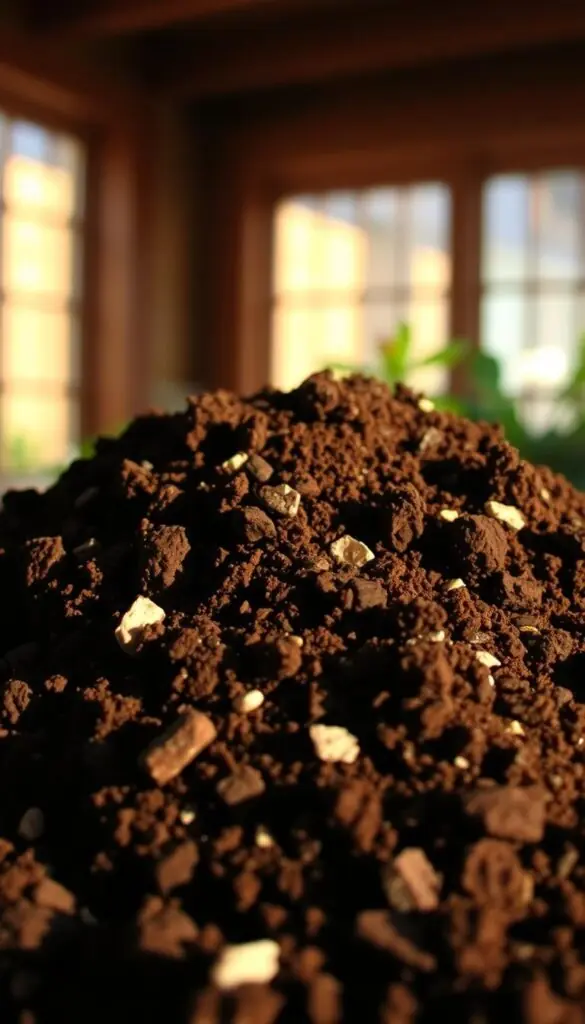
Gentle transplant steps
- Slide the cutting from jar or tray without tugging; support thin roots with your hand.
- Set the stem at the same depth or slightly deeper to cover a leaf node and firm the mix gently.
- Water to settle the potting soil, then place in bright, indirect light for a few days.
Hardening off and watering
Hardening off takes 5–7 days: add an hour of calm morning sun each day until the plant moves outdoors.
Water thoroughly, then let the top dry a little before the next drink to encourage branching roots. Move up one pot size only when roots reach the pot sides.
| Item | Tip | Time |
|---|---|---|
| Pot size | Just big enough for root ball | Now |
| Mix | Airy potting mix; sand for woody stems | At transplant |
| Light | Bright, indirect; morning sun to harden | 5–7 days |
Common Mistakes to Avoid and Easy Fixes
Most setbacks with cuttings come from light, moisture, or dirty tools — and all are fixable. A calm check often brings things back to life without fuss.
Avoid harsh sun. If leaves scorch or droop, move cuttings out of direct rays. Bright, indirect light with gentle airflow keeps foliage cool and steady.
Keep water fresh. When jar water turns murky, refresh more often and rinse the glass so oxygen stays high around the stem base.
Fix soggy soil quickly. Too-wet mixes invite rot. Lighten the mix with perlite or coarse sand and water only when the surface feels dry.
- Wipe blades with alcohol between each plant to stop disease spread.
- Trim oversized leaves so the cutting focuses on root formation.
- If stems keep wilting, add a clear cover to raise humidity and set the tray in a calm spot.
- For a struggling woody herb, a tiny dip in rooting hormone can boost root initials.
- Check progress in gentle weekly tugs and avoid fertilizer until you see new growth.
One last tip: start a few extra cuttings. Even careful growers lose some, and extras give you confidence and sharing to spare.
How to Propagate Herbs on a Budget and Build Community
A simple knock on a neighbor's door can refill your garden with fresh, low-cost plants. Trading cuttings and splitting pots saves money and grows friendships.
Swap and divide: Ask for pruned stems in late summer or fall. Trade a handful of mint for a sprig of rosemary, then root them on your kitchen counter in jars of water.
- Split a perennial herb in early spring or fall; give each division roots and a green shoot before potting up.
- Apartment gardeners can divide perennial herb pots every few years, repot with fresh compost, and gift extras.
- Save jars, trays, and small pots so swaps stay low-cost and ready to share.
| Swap idea | Best time | Quick tip |
|---|---|---|
| Cutting trade (mint, lemon balm) | Late summer / fall | Root in water on a kitchen sill |
| Perennial herb division (thyme, oregano) | Early spring / fall | Ensure each clump has roots + a green shoot |
| Community swap | Weekend | Bring jars, labels, care notes |
Small acts add up: this way of sharing fills your plot and your neighborhood with stories and more many herbs to enjoy through winter and beyond.
Conclusion
A single snip can start a quiet chain of green that fills your windowsill. ,
In spring, softwood tips root fastest—often in 1–2 weeks in water. Firmer stems taken later need sand or soil and about a month to form sturdy roots.
You now have a simple way to turn one beloved plant into many. With a clean cut, steady light, and gentle care, growing herbs becomes a calm, reliable joy.
Choose the path that fits your life: quick jars on a sill or slow, strong starts in a sandy mix. Give yourself time before winter, share extras with a neighbor, and enjoy the small wins of steady growth.
FAQ
How do I take a healthy cutting from my herb plant?
Cut a stem about 2–4 inches long just below a leaf node. Remove the lower leaves and any flowers or buds so the cutting focuses energy on root growth. Use clean scissors or pruning shears to make a neat cut.
When is the best time in the U.S. to take cuttings?
Spring and early summer are ideal for softwood cuttings — stems are flexible and root quickly. Late summer to fall you can take semi-hardwood or hardwood cuttings, but expect slower rooting and more patience.
Which stems should I choose: softwood, semi-hardwood, or hardwood?
Feel the stem: softwood bends easily and is bright green; hardwood is firm and woody. Softwood works best for basil and mint; semi-hardwood suits rosemary and lavender; hardwood is for woody perennials that need more time to root.
Can I root cuttings in water, or is soil better?
Both work. Water rooting in clear jars gives fast visible roots and is great for basil and mint. Sand or potting mix produces stronger roots and healthier long-term plants, which is preferable for rosemary, sage, and other woody types.
How often should I change the water when rooting cuttings?
Change the water every 5–7 days to keep it fresh and oxygenated. Use clean jars and bright, indirect light. Replace cloudy water immediately to prevent rot.
Should I use rooting hormone, and which type is best?
Rooting hormone helps semi-hardwood and hardwood cuttings root more reliably. You can use powdered or liquid commercial hormones. Natural options like diluted willow water, aloe, or a small dab of honey can work for softwood cuttings.
How long until I see roots, and when can I pot them up?
Many softwood cuttings root in 1–3 weeks. Semi-hardwood or hardwood may take several weeks to months. Once roots are a couple inches long and look healthy, gently transplant into potting mix and keep soil lightly moist while they settle.
How do I transition water-rooted cuttings to soil without shock?
Plant the cutting in a loose potting mix, burying roots and a small portion of the stem. Keep humidity high for a week by covering with a clear plastic bag or mini greenhouse. Gradually increase airflow and reduce humidity over several days.
Which herbs root fastest in water?
Basil and mint are among the fastest and easiest to root in water. Lemon balm and many scented geraniums also root quickly on a kitchen counter.
Which herbs do better in sand or potting mix?
Rosemary, lavender, sage, and many woody Mediterranean herbs prefer a gritty sand or well-draining potting mix. These media reduce rot risk and encourage stronger root systems.
How do I care for cuttings while they root?
Give bright, indirect light, maintain gentle airflow, and keep humidity moderate. Avoid direct hot sun and don’t let the growing medium stay soggy. Check leaves for wilt and trim any that rot to protect the cutting.
What potting mix and pot size should I use when potting up new roots?
Use a light, well-draining potting mix. Start in small pots so the soil doesn’t hold excess moisture; a 3–4 inch pot is usually fine for new cuttings. Move to larger pots as roots fill the container.
How do I harden off newly potted cuttings?
Gradually expose them to more sun and outdoor conditions over 7–10 days. Start with a few hours of morning sun and increase exposure daily while monitoring moisture and wind.
What common mistakes should I avoid?
Don’t expose cuttings to harsh direct sun, keep the mix soggy, or skip cleaning tools. Overcrowding jars or trays and transplanting too early are common issues; be patient and watch for healthy root development.
How can I root cuttings on a budget or build a swap network?
Use clean jars, kitchen scissors, and homemade rooting solutions like willow water. Swap cuttings with neighbors, split perennial pots, or trade rooted plants at community garden exchanges to expand your collection affordably.