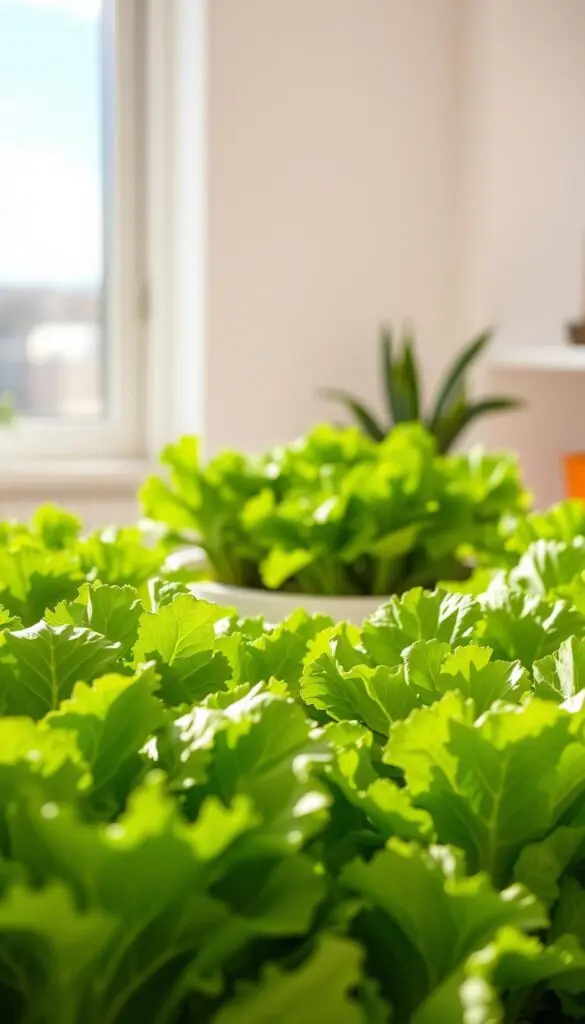
Imagine cool, crisp leaves waiting on your sunlit counter. Have you ever wished a small patch of fresh salad just steps from the kitchen? This guide helps you make that feeling real.
You can grow lettuce indoors with simple steps that fit a windowsill or a shallow tote. With about 6–8 hours of light each day — or a small bulb when sunlight is low — seeds sprout quickly and stay compact.
Start with a 4–5" pot, plant 2–3 seeds, cover lightly, and use a clear dome until seedlings pop. Keep soil evenly moist and thin at two weeks. For steady harvests in winter, sow every one to two weeks.
We keep advice practical for busy homeowners and gardeners. Expect crisp greens, less waste, and fresh food at mealtime. A little time and space give you steady vegetables without fuss.
Key Takeaways
- 6–8 hours of light daily keeps leaves compact and colorful.
- Start 2–3 seeds in a 4–5" pot and thin after two weeks.
- Keep soil evenly moist; small pots dry fast.
- Sow weekly or biweekly for continuous winter harvests.
- Use shallow totes and overhead bulbs for larger yields.
Plan Your Indoor Setup for Lettuces That Stay Crisp and Happy
Map out a small, neat station with steady light, cool air, and shallow pots for happy salads.
Light that mimics a sunny spring day
Place trays near a south-facing window or a bright windowsill and aim for about 6–8 hours of steady light each day.
If sunlight is limited, tuck neutral-white grow lights under cabinets or use a slim T5 strip. These options give clear brightness without a purple glow, and they fit into tight space.
Cool temperatures and gentle humidity to prevent bolting
Keep the room on the cool side—about 55–65°F for seed germination and 50–60°F for young seedlings. Cooler air helps leaves stay sweet and stops premature bolting.
Add a small fan on a low setting so you hear a soft hum and feel a gentle breeze. This tiny airflow cuts disease risk and keeps humidity comfortable without drying the soil.
Smart spaces and containers that fit your home
Use flat trays or 4–6" pots with drainage; plastic planters hold moisture longer than terra-cotta. Self-watering trays are handy for steady soil moisture and busy days.
- Keep containers away from heat vents, oven doors, and cold drafts.
- Raise lights if seedlings lean toward the window—an extra hour of light builds sturdier stems.
- Consider a two-tier shelf or a compact tabletop garden to maximize small areas and keep a tidy look.
Make sure you pick a spot that blends with your home decor and gives plants the care they need. With this simple plan, growing lettuce indoors in winter feels easy and rewarding.
Gather Your Materials and Choose Lettuce Varieties for Indoor Success
Lay out clean containers, a light potting mix, and your seed packets so you can work with calm focus.
The right mix, pots, and simple tools
Set out 4–6" nursery pots or a shallow oblong planter, a fresh bag of vegetable-designated potting soil, a mister, labels, and a small tray to catch drips.
Fill containers to about an inch from the rim, tap to settle, and moisten until the mix feels like a wrung-out sponge. That texture keeps seeds snug without waterlogging.
Include a narrow T5 light bar or compact grow lights, a small fan, and a seedling heat mat only if your room stays very cool.
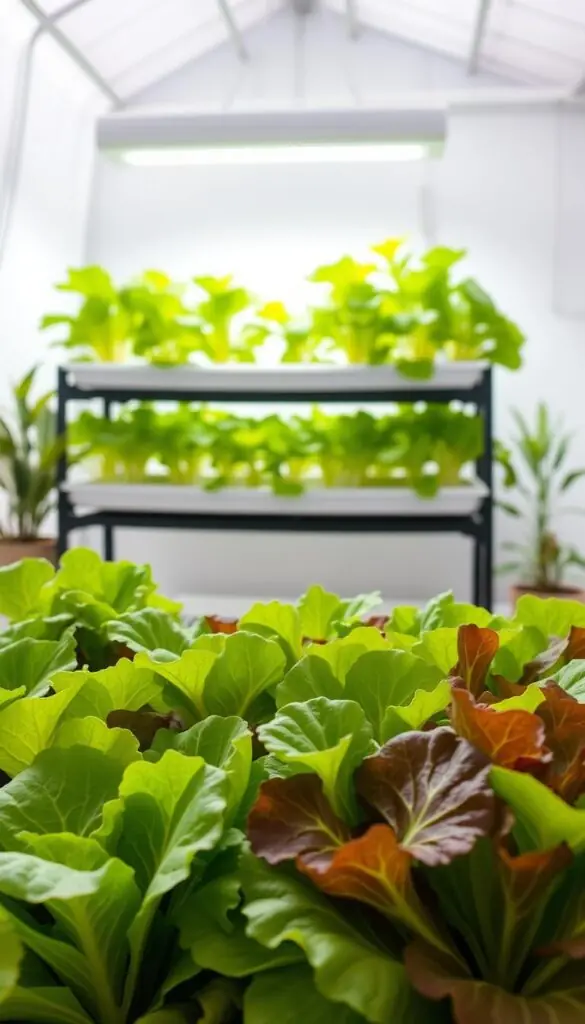
Loose-leaf and compact types that thrive under lights
Choose varieties that suit winter light and small spaces: Baby Oakleaf, Tom Thumb, Black-Seeded Simpson, Arctic King, Winter Marvel, and Winter Density. These greens fill in quickly and look pretty on a windowsill.
Prefer plastic pots or planters for indoor use; plastic retains moisture better than terra-cotta and eases watering chores for busy gardeners.
| Container | Mix Feel | Best Varieties | Notes |
|---|---|---|---|
| 4–6" plastic pot | Light, springy; drains well | Tom Thumb, Baby Oakleaf | Good for single heads; holds moisture |
| Shallow tray / oblong | Even surface; moist but not soggy | Black-Seeded Simpson, Arctic King | Ideal for cut-and-come-again rows |
| Recycled clamshells | Finer mix works best | Winter Marvel, Winter Density | Punch drainage holes; good for starts |
| Self-watering planter | Consistent moisture | Loose-leaf mixes | Great for busy households |
Quick tips: Sow seeds with a light hand and keep a few extras on top. Label each pot with variety and date so succession sowing stays tidy. Keep spare mix, packets of seeds, and empty pots in a small bin for fast turnover after harvest.
Grow Lettuce Indoors: Step-by-Step from Seed to Seedlings
Follow these calm, simple steps to move from dry seeds to sturdy seedlings in weeks.
1. Prep the container and potting mix. Begin by moistening your potting mix until it feels like a damp sponge. Fill each container about 3–4 inches deep so seeds sit on a flat top.
2. Sow shallow and cover lightly. Space seeds roughly 1 inch apart or place 2–3 seed per 4–5" pot. Dust a whisper of mix—about 1/8 inch—over the top. Lettuce needs light at the top to germinate.
3. Create a cozy start. Lay loose plastic or a clear dome over the tray to hold humidity. Set on a warm windowsill or under grow lights. Check daily and mist gently so the surface stays damp, not soggy.
4. From sprout to two weeks. When little green hooks appear, remove the cover. Keep soil evenly moist. At about two weeks, thin seedlings to about an inch apart or keep the strongest plant per pot.
5. Ongoing care and fixes. Begin mild feeding after true leaves (diluted 5-5-5). If seedlings stretch or yellow, raise light or add a small fan for airflow. Avoid hot vents and cold drafts to keep growth steady.
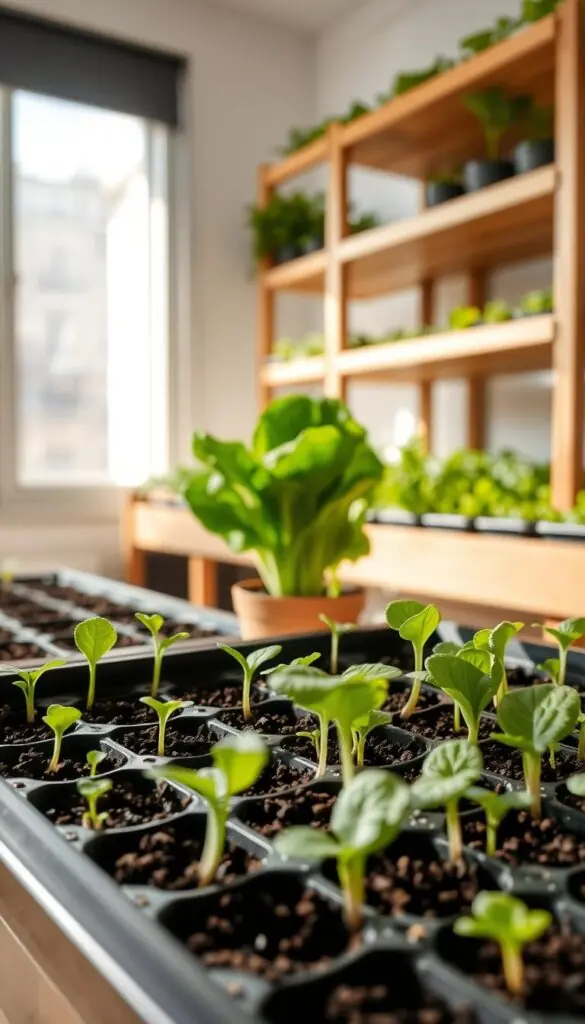
| Stage | Action | What to feel/see |
|---|---|---|
| Prep | Moisten mix, fill 3–4" | Mix clumps lightly, not muddy |
| Sow | Seeds on top, cover 1/8" | Even surface; seeds visible |
| Germinate | Cover, warm spot, mist daily | Green hooks in days |
| Two weeks | Remove cover, thin to 1" | Stout, green seedlings |
From Baby Greens to Bowls: Harvest, Regrow, and Keep the Salad Coming
Bring baskets to the light when leaves feel full and the base looks rounded—this is your cue to harvest small heads or snip for baby greens.
Cut-and-come-again vs. full-head harvests
For quick bowls of baby greens, snip outer leaves when they reach about 4 inches. Slide scissors an inch above the soil so the center keeps pushing fresh growth.
If you prefer a full head, let compact varieties fill out until the base feels dense. Cut cleanly at the crown for a single, satisfying harvest that holds up in a dressed salad.
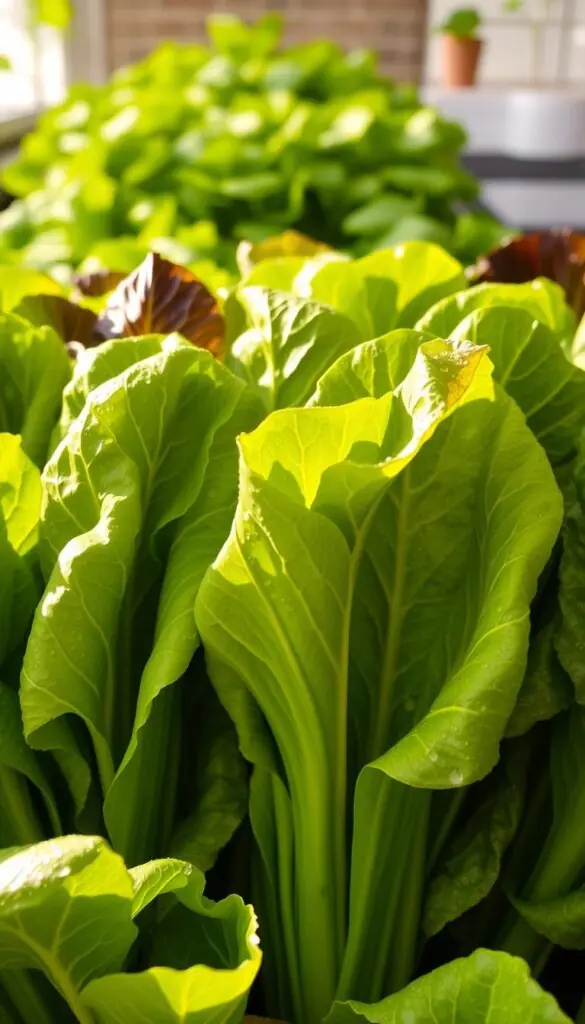
Timing your first pick and what “ready to harvest” looks like
Most baby greens are ready in three to four weeks at roughly 4" tall. Look for smooth edges, turgid texture, and a substantial rosette when you cup the plant.
Harvest in the morning so leaves dry by evening. Keep the mix evenly moist to avoid stress that makes flavors bitter.
Succession sowing for a weekly supply—winter to spring
Sow a small batch of seeds every 7–14 days. Rotate containers so one tray sprouts, one has seedlings, and one is harvest-ready through winter into spring.
- Trim only what you need: freshest flavor comes from just-picked leaves, and the rest will keep producing.
- Thin crowded seedlings: give each crown room to expand to prevent tip burn.
- Refresh after cycles: sow new seed into premoistened soil after a couple of cut cycles to avoid gaps in your salad supply.
Quick tips: Watch the canopy daily, cut outer leaves about an inch above the top, and water in the morning so the leaves dry by evening. These small steps keep your garden producing sweet, tender greens for weeknight salads.
Conclusion
With a little routine—consistent light, cool air, and even moisture—you can enjoy fresh bowls all winter.
Keep your setup simple: steady light (often with grow lights on a timer), cool air, and potting soil that feels like a wrung-out sponge. A small tray and regular, gentle water make more difference than fancy gear.
Plant a few seeds on a schedule, thin when needed, and harvest in stages. Those easy habits let your plants reward you with crisp, clean greens you can rinse and eat the same day.
Enjoy the soft color of fresh salad on your counter. With steady hours of light, a fan for gentle airflow, and a calm watering routine, your home garden will give you tasty vegetables and quiet satisfaction through winter and into spring.
FAQ
How much light do I need to keep leafy greens lush on a sunny windowsill or under lights?
Aim for about 12–14 hours of bright light daily. A south- or west-facing window helps, but a full-spectrum LED grow light placed 6–12 inches above the plants gives the most consistent results, especially in winter or low-sun spaces.
What soil and container mix keeps roots healthy without getting waterlogged?
Use a well-draining potting mix with added compost or a light soilless blend (peat-free coco coir and perlite work well). Choose shallow wide pots or trays at least 4–6 inches deep so roots can spread and excess water drains easily.
Which varieties are best for small spaces and quick harvests?
Pick loose-leaf and compact head varieties like ‘Buttercrunch,’ ‘Oakleaf,’ or salad mixes labeled for container growing. They establish quickly and tolerate close spacing for cut-and-come-again harvesting.
How often should I water seedlings and mature plants to avoid stress?
Keep the top inch of the mix evenly moist. Seedlings need gentle, frequent moisture until established. Mature plants typically need watering when the surface begins to dry; daily checks are better than a strict schedule.
When can I start harvesting baby greens, and how do I cut without harming regrowth?
You can snip baby greens at about 2–3 inches tall, usually two weeks after germination. For cut-and-come-again, harvest outer leaves or cut 1 inch above the crown to allow regrowth and repeat harvests for several weeks.
How do I prevent bolting and bitter leaves indoors?
Keep temperatures on the cooler side (60–68°F) and provide steady moisture and moderate light. Avoid sudden heat spikes from radiators or direct afternoon sun; these stressors trigger bolting and bitterness.
Do I need to fertilize, and what schedule works best for continuous salads?
Use a balanced liquid fertilizer at half strength every 2–3 weeks once true leaves form. Slow-release pellets mixed into the potting mix at planting also support steady growth without overfeeding.
Can I regrow heads from kitchen scraps to save money and space?
Yes—root the base of a trimmed head in shallow water for a few days, then transplant to potting mix once new roots appear. Results vary by variety, but this method can yield fresh leaves for a short time.
What pests and diseases should I watch for in an apartment garden?
Watch for aphids, fungus gnats, and powdery mildew. Keep good airflow, avoid overwatering, and use insecticidal soap or sticky traps if needed. Remove any diseased leaves promptly to stop spread.
How can I get a steady weekly supply from one or two containers?
Practice succession sowing—plant small batches every 7–10 days. Combine cut-and-come-again mixes with a few full-head varieties so you always have quick picks and larger heads maturing later.