Imagine a sunlit balcony with a soft, earthy scent and green mounds promising a small, rich harvest. Have you ever wished you could enjoy homegrown tubers without a big yard? This friendly guide walks you through a simple way to grow a joyful, tidy crop on a patio or porch.
You’ll learn practical steps — from choosing a food-safe container and the right soil mix to timing your planting and how to water and hill as stems grow. We focus on clear cues for U.S. gardens: spring planting 2–4 weeks before last frost, or late summer for a fall harvest.
Keep tools simple: a drill for drainage holes, a trowel, and a tarp. Pick compact varieties and seed pieces with healthy eyes. With steady water and 6–8 hours of sun, you’ll watch foliage turn lush and know when to harvest.
Key Takeaways
- Use a 10–15 gallon, opaque container and a half potting mix, half finished compost blend for best results.
- Plant in spring or late summer based on frost dates; hill when stems reach 4–8 inches.
- Provide 6–8 hours of sun and about 1–2 inches of water per week, evenly applied.
- Avoid heavy garden soil, choose food-safe vessels, and pick compact varieties for small spaces.
- Harvest new tubers at flowering; full-size when tops die back, then cure and store cool and dark.
A friendly start: why containers make growing potatoes simple and rewarding
A tidy, mobile planting spot brings control, calm, and good results to your garden.
Containers simplify growing potatoes by giving you control over soil mix and moisture. You can manage drainage easily by drilling holes in the bottom and a few inches up the sides to avoid soggy soil.
Use opaque, food-safe options like plastic bins, barrels, or fabric grow bags so light stays off developing tubers. Avoid old tires that can leach chemicals.
You’ll save time and protect your crop from pests and disease. When an issue shows up, you see it sooner and can act fast with gentle fixes.
- Place a unit beside a sunny fence, on a stoop, or along a driveway to use small space well.
- With good drainage, water moves through cleanly and roots stay healthy—no swampy bottoms.
- Harvesting is easier: tip the mix onto a tarp and sift instead of digging hard ground.
Starting with certified seed potatoes in your setup reduces disease risk. This way of gardening fits different climates—move your pot to catch sun or shade during heat—and it makes growing potatoes a calm, doable way to enjoy homegrown food.
Choose the right container: size, drainage, and safe materials
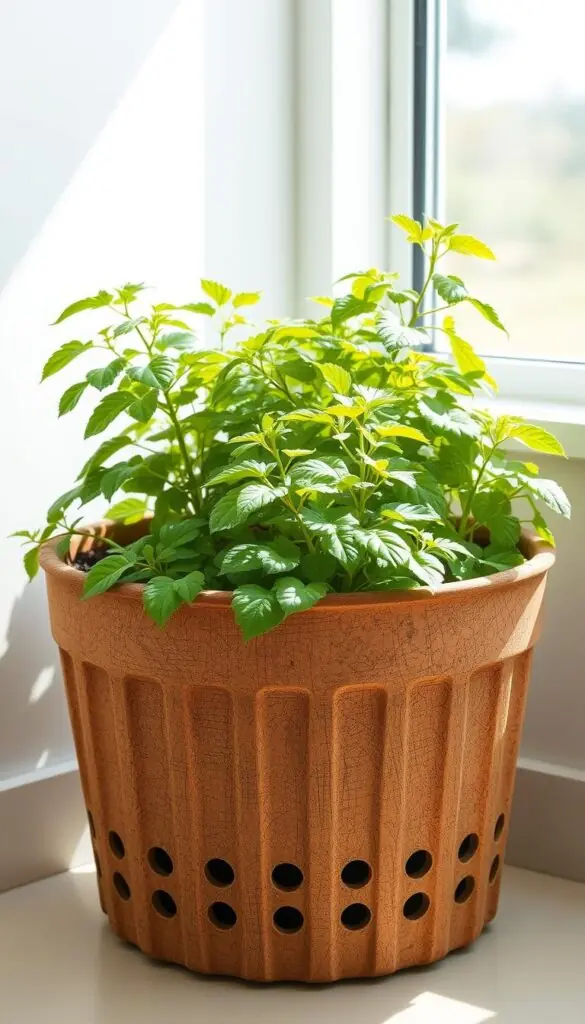
Pick a sturdy, opaque tub around 10–15 gallons so your plants have room without becoming hard to water.
Size and depth matter. Aim for at least 14 inches deep so roots and tubers can expand. Mid-size vessels hold moisture more evenly than very large ones. Plan roughly 5 gallons of soil per plant; a 20-inch wide pot fits four.
Drainage keeps soil healthy. Use a drill to add generous holes in the bottom and a few inches up the sides so excess water escapes and the mix never pools.
Choose food-safe options: fabric grow bags, plastic storage bins, or drilled barrels work well. Skip old tires; they can leach chemicals into your harvest.
| Material | Pros | Cons |
|---|---|---|
| Fabric grow bags | Breathable, light, easy to store | Dries faster; may need more frequent water |
| Plastic storage tubs | Affordable, holds moisture well | Must be drilled for proper drainage |
| Repurposed barrel | Durable, roomy, stable in wind | Heavier; needs many holes |
- Place the pot where it gets 6–8 hours of sun and is easy to water.
- Label with variety and date so you track seed and harvest timing.
Pick potato varieties and prepare your seed potatoes
Good choices make growing simple and more fun. Pick compact, high-yield types so your pots stay manageable and fruitful.
Top compact choices
Red, Yukon Gold, Fingerling, Purple, and Ratte are container-friendly varieties that give steady yields and varied flavors.
Chitting and cutting made easy
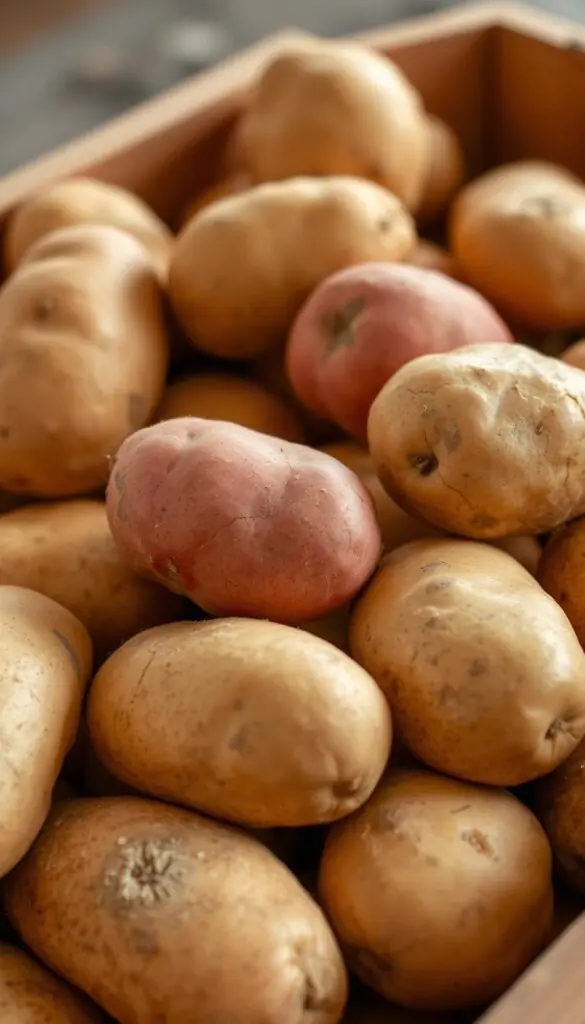
Use firm, healthy seed potatoes with no soft spots. Set them in a cool, bright spot to chit until stubby sprouts appear.
Cut larger tubers so each piece has 1-2 eyes, then air-dry about a day. This helps seal the cut and lowers rot risk.
"Choose certified seed when you can — it reduces disease and saves time later."
| Variety | Habit | Why it fits small spaces |
|---|---|---|
| Red | Compact, early | Reliable yield, thin skin |
| Yukon Gold | Medium, creamy | Good flavor, steady harvest |
| Fingerling | Short vines | High value, space-efficient |
| Purple/Ratte | Compact, gourmet | Flavorful and decorative |
- Plant spring, 2–4 weeks before last frost for a summer harvest, or late summer 2–3 months before first frost for fall.
- Keep seed pieces similar in size so growth stays even across the container.
Step-by-step planting for container potatoes
Lay down a soft, well-draining base so your seed pieces sit on a gentle cushion.
Blend and fill: Mix half soilless potting mix and half finished compost. The soil should feel fluffy, springy, and slightly damp, not clumpy. Aim for a slightly acidic pH (5.2–6.0).
Spacing and depth
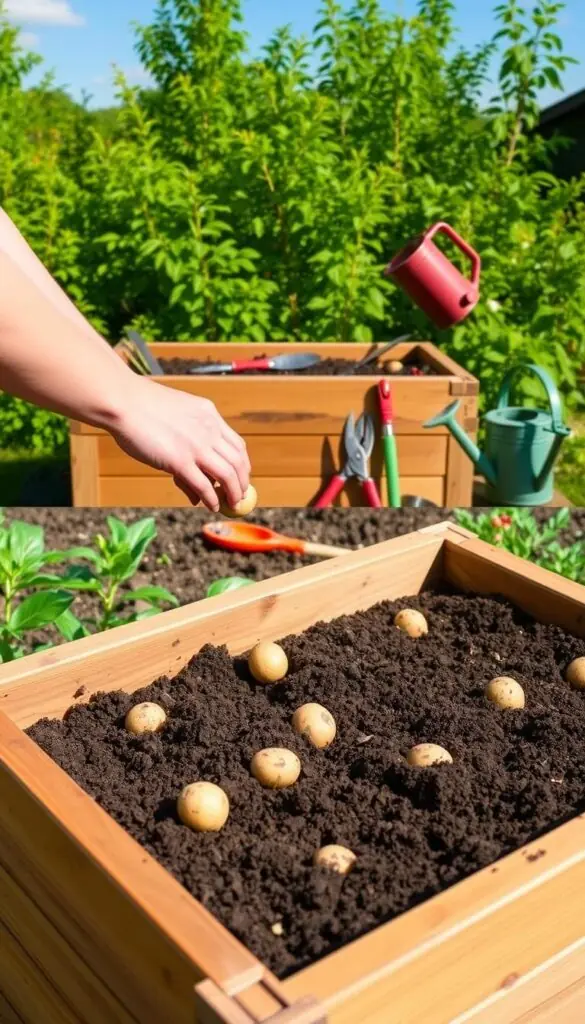
Start with a 4–6 inch base layer. Place seed potatoes with eyes up, 5–6 inches apart and about 3–4 inches from the sides so each plant has space.
First drink and light
Cover each piece with 2–4 inches of mix. Water slowly until you see a steady trickle from the bottom holes — that steady flow means good drainage and a healthy start.
"Plant, water, and set in sun; the simple rhythm is all most starts need."
| Step | Measure | Why it matters |
|---|---|---|
| Base layer | 4–6 inches | Gives tubers a cushioned, well-drained foundation |
| Spacing | 5–6 inches | Prevents crowding and helps growth |
| Cover | 2–4 inches | Allows early stems to push up before hilling |
- Avoid heavy ground soil or fresh manure; they compact and hold too much moisture.
- If using fabric bags, smooth the sides so the mix stays upright and stems are supported.
- Place the pot in full sun; within days you should see firm green leaves and steady stems.
Care through the season: water, hill, and feed for steady growth
Think of care as a gentle rhythm: check soil, water deeply, and feed lightly.
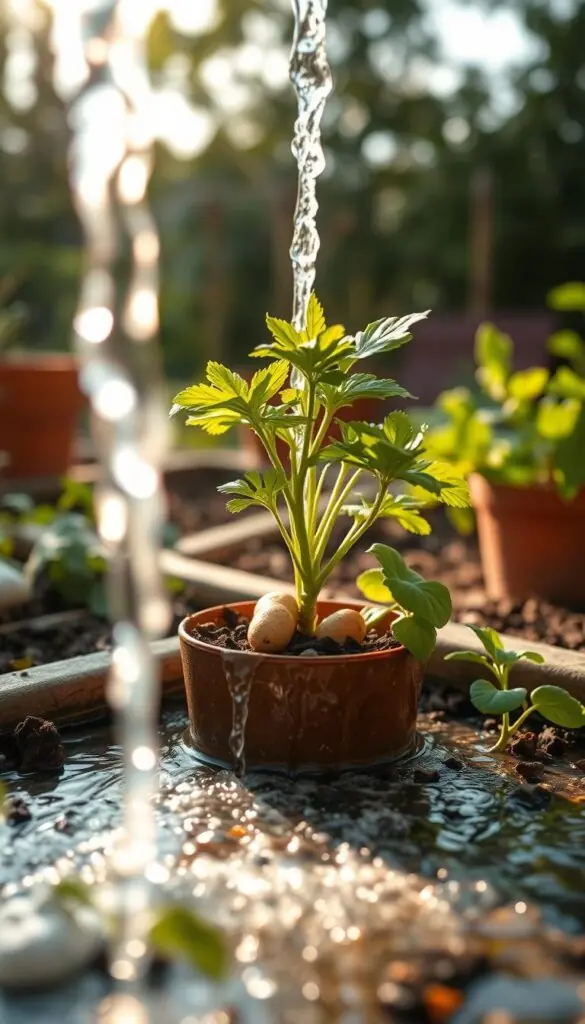
Set a steady watering routine. Aim for about 1–2 inches of water each week. Feel the top inch for moisture. The mix should stay cool and damp a few inches down, never swampy. You’ll know it’s right when you hear a steady drip from the holes after watering.
Hilling and protecting tubers
When stems reach 4–8 inches, add more potting mix or compost around the base. Repeat as plants grow until you are near the top of your pot.
Make sure you cover any exposed tubers immediately. Sunlight turns them green and bitter.
Light feeding and sun
Feed lightly with diluted fish emulsion every couple of weeks. Avoid high-nitrogen feeds that push lots of leafy growth at the expense of tuber development.
Give your setup 6–8 hours of direct sun. Plant when soil is 45–55°F; the best growth happens between 60–70°F.
"Watch leaves for signals: deep green means steady health; pale or floppy leaves mean adjust feed or moisture."
| Care area | Routine | Why it matters |
|---|---|---|
| Water | 1–2 inches per week; let top inch dry slightly | Prevents rot and uneven tuber size |
| Hilling | Add mix when stems 4–8 inches; repeat | Encourages more and larger tubers |
| Feeding | Diluted fish emulsion every 2 weeks | Supports steady growth without excess leaves |
| Sun & temp | 6–8 hours sun; soil 45–70°F ideal | Promotes flowering and tuber set |
Keep a quick weekly glance at stems, leaves, and moisture. A small check-in keeps your potato plants thriving all season.
Harvest, cure, and store your potatoes with confidence
When your foliage begins to fade, you’ll know harvest day is near. Watch for blooms if you want small, new spuds. Wait until the tops yellow and die back for a full, long‑keeping crop.
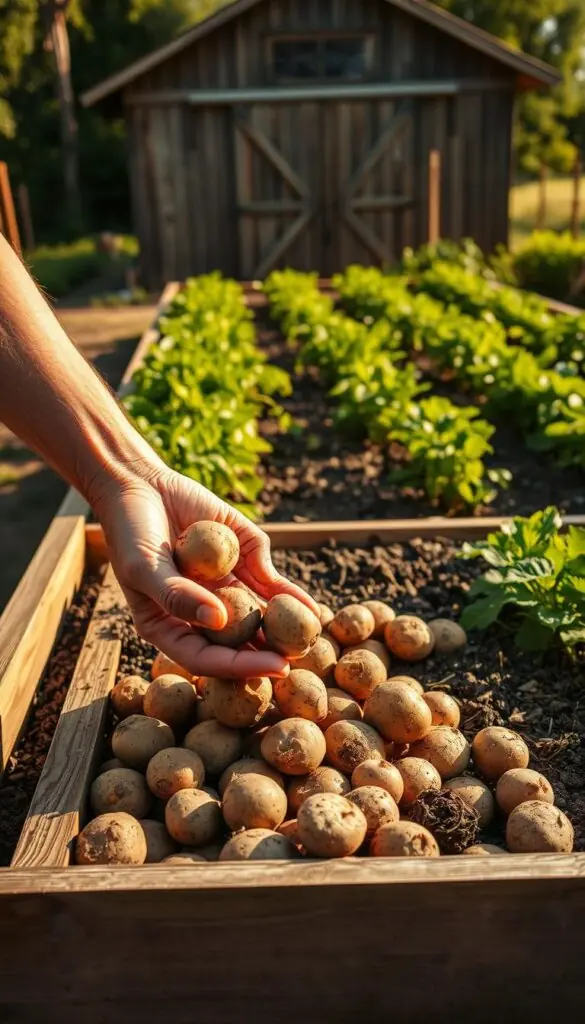
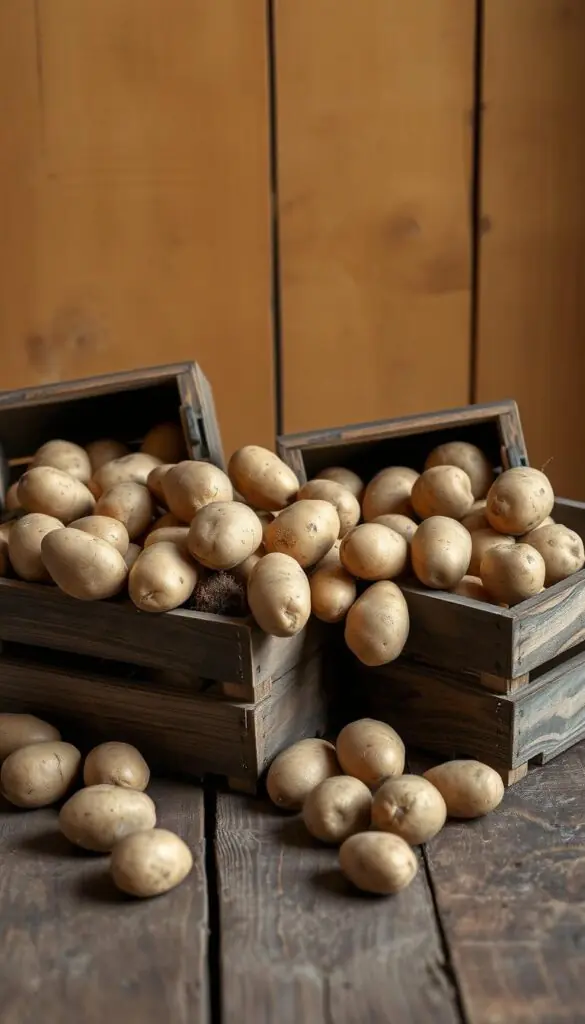
Gently remove the mix. Lay a tarp in the shade and tip the container with a soft roll. You’ll hear a quiet crumble as soil and tubers spill out.
Use your hands to sift through soil and compost. Keep skins smooth and unbruised. Keep tubers out of direct sun to avoid greening and bitter flavors.
"A light, earthy scent and firm skins tell you the harvest is ready for the kitchen."
Quick harvest and curing steps
- Reduce watering the last week as the plant winds down; dryer soil helps skins set.
- Collect new spuds at flowering or wait for yellowing tops for mature sizes.
- Cure in gentle sun a few hours, then move to a cool, dark spot for several days.
- Brush off soil; don’t wash before storage to keep skins dry and long‑lasting.
| Task | Timing | Why it matters |
|---|---|---|
| New harvest | At flowering | Small, tender tubers for fresh eating |
| Full harvest | When tops yellow and die back | Better skins and longer storage life |
| Curing | Hours in sun, then days cool/dark | Thickens skins and reduces rot |
| Storage | After curing | Cool, dark, ventilated spot keeps quality |
Storage tip: Brush off clinging soil and place tubers in a cool, dark area with airflow — a basement shelf or pantry bin works well. Check weekly and enjoy the fruits of your garden with pride.
Troubleshooting and climate tips for the best potatoes in containers
Tune into local forecasts and your own microclimate — that’s often the easiest way to avoid loss.
Frost timing matters. Plant in spring about 2–4 weeks before the last frost for a summer harvest. For fall, plant late summer 2–3 months before the first frost. That time frame helps tubers set without surprise freezes.
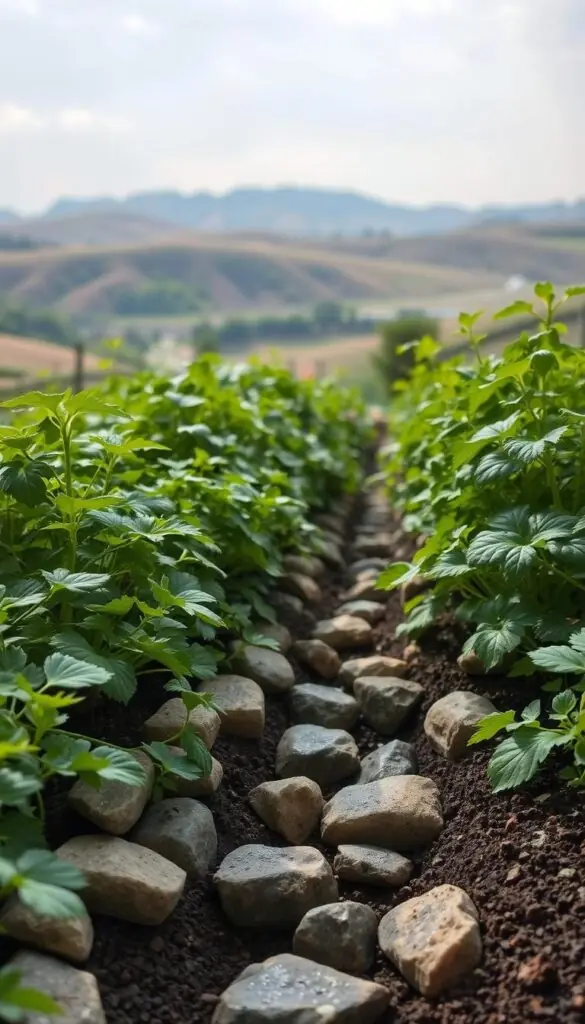
Quick drainage and moisture checks
Check drainage by watering and listening for a quick drip from the bottom. Slow trickles often mean compacted soil or blocked holes.
Lift the container slightly. If it feels unusually heavy, water may be pooling at the bottom and roots need air. Poke a finger down a few inches; if it’s soggy, ease off watering and improve airflow around the pot.
- Keep pots off bare ground with feet or a small trivet so water leaves freely.
- Thin mulch with straw or shredded leaves to steady moisture and soften heat swings.
- After storms, cover any exposed tubers right away to prevent greening.
If heat spikes, move the unit to morning sun and afternoon shade or place it against a bright wall to moderate warmth. Large vessels can be harder to water evenly; mid‑size is often the best way when space is small.
"Small routine checks — listen, lift, and feel — fix most season problems before they grow."
Conclusion
A small sunlit spot and a short weekly check are all you need to keep this project thriving.
With a 10–15 gallon, 14‑inch deep container and a 50/50 mix of soilless potting and finished compost, your plants get airy soil and steady drainage. Give the setup 6–8 hours of sun, water deeply but not often, and hill as stems grow.
Watch for blooms if you want new spuds, or wait until tops yellow for a full harvest. Cure them briefly, then store cool and dark so your work keeps well.
Pick varieties you love, start with healthy seed potatoes and eyes that look strong, and trust simple rhythms—water, hill, and time. Here’s to a sunlit pot by your door and warm, homegrown potatoes on your table.
FAQ
How deep and wide should my container be to grow potatoes successfully?
Aim for a container that holds 10–15 gallons and is at least 14 inches deep. That gives tubers room to form and lets you mound growing stems for bigger yields.
Do I need to make drainage holes, and where should they go?
Yes. Drill holes in the bottom and a few inches up the sides so excess water can escape and roots don’t sit in soggy mix. Good drainage prevents rot and keeps plants healthy.
What materials are safe for growing potatoes in pots?
Use food-safe grow bags, plastic bins rated for gardening, or clean barrels. Avoid old tires and anything that may leach chemicals into the soil.
Which potato varieties work best when space is limited?
Choose compact, high-yield types like Red, Yukon Gold, fingerlings, Purple, or Ratte. These tend to do well in smaller spaces and still give a generous harvest.
How do I prepare seed potatoes before planting?
Let seed pieces chit (sprout) in a cool, bright spot. Cut larger seed potatoes into pieces with 1–2 eyes each and let the cut surfaces air-dry a day or two to reduce rot.
When is the right time to plant for a summer or fall harvest?
For a summer harvest, plant about 2–4 weeks before your last spring frost. For a fall crop, start roughly 2–3 months before your first expected autumn frost so tubers mature before cold sets in.
What potting mix should I use to fill the container?
Mix half soilless potting mix and half finished compost for light, well-draining media with a slightly acidic pH. This blend promotes healthy roots and easy watering.
How deep should I plant seed pieces and how far apart?
Start with 4–6 inches of mix, set pieces 5–6 inches apart, and cover them with 2–4 inches of mix. As shoots grow, keep adding mix to mound stems for more tuber formation.
How often and how much should I water my plants?
Provide about 1–2 inches of water per week, keeping the soil evenly moist but not waterlogged. Containers dry faster than ground beds, so check soil often and water when the top inch feels slightly dry.
What is “hilling” and how does it boost yields?
Hilling means adding mix around growing stems as they reach 4–8 inches tall. Repeat until near the container rim. This encourages more tubers along the buried stem and increases your harvest.
How can I protect tubers from greening?
Keep any exposed tubers covered immediately with mix or mulch and avoid direct sunlight. Greened tubers produce solanine and are bitter and unsafe to eat.
What type of fertilizer should I use and how often?
Feed lightly with a balanced feed or diluted fish emulsion every couple of weeks. Avoid high-nitrogen feeds that encourage foliage over tuber development.
What temperature and light do potato plants prefer?
Plants like 6–8 hours of sunlight and soil temps around 45–55°F to plant, with ideal growing temperatures near 60–70°F. Protect from extreme heat or late frost.
Can I use garden soil or fresh manure in the potting mix?
No. Avoid garden soil and fresh manure in small vessels. They compact, carry pests, and may contain pathogens. Stick to soilless mixes and finished compost.
How do I know when it’s time to harvest new vs. storage potatoes?
New potatoes can be dug when plants flower or you see small tubers forming. For storage potatoes, wait until foliage yellows and dies back for fuller-size tubers and better keeping quality.
What’s the gentlest way to harvest from a container?
Tip the container onto a tarp or hand-dig around the stems to lift tubers gently. Keep them out of direct sun to avoid greening and handle carefully to prevent bruises.
How should I cure and store harvested tubers?
Let tubers dry in a shaded, airy spot for a few hours, brush off excess soil, and don’t wash. Store them in a cool, dark, humid place around 45–50°F with good ventilation.
What frost or heat strategies should I use for potted plants?
For spring plantings, wait until risk of hard frost is past, or protect pots with frost cloth overnight. In hot spells, move containers to partial shade during the hottest hours and water more often.
How can I tell if drainage is failing in my pot?
If water pools at the bottom, plants wilt despite wet soil, or you smell rot, drainage is poor. Improve it by adding more holes, raising the pot on feet, or refreshing with a lighter mix.