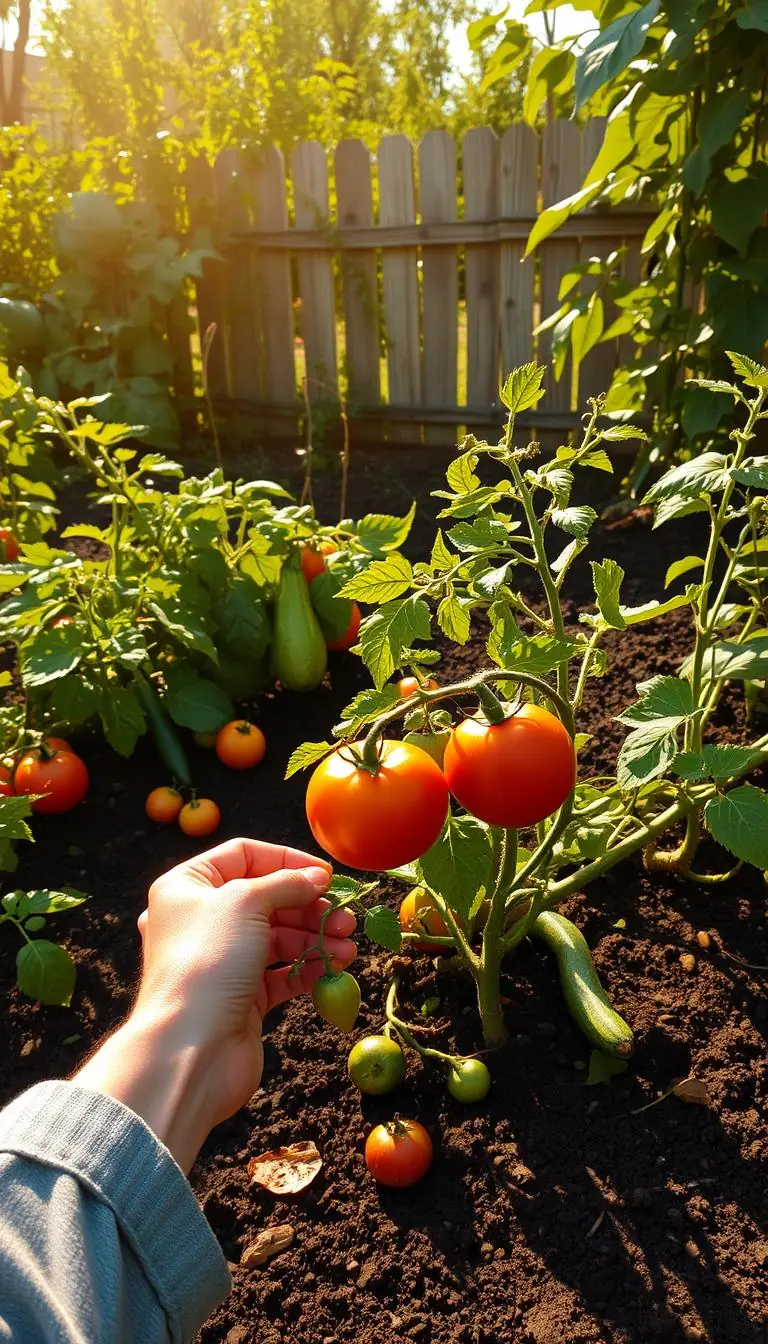
Imagine warm, sunlit vines brushing your fingertips as the afternoon glow finds bright, round fruit. You want tomatoes that ripen on the vine and taste like summer. This guide meets you there with calm, neighborly steps you can use right away.
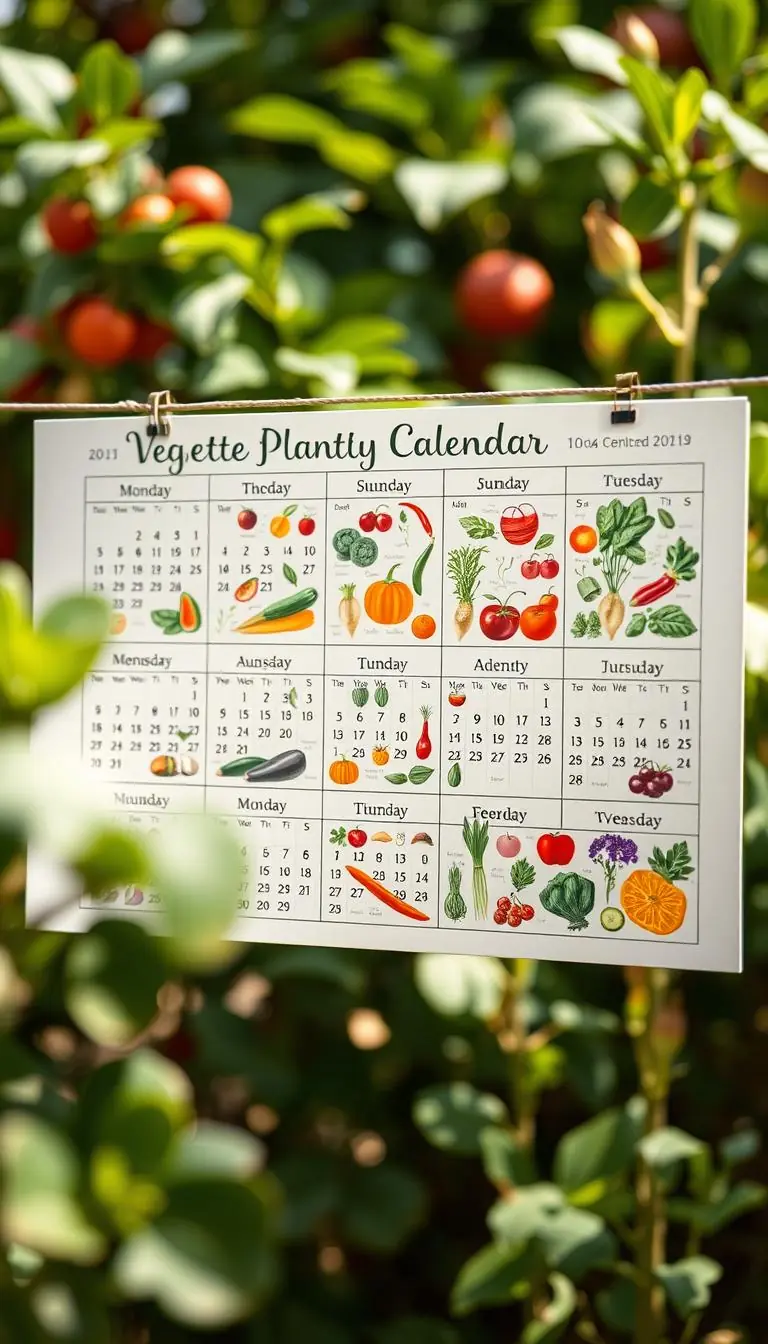
We’ll start with the right time to plant — after frost, when soil warms to about 60–65°F — and move through soil prep, spacing, and simple tools like pruners, stakes, and a soaker hose.
Use compost or well-rotted manure, plant deep to encourage strong roots, and space seedlings so air moves between rows. Keep water steady (about 1–2 inches a week in the mornings) and mulch to keep moisture even and leaves dry.
Choose a variety suited to your climate — think cool-region choices like Early Girl or heat lovers such as Heatmaster — and prune indeterminate vines for airflow. Harvest at the breaker stage or vine-ripe in the afternoon for the best aroma, and never refrigerate ripe fruit.
This piece is practical and hands-on. You’ll get short steps, real examples, and easy ways to spot and solve common problems so you head back outside smiling.
Key Takeaways
- Plant after frost when soil reaches 60–65°F and space seedlings for good airflow.
- Work compost into the bed, plant deep, and use stakes or cages for support.
- Water evenly about 1–2 inches weekly in the morning and mulch to conserve moisture.
- Prune indeterminate vines, keep tools clean, and avoid wet foliage to reduce disease.
- Pick varieties that fit your season and harvest at breaker or vine-ripe for peak flavor.
Start Smart: Timing Your Planting for Fruit That Ripens
The best first step is to match your transplant day to steady, warm soil rather than the calendar. Give your plants a warm, confident start and they repay you with steady fruit set.
Know your cues:
- Check your average last frost date, then measure the soil with a simple thermometer. Aim for a steady 60–65°F.
- Wait until nights are reliably above 50–59°F; chilly evenings stall growth even if days warm up.
- Count the days to maturity on the plant tag from your transplant date to your first expected fall frost to confirm you have enough season.
In short seasons, pick quicker varieties so clusters can ripen before cool nights return. Plant on a calm, mild afternoon or early evening so new transplants settle without harsh sun.
Give just enough water to firm soil around roots; avoid soaking cold ground. If a surprise chill threatens, cover plants overnight and remove the cover the next day. A warm start in the right soil and the right time sets you up for tomatoes that actually ripen.
Choose the Right Tomato Variety for Your Climate and Goals
Pick varieties that match your climate and how you plan to use the harvest.
Cool North vs. hot South: In short seasons, early producers like Early Girl (about 50 days) get you red fruit before frost. In hot Southern gardens, go with Heatmaster or Arkansas Traveler to keep flowers setting when afternoons heat up.
Determinate or indeterminate?
Determinates ripen in a reliable burst — perfect for weekend canning. Indeterminates keep producing all summer for salads and sandwiches, but they need tall supports and regular pruning.
Flavor, color, and use
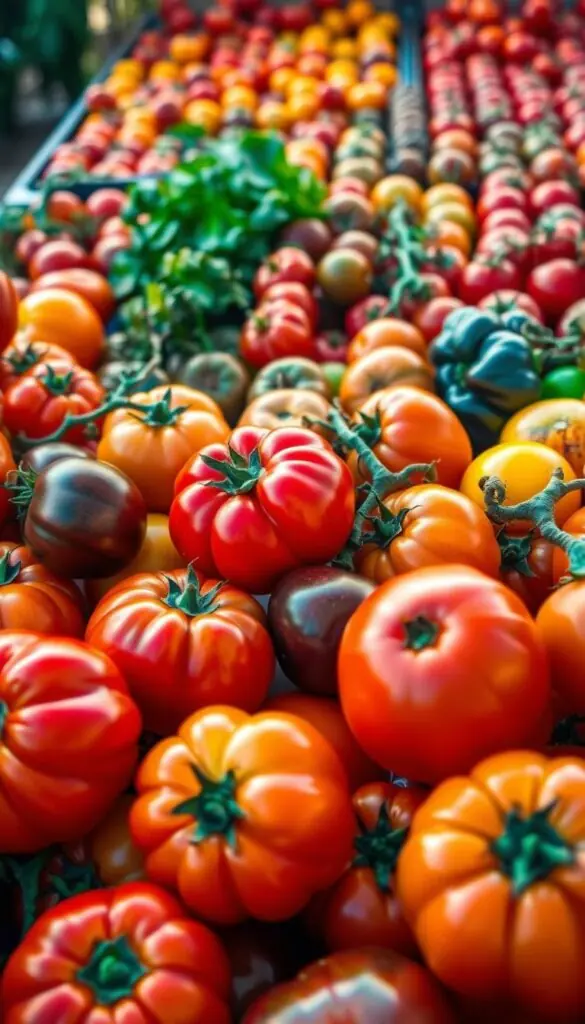
For sauce, choose paste types like Romas. For big, juicy slices pick beefsteaks. For snackable sweetness, plant cherries such as Matt's Wild Cherry or Jasper. Add striped heirlooms like Mr. Stripey for color and show.
Decode resistance letters
Labels with V, F, N, or TSWV flag built-in resistance to common soil problems and viruses. If blight runs through your area, try hybrids like Iron Lady or Defiant to reduce risk. A smart mix of two determinates, two indeterminates, a cherry, and one heirloom gives steady harvests and beautiful fruit.
Seeds or Seedlings: The Simple Way to Confidence
A simple choice at the start — seedlings for ease, seeds for variety — shapes your season and your success.
When to choose seedlings or start seeds
If you’re new, buy healthy seedlings so you can focus on planting and care without lights and trays. Seedlings save time and space and are a gentle way into the season.
Start seeds if you want unusual varieties, plan to save money, or enjoy the whole growth journey from sprout to vine. Give young starts 14–18 hours of strong light so they stay short and stocky.
Hardening off: the two-week glide
Begin by setting plants out for a couple hours in dappled shade on calm, mild days. Add an hour or two each day and move into brighter light slowly.
Avoid wind and bring plants inside if temperatures drop below 40°F. You’ll notice leaves toughen in the soft breeze.
"A few gentle days outdoors makes a big difference — the plants thank you."
- Transplant after frost when soil feels warm; pick a cloudy afternoon or evening.
- Look for compact, dark-green starts and pinch off early blooms so roots build first.
- Keep a simple checklist: trays, labels, seed-starting mix, a gentle fan, and clean snips for transplant day.
Set the Stage: Sun, Soil, and a Cozy Spot in Your Garden
Pick a sunny corner with good air and soft, crumbly ground so roots can dive deep and vines can thrive.
Full sun: at least six hours
Tomatoes need at least six hours of direct sun; more light usually means better ripening and richer flavor. In very hot southern summers, give a little afternoon shade when temperatures top 86°F to protect flowers from dropping.
Build rich, well-drained soil
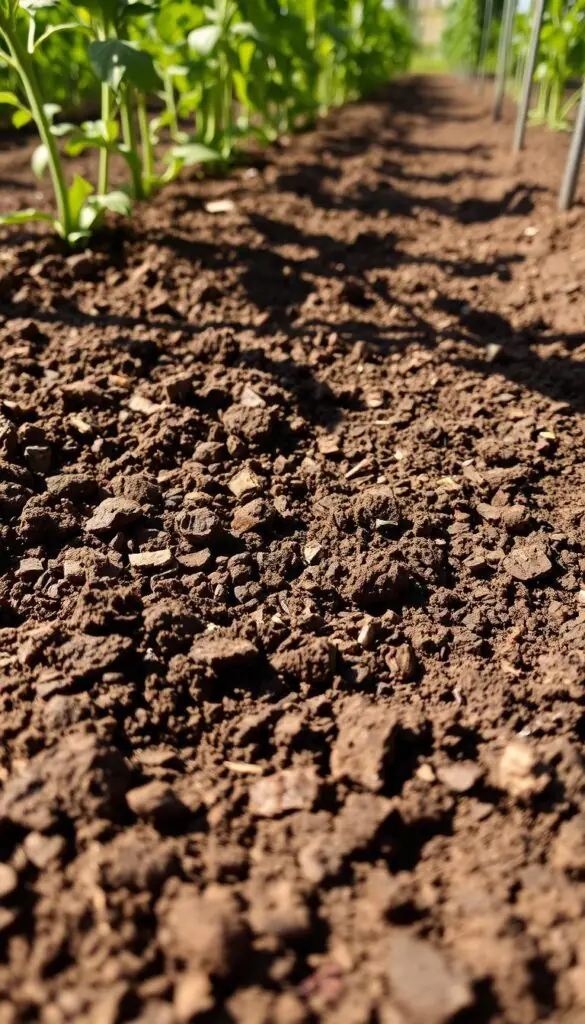
Work a generous layer of compost or well-rotted manure into the top foot of soil a couple of weeks before planting. The bed should feel springy in your hands and drain well after a deep watering.
Quick tools and layout notes
- Use a compost fork and a wheelbarrow for mixing in two to three bags of compost or manure.
- Loosen compacted ground 10–12 inches deep with a garden fork so roots find room.
- Spread a light mulch after planting to hold moisture and stop splash onto leaves.
- Avoid beds that held tomatoes, potatoes, peppers, or eggplant in the last two years; rotate to fresh ground.
- Leave space for airflow so leaves dry quickly after rain and disease risk falls.
Picture warm earth, the smell of compost, and a bed that feels ready. A well-prepped garden sets the stage for sweet, sun-kissed clusters later.
Planting Day: Deep Roots, Happy Plants, Better Ripening
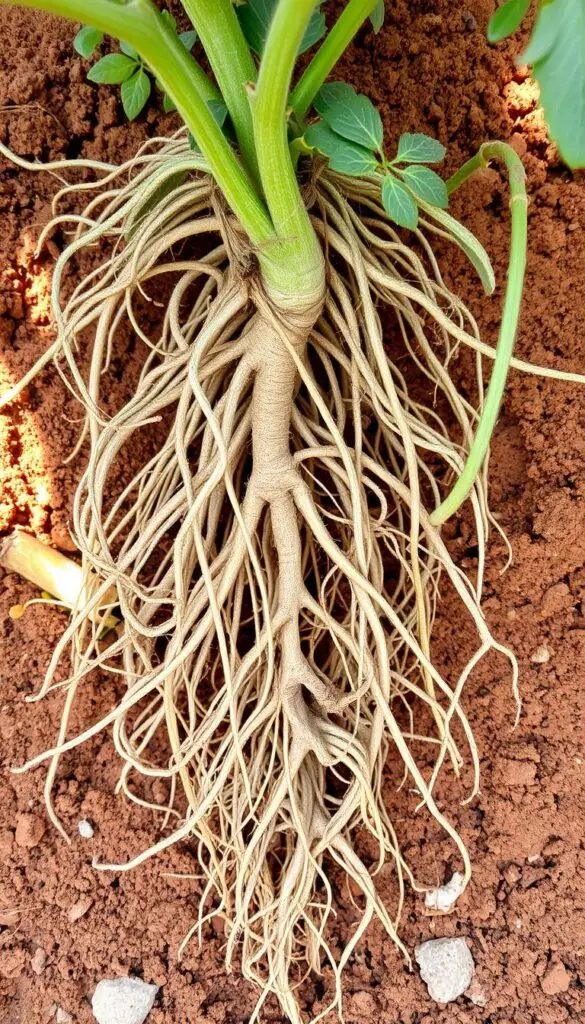
Set each transplant deep and firm so the buried stem sends out a strong web of roots.
Dig a generous hole and mix in compost until the soil feels loose and slightly cool on your hands. If a plant is leggy, lay it in a shallow trench and bend the tip up; tomatoes will root along the buried stem.
Spacing that breathes
Space plants 18–36 inches apart depending on supports and pruning plans. Wider spacing gives better airflow and easier care.
Amend the hole
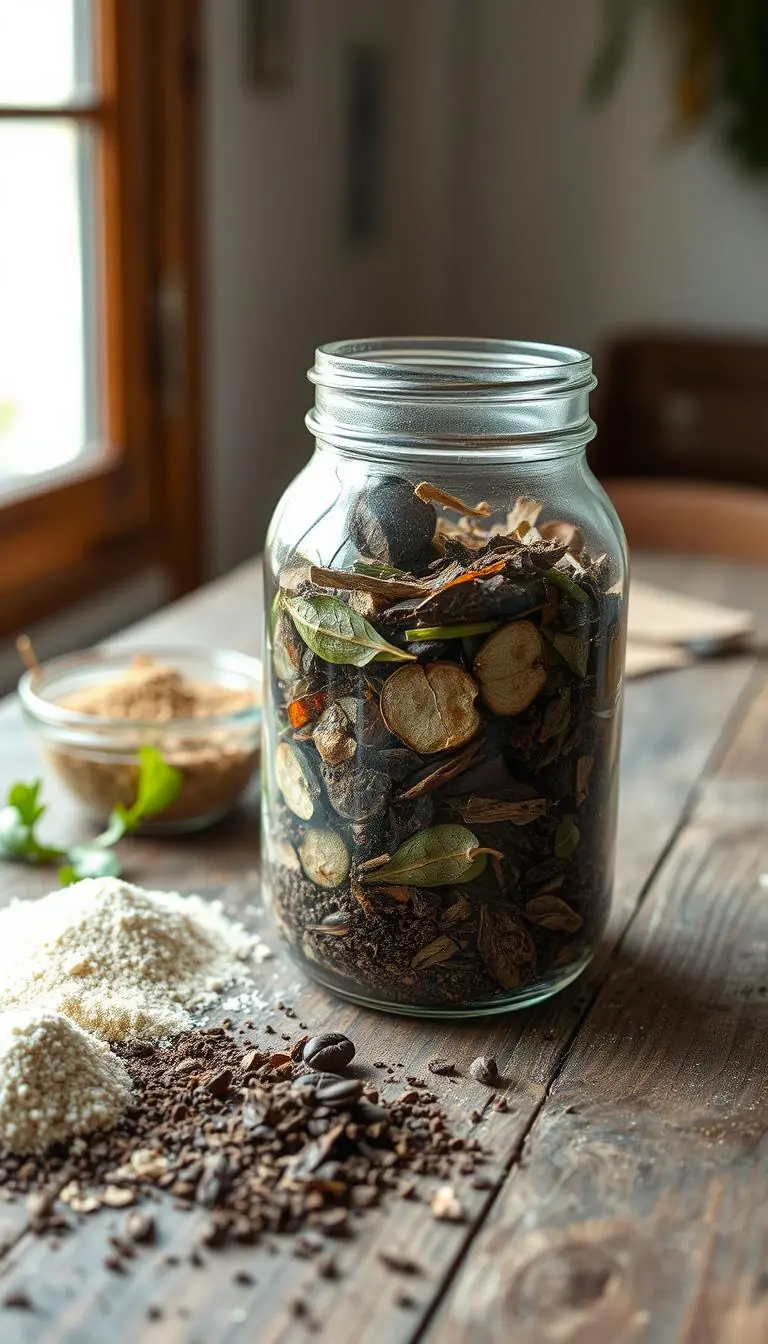
Before backfilling, add a handful of compost and a light dusting of bone meal. Stir 1–2 tablespoons of Epsom salt into the backfill so roots don’t sit on strong fertilizer. Sprinkle crushed eggshells around the base for slow calcium.
- Remove lower leaves and place the root ball so the bottom remaining leaves sit just above the soil line.
- Backfill, firm gently around the stem, and water slowly until the soil glistens and settles.
- Top with mulch to stop splash and keep moisture even; label the variety and step back to admire your work.
| Action | Why it helps | Quick cue |
|---|---|---|
| Plant deep / trench plant | Encourages extra roots along stem for vigor | Stem buried, tip bent up |
| Space 18–36 in. | Improves airflow and reduces disease | Arms-length spacing |
| Mix compost, bone meal, Epsom salt, eggshells | Gives gentle nutrients without burning roots | Soil feels crumbly and cool |
Support from Day One: Stakes, Cages, and Simple Trellises
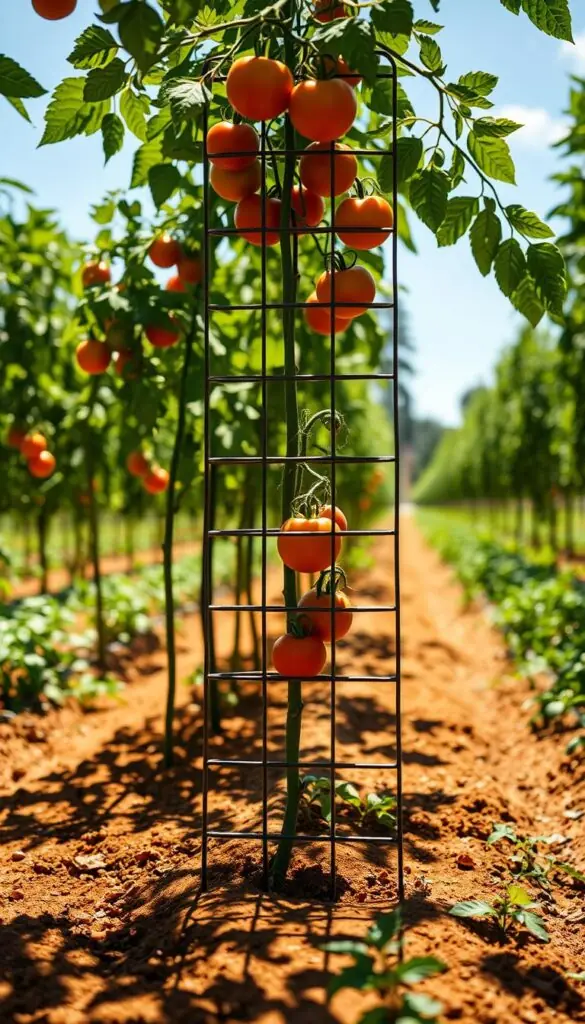
Put supports in at transplant time so roots stay safe and vines have structure from the start. Install the frame when you plant and you avoid digging near established roots later.
Use everyday materials: a sturdy cage for determinates, a tall stake or heavy-duty cage for indeterminates, bamboo, twine, and a 6' T-post at row ends for extra strength.
- Install supports the same day you plant to protect the root ball and make training simple.
- Tie stems loosely with soft twine or clips as growth continues; check weekly and add ties where needed.
- For windy sites, run wire through a row of cages and anchor both ends to a strong post for stability.
- Place stakes on the windward side so stems lean gently against the support rather than away from it.
- Train one to three main stems so plants stay tidy and light reaches each cluster; a lifted vine ripens more evenly.
Keep a small bundle of garden ties by your pocket. This small habit keeps plants neat and helps bring on a cleaner, heavier harvest in the most natural way.
Watering and Mulch: The Calm, Even Rhythm Tomatoes Like
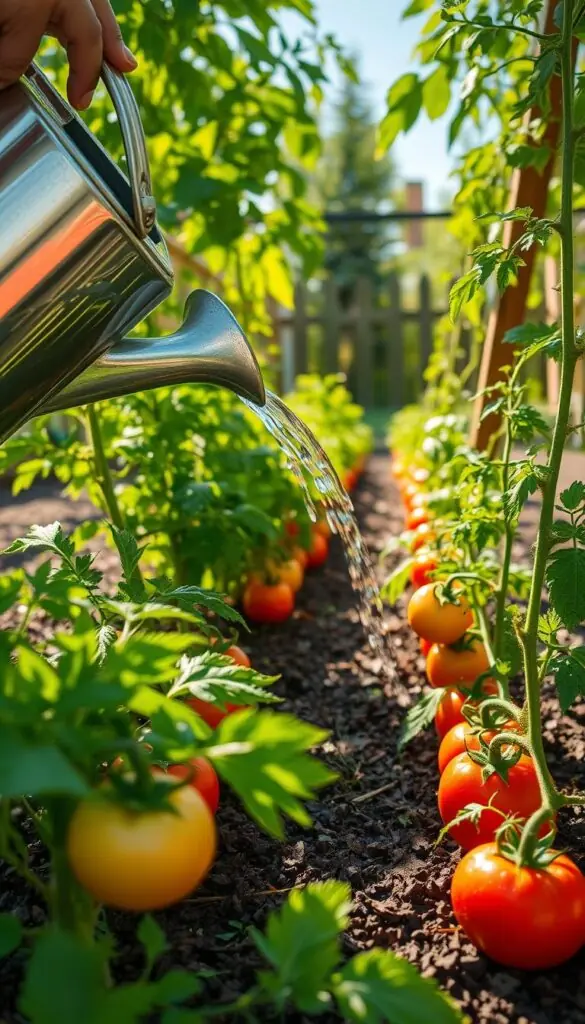
A quiet soaker hose at dawn makes a gentle, reliable path for water into the roots. Set a simple morning routine and your plants return the favor with steadier fruit and fewer problems.
How much and when: Aim for 1-2 inches per week and add a little more in peak summer heat. Water in the cool morning so foliage dries quickly and disease risk falls.
Place water where it helps
Lay a soaker hose or drip line at the base so moisture sinks into the soil without wetting leaves. Install hoses before you mulch so every slow drip reaches the root zone.
Mulch choices and the blanket idea
Tuck a 2-3 inch layer of mulch around each plant like a soft blanket. Straw, shredded leaves, compost, or wood chips all steady moisture and stop splashback. Red plastic mulch can raise yields by 12–20% if you want extra warmth.
- Check soil by lifting mulch; if the top inch is dry, water.
- Use a rain gauge so you know how much nature added that day.
- Keep the rhythm steady to avoid splits and uneven ripening.
Feed Without Fuss: Simple Fertilizing That Fuels Fruit
Start simple—give the bed a baseline of compost and a slow-release fertilizer, then top up lightly.
At planting, amend the soil with compost and a balanced slow-release formula so young tomato plants have steady food. Add a small sprinkle of bone meal for phosphorus and a few crushed eggshells for slow calcium release.
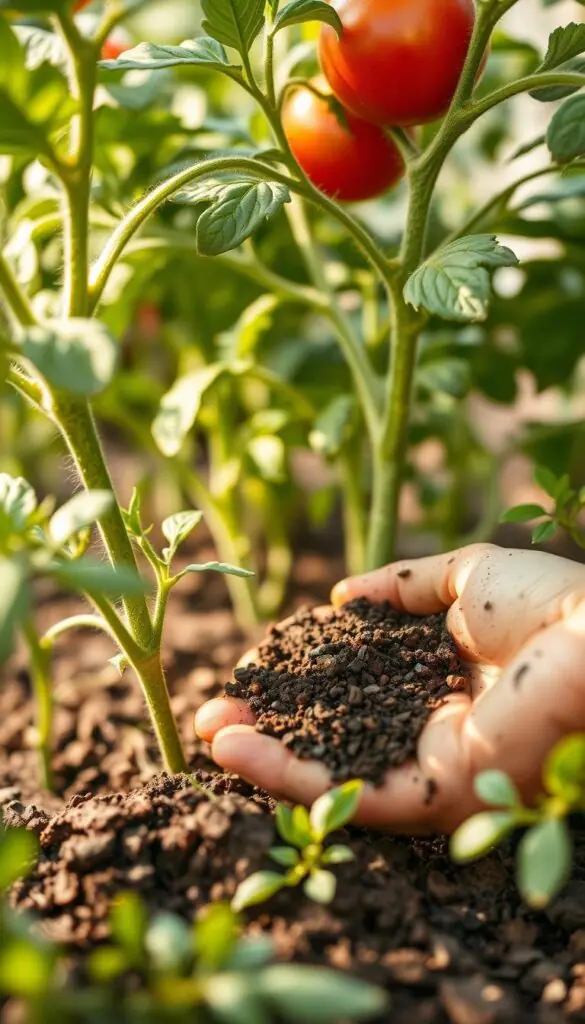
During the season, use a gentle water-soluble feed about every two weeks. Choose one a bit higher in phosphorus and potassium than nitrogen so flowers and fruit set well without excess leafy growth.
- Baseline: compost + slow-release at planting for lasting nutrition.
- Every two weeks: a light liquid feed with P and K slightly higher than N.
- Visual cues: pale yellow-green leaves or slowed growth mean it's time to feed; deep green and steady growth means you’re on track.
- Calcium care: many blossom end rot cases come from uneven moisture, so keep watering consistent rather than overdoing calcium alone.
- Midseason refresh: scratch a little compost into the surface to revive soil life and support steady growth.
Keep it simple: a modest routine of compost, a balanced feed, and steady water is the easiest way to bring on steady clusters of ripe fruit. This calm approach is the best way to long, happy harvests in your garden.
Pruning, Training, and Topping: The Way to Sun-Kissed, Red Fruit
A few careful snips and gentle ties can turn a tangled vine into a sunlit ladder of fruit.
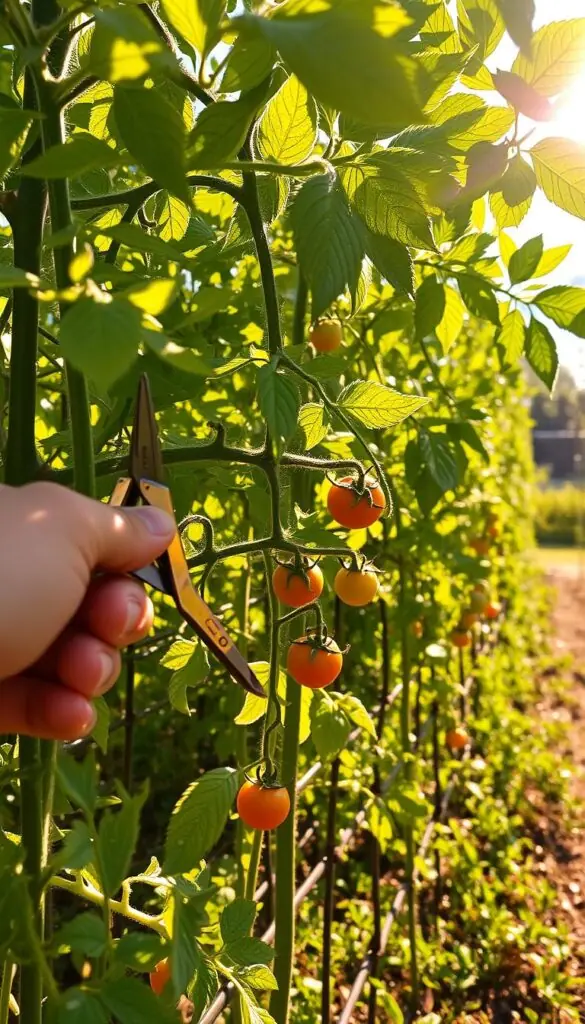
Focus pruning on indeterminate varieties. Do not shear determinates—those set fruit on branch ends and you’ll lose yield if you prune them. Work with clear, small cuts and a calm hand.
Lift the canopy by removing the lowest leaves. This improves airflow, reduces soil splash, and helps prevent disease. Pinch young suckers in the morning when stems are firm.
Train and tie as it climbs
Tie the main stem loosely to supports so clusters sit in sunlight. Keep one to three main stems, depending on your support style, and check weekly.
- Pruning: remove excess foliage but avoid over-pruning to prevent sunscald.
- Leaves: clear the bottom 6–8 inches to lift the vine off the soil.
- Stem care: tie gently and add ties as growth continues.
- Topping: stop new growth 4–6 weeks before frost so energy shifts to ripening.
Use clean snips and prune when leaves are dry to avoid spreading pathogens. A tidy, airy vine feels warm in the summer sun and is the best way to steady color and flavor as fruit ripens.
Keep Problems Small: Tomato Diseases, Pests, and Clean Habits
A tidy bed and simple checks once a week cut down on most pests and diseases. Small, steady habits stop many problems before they start.
Garden hygiene and simple routines
Keep leaves dry and never work plants when foliage is wet. Clean pruners between plants so disease won't hitch a ride.
- Space plants so air moves through the canopy and leaves dry fast.
- Lay mulch to block soil splash and reduce soil-borne disease.
- Walk the row each morning to spot issues while they are small.
Prevent blossom end rot
Blossom end rot links to uneven water and calcium flow. Water evenly and mulch to hold moisture steady.
Check soil moisture regularly; steady water beats last-minute drenching.
Blight, hornworms, and heat stress — quick IDs
Blight shows as dark spots on leaves and spreads in humid canopies. Remove low leaves, improve airflow, and water at the base.
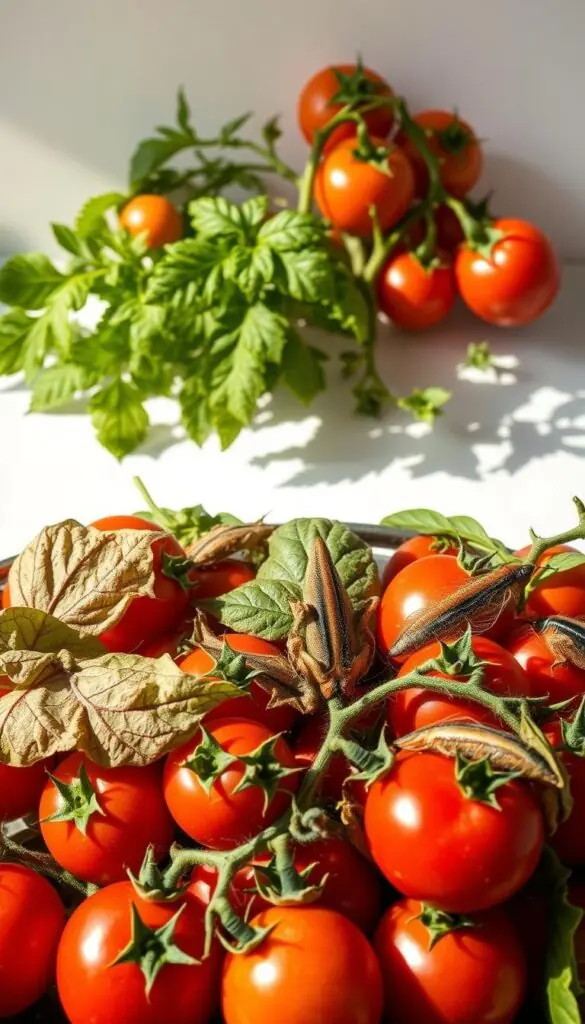
Hornworms are large but easy to handpick; a nighttime pass with a blacklight makes them glow for fast removal. In extreme heat, give afternoon shade and keep moisture steady to stop flower drop.
Rotate and rest beds each season
Rotate your crop each year away from related plants. Nematodes show as knobby roots and stunted growth; resting the soil or planting non-hosts helps.
Calm, clean habits and steady care keep most diseases minor and your harvest on track.
Tomato Growing Tips for Stubborn Green Fruit
When clusters stubbornly stay green, small, steady moves often coax color without stress. You can nudge late-season clusters toward ripeness with a few calm, precise actions. These steps protect flavor and reduce loss.
Sun, warmth, and patience: thinning leaves vs. sunscald risks
Thin a few leaves that block sun from shaded clusters so dappled light reaches the fruit. Do this sparingly.
Leave enough foliage to shield fruit from hot afternoon rays. Too much removal invites sunscald on warm summer afternoons.
Turn clusters gently during mild morning light so shaded sides see sun without direct heat stress.
Reduce new growth late season; harvest at breaker stage if needed
About 4–6 weeks before your expected frost, top the vines to slow new growth and redirect energy into fruit. This helps color deepen in the final days of the season.
If cool nights arrive or a heat wave risks cracking, pick at the breaker stage—when the first blush appears—and finish ripening indoors at room temperature. Do not refrigerate; room ripening keeps flavors rounded.
- Keep watering steady — uneven moisture slows ripening and stresses vines.
- Use shade cloth in persistent heat to avoid scald while color sets.
- Be patient: some varieties need extra days to develop full flavor.
Little canopy tidying, steady water, and a bit of time often turn green shoulders into glowing, ripe fruit.
Harvest Like a Pro: Peak Flavor, Easy Kitchen Wins
There’s a small ceremony to picking ripe fruit: feel the warmth, smell the stem, and press gently. In the late afternoon the sun has warmed the clusters and aromas are richest. That warmth, after a morning watering, concentrates sugars so slices taste sweeter.
Feel and color cues matter. Look for full color and a slight give when you press with your thumb. For cherry varieties, a quick twist often releases the fruit. For larger beefsteaks, use snips so stems stay intact and the plant avoids tears.
- Check clusters in the afternoon; a gentle squeeze tells you the right time.
- If storms or heat threaten cracking, pick at the breaker stage and finish on your counter out of direct sun.
- Use a shallow harvest bowl so tomatoes don’t bruise on the walk back through the garden.
- Harvest with snips on heavily loaded tomato plants to protect stems and future fruit set.
Do not refrigerate ripe fruit. Keep them at room temperature and eat within 4–7 days for best flavor. Sort on the counter: eat the softest first, cook the next batch into sauce, and save the firmest for sandwiches. A steady picking rhythm keeps your vines productive and your kitchen full of summer color.
Conclusion
The clearest path to a full harvest is simple: set plants up well, then keep care calm and steady. Start with warm soil at planting time, deep roots, and sturdy cages so stems can reach light without strain.
Keep a soft layer of mulch, steady watering, and a light feed. Tuck crushed eggshells into the hole for slow calcium and watch for blossom end rot by keeping moisture even.
Rotate beds, clean tools, prune for airflow, and top vines 4–6 weeks before the first frost. Harvest at the breaker stage or in the afternoon for the best aroma, and enjoy the small daily habits that add up to a lot of seasonal flavor.
FAQ
When is the best time to plant so fruit actually ripens?
Aim to set plants out after your last frost and once soil temps reach about 60–65°F. Count the variety’s days to maturity against your local frost-free season so the plants have enough warm weeks to flower, set fruit, and finish ripening.
How do I pick a variety that will ripen where I live?
Choose early or heat-tolerant varieties for short or hot seasons and look for disease-resistance letters (like V, F, N) to avoid common problems. Determinate types give a big harvest for canning; indeterminate types keep producing through summer for steady salads.
Should I start from seed or buy transplants?
Start seeds indoors about 6–8 weeks before your transplant date if you want specific varieties. Buy healthy transplants if you need a quicker, more reliable start. Either way, harden them off over a gentle two-week period before planting out.
How much sun and what soil do they need to ripen well?
Plant in full sun — at least 6 hours, ideally more. Use rich, well-drained soil amended with compost or aged manure so roots get nutrients and moisture retention without waterlogging.
How deep should I plant for stronger roots?
Plant deeply or trench plant so stems buried down to the lowest leaves will sprout extra roots. This builds a bigger root system that supports fruit development and helps plants ripen more evenly.
How far apart should plants be spaced?
Give plants room to breathe: generally 18–36 inches between plants depending on variety and support method. Good spacing improves airflow, reduces disease risk, and helps fruit ripen by exposing leaves to more sun.
What support should I use from day one?
Use sturdy stakes, cages, or simple trellises early so vines climb cleanly. Supporting plants keeps fruit off the ground, improves airflow, and directs energy into fruit ripening rather than tangled growth.
How often should I water to prevent blossom end rot and stress?
Water evenly and deeply with soaker hoses or drip lines. Aim for about 1–2 inches per week, more in peak heat. Consistent moisture prevents blossom end rot and reduces cracking while encouraging steady ripening.
Is mulch worth it and what kind should I use?
Yes. Mulch reduces soil splash, locks in moisture, stabilizes temperature, and keeps roots cool. Use straw, shredded leaves, or bark and keep mulch a few inches from stems to avoid rot.
How do I feed plants without overdoing it?
Apply a slow-release balanced fertilizer at planting. Follow with light, regular feeds focused on phosphorus and potassium as fruit sets. Avoid high-nitrogen feeds late in the season that spur foliage over fruit.
Should I prune my plants to improve ripening?
Prune indeterminate varieties by removing suckers and clearing lower leaves for airflow; don’t prune determinates heavily or you’ll reduce yields. Stop major pruning 4–6 weeks before expected frost to let remaining fruit finish ripening.
What common pests and diseases slow ripening, and how do I handle them?
Watch for blight, hornworms, and heat stress. Keep garden hygiene—remove diseased leaves, clean pruners, and rotate crops yearly—to reduce problems. Handpick large caterpillars and treat early blight with resistant varieties or approved fungicides if needed.
What do I do with stubborn green fruit late in the season?
Increase warmth and light by thinning excess leaves carefully to avoid sunscald. Reduce new vegetative growth late season; if frost looms, pick green fruit at the breaker stage and ripen indoors on a sunny windowsill or in a paper bag with an apple.
When and how should I harvest for best flavor?
Harvest when fruit shows full color and gives slightly to the touch; afternoon picks often smell and taste best. For long transport or last-season salvage, pick at the breaker stage and allow fruit to finish ripening indoors.