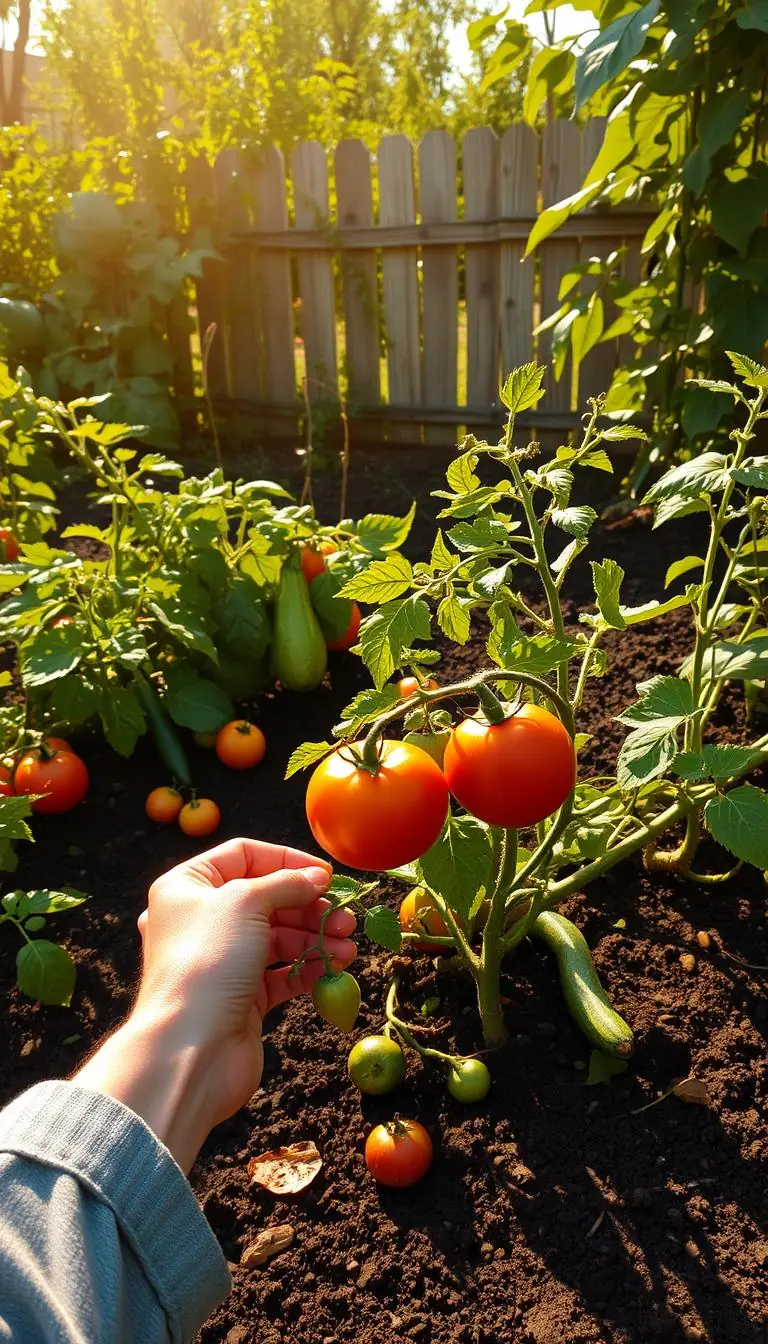
Imagine a cool morning, sun on young leaves, and the scent of tomatoes warming on the vine. You can grow real food this year with small, steady steps.
We promise a calm, simple way to begin. Pick a sunlit location that gets 6 to 8 hours daily and stays sheltered from strong wind. Choose a modest space — a 10x10 in-ground plot or a 4x4 raised bed fits most yards and patios.
Start small. Use a hand trowel, gloves, pruners, and a hose with a spray nozzle. Mix organic matter into thin soil and leave paths every ~4 feet so you never step on the beds.
Plant forgiving crops like lettuce, beans, radishes, tomatoes (transplants), zucchini, peppers, beets, and peas. Visit briefly and often — short, regular time in the yard beats long, exhausting sessions.
We’ll keep tasks tiny, help you avoid common mistakes, and focus on the essentials: the right location, healthy soil, steady water, and simple spacing so your plants thrive this season.
Key Takeaways
- Choose a sunny, well-drained location with 6–8 hours of sun.
- Start with a small space (10x10 or 4x4/4x8 beds) and clear paths.
- Gather a few tools: hand trowel, gloves, pruners, hose with spray nozzle.
- Amend thin soil with organic matter and space plants properly.
- Pick easy crops and spend short, regular time caring for them.
- Keep beauty in mind—mix herbs or flowers at the edges for a lovely, useful plot.
Start Here: A simple path to your first beginner vegetable garden
Start with a tiny plan and watch a sunny corner turn into something fruitful.
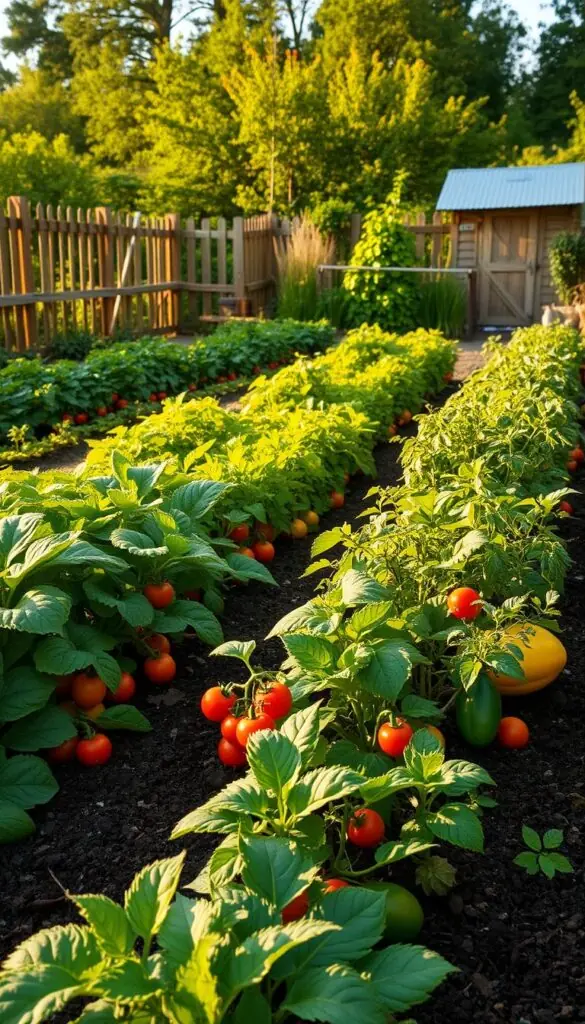
What you truly need this season: sun, soil, water, and a small plan
Pick a location that gets 6–8 hours of direct sun. Mark the spot for a 4x8 bed or two large containers.
Improve soil by mixing in a couple of bags of finished compost. It smells earthy and feels springy in your hand.
Watering works best as a slow soak at the base twice or three times a week. A simple hose timer helps when you have little time.
Common first-timer worries—and the friendly fixes that work
Worried you’ll kill plants? Start with a mix of seeds and a few sturdy transplants for quick wins.
Bad drainage? Use a raised bed or large containers this spring and build better soil over time.
Short on time? Ten minutes after dinner is enough to pull a few weeds, check moisture, and enjoy the warm sun on damp soil.
- Quick checklist: sunny location, compost, hose timer, mulch, seeds + transplants.
- Stagger plantings every week for steady harvests and less overwhelm.
| Need | Simple fix | Why it helps |
|---|---|---|
| Poor soil | Add finished compost | Improves texture and root growth |
| Little time | Hose timer, 10-min checks | Keeps plants healthy with minimal effort |
| Too wet | Raised bed or containers | Provides better drainage and warmer soil |
Pick the right spot and size for beauty and success
Start by watching sunlight move across your yard for one clear day. Note where morning light pours in and where afternoon shade creeps. Pick the brightest location that still feels sheltered from strong wind.
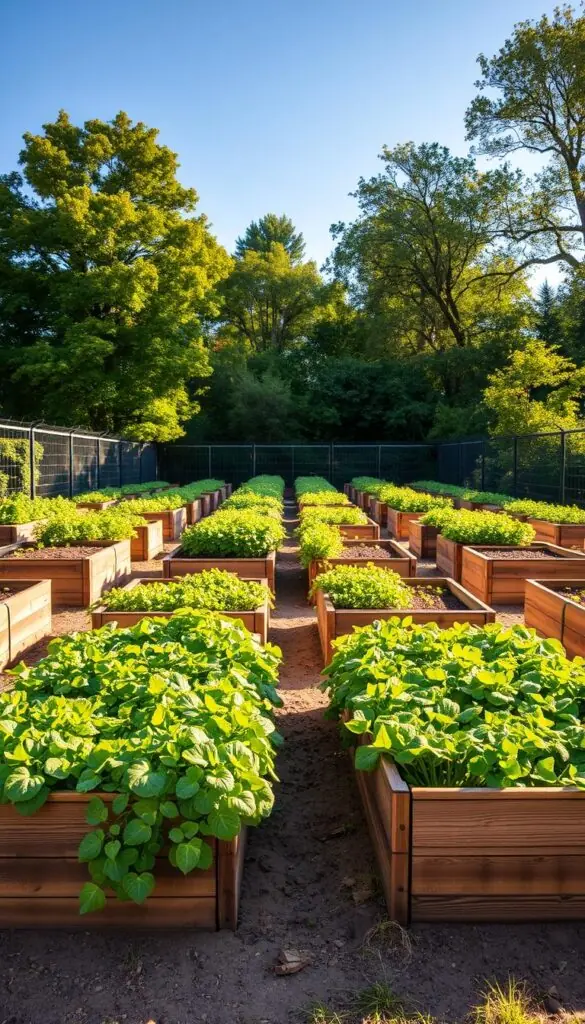
Sunlight sweet spot: 6–8 hours and where to place taller plants
Choose a place that gets 6–8 hours of direct sun. Place tall crops like trellised beans and tomatoes on the north edge so they don't cast shade on shorter plants.
Ground vs. raised beds vs. containers: choosing what suits your space
If your ground puddles or compacts, favor raised beds or large containers for better drainage. A 10x10 in-ground plot or a 4x8 raised bed is a friendly starter size.
Containers work well on patios and narrow areas. Raised beds warm faster, reduce compaction, and save you bending time.
Paths, access, and comfort: keeping feet off soil and hands on harvest
Lay out stakes and twine to sketch beds and paths before you dig. Leave paths every ~4 feet and make them 18–24 inches wide for easy reach.
- Mulch paths to keep mud off shoes.
- Use stakes, twine, and a tape measure to avoid crowding.
- Choose a spot with a fence or hedge if your areas are breezy.
Build living soil: compost, texture, and gentle amendments
Start by listening to the soil — it will tell you how to feed it. Good soil is dark, springy, and faintly sweet. It should hold moisture like a sponge but crumble when you poke it.
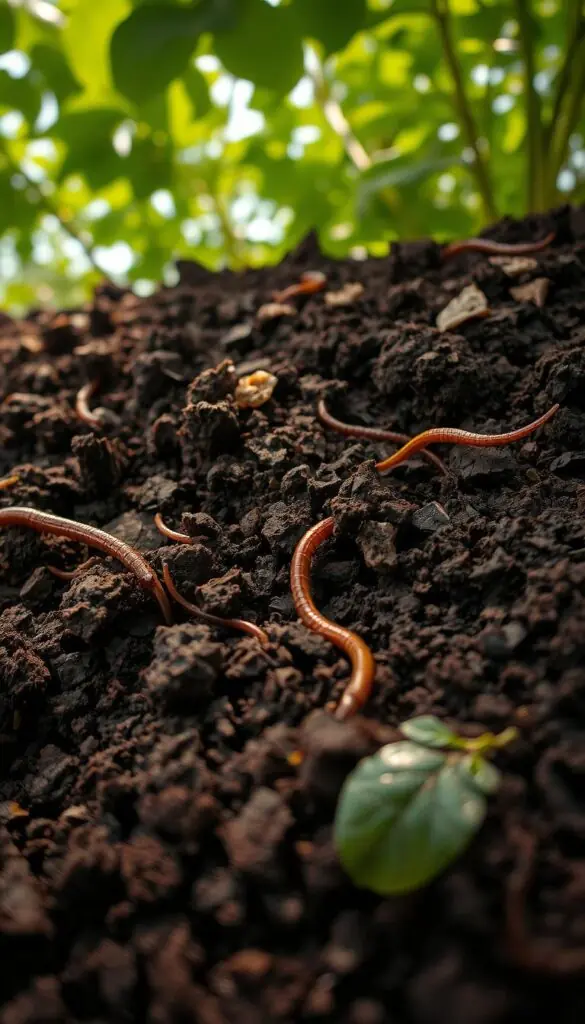
Feed the soil, not just the plants
Organic matter — compost, shredded leaves, and aged manure — feeds microbes that make nutrients available to your plants. Spread 2–3 inches of compost over beds and lightly fork it in each season.
Quick checks: drainage, clumps, and feel
Do the squeeze test: a moist handful should form a soft clump that breaks apart easily. If it smears or turns to dust, add more matter.
If the ground stays wet or compacts, choose raised beds and fill them with a quality mix. That simple change gives roots air, warmth, and better drainage.
Starter materials and basic tools
- Compost, shredded leaves, aged manure, or cover crop residue.
- Tools: garden fork, rake, wheelbarrow to blend without overworking the soil.
- Mulch after planting in cool or dry climates to protect life in the soil.
| Problem | Amendment | Why it helps |
|---|---|---|
| Poor structure | 2–3" compost, fork in gently | Improves tilth and root access |
| Compacted ground | Raised beds with quality mix | Better drainage and warmer soil |
| Quick nutrient loss | Aged manure or cover crops | Steady release; avoids burning roots |
Quick tip: Avoid heavy doses of synthetic fertilizer. Steady, organic matter keeps vegetables and plants healthy and helps ward off pests over time. Save notes on what you add and when — it will guide next season's work.
Plan your layout: simple beds, smart spacing, and vertical supports
Map your plot so it feels roomy, tidy, and easy to reach. Start with wide beds and clear paths so you never step on the soil.
Raised bed basics: width, depth, and spacing that prevent crowding
Keep raised beds 3–4 feet wide so you can reach the middle from either side without stepping in. Aim for 12–18 inches between beds as a walking path.
Use a tape measure and string line to mark rows. That simple step helps you avoid crowding and keeps air moving through leaves.
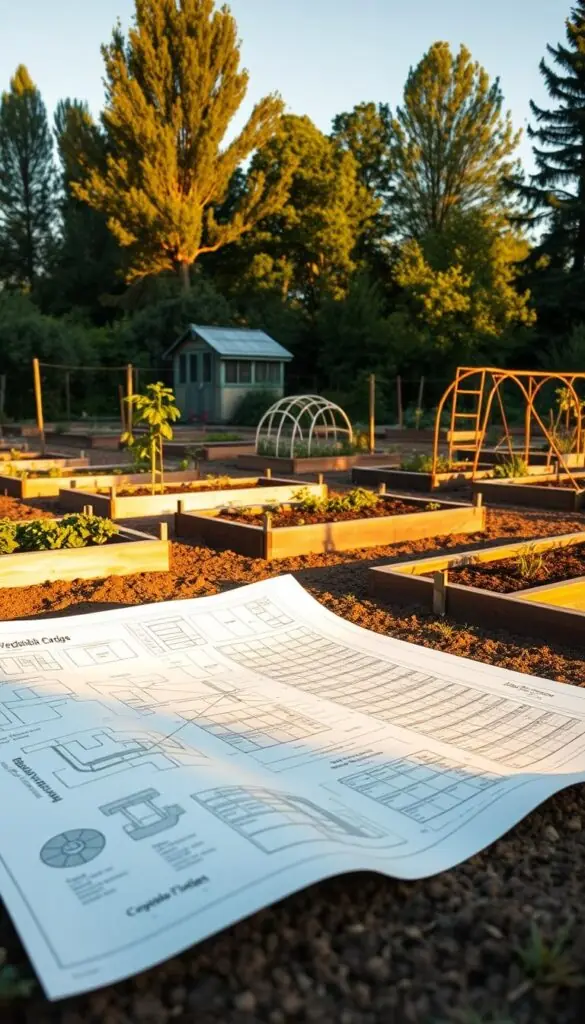
Grow up, not out: trellises for beans, cucumbers, and tomatoes
Install a sturdy trellis or cattle panel before planting. Set posts firmly and secure netting so green vines climb without collapsing.
Place tomato cages or string supports at planting time. Training vines upward frees space for other vegetables and makes harvest quick.
Companion touches: marigolds, herbs, and pollinator-friendly edges
Tuck bright marigolds and basil along edges to invite pollinators and help distract some pests. Group tall trellised crops at the back, peppers and chard in the middle, and low greens and radishes up front.
- Practice close, but not crowded, planting so the canopy shades soil and cuts weeds.
- Keep a simple planting sketch in your notebook for next year.
What to plant first: easy, tasty vegetables for beginners
Start with a few reliable plants that reward quick care and small effort. These crops deliver flavor fast and teach the rhythms of the garden without drama.
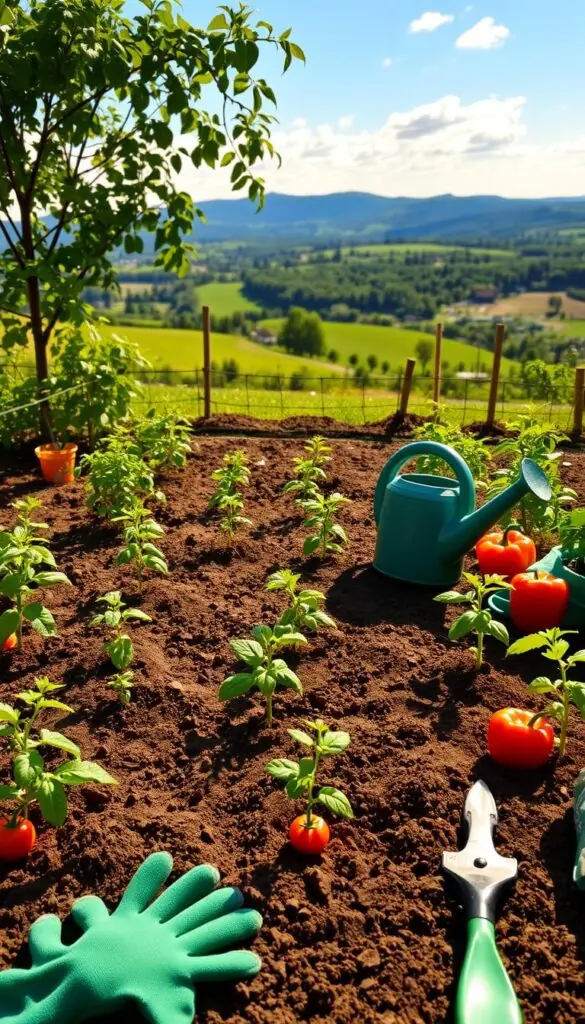
Reliable winners you can sow or set out
Lettuce, bush beans, carrots, Swiss chard, peas, and zucchini are forgiving and tasty. Lettuce feels buttery; beans give a fresh snap.
- Sow lettuce, bush beans, and carrots from seeds for steady returns.
- Plant chard for continual greens that look great in the bed.
- Sow a few zucchini seeds once soil is warm — summer will reward you.
- Sow radishes early and sparingly; they dislike strong heat.
Transplants that make life easier
Choose a cherry tomato transplant and place it in a sunny, warm corner. Support it with a cage or string.
Add one pepper transplant in your hottest microclimate — a sunny wall or stone patio helps ripen fruit.
What to wait on or rethink this first year
"Spinach bolts in strong heat and broccoli can demand netting and close attention to pests."
In cool climates, peppers may stay small. If your season is short, save complex crops for later years and focus on quick wins.
| Crop | Sow or transplant | Sun & spacing | Quick note |
|---|---|---|---|
| Lettuce | Sow seeds | Part sun, 8–12" apart | Fast baby greens; keep soil cool |
| Tomatoes | Transplant | Full sun, 24–36" apart | Cherry types are forgiving; use cages |
| Carrots | Sow seeds | Full sun, 2–3" thin | Loose soil helps straight roots |
| Peppers | Transplant | Full sun, 18–24" apart | Needs warm microclimate to ripen |
Shop local nurseries for acclimated transplants and compare the taste to what you buy at the grocery. Small, steady success now builds a thriving plot in later years.
When to plant: cool-season vs. warm-season timing and succession
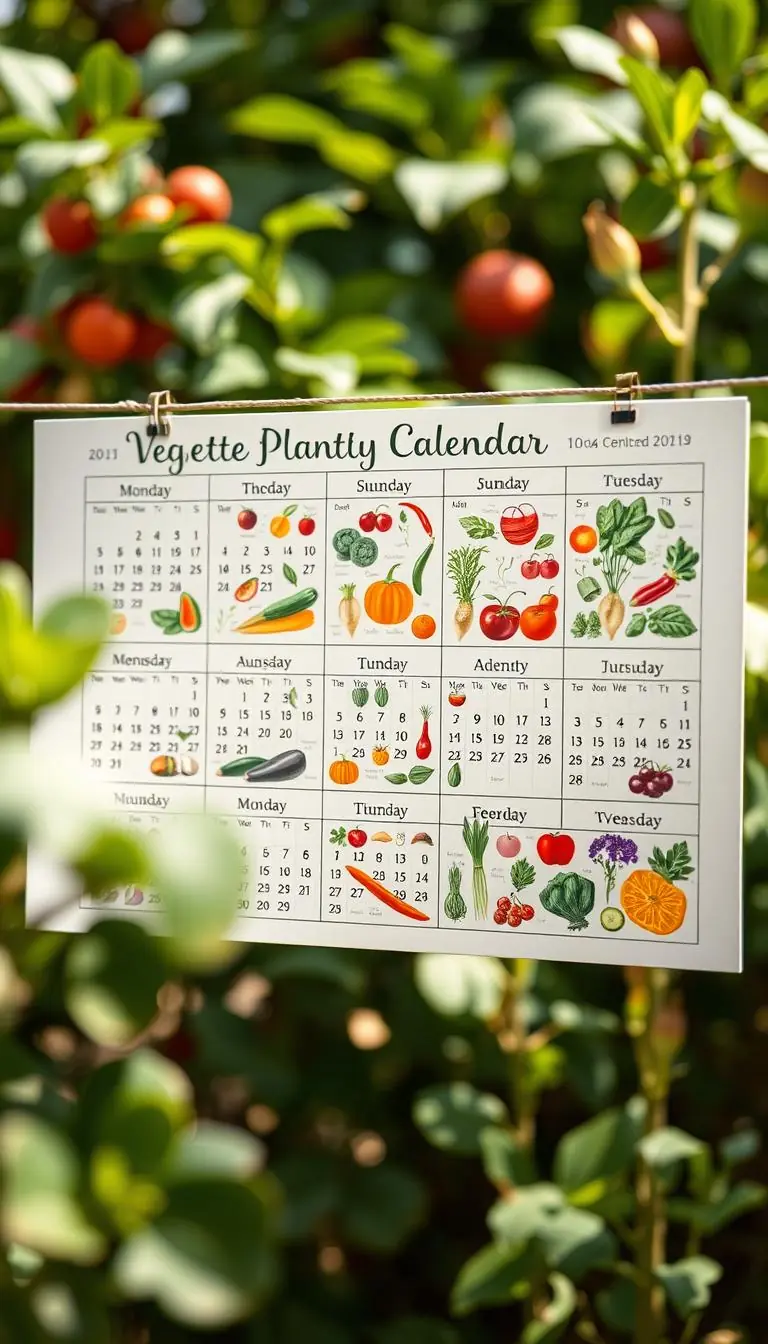
A simple calendar and a frost date are your best friends for planting right. Note your last spring frost and first fall frost. These dates guide when cool crops and heat lovers go in the soil.
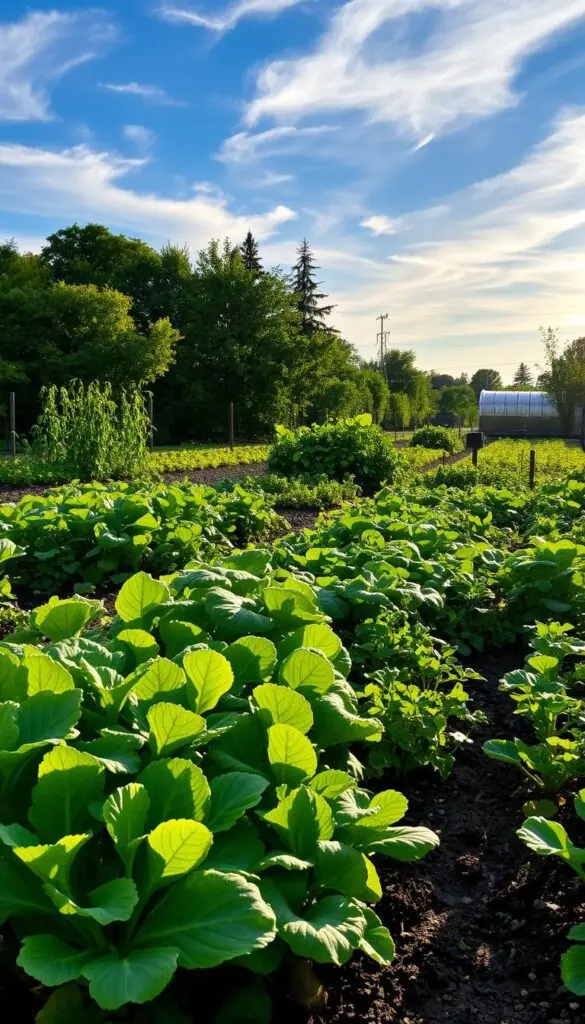
Cool spring and fall friends
Plant peas, lettuce, kale, carrots, and radishes as soon as the soil is workable in early spring. These crops also do well again in late summer for a fall harvest when nights start to cool.
Warm summer stars
Wait to set out tomatoes, cucumbers, peppers, beans, and zucchini until nights stay mild and the soil feels warm. Read seed packets for days to maturity so you don’t plant slow crops too late in the growing season.
Succession planting
Succession planting spreads harvesting and keeps beds productive. Sow a small row of lettuce or radishes every week. A simple weekly cadence gives steady meals without a one-time glut.
Crop rotation made simple
Move families each year on a three-year cycle: tomato/pepper, bean/pea, squash/cucumber, then roots. Rotation helps limit pests and balances soil nutrients.
- Place tall trellised crops on the north side so shorter rows get full sun during long summer hours.
- Use row cover on chilly nights and mulch in high heat to bridge climate swings.
- Leave space for second rounds; harvested rows are great spots for late greens.
Watering, weeding, and watching: easy weekly rhythms
Set a gentle weekly rhythm so care feels like a short, nourishing habit rather than a chore. Spend 30–45 minutes once a week and two quick 10–15 minute check-ins. Little, regular time keeps beds tidy and plants thriving.
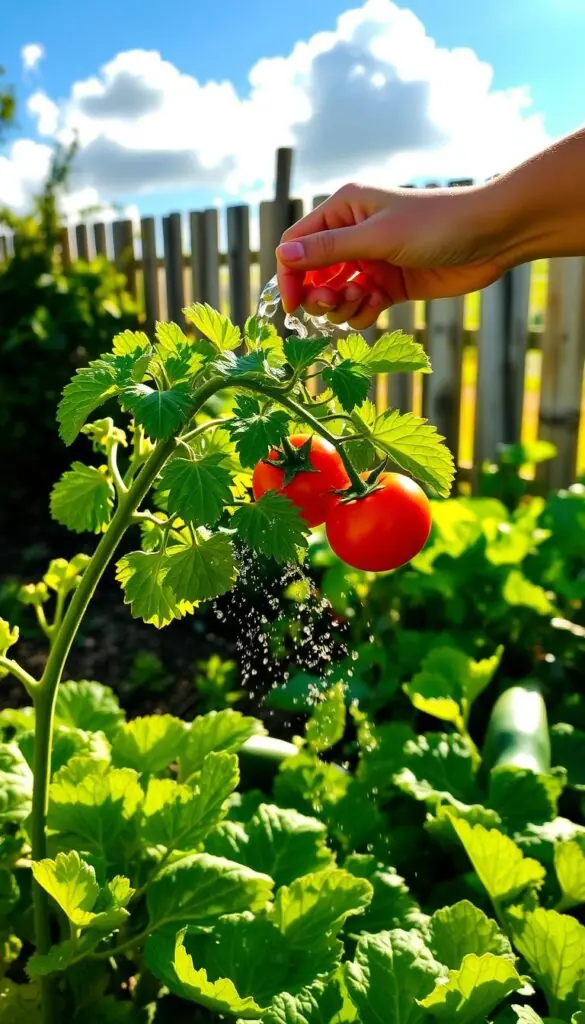
Mulch and moisture: keeping roots happy and weeds minimal
Water deeply at the base 2–3 times a week. Push your finger an inch into the soil; it should feel cool and moist. If it’s dry, add a longer soak.
Lay 2–3 inches of mulch—straw, shredded leaves, or bark—so soil stays dark and damp and weeds struggle to sprout. Mulch color and smell tell you when it’s working.
- In raised beds, install a drip line with a timer for hands-off watering and drier leaves to cut disease.
- Weed once a week with a stirrup hoe or hand weeder; short, frequent passes save time.
- Scout for pests while you water: flip a leaf, peek stems, and remove early invaders.
- Tie tomatoes and cucumbers to a trellis to keep fruit clean and free up space.
- Thin carrots when tops are pencil-thick; the released earth smells sweet and roots grow better.
Keep a small tote with pruners and twine by the door. Note what you do in a simple notebook—over years those notes make you a wiser gardener.
Conclusion
Small, steady choices—sun, soil, and simple paths—turn a patch of yard into a place you return to gladly.
You now have a clear path to a thriving vegetable garden: pick good light, build living soil with compost, and lay out beds and paths so tending and harvesting feel easy.
Keep the space small and steady. Give seeds and transplants a kind start and they will repay you with crisp lettuce, sun-warmed tomatoes, and herbs that scent the air.
Protect soil with mulch and raised beds; rotate and succession-plant to stretch the growing season into real meals across the year. Take photos, jot notes, and adjust your location and spacing as you learn.
Trust your senses—soil that feels right and plants that look perky mean you’re on track. Enjoy the quiet work and the generous harvesting to come; your gardens will grow kinder with each season.
FAQ
How do I start a vegetable garden with no experience?
Begin small and focus on the essentials: a sunny spot that gets about 6–8 hours of light, well-draining soil enriched with compost, consistent water, and a simple plan of what to grow. Choose a few easy crops like lettuce, radishes, and green beans, use raised beds or containers if space or soil quality is limited, and plant at the right season for your climate. Keep tasks weekly—water, weed, and check plants—and learn as you go.
How much sun do most edible plants need and where should taller plants go?
Most sun-loving crops need 6–8 hours of direct light. Place taller plants (tomatoes, corn, beans on trellis) on the north or west side of beds so they won’t shade shorter crops. Observe your yard for sun patterns a full day before deciding bed placement.
Should I use ground soil, raised beds, or containers?
Choose by your space and goals. Native soil can work if you improve it with compost and fix drainage. Raised beds offer better control over soil quality, warmth, and access. Containers are ideal for patios, balconies, or renters and help prevent soil compaction and some pests.
How do I improve poor soil quickly?
Add generous amounts of organic matter—finished compost, leaf mold, or aged manure—to build texture and fertility. Mix it into the top 6–12 inches, check drainage, and avoid compacting. Over time, top-dress with compost each season to keep soil living and crumbly.
What tools and starter materials do I need?
Basic tools: a trowel, hand fork, watering can or hose with a gentle nozzle, gloves, and a simple rake. Starter materials: compost, mulch (straw or shredded bark), good-quality potting mix for containers, and a small trellis or stakes for climbing crops.
How should I plan bed layout and spacing?
Plan simple rectangular beds about 3–4 feet wide so you can reach the center. Allow proper spacing per seed packet—crowded plants reduce yield and invite disease. Use rows, blocks, or square-foot gardening to keep things tidy. Reserve paths so you don’t compact beds while harvesting.
Which crops are best to plant first for a steady harvest?
Start with quick, forgiving crops: lettuce, radishes, carrots, chard, peas, and green beans. Add tomatoes and peppers as transplants once night temperatures stay warm. Succession plant every few weeks to stretch harvests instead of picking everything at once.
When should I plant cool-season vs. warm-season crops?
Cool-season crops like peas, kale, lettuce, and root vegetables go in early spring and fall when nights are still cool. Warm-season crops—tomatoes, peppers, cucumbers, squash—need consistently warm soil and night temps; plant those after the last frost date for your area.
What is a simple way to rotate crops and why does it matter?
Move plant families around beds each year (e.g., solanaceae like tomatoes move to a different spot than the previous year). Rotation reduces pest and disease buildup and helps balance nutrient use. If space is tight, rotate at least between heavy-feeding and light-feeding crops.
How often and how much should I water?
Water deeply and less often to encourage strong roots—about 1–1.5 inches weekly is typical, more in hot, dry weather. Early morning is best. Mulch helps retain moisture and reduces the need for frequent watering.
How do I use trellises and vertical supports effectively?
Build or buy sturdy trellises for vining crops like beans, cucumbers, and indeterminate tomatoes. Train plants early, tie if needed, and place supports on the north side of beds to avoid shading shorter crops. Vertical growing saves space and improves air circulation.
What are easy companion plants to add for pest control and pollinators?
Marigolds, nasturtiums, dill, basil, and borage are low-maintenance edges that attract beneficial insects and deter some pests. Herbs and flowers planted along bed edges add color, scent, and wildlife habitat without crowding your main crops.
Which plants should I avoid or delay in year one?
Skip or rethink large, slow starters like broccoli and some heat-sensitive greens in a hot summer, and be cautious with peppers if your season is short. Focus on quick wins your space and climate support, then add more challenging crops in year two.
How do I handle common pests without harsh chemicals?
Start with cultural controls: rotate crops, remove diseased plants, handpick larger pests, use row covers, and encourage predators like ladybugs. Soap sprays, neem oil, and diatomaceous earth can help when needed. Healthy soil and plant diversity reduce pest pressure.
What simple weekly routine keeps a small plot thriving?
Spend 20–30 minutes a few times a week: check moisture, water deeply when needed, pinch or thin crowded seedlings, harvest ripe produce, and remove obvious weeds. Monthly add a light top-dressing of compost and refresh mulch as necessary.