Imagine the warm touch of sunlit boards and the scent of dark loam after a spring rain. Do you want an easy, lovely place to grow food without bending too far? This guide meets you there.
You’ll learn a simple process that helps soil warm earlier, improves drainage, and cuts compaction. We explain how to place beds near water and match light to crops — six to eight hours for tomatoes and peppers, part shade for lettuce and scallions.
Practical steps show you size, height, and materials so you bend less and water smart. We cover a good mix—roughly half topsoil with plant-based compost—and why straight potting soil is not the way.
Key Takeaways
- Plan layout for sun and easy reach.
- Choose size and wood that reduce strain.
- Use loam plus compost; skip potting soil.
- Rotate crops every few years and test soil periodically.
- Water evenly with simple tools or drip systems.
Why a raised bed garden works so well
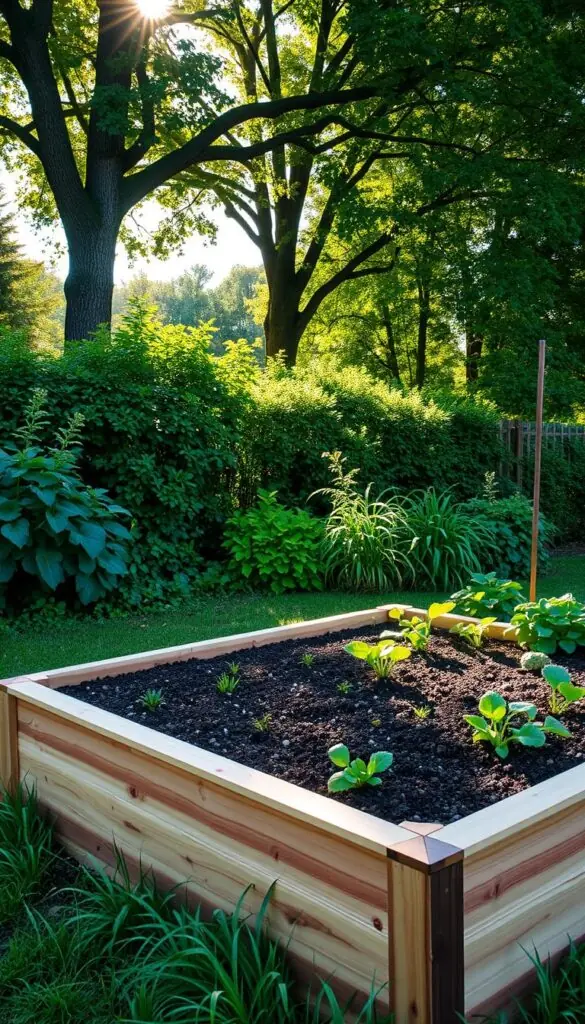
Spring arrives sooner in a framed plot, letting peas and spinach go in while the rest of the lawn stays cool and soggy. The soil in a contained box warms faster, so seedlings get an early, gentle start.
Better drainage and less compaction mean roots find air and water, not puddles. Because you don’t step into the bed, soil stays loose and crumbly. That helps roots grow strong and reduces disease.
Frames give tidy edges that lift a landscape and make weeding quick. You can place a frame on compacted ground, a patio, or a small side area as long as light and water are nearby.
- Smaller plots make crop rotation simple and cut overwintering pests.
- Height saves your back and keeps plants safe from feet and pets.
- Better drainage lets you plant sooner after rain, so you get more growing days each year.
Choose the right spot: sun, water, and wind
Pick a sunny, handy spot so your crops get the light they need and you enjoy tending them.
Full sun goals: aim for six to eight hours of direct light for fruiting crops like tomatoes, peppers, and eggplant. South-facing exposure works best in the northern U.S. and helps the soil warm earlier in spring.
Full-sun checklist
- Watch the yard for a few days to find the sunniest area.
- Orient longer edges north–south to limit shading from tall plants.
- Keep the spot within a few feet of a hose or spigot for quick watering.
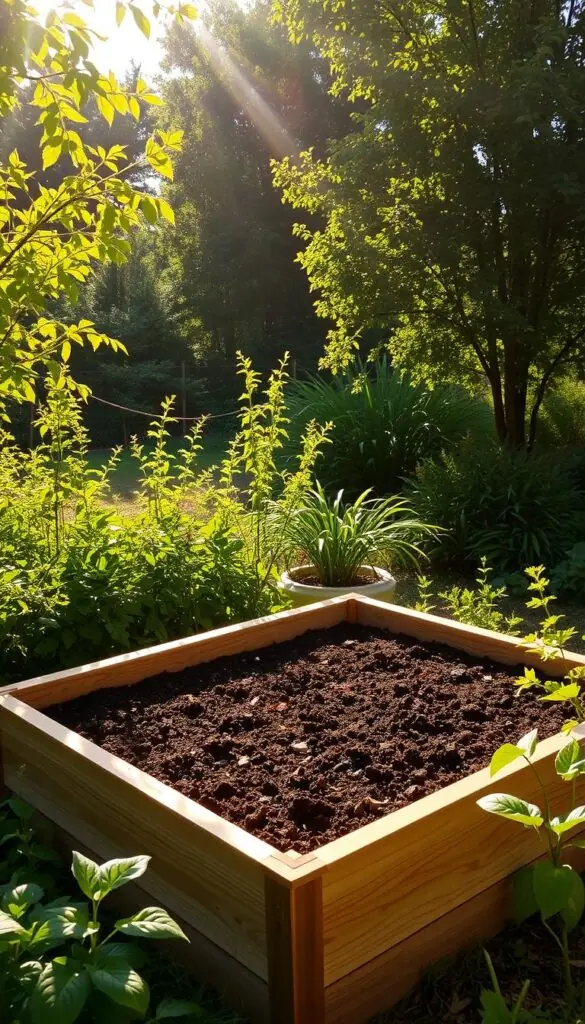
Part-shade options
If a site only gets part sun, choose leafy crops. Lettuce, baby kale, scallions, radishes, and beet greens do well in cooler, dappled light.
"Place beds where you can see them easily — the ones you pass by get the most attention."
| Condition | Best crops | Quick tip |
|---|---|---|
| 6–8 hours sun | Tomatoes, peppers, eggplant | South-facing, near water |
| Part shade | Lettuce, radishes, scallions | Cooler light, mulch to retain moisture |
| Windy spot | Hardy herbs, low greens | Shelter with a fence or hedge without blocking sun |
Practical checks: leave a few feet of clear space around the frame so you can walk and work. On patios, confirm the surface can bear the weight and that water will drain away. If unsure, map light with an app or stakes for a week to test the footprint.
Plan size and layout for comfort and yield
A few simple rules on size and layout make your work easier and increase harvests.
Keep widths reachable. Choose a width you can reach without stepping in the soil. If you access both sides, stay under 4 feet. If a frame sits against a wall, aim for 2.5 to 3 feet.
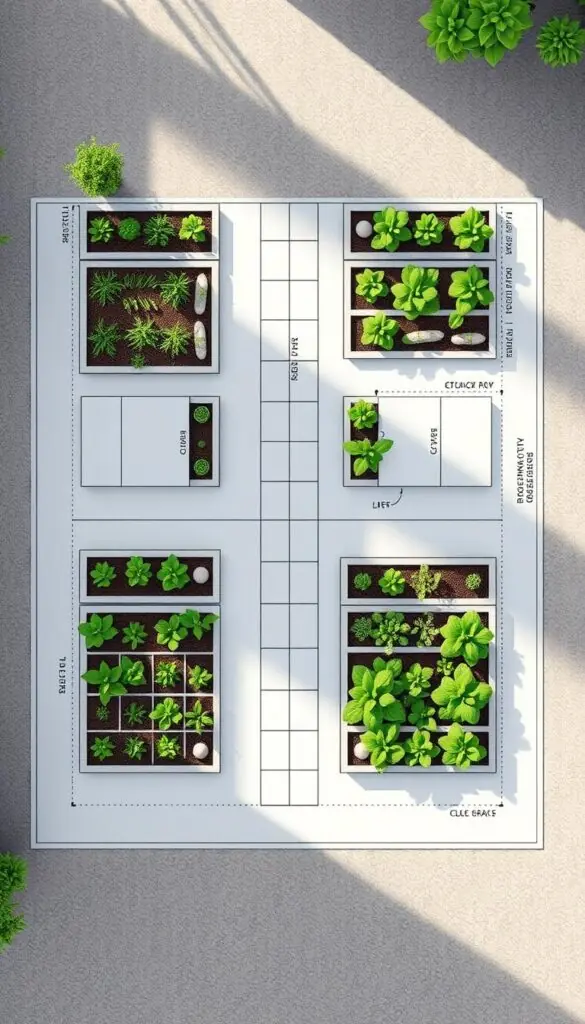
Width you can reach, length that won’t bow
Make lengths practical. Anything over 6–8 feet may need a mid-span brace to stop bowing over the years.
Comfortable aisles: 28 to 48 inches and level paths
Leave 28–48 inches between beds so a wheelbarrow or cart fits and you can kneel comfortably.
Keep paths level so water doesn’t run from one side to the other.
Orientation and spacing to avoid self-shading
Line beds north–south so tall plants cast narrow shadows and neighbors get full sun.
Test layouts with string or scrap boards to feel how you walk and turn. Use several small frames instead of one long run for easier rotation and access.
| Measure | Rule of thumb | Quick reason |
|---|---|---|
| Width | Up to 4 feet (both sides); 2.5–3 feet (one side) | Reach plants without stepping in soil |
| Length | 6–8 feet before bracing | Shorter boards resist warping |
| Aisles | 28–48 inches | Room for carts, tools, and easy movement |
- Leave a few inches between a frame and a wall for airflow.
- Place trellises on the north edge so vines won't shade low crops.
- Think about the tools you carry—leave comfortable space to move.
Pick your materials: wood, metal, brick, or fabric
Start by matching material traits—durability, cost, and safety—to how you plan to use the bed. The right materials make planting easier and your landscape calmer to look at.
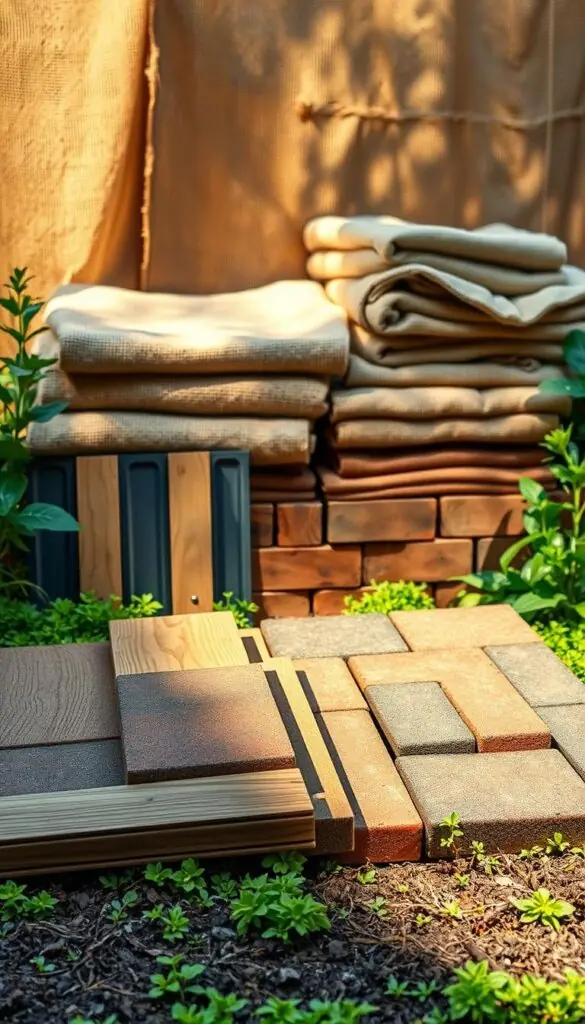
Wood choices and treated lumber notes
Rot-resistant wood like cedar, redwood, or hemlock offers a warm, natural look and can last a decade or more. Pine and fir keep initial cost low but often last 3–7 years depending on moisture.
If you choose pressure-treated lumber, pick modern, copper-based products labeled for ground contact and consider lining the inner sides. Avoid old CCA-treated boards and railroad ties; chemicals can leach into soil.
Metal, masonry, and fabric options
Galvanized steel panels are sleek and durable. They often come in 24‑inch widths and can last decades, but check for safe coatings—some prefabricated kits tested positive for lead in the past.
Brick or pavers fit formal landscape styles and hold heat, though they cost more and can raise soil pH. Fabric grow bags are inexpensive and portable but dry fast and act like containers; water them more often.
Cost, lifespan, and practical trade-offs
- Combine materials—steel sides with wood corners—for a clean look and easy assembly.
- Buy standard boards to reduce waste and lower lumber costs.
- Choose what you enjoy seeing; when you love the look, you’ll spend more happy time tending it.
Set the height: inches that match your body and climate
Pick a height that fits your body and climate so working feels easy and your plants stay healthy.
Comfort first: many people find 16–18 inches comfortable for day-to-day tasks. If you need wheelchair access, aim near 27 inches for easier reach.
Taller frames cut bending and lower creeping weeds, and they make it harder for rabbits to nibble young greens. The trade-off is more soil to buy and higher water needs, especially on windy sites.
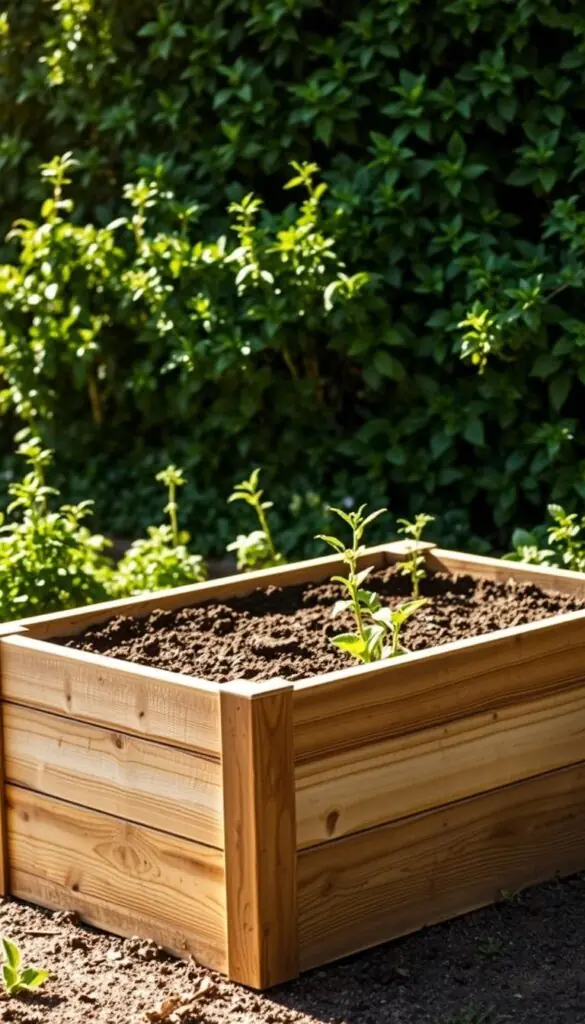
Shallow beds that sit open to native ground let deep-rooted crops tap natural nutrients and moisture.
- On hot pavement, lift plants 12–24 inches to keep roots cooler.
- Fill to the very top at installation—mixes settle several inches the first season.
- If critters bother you, add hardware cloth beneath for protection.
- Balance comfort with cost: one added course of boards can save your knees and be the easiest way to improve access.
Start simple: choose a height that feels right and add more later if you want. Expect settling and plan watering for taller beds that dry faster.
Tools and simple materials to have on hand
A few reliable tools and common materials will carry you through the whole project. Keep the list lean so you shop once and work comfortably.
Essentials
- Gather 2x6 boards for the sides and 4x4 posts for corners; buy straight lumber to avoid fit issues.
- Use 2.5–3 inch deck screws and a power drill—they hold well without lots of pilot holes.
- A miter or circular saw speeds cuts; many stores will cut boards to size if you ask to save time.
- Keep a reliable level and measuring tape so the bed sits square and drains evenly.
- Add galvanized mending braces on long runs to stop the sides from bowing over years.
- Lay hardware cloth beneath the frame to block gophers—cut it with aviation snips for clean edges.
- Only use landscape fabric under the frame on hard surfaces; over native soil, skip it so roots can go deep.
- Consider a non-toxic, food-safe sealer for the wood if you want extra lifespan without harsh chemicals.
Mark your layout with stakes and string first. Keep tools within reach and pre-sort screws. These small process tips make building calm and quick, and they help you enjoy the project.
Build raised beds step by step
Start by picturing the frame on level ground and the scent of fresh-cut boards as you work. This simple process keeps tasks small and safe. Gather your 2x6 boards, 4x4 posts, deck screws, and a level before you begin.
Cut and assemble square frames with sturdy corners
Stack three 2x6 boards for about 16.5 inches of height. Cut the short end boards 3 inches shorter to account for overlap from the long sides.
- Sketch the layout and measure twice.
- Assemble short ends first: screw the boards into 4x4 corner posts, keeping edges flush and square.
- Stand those end assemblies up and slide in the long sides. Check diagonals to be sure the frame is square.
Brace long sides to prevent bowing over the years
For runs over 6 feet, add a 12-inch galvanized mending brace across the three long side boards at mid-span. This hardware cut down on flex and keeps the sides straight as soil settles.
Set beds level on prepared ground for even water
Clear any tarps or cardboard used for solarizing before you place the frame. Rake and firm the soil so the base is flat.
- Line the bottom with hardware cloth if burrowers are a risk; secure with wide-head screws or heavy staples.
- Drive two deck screws into each board end, aiming toward the 4x4 center to prevent splitting.
- Step back and sight along the top edge; a straight, level frame is ready to fill.
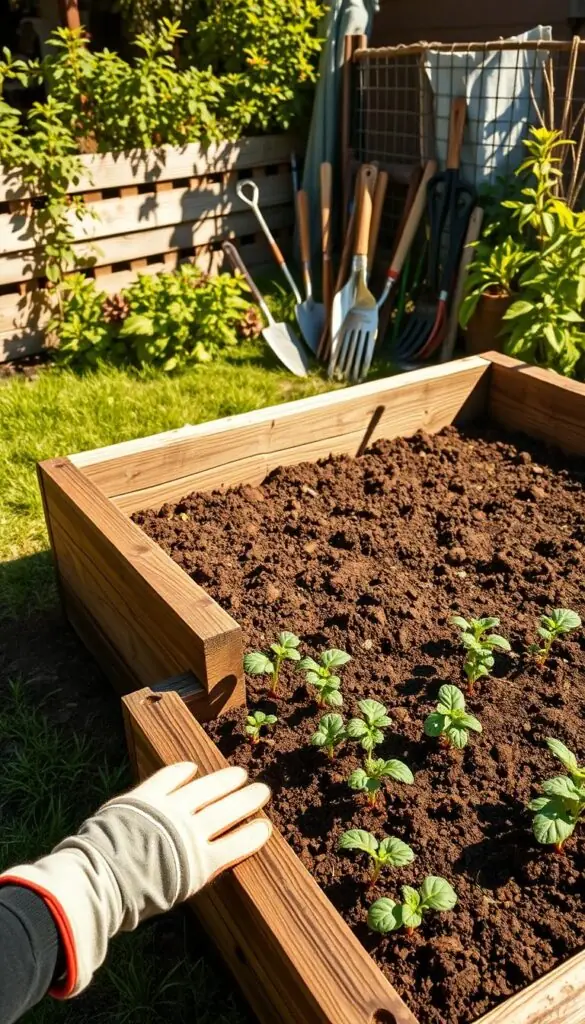
| Step | Action | Tip |
|---|---|---|
| Measure | Sketch and cut short ends 3" shorter | Measure twice, cut once |
| Assemble | Screw 2x6s to 4x4 corners; check diagonals | Use two deck screws per end |
| Brace | Add 12" mending brace for >6 feet | Galvanized hardware resists rust |
| Set | Place on level, prepared ground; line with hardware cloth if needed | Remove tarps before placement |
Filling raised beds: soil, compost, and smart layers
Think of the filling process as building a living loaf—layers that settle and feed plants over time.
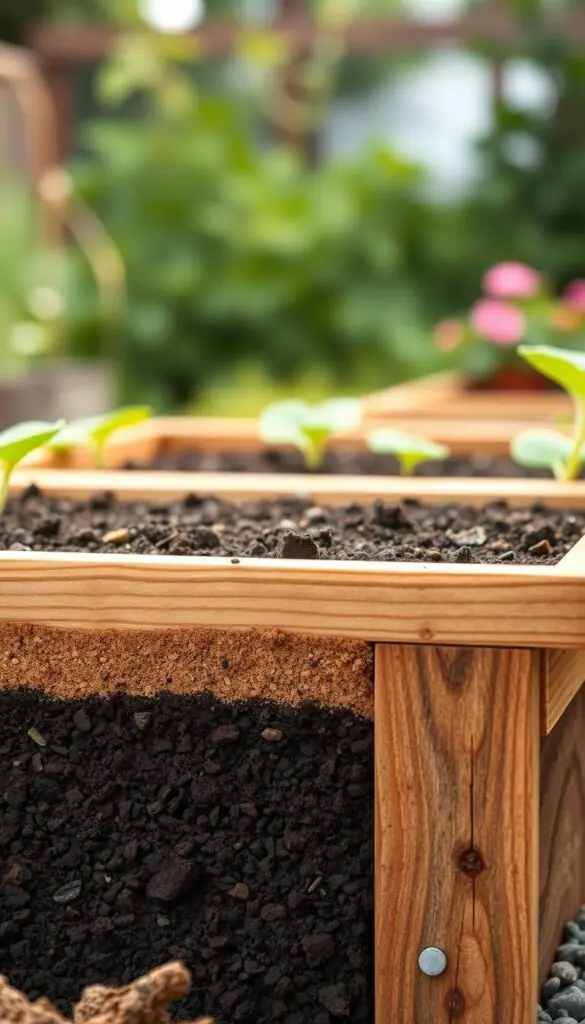
Simple, reliable mix: blend roughly 1/2 to 2/3 topsoil with 1/2 to 1/3 plant-based compost for dark, crumbly texture. This creates classic raised bed soil that holds moisture and lets roots breathe.
Avoid potting soil in large fills; it dries too fast. If your topsoil is heavy clay, add a little sand to help drainage, but do not overdo it.
Lasagna and hugelkultur options
For tall frames, start with sticks or woody material at the bottom, then leaves, compost, and your soil mix on top. Hugelkultur works similarly—bury logs to save cost and add slow-release nutrients.
Water each layer as you build to reduce air pockets. Fill to the top now; expect several inches of settling the first season and plan to top up.
- Use manure only if a soil test shows need; it can raise salts and phosphorus.
- Buy bulk loam by the cubic yard when filling many beds to save money.
- Finish with a light mulch to keep the surface cool and moist for young plants.
Bottoms, barriers, and liners: what to use and what to skip
Good drainage begins at the base; small choices there prevent big problems later.
Do: place frames directly on living ground whenever you can. Let roots find depth and natural nutrients. Kill grass, aerate, and remove any tarps or cardboard before you set the frame.
Don’t: install solid plastic liners under soil. They trap water, block air, and harm root health. A sealed barrier is rarely the best way for long-term drainage.
Where burrowers threaten, add hardware cloth under the bottom raised course. Use wide-head screws or heavy-duty staples to hold it tight. Overlap seams and tie with galvanized wire for a rodent-proof join.
On patios or decks, line the base with permeable landscape fabric. This fabric holds soil while letting excess water pass. It keeps the structure tidy and helps drainage without sealing off the living soil below.
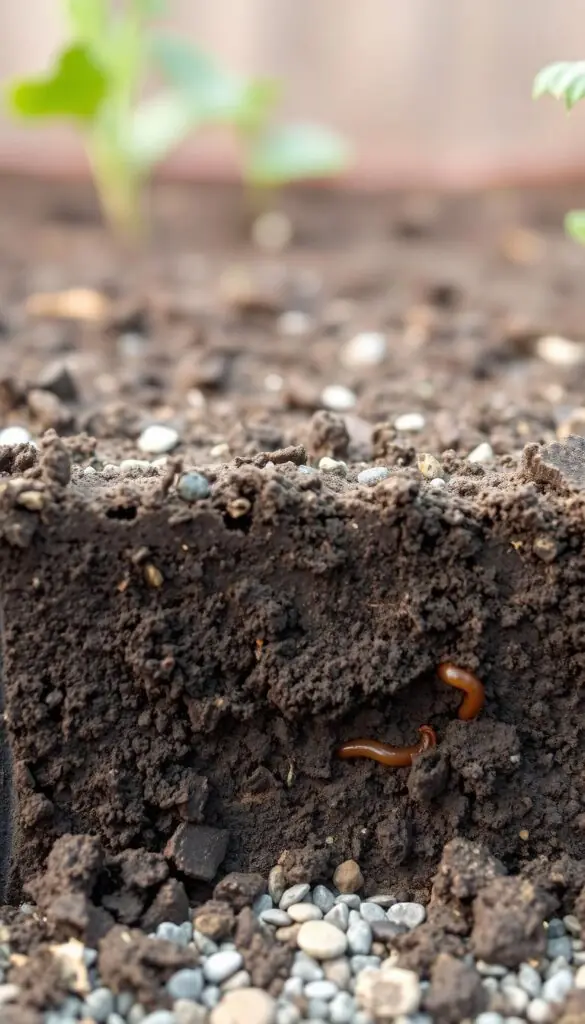
| Situation | What to use | What to avoid |
|---|---|---|
| Native ground | Open contact with soil; remove tarps/cardboard | Plastic liners, solid barriers |
| Patio or deck | Permeable landscape fabric; good drainage layer | Direct soil on deck without liner |
| Pest-prone ground | Hardware cloth under bottom raised course; overlap seams | Chicken wire only; loose fastenings |
Keep checks simple: after heavy rain, confirm water drains evenly and doesn’t pool along one side. For most beds, an open bottom to living soil is the healthiest way for strong roots and steady drainage.
Watering made easy: from cans to drip irrigation
Automating how you water helps your soil stay evenly moist while you live life. Keep the plan simple and steady so plants thrive and you spend less time fussing.

Soaker hoses and drip kits that save time and water
Soaker hoses and drip lines deliver slow moisture right at the surface. They cut waste and stop splashing on leaves, which lowers disease risk.
Install tubing before you fill the frame or plant seedlings. That makes routing easy and prevents damage to roots.
- Use risers or small connectors to run lines over low walls neatly.
- Group thirsty crops together so one line meets their needs without overwatering others.
- Check soil with your fingers; when the top inch feels dry, it’s time to run the line.
Ollas and weekend-proof moisture in hot, dry spells
Ollas are buried clay pots that slowly seep water to roots. They are perfect if you’ll be away for a few days.
Bury ollas between plants and cover them lightly. They keep soil evenly damp without constant attention.
- Water at the soil line, not the leaves, to reduce disease.
- Water deeply and less often to encourage strong roots.
- Mulch lightly to slow evaporation and keep the surface cool.
- Set a simple schedule you’ll keep; short, regular sessions beat long, rushed watering.
Quick tips: raised beds dry faster than in-ground plots, so check them more often. A few minutes on the right days saves lots of time later.
Planting your raised bed garden through the seasons
Let seasonal rhythm guide what you sow so beds stay productive and simple to manage.
In spring, tuck peas, spinach, and beets into warming soil. The damp loam smells rich and ready. These cool-season plants handle light chills and give early reward.
By early summer, set tomatoes, basil, and peppers in your sunniest garden bed. Mulch to keep soil evenly moist and cut watering chores. Use simple supports for vining crops and pick often to keep harvests steady.
Come fall, refresh the frame with lettuces, baby kale, scallions, and more roots like radishes and beets. Sow a gentle cover crop—crimson clover, for example—to feed soil life over winter.
Rotation and layout tips
Rotate plant families every 3–4 years to lower pests and disease. Keep tall plants on the north edge so shorter neighbors get sun. Space rows so leaves just touch at maturity—frames allow closer planting because you don’t walk the soil.
| Season | Best crops | Quick tip |
|---|---|---|
| Spring | Peas, spinach, beets | Plant as soil warms; enjoy early harvests |
| Summer | Tomatoes, basil, peppers | Mulch to retain moisture; stake vines |
| Fall | Lettuce, kale, radishes | Sow cover crop after harvest for winter soil health |
- Top-dress with a light layer of compost between seasons.
- Start small—one or two beds per season so you learn your microclimate.
- Keep a neighborly rotation: follow tomatoes with beans or greens, not peppers or eggplants.
Care, pests, weeds, and extending the season
A few steady habits keep pests low and soil lively across the season.
Soil checks and light feeding: send a soil test every 2–3 years and add only what test results suggest. A thin layer of compost each season keeps nutrients steady without overworking the soil.
Avoid deep tilling. Instead, loosen the top 2 inches with a fork or rake and leave the internal layers intact. This protects soil life and structure.
Quick tactics for pests and weeds
Weed after a rain when roots lift easily. Pull young weeds before they set seed to keep future chores small.
Use netting or simple fencing to block rabbits and deer. Small, modular fences around individual beds are easy to add and remove.
Simple season-extension ideas
Low hoops plus spun row cover add several degrees of warmth and block insects. Cold frames give extra protection for seedlings in early spring and late fall.
Raised beds accept hoops and frames easily—just anchor supports into the sides and drape covers for quick, removable protection.
| Task | Action | Why it helps |
|---|---|---|
| Soil test | Every 2–3 years | Apply only needed nutrients; avoid excess fertilizer |
| Weeding | Pull after rain; keep visits short | Roots slip out; less compaction and fewer weeds later |
| Pest barrier | Netting or low fencing | Keeps rabbits and deer off vulnerable crops |
| Season extension | Hoops, row cover, cold frames | Holds warmth, protects from frost and insects |
- Rotate crops among your beds to limit soil-borne disease buildup.
- Mulch paths to cut mud and suppress weeds in the landscape between beds.
- Water at the base to keep foliage dry and lower disease risk.
- In late fall, add leaf mulch or sow a cover crop to protect soil over winter.
- Keep a hand fork, snips, and a small bucket nearby for five-minute touch-ups.
Conclusion
Begin with one practical plot, and watch it become an easy, joyful part of your landscape.
You now have a clear path to build a raised bed that looks lovely and grows generously. Start with one unit, fill it to the top with a good soil mix, and place it where you’ll water and visit often.
Keep layout simple and aisles roomy so tending feels natural. Choose materials you enjoy—wood, steel, or stone—so the structure becomes a favorite feature in your landscape.
Water at the soil line, mulch lightly, and feed with compost. Small, steady care adds up over the years. Use these short tips and enjoy sun-warmed boards, damp soil scent, and the first ripe tomato. When you’re ready, add another bed and let your patch grow at your pace.
FAQ
How soon can I plant after building my frame?
You can plant as soon as you fill the box with a quality mix of topsoil and compost and the soil has settled slightly. For warm-season crops give the soil time to warm — usually a few weeks in spring — but cool-season greens can go in right away. Mulch the surface to retain moisture and reduce weeds.
What height should I make the sides for easy gardening?
Aim for a height that matches how you like to work. About 12 to 18 inches suits most people for vegetables and reduces bending. If you prefer minimal stooping or have mobility limits, 24 to 36 inches lets you tend from a chair. Taller beds drain faster, so plan watering accordingly.
What soil mix works best for long-term health?
Use a loose, fertile blend: good-quality topsoil, plant-based compost, and a light mineral component like screened loam or coarse sand for drainage. A 60/30/10 ratio (topsoil/compost/minerals) is a simple starting point. Top off each season with compost to rebuild nutrients.
Do I need a bottom liner or landscape fabric?
On bare soil you usually don’t need a solid liner; roots will grow down and helpful microbes will move in. Use hardware cloth under the box only if rodents are a concern. On patios or decks, landscape fabric helps keep soil contained but add drainage holes or a coarse base so water doesn’t pool.
Which materials last longest without harming plants?
Naturally rot-resistant woods like cedar and redwood perform well and are safe for edibles. Galvanized steel and concrete blocks are durable alternatives. Avoid old treated lumber that leaches chemicals. If you seal wood, choose a non-toxic, food-safe product.
How wide should the bed be so I can reach the center?
Keep planting beds narrow enough to reach across comfortably from each side. A 3- to 4-foot width works for most people. If the bed is wider, include an access path or a stepping stone so you don’t compact the planting mix.
What’s the best way to water efficiently?
Drip irrigation and soaker hoses deliver water at the root zone and cut waste. For small plots, hand watering with a watering can or a wand works fine. In hot, dry spells ollas or deep watering with a slow trickle keep moisture steady and roots healthy.
How do I prevent the long sides from bowing over time?
Brace long walls with corner posts, internal stakes, or mending braces. Thicker boards and short runs between supports resist bowing. Properly tamped soil and level placement reduce pressure on the sides as the mix settles.
Can I use hugelkultur or lasagna layers for a deep-looking bed?
Yes. Hugelkultur adds logs and woody debris to build height and retain moisture; lasagna layering uses alternating carbon and nitrogen layers to create rich soil. Both need time to settle and may pull nitrogen while breaking down, so add compost on top to support early crops.
How do I keep weeds and pests under control?
Keep pathways clear and use a thin layer of mulch to suppress weeds. Hand weeding is easiest when soil stays loose. For critters, hardware cloth and simple fencing work well; netting or row cover protects from birds and insects while letting light through.
What maintenance helps beds stay productive year after year?
Test soil every few years and add compost annually. Avoid heavy tilling; instead, fork gently and top-dress with compost. Rotate families of crops to reduce disease and plant cover crops in fall to rebuild organic matter and prevent erosion.
How much will it cost to build a single box?
Cost varies by size and materials. A simple pine box is the most affordable; cedar, steel, or stone raises the price. Expect a modest wooden frame plus quality soil and compost to be the main expenses. Planning dimensions carefully helps avoid waste and keeps budget reasonable.