Close your eyes and imagine rich, dark earth crumbling between your fingers, and the soft drip of your hose at dawn. Have you ever wished the plot outside your kitchen would reward you with fuller flavor and steadier growth? This guide walks you there, step by calm step.
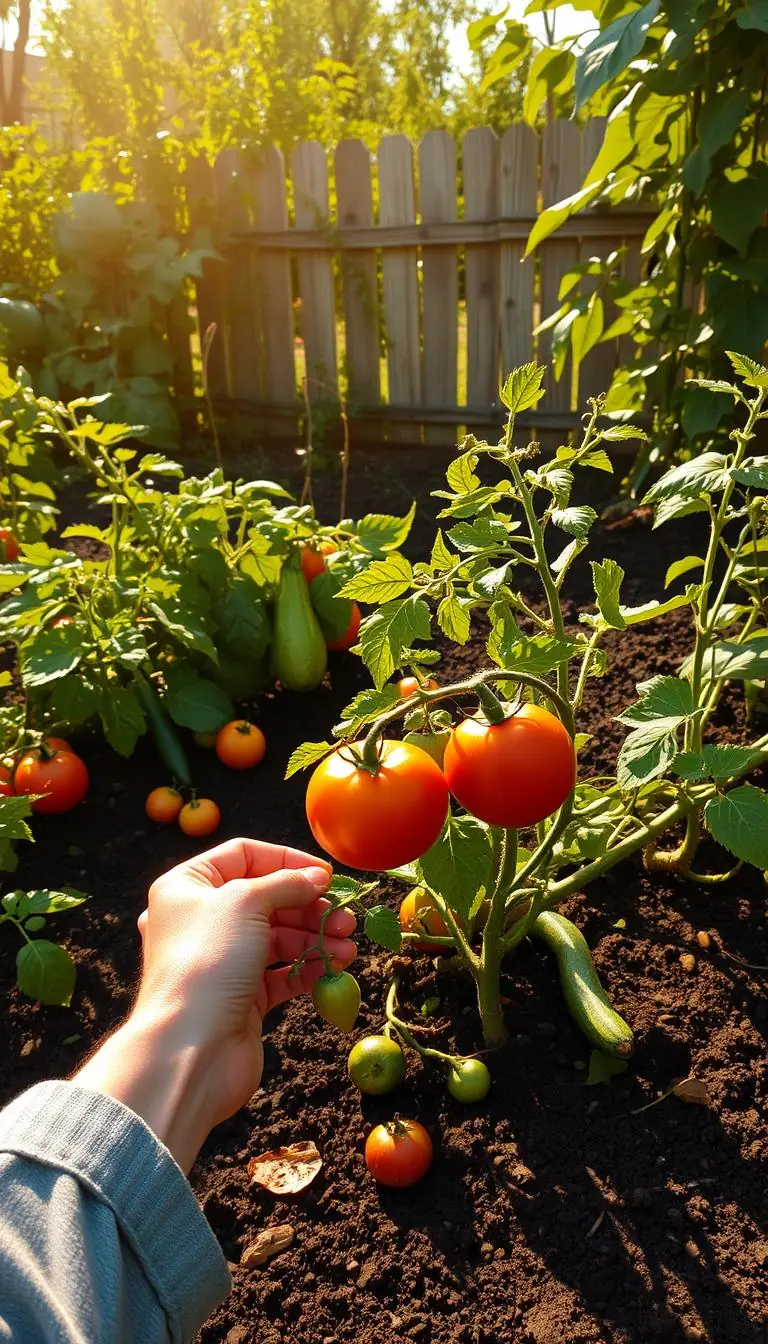
We start with what you can feel and measure: crumbly texture, steady moisture, and balanced pH. Real beds show the payoff — Roma tomatoes gave 7 lbs per plant in one mix and about 5.3 lbs in another. Small choices, like adding compost before planting or choosing the right raised beds, change results.
You’ll learn simple tests, easy fixes, and everyday tools — a trowel, a five-gallon bucket, a hose — that help your plants thrive. In a few afternoons you can test, tweak, and set a plan that keeps nutrients cycling for years so your food tastes better and your efforts feel like success.
Key Takeaways
- Sense and test your soil to spot texture and pH issues quickly.
- Add compost seasonally to replenish nutrients and support growth.
- Choose mixes for raised beds or amend in place depending on your bed.
- Use simple tools and short time investments for big gains.
- Avoid over-liming; only add lime when tests show acidity and plan ahead.
- Small, steady habits deliver long-term success and better food.
Start Here: What Healthy Garden Soil Looks and Feels Like
Put your hands in the bed and let the feel of the top layer tell you its story.
Healthy soil feels springy and crumbly when you squeeze it. It holds shape, then breaks apart with a gentle poke. The scent is clean and earthy, not sour or swampy.
You should see earthworms and fine white fungal threads when you dig. Those signs mean microbes are working and turning compost into steady nutrition for your plants.
The top 8 inches matter most. That layer should be loose, dark brown, and dotted with bits of finished organic matter. Most roots do their work here, so keep it easy to till and rich in life.
"When your trowel slides in smoothly and lifts a loose slice, you’ve got structure that supports both air and moisture."
Drainage and texture: Water should soak in without puddles. Footprints should not hold water after a light hose test. A few small stones are fine, but hardpan or heavy rock near the surface means consider raised beds or more organic matter.
- Loose top 8 inches with dark color and compost bits
- Earthworms and fungal threads present
- Springy, crumbly texture that breaks with a poke
- Fast infiltration without surface pooling
| Feature | What to Look For | Quick Fix |
|---|---|---|
| Texture | Crumbly, holds shape, breaks easily | Add finished compost; avoid heavy tilling |
| Life | Worms, fungal threads, dark castings | Top-dress with compost and mulch |
| Drainage | Water soaks in; no puddles | Work in organic matter; consider raised beds |
If the surface looks crusty or pale, add a light mulch and a thin layer of compost. With gentle care, you can turn dry, sticky, or compacted ground into a living, breathing foundation for strong plant growth.
Test First: Soil Tests, pH Targets, and When to Lime
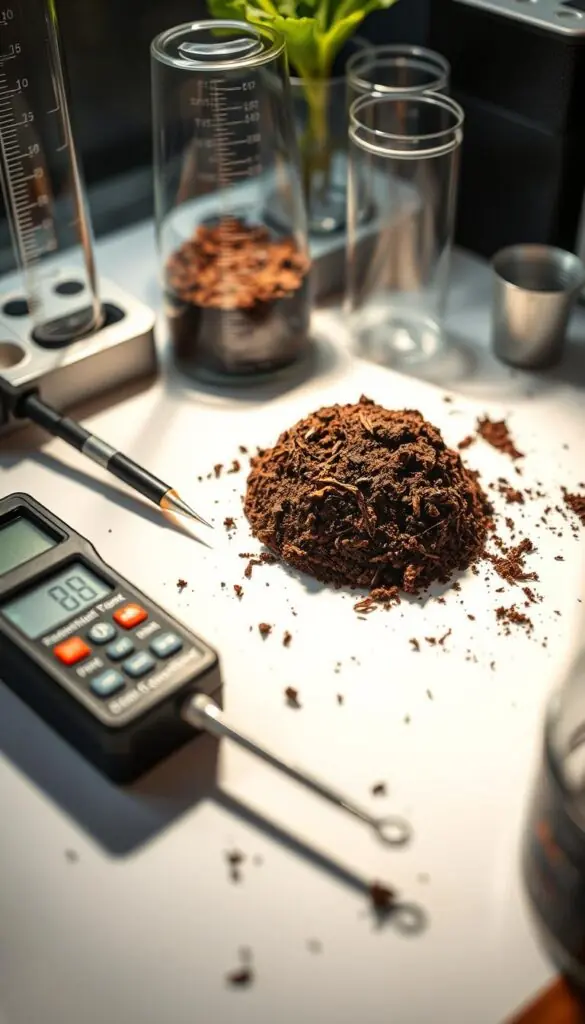
A quick test now will steer your season toward fuller growth and fewer surprises. Testing gives you clear next steps so you spend time fixing real needs, not guessing.
How to collect a sample and when to test
Use a trowel or a small corer and take thin cores from 8–10 spots across the bed. Scrape away mulch first.
Mix the handfuls in a clean bucket, air-dry, and send about a cup in a clean bag to your local lab. Mark the date in your notebook.
Test every 1–2 years for vegetable beds so you can adjust before spring planting.
Ideal pH and why it matters
Aim for pH 6.0–6.5 for most vegetables. That range keeps key nutrients available to plant roots and prevents yellowing and stunting.
Using dolomitic lime and what to avoid
If the report shows acidity, work dolomitic lime into the top 6–8 inches two to three months before planting. It adds calcium and magnesium.
Skip lime if pH is 6.5 or higher—over-liming can lock up nutrients and hurt tomatoes.
Reading results to plan amendments
Results usually arrive 4–6 days after the lab receives the sample. Low nitrogen points to more compost and a balanced fertilizer. Low P or K suggests targeted blends like 6-12-12 or 5-10-15.
| Lab Finding | Likely Issue | Quick Action |
|---|---|---|
| Low pH (<6.0) | Acidic ground | Apply dolomitic lime, mix into top 6–8 in. (2–3 months before planting) |
| Low nitrogen | Poor nutrient levels | Add compost and a balanced fertilizer at transplant |
| Low phosphorus or potassium | Weak root or fruit development | Use targeted blends (6-12-12 or 5-10-15) per label |
| Micronutrient flags | Trace element shortfalls | Improve organic matter; treat only if deficiency confirmed |
Check Texture and Drainage Before You Plant
Before you plant, a few simple hands-on checks save you time and worry. These two quick tests tell you whether the bed will feed roots or hold unwanted water.
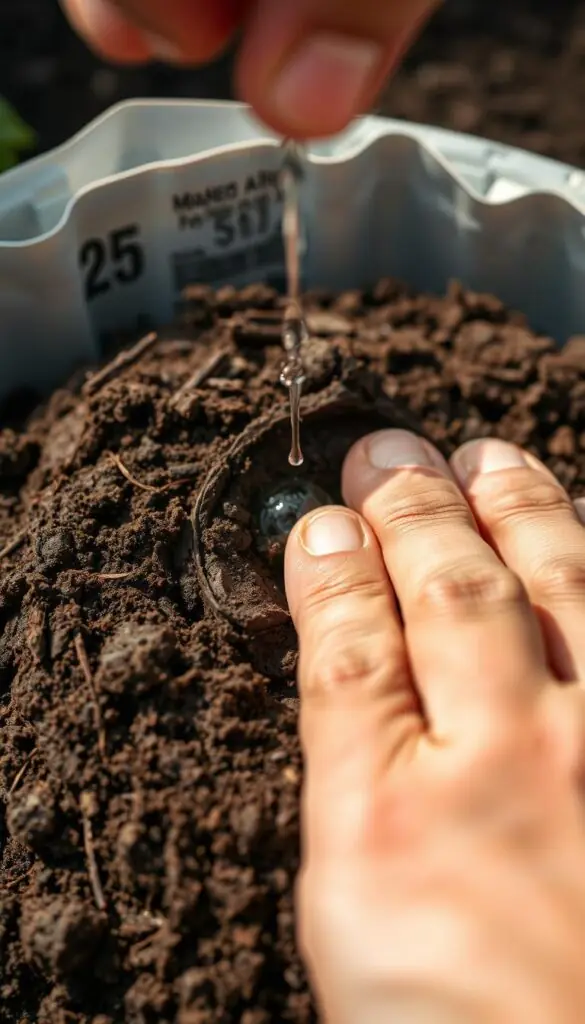
The squeeze test: clay, sand, or loam in your hand
Wet a handful and squeeze. If it forms a tight, slippery ball, that’s clay. If it crumbles with gritty crumbs, that’s sand. A soft clump that breaks with a nudge is loam.
Simple drainage test and what your results mean
Dig a 12-inch hole, fill it with water, let it drain, then refill and time it. If water drains within a few hours, you’re good. If it still stands after 24 hours, the ground is compacted or clay-rich.
Quick fixes: organic matter for clay, raised beds for waterlogged spots
Improve structure with thin layers of compost and shredded leaves mixed into the top 6–8 inches so roots find both air and moisture.
Avoid adding sand to clay — it can make a mortar-like mix. In low, wet spots, choose raised beds filled with well-drained topsoil and compost.
| Problem | What to look for | Quick fix |
|---|---|---|
| Clay | Slippery ball on squeeze | Seasonal compost additions, gentle aeration |
| Sand | Gritty crumbs, fast drainage | Add compost and mulch to retain water |
| Poor drainage | Water stands >24 hours | Raise bed height; mix organic matter into top layers |
"Small, steady additions of organic matter change structure over seasons."
Building Raised Beds: Soil Recipes That Actually Work
A good raised bed starts with a recipe you can touch and trust.
Mel’s Mix (1/3 peat, 1/3 vermiculite, 1/3 compost) feels wonderfully fluffy under the trowel and drains without pooling.
- Pros: light, airy, excellent for tomatoes — we saw about 7 lbs per plant.
- Cons: peat and vermiculite raise costs; watch for drying in summer.
- Tip: mix compost from several sources and use a wheelbarrow and tarp to blend.
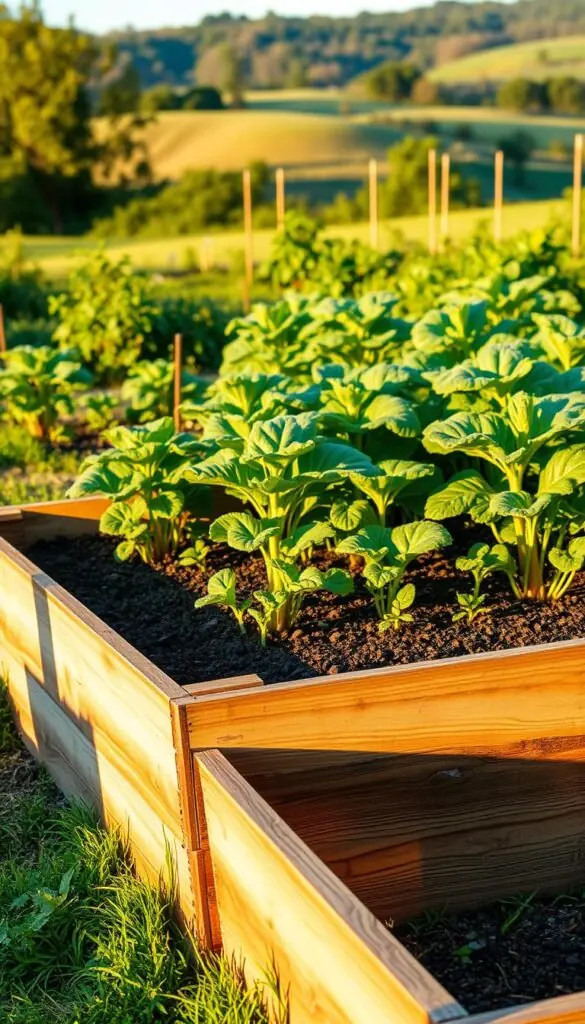
The “Perfect Soil Recipe” (50% topsoil, 30% compost, 20% organic matter) makes a durable bed that feeds plants season after season.
It started slower when the topsoil was clay-heavy in a wet spring but nearly matched Mel’s yields by midsummer (about 5.3 lbs of tomatoes).
| Mix | Feel | Notes |
|---|---|---|
| Mel’s Mix | Fluffy, fast drain | Expensive; needs steady water |
| Perfect Recipe | Stable, holds moisture | Depends on topsoil quality |
| Bagged blend | Variable, barky | May tie up nitrogen; boost with compost |
Budget tip: blend bulk compost, your pile, worm castings, and well-rotted manure for resilience over years. Avoid single-source compost or un-decomposed bark that can rob nutrients.
How to Fill a New Bed for Strong Roots and Steady Moisture
Think of the frame as a living box: layers break down and feed future plants. This method builds a light, fluffy mix that holds moisture and invites roots to grow deep.
Tools: pruners, tarp, rake, shovel, tub for peat, and a watering can or hose with drip.
Layering and mixing
- Place sticks, small limbs, and crunchy leaves across the bottom of the bed. You’ll hear a soft rustle as you lay them. These pockets save time and hold air and water for roots.
- Spread a 2–3" course of topsoil, then add a generous 2–3" layer of compost. Alternate lifts until the frame is nearly full.
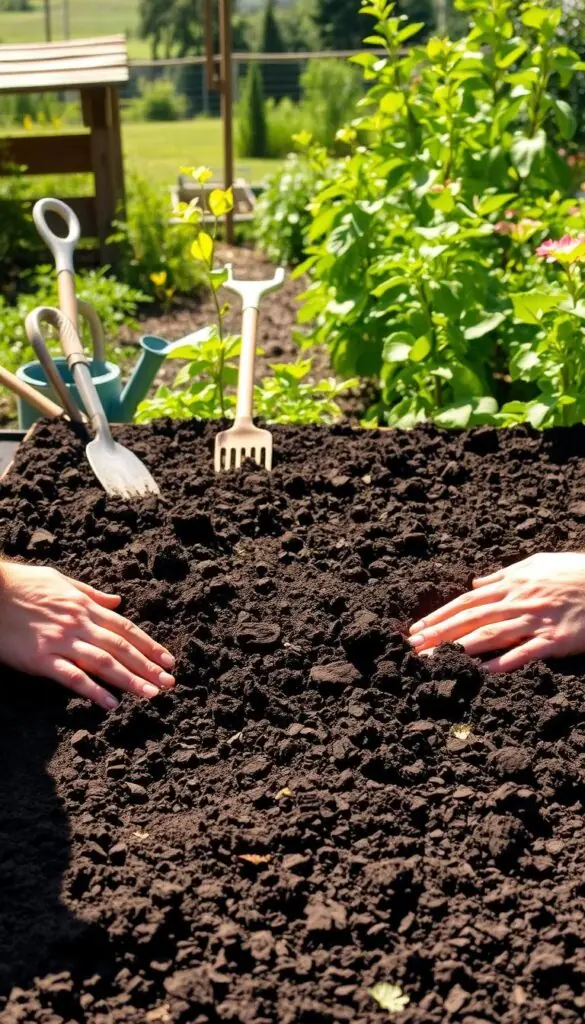
- If mixing on a tarp, tumble topsoil and compost until color is uniform and the smell is rich and earthy. Shovel the blend into the bed.
- Add a small handful of well-rotted manure or worm castings as you go to seed microbes and steady nutrients.
- Lightly water each lift so dust settles and the mix knits into a springy structure. If you use peat for fluff, pre-moisten it in a tub so it hydrates evenly.
- Top the fill slightly higher than the frame; the woody base will settle over time. Lay boards when you need to stand on the bed to avoid compacting the fresh mix.
Finish with a thin mulch after planting to keep moisture steady while roots explore. Keep a tidy path for tools and plan yearly top-ups of compost as the base slowly decomposes.
| Step | Quick action | Benefit |
|---|---|---|
| Woody base | Layer sticks and leaves | Holds air and moisture; reduces fill volume |
| Alternate lifts | Topsoil then compost, mixed on a tarp | Creates fluffy, living organic garden soil for roots |
| Seed with microbes | Add manure or worm castings | Supports steady nutrients for plants |
| Finish and settle | Water lifts, top slightly high, mulch | Prevents dry gaps and keeps moisture even over time |
Feed the Soil: Compost, Organic Matter, and Microbial Life
A steady trickle of finished compost is the easiest habit that pays off all season long. Add a thin layer each time you plant and you give microbes and roots fresh food to work with.
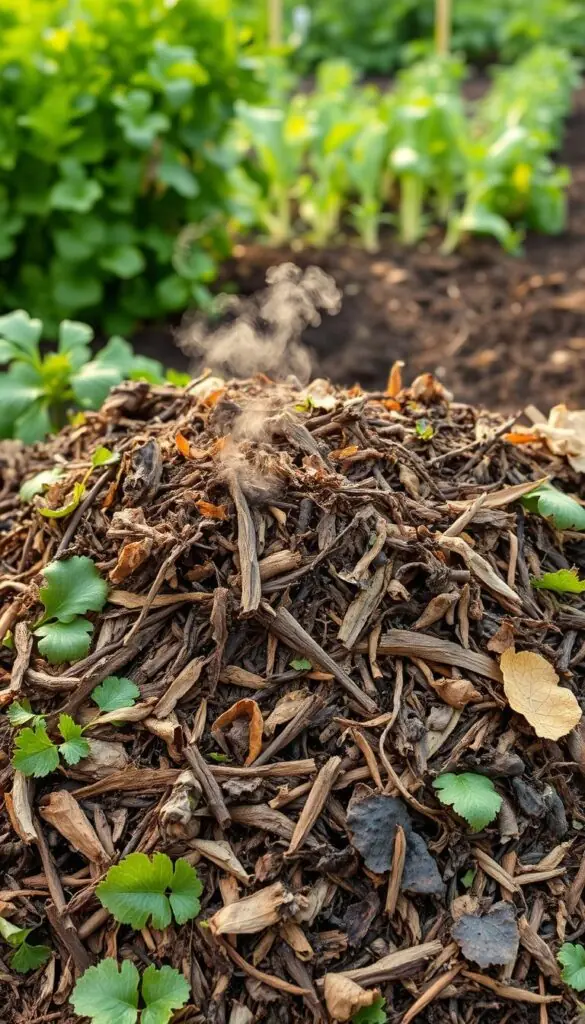
Kitchen scraps, leaves, manure, and worm castings—what to use and when
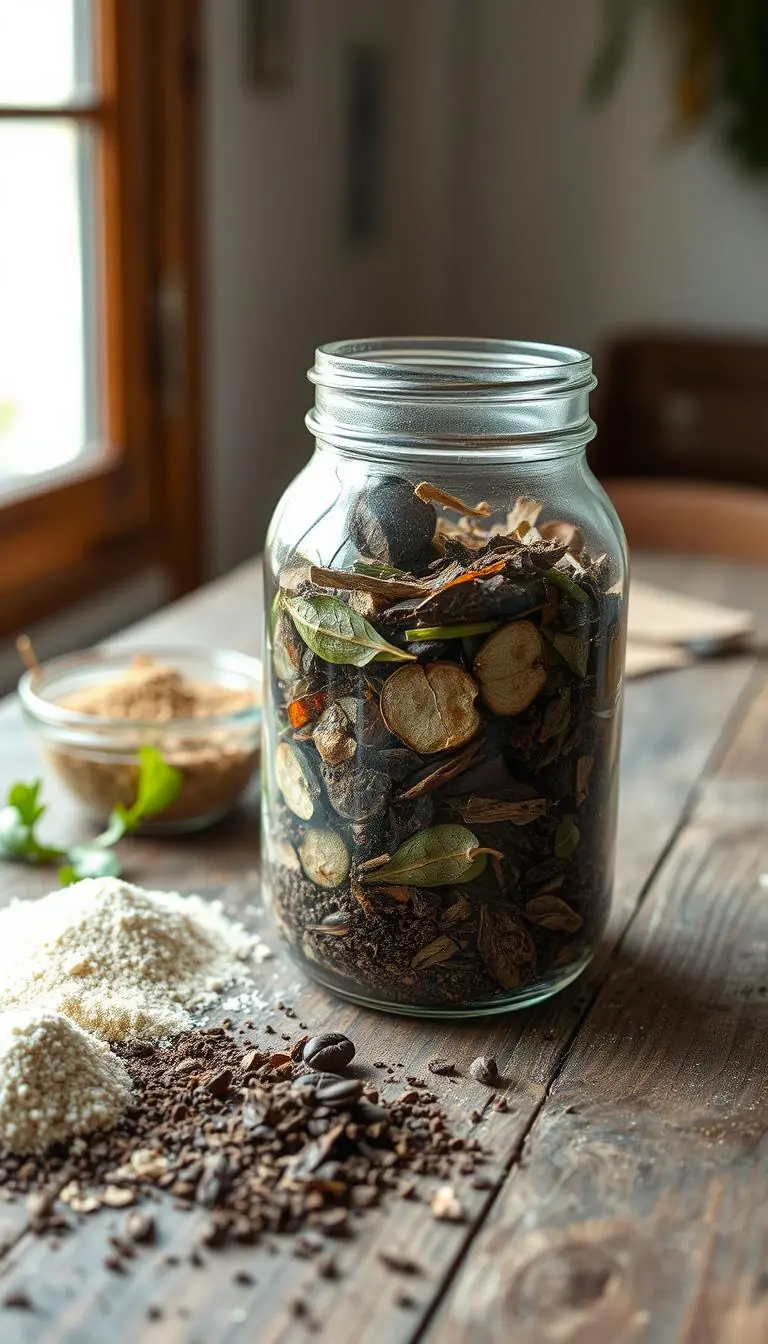
Use a friendly mix: kitchen peels, autumn leaves, straw, well-rotted manure, and worm castings. Finished compost smells sweet and earthy and crumbles in your hand.
Tools: a garden fork and a bucket make collecting and spreading easy.
How much to add each season to keep nutrients flowing
Before each planting, spread 1–2 inches of finished compost and lightly work it into the top few inches so nutrients meet new roots.
In warm climates organic matter breaks down faster. Plan small, regular additions rather than one big dump.
Avoiding nitrogen tie-up when materials aren’t fully decomposed
Avoid burying raw wood chips or thick bark in planting zones. They can steal nitrogen while they break down and slow early growth.
If you must mix in partly decomposed matter, add a bit of nitrogen-rich material and extra compost so plants don’t go pale.
- Quick habit: return leaves and compost after every harvest to keep the pantry stocked for your plants.
- Check a recent soil test to decide how much compost a bed needs—heavy feeders often need more.
"Think of organic matter as ongoing food for life below the surface."
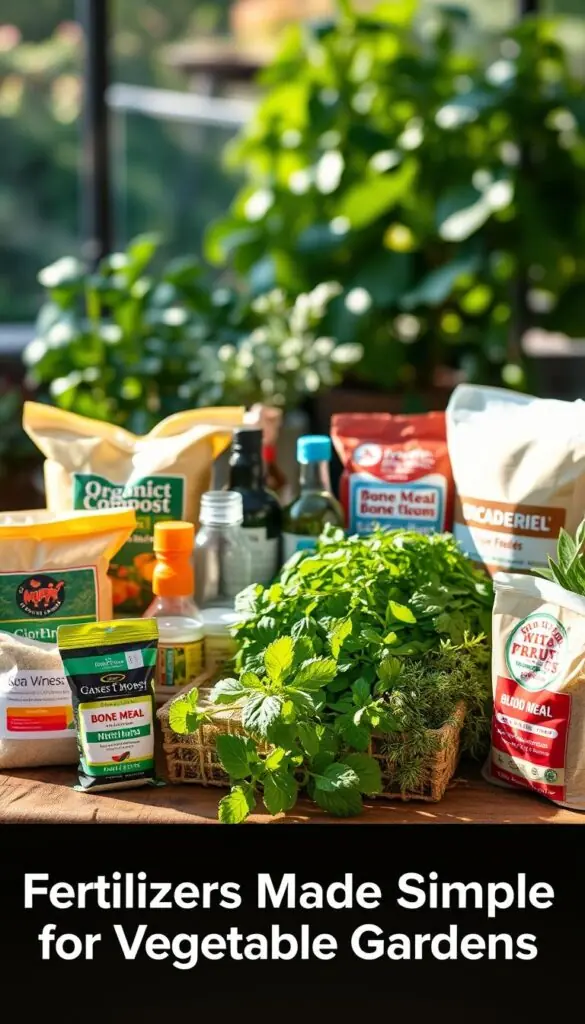
Fertilizers Made Simple for Vegetable Gardens
Think of fertilizer numbers as a recipe that tells you what your plants need most. Read the label as N‑P‑K: nitrogen, phosphorus, potassium. That trio directs leaf growth, root strength, and fruiting.
Pick the right mix:
- 10-10-10 — balanced for general beds and steady growth.
- 6-12-12 — higher phosphorus for root crops like carrots and beets.
- 5-10-15 — higher potassium for many warm-season crops such as tomatoes and peppers.
Group your beds by feeding need. Heavy feeders (tomatoes, squash) go together. Medium feeders (lettuce, beans) share a space. Light feeders (peas, many herbs) stay separate. This keeps applications simple and reduces mistakes.
How to apply
- Work a light dose into the top few inches near the root zone at planting.
- Side-dress with a small scoop midseason if fruiting ramps up or growth slows.
- Blend fertilizer with a scoop of compost to buffer salts and feed soil life.
Always let your last soil test guide amounts. Skip phosphorus-heavy blends if the report shows high levels. Water in gently with a watering can or light hose stream so granules settle into the roots without washing away.
| Grade | Best for | When to use |
|---|---|---|
| 10-10-10 | Mixed beds, steady growth | At planting and early season |
| 6-12-12 | Root crops (carrots, beets) | At planting; avoid excess later |
| 5-10-15 | Fruit producers (tomatoes, peppers) | At planting; side-dress at fruit set |
"Start small, follow your test, and adjust gently — steady feeding brings lasting success."
Water, Air, and Mulch: Keep Roots Happy All Season
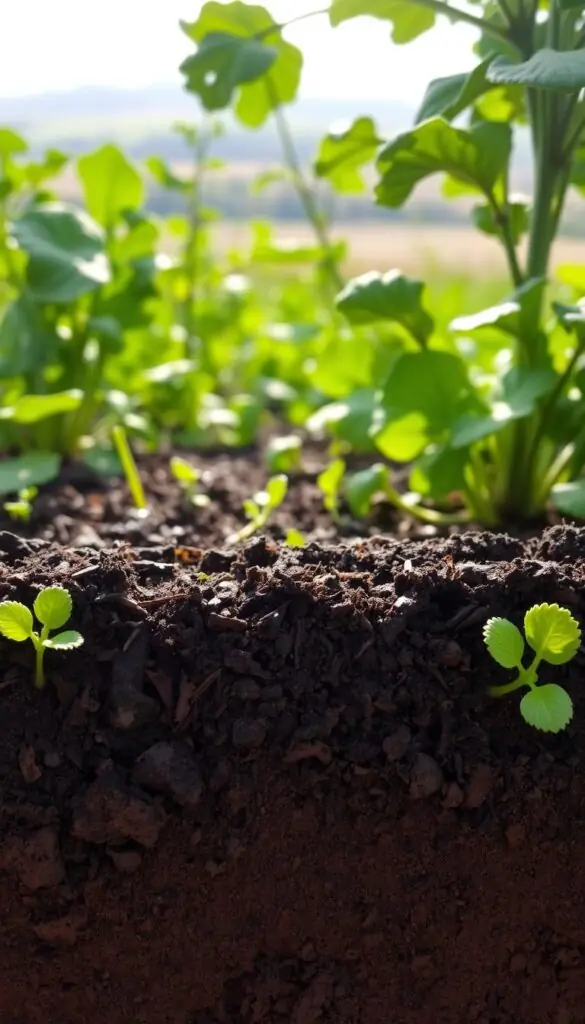
Listen for the soft tick of emitters and picture golden straw shading the beds as summer heats up. That steady rhythm means water reaches roots, not leaves, and your surface stays loose and lively.
Drip irrigation gives a slow, even soak. Lay drip lines along rows and add a timer so your water works while you rest. The trick: aim emitters near the base of each plant to cut splash and disease.
Mulch with straw to keep the top from crusting. Spread a light layer between rows. Leave a palm-width gap at stems so air moves and crowns stay dry.
Practical tips and a quick warning
- Use a drip line, timer, and a mulch fork for tidy application.
- After a deep soak, the surface should look moist but not sealed; if it hardens, gently fluff with your fingers.
- Top-dress with a thin sifted compost layer under the straw to feed surface life and help seedlings.
- Always verify bales are free of long-acting herbicides so tender seed and transplants stay safe.
"Mulch slows evaporation so roots explore deeper, cooler layers and your watering chores shrink."
| Task | Tool | Benefit |
|---|---|---|
| Slow, even irrigation | Drip line + timer | Reaches roots; reduces leaf wetness |
| Surface protection | Clean wheat straw | Holds moisture; prevents crusting |
| Seedbed care | Mulch fork, sifted compost | Fine, crumbly top for germination |
Season-by-Season Care to Keep Your Soil Thriving
Plan each season like a gentle recipe: small tasks now save big work later. A simple calendar keeps care calm and consistent so your beds reward you with steady growth and better food.
Spring and summer: prepping, side-dressing, and steady moisture
In early spring, work beds only when a squeezed handful crumbles. Turn the top 7–8 inches when the ground is dry enough, then rake smooth so roots meet a fluffy home.
Scratch in compost and, if your plan calls for it, a light dose of fertilizers. Water to settle the mix before planting your first vegetables.
Through summer, side-dress heavy feeders and keep water steady with drip lines. Aim for even moisture so plants never lurch from dry to drenched.
Fall and winter: cover crops, composting, and gentle bed refresh
As fall approaches, sow a cover crop like crimson clover, rye, or vetch to shield the bed and feed microbes. Let the covers grow through cool weeks.
In late fall, sweep fallen leaves into beds as a light blanket. Add a thin layer of compost in early winter for a quiet refresh.
Before spring planting, mow covers low, return the greens to the bed, and add a bit of nitrogen to speed breakdown. Then turn the mix under a few weeks before transplanting.
- After a couple of years: if tall plants flop, blend a touch more topsoil or clay into raised beds for stem support.
- Keep a simple notebook with dates, actions, and results so each season gets easier and more fruitful for your vegetables gardens.
"Small, timed steps—test, feed, cover, and rest—build lasting fertility over years."
Troubleshooting Vegetable Garden Soil Problems
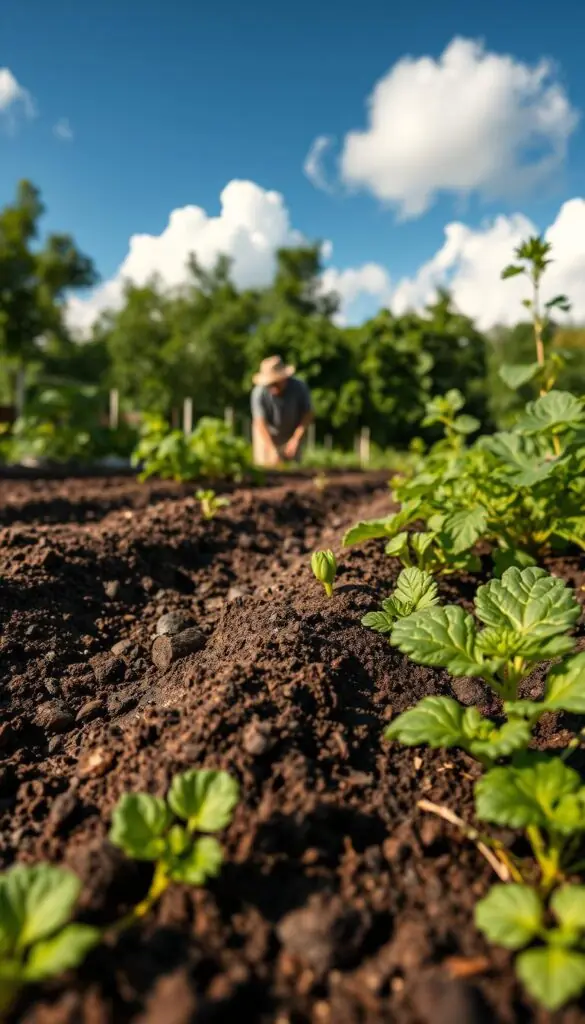
Small symptoms often hide simple causes—start with sensory checks and a recent test. Use smell, feel, and one comparative soil test to narrow the problem before costly fixes.
Yellowing, stunting, and permeability
Pale, slow plants often point to pH or a nutrient lockout. If tomatoes turn yellow, check your last soil test for high pH. A reading near 7.5 can lock out iron and other nutrients.
If a bagged mix included woody bark or peat that wasn’t finished, nitrogen tie-up can cause yellow leaves. Quick wins: add finished compost and a light nitrogen feed while microbes recover.
Compaction and poor drainage
Where footprints hold water, lift the bed and add organic matter. Repeated thin layers of compost improve structure and help roots breathe.
Skip adding sand to native clay. Sand can tighten the mix and worsen compaction. Instead, build a raised bed, blend compost into the top, and consider more topsoil for firmness where stems need support.
High or low pH: when to act
If your soil test shows acidity, work dolomitic lime into the top months before planting. If pH is neutral or high, wait—adding lime can lock up nutrients and harm fruiting.
Compare failing beds with a fresh test to spot differences in levels, texture, or unfinished organic matter. Often a targeted compost plan, cover crops, and small topsoil adjustments return vigor faster than major overhauls.
Conclusion
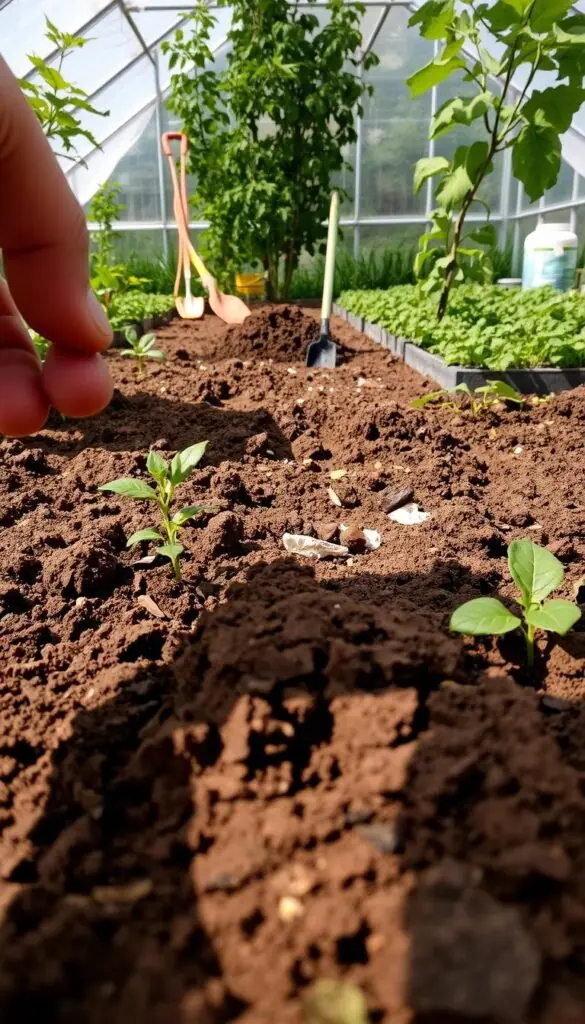
A few calm habits build a thriving bed more surely than big, hurried fixes.
Test, add a little compost each year, and water gently. Aim for a springy mix with even drainage and a pH near 6.0–6.5. Those choices mattered in trials that showed clear yield differences between mixes.
Keep senses active: the easy crumble, the fresh scent, and strong white roots tell you when things are right. Choose mixes and amendments that favor steady growth and fewer surprises.
Whether you tend tomatoes on a sunny deck or fill several beds out back, your soil and beds can become a quiet partner in an organic garden. Take time, enjoy the small wins, and watch food and flowers follow.
FAQ
How do I collect a soil sample and when should I test?
Collect small cores from several spots in the bed using a trowel or soil probe, about 2–6 inches deep for beds and 6–8 inches for deeper-rooting crops. Mix the cores in a clean bucket, air dry a bit, and send a cupful to a local extension lab in early spring or fall. Test when you notice poor growth, before major amendments, or every 2–3 years to track changes.
What pH should I aim for and why does it matter?
Aim for a pH between about 6.0 and 7.0 for most crops. That range keeps nutrients like nitrogen, phosphorus, and potassium available to roots. Outside it, some nutrients lock up and plants show yellowing or stunted growth even when soil fertility seems fine.
When should I use dolomitic lime and how much do I apply?
Apply dolomitic lime in fall or several weeks before planting to give it time to react. Follow your soil test’s recommendation—typical rates for slightly acidic ground are a few pounds per 100 square feet. Avoid overliming; retest after a year before adding more.
How do I read a soil test to plan compost and fertilizers?
Look at pH first, then nutrient levels (N-P-K and secondary elements). If organic matter is low, plan regular compost additions. Use the test’s fertilizer suggestions to choose balanced formulas or targeted amendments, and prioritize improving organic matter over heavy synthetic feeding.
How can I tell if my bed is clay, sand, or loam with the squeeze test?
Squeeze a damp pinch of earth: sandy mixes fall apart, clay forms a sticky ribbon, and loam holds together but crumbles easily. Loam is ideal; sand drains quickly and clay holds water and compacts, so each needs different fixes.
What’s a simple drainage test and what do results mean?
Dig a hole about 12 inches deep and fill with water. If it drains in under an hour, drainage is fast; 2–4 hours is moderate; longer than 6 hours means poor drainage. Slow sites need raised beds, deeper organic matter, or drainage channels.
How do I fix heavy clay or waterlogged spots quickly?
Add lots of well-rotted compost and coarse organic matter, avoid deep digging when wet, and consider building raised beds filled with a lighter mix. Over time, repeated organic additions will improve structure and permeability.
What is Mel’s Mix and should I use it in raised beds?
Mel’s Mix is roughly one-third peat, one-third vermiculite, and one-third compost. It’s lightweight and water-retentive, great for containers and some beds. Consider cost and peat’s environmental concerns—replace peat with coconut coir when possible.
What’s a long-lasting “perfect soil” recipe for beds?
A durable blend is about 50% quality topsoil or screened loam, 30% compost, and 20% organic matter like aged manure or leaf mold. That mix balances structure, nutrients, and moisture-holding capacity for steady yields.
Are bagged soil blends worth using, and how can I improve them?
Bagged blends are convenient but vary in quality. Boost them with your compost, add slow-release fertilizer if needed, and check pH and texture before planting. Mixing in worm castings or aged manure improves fertility fast.
How should I fill a new bed for deep roots and steady moisture?
Start with a layer of coarse woody debris for air pockets, add chopped leaves or straw, then a mix of topsoil and compost. Finish with a fluffy top layer rich in organic matter to encourage root growth and hold moisture.
What’s the step-by-step for mixing a living, fluffy bed structure?
Layer coarse materials, then alternate topsoil and generous compost, break up clumps, and lightly fork or rotate the layers to blend. Water and let the bed settle before planting; add more compost annually to keep it lively.
Which kitchen scraps and yard materials are best for compost and when should I use them?
Use a balance of greens (kitchen scraps, fresh grass clippings) and browns (fallen leaves, straw, shredded cardboard). Keep manure well-aged and add worm castings for a microbial boost. Compost is best applied in spring and fall.
How much compost should I add each season to maintain nutrients?
Spread about 1–2 inches of well-rotted compost over beds each year, or a heavier 2–4 inches for new or depleted spots. Topdress midseason for hungry crops and incorporate a light layer when preparing beds.
What causes nitrogen tie-up and how do I avoid it?
Fresh, high-carbon materials like wood chips or straw can temporarily lock up nitrogen while microbes decompose them. Avoid heavy fresh wood additions right before planting; compost materials first or add extra nitrogen fertilizer until decomposition is underway.
How do I choose a fertilizer like 10-10-10, 6-12-12, or 5-10-15?
Base the choice on crop needs and soil test results. Balanced formulas (10-10-10) suit general feeding. Higher phosphorus mixes help fruiting crops at planting; higher potassium supports flowering and stress tolerance. Use lighter rates for containers and follow label guidance.
How should I group heavy, medium, and light feeders for feeding?
Plant heavy feeders (tomatoes, squash, corn) together and give them richer soil or more frequent side-dressing. Medium feeders (root crops, peppers) need moderate fertility. Light feeders (herbs, lettuce) do fine in leaner soil. Grouping simplifies tailored feeding and saves inputs.
What irrigation and mulch strategies keep roots happy all season?
Use drip irrigation or soaker lines for steady, deep watering. Mulch with straw, wood chips, or leaf mold to retain moisture, suppress weeds, and prevent surface crusting. Mulch also moderates soil temperature and supports soil life.
What should I do in spring and summer to care for beds?
In spring, refresh compost, correct pH if needed, and plant after soil warms. Side-dress with compost or balanced fertilizer during peak growth. Keep moisture steady and mulch to conserve water and suppress weeds.
What are the best fall and winter practices to protect and build soil?
Sow cover crops like clover or rye to prevent erosion and add organic matter. Spread compost, mulch beds, and avoid heavy tilling. Let residues break down over winter to feed microbes and improve structure for spring planting.
Why do leaves yellow or plants stunt even with regular feeding?
Yellowing and stunting can come from nutrient imbalances, pH issues, poor drainage, or compaction. Start with a soil test, check moisture and root health, and improve structure with organic matter. That often solves symptoms without more fertilizer.
How do I fix compaction and poor drainage in established beds?
Add lots of organic matter, avoid walking on beds, and use raised beds or sheet-drain solutions in low areas. Aerate lightly and let roots and earthworms do the long-term structuring as you add compost each season.
When should I adjust high or low pH and when should I wait?
Adjust pH when tests show levels outside the crop’s ideal range and you plan a renovation or new planting. Small, temporary deviations can be managed with targeted fertilizers; major or repeated issues deserve lime or sulfur amendments applied based on lab recommendations.