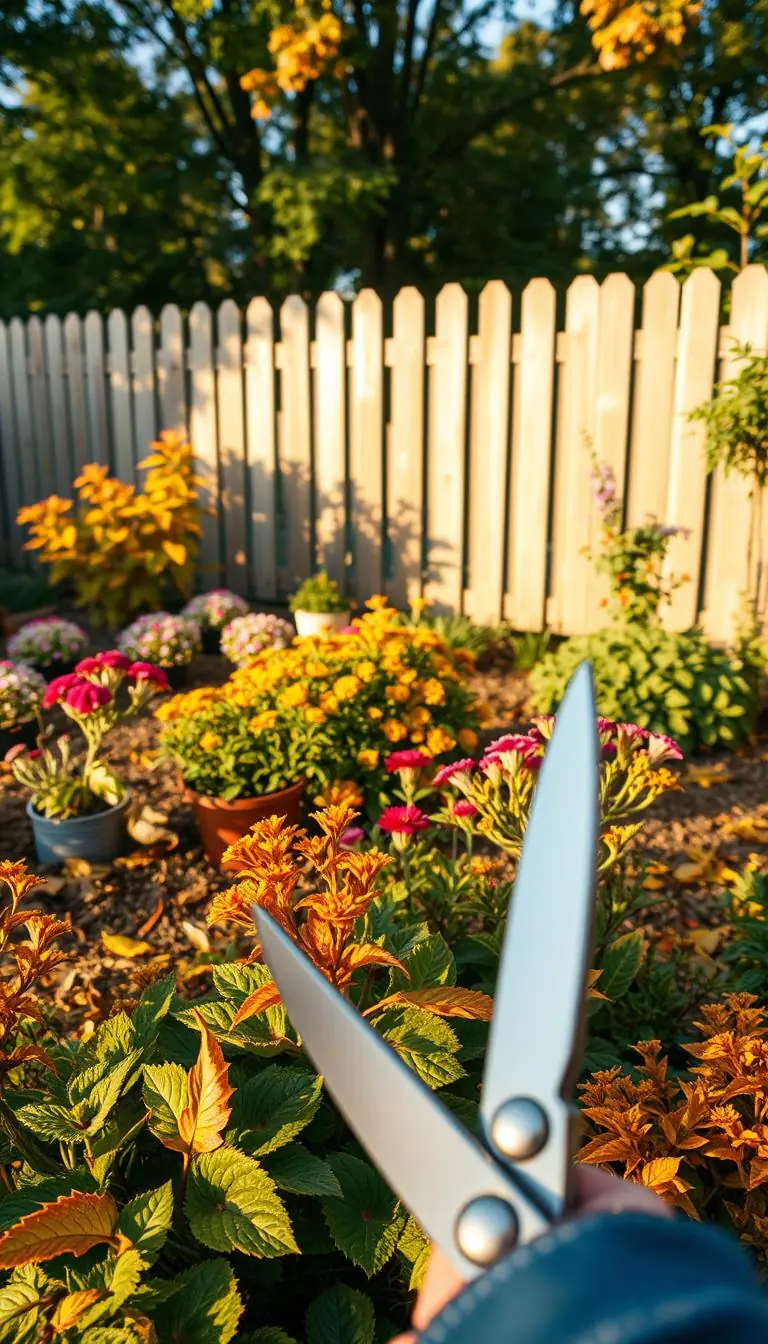
You step outside and notice the air is cool, the soil still holding winter's dampness. Do you wonder where to begin so your yard thrives through the coming growing season?
This short guide helps you take calm, sensible steps now — a quick walk-through, simple fixes to hardscape, and a plan for soil testing through your state Extension Service every 3–5 years.
A little time spent on light cleanup, 1–2 inches of compost topdressing, and choosing slow‑release organic feeds can save headaches later. Protect wet ground by waiting to work until it dries to avoid compaction, and delay heavy cleanup to help beneficial insects wake up.
We’ll show practical, friendly ways to prepare garden beds, note repairs, and have breathable row cover ready for late freezes. You’ll leave with a clear, relaxed path that supports your plants and makes planting day smoother.
Key Takeaways
- Start with a simple inspection and plan your time wisely.
- Protect soil structure by avoiding work when it’s soggy.
- Use Extension soil tests to guide amendments.
- Topdress with compost and consider slow‑release organic feeds.
- Delay heavy cleanup to support beneficial insects.
Set the stage: a calm, early walk-through of your garden
Begin with a slow, observant walk that helps you spot winter damage and plan repairs without rushing.
Spring inspection checklist: beds, plants, and hardscaping
Move through your space with a notebook. Note down downed twigs, heaved soil, or leaning structures. Watch fences, trellises, and raised edges for shifts or rot.
Look at shrubs and trees for broken branches and mark what needs pruning later. Take time to record pooled water or frost heave so you can plan fixes.
Be patient with soggy soil to prevent compaction
Use your eyes more than your feet: if paths feel soft, observe from them. Walking on wet soil compacts it into hard bricks you'll regret.
Delay deep cleaning in flower and perennial areas until daytime temperatures reach the 50s. Leaf litter often shelters overwintering insects, butterflies, and native bees.
"A scouting walk lets you match simple fixes to real needs and saves time when you do work."
- Scan beds for fallen branches and wildlife signs like burrows or chew marks.
- Set a small tote with pruners, a hand rake, and twine for when conditions improve.
- Make a short list of repairs so you can tackle the biggest risks first.

| What to check | Why it matters | When to act |
|---|---|---|
| Raised edges & fences | Prevent collapse and soil loss | At first dry spell |
| Shrubs & trees | Remove broken wood and reduce pests | When cuts heal easily |
| Flower beds | Protect overwintering insects | After temps stay in the 50s |
Fix first things first: hardscaping and layout tune-ups
Focus first on the structures that keep beds and paths honest: fences, steps, and trellises. You can make steady progress without rushing. Do small, visible repairs now while plants remain dormant.
Repair fences, raised beds, trellises, edging, and paths
Tackle frames and supports: tighten loose post brackets, replace cracked planters, and level stepping stones so paths feel safe. Check benches, decks, and window boxes and add stain or sealant when temperatures allow.
Check drainage and plan simple solutions before planting
Walk the yard after a rain to watch how water moves. Note low spots and consider a shallow swale, a dry creek bed, or raised beds where clay holds moisture.
- Clean gutters and set up a rain barrel to capture gentle, chlorine-free water.
- Stabilize supports near trees and shrubs now so leaves won't add weight later.
- Organize small products—screws, stakes, and clips—so repairs are quick in busy season.

| Area | Why it matters | Simple solution |
|---|---|---|
| Raised beds | Improve soil drainage and root health | Add compost, raise height, or replace rotted boards |
| Paths & steps | Prevent slips and soil compaction | Level pavers, add gravel, widen narrow routes |
| Gutters & rain capture | Protect foundations and reuse water | Clear debris, fit a barrel, repair downspouts |
| Trellises & fences | Support plants and define beds | Tighten hardware, replace posts, paint as needed |
"A little layout tuning makes every planting day smoother."
Spring garden prep, early tasks
Start small: a slow, careful pass through each bed helps you spot what needs gentle attention.
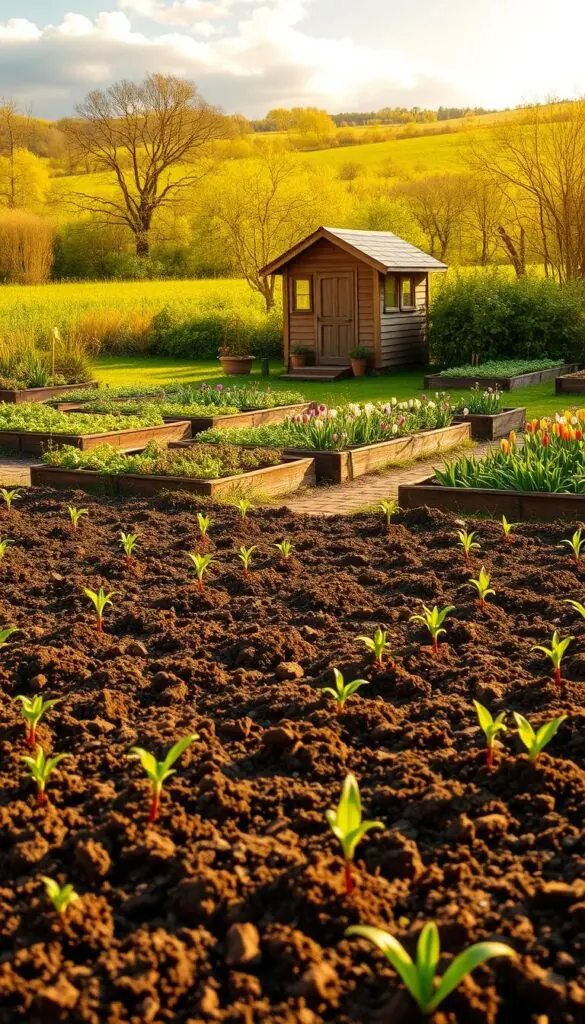
Gentle cleanup that protects beneficial insects and new growth
Wait until daytime temps reach the 50s before doing heavy work in perennial areas. That delay protects overwintering butterflies, moths, fireflies, and native bees.
Rake lightly and watch for shoots. Leave a thin leaf layer where it won't smother seedlings so soil life stays safe.
- Keep 15–20 inches of hollow stems standing for solitary native bees to nest.
- Freshen bird baths and containers with a 1:9 bleach solution, then rinse well.
- Clean your tools and keep them nearby so short sessions feel easy.
Reset frost-heaved perennials and remove winter-damaged wood
If a perennial has lifted from frost heave, gently tuck the crown back into the soil and water lightly to settle roots.
Start pruning by removing winter-damaged wood and crossing stems on shrubs; save major reshaping for the correct moment later in the season.
Get supports in early: stakes, peony rings, and trellises
Set trellises, stakes, and peony rings while plants are compact. It’s far easier than wrestling tall, tender stems later.
"Work bed by bed, stop before you tire, and let small, steady efforts add up."
Soil first: test, amend, and mulch for a strong growing season
Start by knowing what’s in your soil so you don’t guess at fixes later.
Send a sample to your state Extension every 3–5 years and you’ll get pH and nutrient recommendations tailored by crop or plant type. That report stops guesswork and helps you prepare garden beds precisely for the season ahead.
When and how to test through Extension services
Collect a few small cores from several spots, mix them, and follow the lab instructions on the form. Results arrive with clear guidance so you can add only what’s needed.
Topdress with compost and choose slow-release, organic nutrition
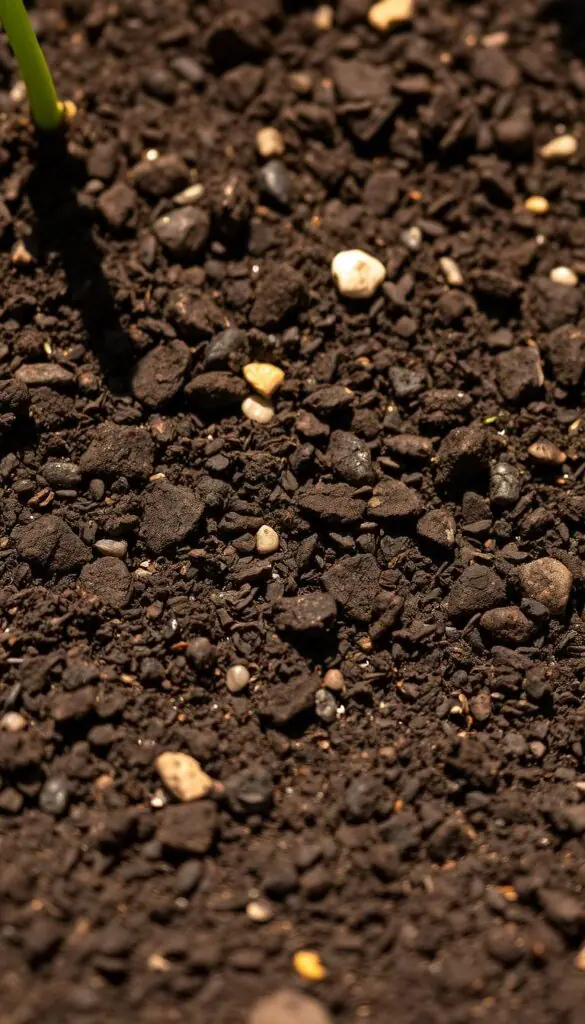
Spread 1–2 inches of compost around perennials and shrubs. Earthworms and microbes will pull organic matter into the soil over weeks.
If you use fertilizers, pick slow-release organic products such as Espoma Plant‑tone or Rose‑tone and follow label rates. Balance beats excess every time.
Refresh mulch to conserve water, feed microbes, and suppress weeds
Refresh mulch to about 2–3 inches, keeping it a few inches from stems and trunks to avoid rot. Mulch helps soil hold water, evens temperature swings, and makes managing weeds simpler.
- Start with knowledge: test so you don’t guess about pH or nutrients.
- Topdress compost 1–2 inches; let biology do the work.
- Use slow‑release, organic fertilizers only as recommended.
- Refresh mulch 2–3 inches and keep it off stems to prevent issues.
"Healthy soil does most of the heavy lifting—test it, feed it, and cover it."
| What to do | Why it matters | How much |
|---|---|---|
| Test soil | Know pH and nutrients | Every 3–5 years |
| Topdress compost | Boost organic matter | 1–2 inches |
| Refresh mulch | Conserve water, reduce weeds | 2–3 inches, keep off stems |
Smart pruning, dividing, and moving plants without stress
Start by removing broken limbs and dead wood so healthy shoots get light and air.
Prune with purpose: clear winter-damaged wood on shrubs and trees first. That simple cut reduces disease risk and helps new growth show where shaping is needed.
Prune new-wood bloomers now; hold off on old-wood shrubs
If a shrub blooms on new wood — butterfly bush, smooth or panicle hydrangea, potentilla, rose of Sharon, or roses — you may prune in the main season to encourage fresh growth and bigger blooms.
Do not prune old-wood, early-flowering shrubs such as azalea, forsythia, lilac, quince, ninebark, or weigela now. Wait until after they finish flowering so you don’t remove this year’s buds.
Divide crowded perennials and transplant with care
Divide summer- and fall-blooming perennials in early spring before buds open. Slice through the crown, discard tired centers, and replant divisions at the same depth.
Move evergreen shrubs in early spring or early fall; transplant deciduous shrubs when dormant to reduce stress on roots. Pick a mild day, water well, and mulch after planting.
"Small, clean cuts and well-timed moves help plants recover faster and bloom stronger."
| Action | When | Why |
|---|---|---|
| Remove dead/broken wood | Now | Improves air flow and reduces disease |
| Prune new-wood bloomers | Now | Boosts fresh growth and blooms |
| Wait on old-wood shrubs | After flowering | Protects this season's buds |
| Divide perennials | Before buds open | Restores vigor and creates plants to share |
| Transplant shrubs | Evergreen: early spring/fall; Deciduous: dormant | Minimizes root stress and transplant shock |
Tools, seeds, and timing: simple steps that save you time later
Start by giving your tools and seed stash a quick check so nothing slows down planting day.
Clean, sharpen, and sanitize tools, pots, and containers
Give tools a quick spa day: remove rust, sharpen blades, and oil moving parts so cuts stay clean and work feels easier.
Sanitize metal parts and pots with one part bleach to nine parts water. Let plastic pots dry, and add last year’s mix to beds or compost instead of throwing it away.
Plan beds, rotate crops, and source seeds before they sell out
Sketch a simple rotation for beds to reduce disease and balance nutrients year to year. Order seeds early and note any that need cold, moist stratification.
Early planting basics and frost readiness
Sow cool-season crops now — peas, lettuces, carrots, radishes, and brassicas — and start warm-season seeds indoors (tomatoes, peppers, eggplant).
Keep a roll of breathable row cover ready for surprise frost; drape fabric the afternoon before cold hits and secure gently. Skip plastic sheeting, which can harm foliage.

"A little prep now — clean tools, planned beds, and seeds in hand — makes planting days calm and productive."
| Action | Why | When |
|---|---|---|
| Sanitize pots & tools | Prevents disease | Now |
| Order seeds | Secure varieties | As soon as possible |
| Have row cover | Protect from frost | Keep on hand |
Conclusion
A short, steady plan now makes the coming growing season feel manageable and rewarding.
Test your soil, topdress with compost, and refresh mulch so plants can root deeply and sip water steadily. Handle pruning and dividing at the right time to protect perennials and shrubs and encourage new growth.
Set supports, check drainage and fix hardscaping before planting day. Delay heavy cleanup to protect beneficial insects, and keep a roll of breathable row cover ready for late frosts — avoid plastic on foliage.
Gather seeds, sharpen tools, and focus on a few clear tasks each week. Year by year, these small steps build a smoother spring into summer and fall. Trust the process; your beds will reward patience with healthier plants and a calmer season.
FAQ
When should you take a walk through your yard to assess beds, paths, and structures?
Take a calm inspection as soon as snow melts and ground firms. Look for soggy spots, winter damage, and frost heave. This helps you prioritize repairs and avoid compacting wet soil.
How long should you wait to work soil after a thaw to avoid compaction?
Wait until the soil crumbles when squeezed in your fist. If it sticks and forms a ribbon, it’s too wet. Working wet ground damages roots and structure; patience pays off with better drainage and root health.
What hardscape checks should be on your list before planting?
Inspect fences, raised beds, trellises, edging, and paths for loose boards, collapsed soil, and trip hazards. Repair or reinforce supports, relevel raised beds, and clear drainage routes before adding plants or mulch.
How do you handle frost-heaved perennials and winter-damaged wood?
Gently press heaved crowns back to soil level and add mulch to stabilize them. Remove dead wood with clean, sharp pruners but delay heavy pruning on any shrub that blooms on old wood until after flowering.
When should you install plant supports like stakes, peony rings, and trellises?
Put supports in place early, before new growth becomes vulnerable. Installing stakes and rings now avoids root disturbance later and keeps tall plants upright through heavy rain and wind.
How and when should you test garden soil for nutrients and pH?
Collect samples in spring or fall and send them to your county Extension service for analysis. Results tell you which amendments to add—lime for low pH or sulfur for high pH—and guide fertilizer choices.
What’s the best way to add organic nutrition and mulch for the season?
Topdress beds with well-aged compost and a thin layer of slow-release organic fertilizer if needed. Refresh mulch to a 2–3 inch depth to conserve moisture, suppress weeds, and feed soil life without smothering young shoots.
Which plants should you prune now and which should wait?
Prune shrubs that bloom on new wood (like buddleia) in early spring. Hold off on plants that flower on last year’s growth—such as lilac and forsythia—until after they bloom to avoid cutting buds.
Is this a good time to divide perennials or transplant shrubs?
Yes—divide crowded perennials and move spring-thriving shrubs while plants are still establishing. Do this on cool, moist days and water well to reduce transplant shock and encourage root recovery.
What tool maintenance should you do before the busy season starts?
Clean, sharpen, and disinfect pruners, shovels, and hoes. Oil wooden handles and replace worn blades or parts. Well-maintained tools make work easier and reduce disease spread between plants.
How should you plan seeds, crop rotation, and bed layout to avoid problems later?
Map beds, note last year’s crops, and rotate families to reduce pests and nutrient drain. Order seeds and seedlings early, and plan companion plantings and succession sowings to maximize production and soil health.
Which vegetables can be planted now, and which need to wait indoors?
Cool-season crops like lettuce, spinach, peas, and radishes can go directly in the soil when it’s workable. Start warm-season crops—tomatoes, peppers, and basil—indoors so they’re ready once nights stay consistently warm.
How can you protect early plantings from late frosts without harming them?
Use breathable row covers, floating fabric, or frost cloth to trap heat without creating a greenhouse effect. Avoid plastic directly on plants; it can cause more damage if temperatures rebound quickly.
What simple drainage fixes should you consider before planting to prevent waterlogging?
Add organic matter to improve structure, level low spots, and consider shallow swales or gravel trenches where water pools. For persistent issues, raise beds or install simple French drains before you plant.
How do you protect beneficial insects while doing cleanup?
Leave some leaf litter and hollow stems in sheltered spots and avoid sweeping all debris away. Remove only clearly diseased material, and delay aggressive tidy-up until pollinators and predators have emerged.