You kneel by a tray of dark, crumbly mix and feel the quiet stir of possibility. Have you noticed how a few warm lights and a gentle hum can make a room smell like early spring?
This guide gives you calm, neighborly help for seed starting in late winter. We show a simple, low-stress way to set up a safe area, use sterile mix, and give seedlings steady light and warmth so they grow compact and strong.
Think of a shelf, trays, a modest grow light, and a heat mat as your tools. You’ll learn when to use bottom heat, when to lift clear domes, and how to label varieties and dates.
By the time the growing season arrives, your garden will wake up lush and ready. Expect step-by-step information, practical tips you can use this year, and a calm routine that fits your time and area.
Key Takeaways
- Use a sheltered area with outlets and avoid cold windows for consistent growth.
- Choose a sterile, moist seed-starting mix that feels like a wrung-out sponge.
- Provide 12–16 hours of artificial light and consider bottom heat to speed germination.
- Label trays, track dates, and store leftover seed packets airtight in the fridge.
- Focus on a few favorite varieties to keep the process simple and rewarding.
Why Late-Winter Seed Starting Sets You Up for a Lush Spring
When you begin indoors in late winter, you set the stage for earlier blooms and fuller harvests.
Late-winter seed starting gives you choice and control. You can pick rare varieties — from pastel zinnias to striped tomatoes — rather than hoping the nursery has them. Growing seedlings indoors extends the season for long-maturing vegetables and many annuals, so they bloom or fruit on time once planted out.
Artificial light matters. Aim for 12–16 hours daily to keep stems short and leaves deep green. Healthy early growth leads to sturdier plants and less transplant shock.
The real perks, in easy bits
- First pick of varieties and big savings compared with buying flats.
- Earlier color and harvests because seedlings already have a head start.
- Compact, velvety leaves and thick stems when given steady light.
- Cleaner starts with fewer pests and stronger root systems.
- A calm routine: check moisture, adjust lights, and watch growth each morning.
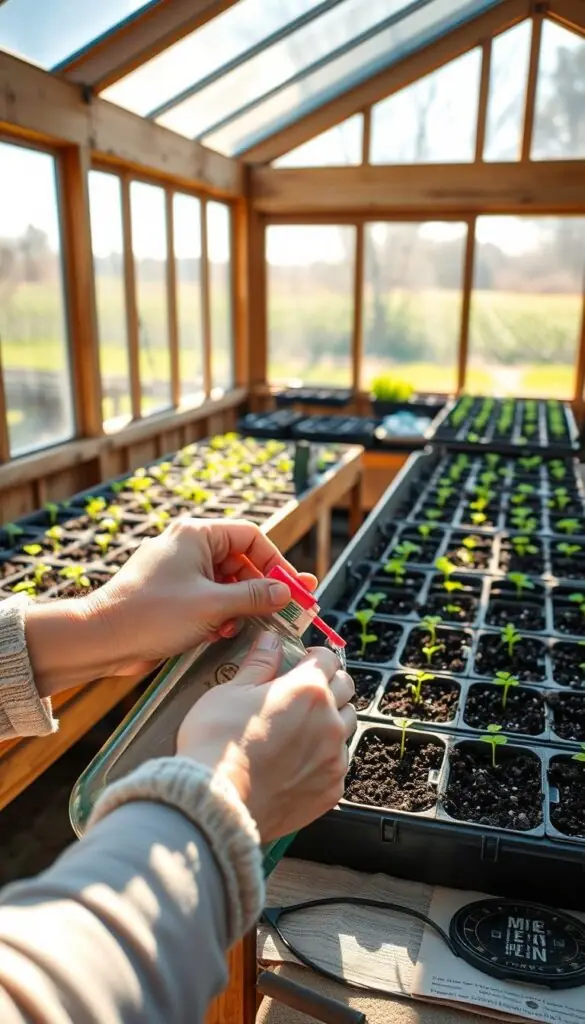
Plan Your Timing by Frost Dates and Zones
Count back from your area's final frost to know exactly when to sow each tray.
Find your last frost date and work backward in clear weekly steps. That simple anchor keeps seedlings compact and ready for transplant.
Find your last frost date and count back in weeks
Look up the average last spring frost for your zip code. Then count back the appropriate number of weeks for each crop.
Real examples and practical windows
- Tomatoes: 6–8 weeks before last frost — gives stocky starts, not oversized plants.
- Peppers: 8–10 weeks — they need extra time to catch up indoors.
- Brassicas (broccoli, cabbage): 4–6 weeks — short indoor time keeps them compact.
What to skip indoors
Root crops like carrots, radishes, and parsnips dislike transplanting. Direct-sow them instead. Beets can go either way, though many gardeners direct-sow.
Quick tips:
- Use seed packets for exact timing and depth; adjust a week for your microclimate.
- Stagger sowing by a week or two to spread risk and compare results.
- Keep indoor air above 60°F and consider gentle bottom heat to improve germination.
- Store leftover seed packets airtight in the fridge to keep viability longer.
| Crop | Weeks Before Last Frost | Indoor Notes |
|---|---|---|
| Tomatoes | 6–8 weeks | Pot up once; bury stems for strong roots |
| Peppers | 8–10 weeks | Slow growers; plan extra space |
| Broccoli / Cabbage | 4–6 weeks | Short indoor time, easy to harden off |
| Carrots / Radishes | Direct-sow | Avoid transplanting; sow in cool soil |
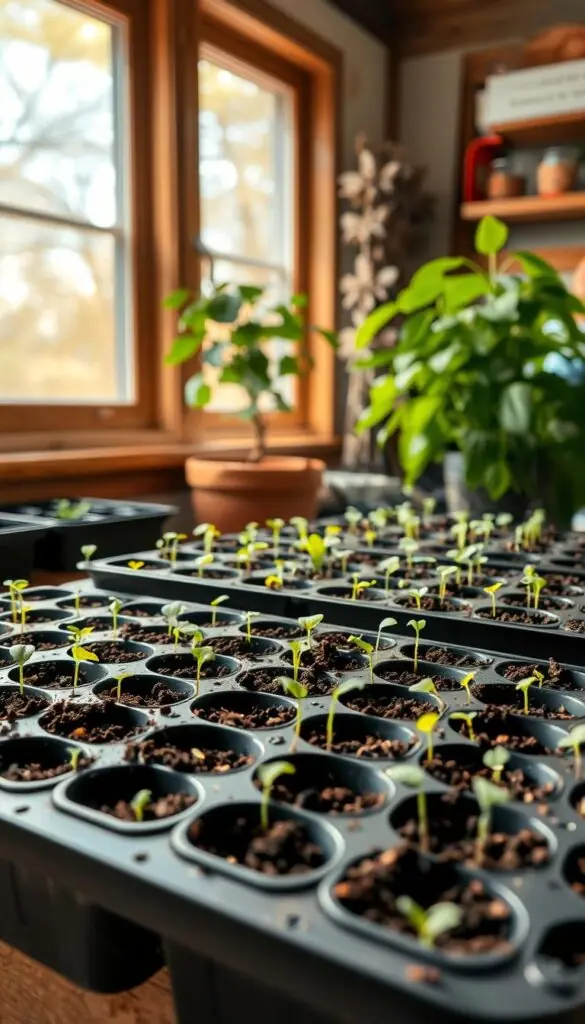
Create a Cozy, Practical Seed-Starting Area
Make a small, calm workspace where trays can thrive without fuss. Pick a spot with easy power access and an easy-to-clean surface so you can tend plants without trips or spills. A tidy setup keeps your routine peaceful and efficient.
Where to place your setup
Choose a quiet area — a spare room, basement shelf, or a corner of the garage works well. Keep it away from heavy traffic, pets, drafts, and direct heat sources.
Why avoid the windowsill
Windows swing from cold nights to hot, sunny afternoons. That change stresses seedlings, causes leggy growth, and dries soil fast. For steady results, use artificial lights instead of a window ledge.
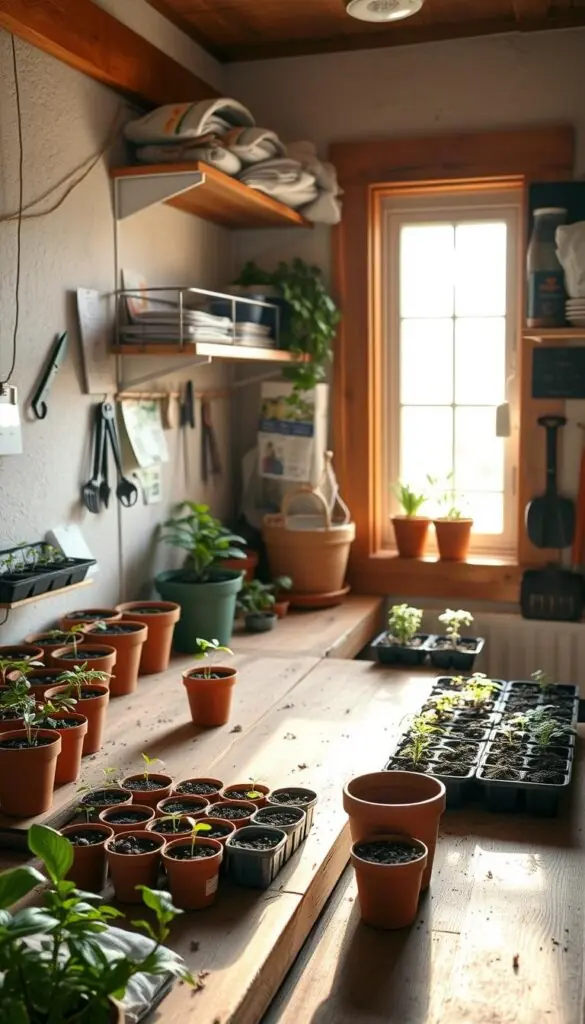
Practical setup tips
- Set a sturdy table or wire rack with a tray underneath for drips and loose mix.
- Hang lights on adjustable chains so the light stays a few inches above leaves as they grow.
- Use a small power strip with a timer for consistent 12–16 hour light cycles.
- Place trays on heat mats if the room runs cool to keep root temperature steady.
- Line the area with a waterproof mat or plastic tray liner for easy cleanup.
Keep a small tote with labels, a marker, and a spray bottle nearby. Calm routines and a well-chosen area make caring for seeds indoors simple and pleasant.
🌿 Related Reading
Choose Containers that Fit Your Seeds and Space
A good container gives each little root room to grow without fuss.
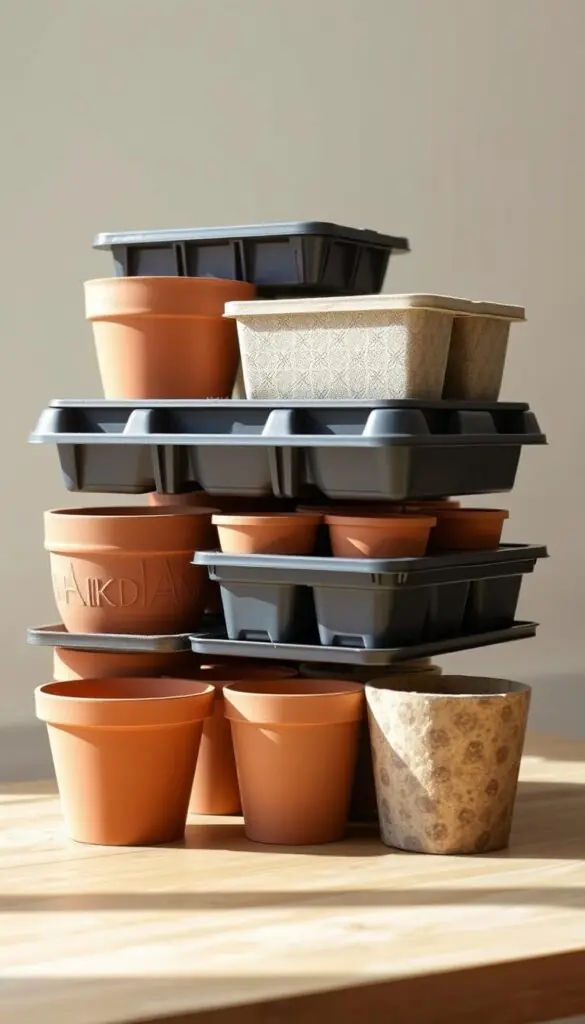
Use cell flats or small pots with drainage holes so roots stay tidy and you can move trays easily. Reuse plastic pots when you can—soak them in a mild disinfectant, rinse, and air dry.
Everyday DIY options and quick cautions
Yogurt cups work well if you add holes and water gently. Egg cartons dry fast; line them with plastic if you want more moisture. Toilet paper tubes are handy cut in half, but they can mold—remove the paper at transplant.
"A milk carton cut lengthwise makes a roomy trough and separates tomato roots cleanly later."
Biodegradable and peat choices
Peat or coco pots suit large seeds like peas, beans, corn, and squash. Avoid tiny 2" peat pots for tomatoes. Peel or slit many biodegradable pots before planting so roots are not boxed in.
| Type | Best For | Pros | Cons |
|---|---|---|---|
| Cell flats | Small seeds | Neat roots, reusable | Need cleaning |
| Yogurt cups | Single seedlings | Cheap, sturdy | Add holes, watch water |
| Peat/coco pots | Large seeds | Transplant-friendly | May restrict roots if not peeled |
| Milk carton trough | Tomatoes | Roomy, easy separation | Bulky to store |
Pick the containers that match your space and routine. A calm, ordered way to house seeds makes transplant day kinder on your plants.
Pick the Right Seed Starting Mix and Prep It Well
A light, airy mix gives tiny roots room to breathe and makes germination easier.
Use a sterile mix of peat and vermiculite so the soil stays fluffy and drains well. Avoid dense potting soil at small sowing depth; it compacts and slows growth.
Work in a tote or bucket. Pour dry mix, add water slowly, and stir with a trowel or your hand until the texture matches a wrung-out sponge.
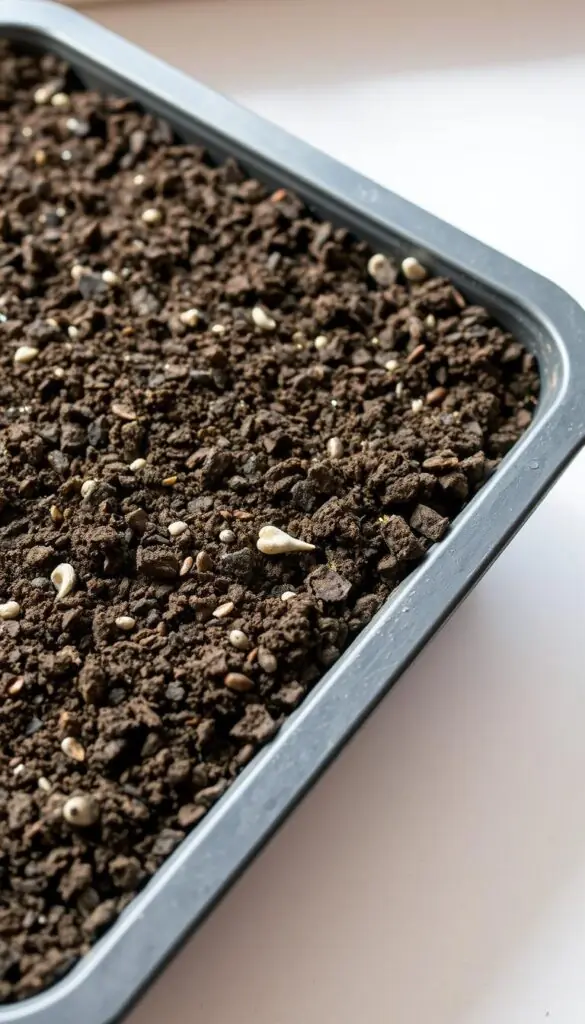
Prep tips and quick mistakes to avoid
- Fill containers to the top, tap gently to settle—don’t press hard or you’ll collapse air pockets.
- Pre-moistening helps the mix absorb water evenly so you won't blast tiny seeds out of place.
- Keep a spray bottle for surface moisture; use trays to catch extra water and drain freely.
- If the room is cool, warm the mix slightly to hold steady temperature for faster germination.
- Label containers as you fill to avoid mix-ups later.
Sowing Seeds: Depth, Spacing, and Labels
Begin each tray with a clear plan: depth, spacing, and a crisp label. You want calm, tidy work—little tools and a soft touch will help. A pencil tip or dibber makes shallow holes with confidence.
Rule of thumb: plant about twice the width of the seed for depth. Some tiny varieties actually need light to germinate; press those gently into the surface and add only a whisper of mix or fine vermiculite.
How many per cell and how to thin
Sow two to three seeds per cell to hedge your bets. When the first true leaves show, thin by snipping extras at the soil line with small scissors.
Avoid tugging out extras; snipping protects roots and the seedling you keep. Sprinkle a fine dusting of mix over the top, then mist so the surface settles without crusting.
Labeling and grouping for easy care
Use permanent labels on every tray with variety and sowing date. Group crops with similar weeks-to-transplant needs together so light height and watering stay consistent.
Set trays into shallow pans for later bottom-watering and keep light close even before sprouting so leaves meet brightness right away.
- Make shallow holes with a pencil; follow seed packets for exact depth.
- Press small seeds into the surface if they require light; cover others lightly.
- Sow 2–3 per cell, thin by snipping at the soil line after true leaves form.
- Label each tray with variety and date; this information prevents mystery trays later.
| Task | Quick Tip | Tool |
|---|---|---|
| Depth | About 2× seed width or follow packet | Pencil, dibber |
| Spacing per cell | 2–3 seeds, thin to one | Small scissors |
| Surface finish | Fine dusting of mix + mist to settle | Misting bottle |
| Identification | Variety + sow date on each tray | Permanent marker, label stakes |
"A calm, careful start—clear labels and gentle thinning—saves you time and keeps plants healthy."
Light and Heat: The Secret to Sturdy Seedlings
A soft, steady glow and gentle warmth make seedlings compact and confident.
Keep a clear rhythms of light and night. Provide 12–16 hours of artificial light daily and hang lamps 2–4 inches above leaves. This close, even glow prevents leggy growth and helps young plants hold their shape.
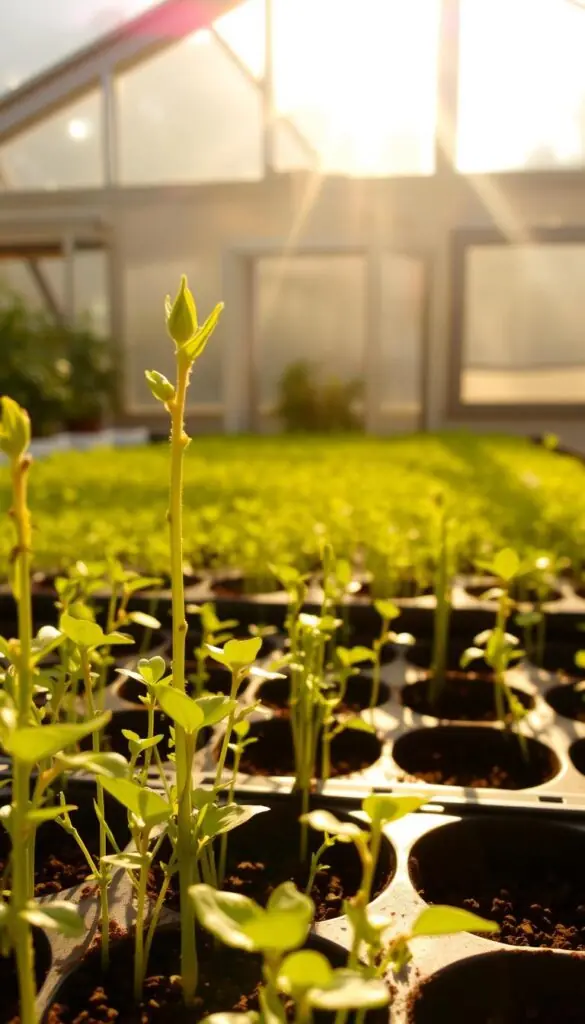
Use bottom heat to speed germination and support roots. Set mats to about 75°F (aim 70–80°F). Put a thermostat probe in the mix to keep temperature steady and predictable. Don’t run heat mats on the same timer as the lights.
- Hang lights on adjustable chains so the bulbs stay 2–4 inches above leaves.
- Set a timer for 12–16 hours so your seedlings get a steady day-night cycle.
- Place trays on mats set near 75°F to improve germination and root growth.
- Cover newly sown trays with clear plastic domes to hold gentle humidity.
- Remove the dome the moment seedlings touch it to improve airflow and prevent damping off.
- Use slightly warmer temperature for peppers and tomatoes; cooler for lettuce.
"A steady lamp, a warm root zone, and small adjustments make young plants thrive."
Watering and Fertilizing Without Overdoing It
Gentle routines keep young plants healthy and steady.
Before germination, keep the top of the potting mix evenly damp with a fine-mist sprayer. A soft spray prevents washing small seeds from their spots and keeps moisture consistent for germination. Check the surface daily; light misting is usually enough.
After seedlings appear, switch to bottom-watering. Set containers in shallow trays and pour water into the tray so the mix drinks from below. Let water sit 15–30 minutes, then drain excess so seedlings have moisture, not soggy feet.
Simple habits to follow:
- Use a slender-spout watering can to reach between trays without splashing leaves.
- Feel the mix at your fingertip: cool and slightly moist means wait; dry and pale means water.
- Water in the morning so trays and leaves dry before evening.
- If a cell dries faster, move it toward the tray center where humidity holds best.
Start fertilizing soilless-grown seedlings once they have several true leaves. Use a water-soluble fertilizer at 1/4 strength about once a week. On other days, give plain water to keep salts low and growth steady.
"Small, regular waterings and light feedings protect roots and help seedlings grow into strong plants."
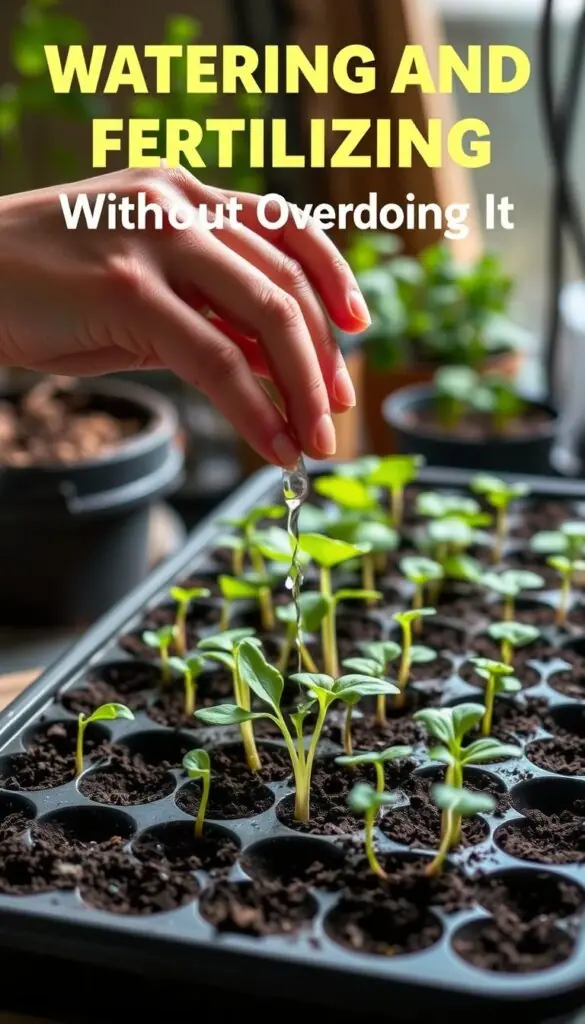
| Stage | Action | Tools |
|---|---|---|
| Before sprout | Fine mist to keep surface evenly damp | Fine-mist sprayer |
| After sprout | Bottom-water via trays; drain after 15–30 min | Shallow trays, slender-spout can |
| Feeding | Begin 1/4-strength fertilizer after true leaves; weekly | Water-soluble fertilizer, measuring spoon |
| Daily check | Feel mix for moisture; water in morning | Fingertip, towel for spills |
Germination to Growth: Daily Care and Troubleshooting
A gentle daily check lets you catch small problems before they become big ones.
Check trays each morning. Tiny changes in the first days after germination add up fast.
Rotate trays a quarter turn every few days. This evens growth when lights fall harder on one side of a shelf.
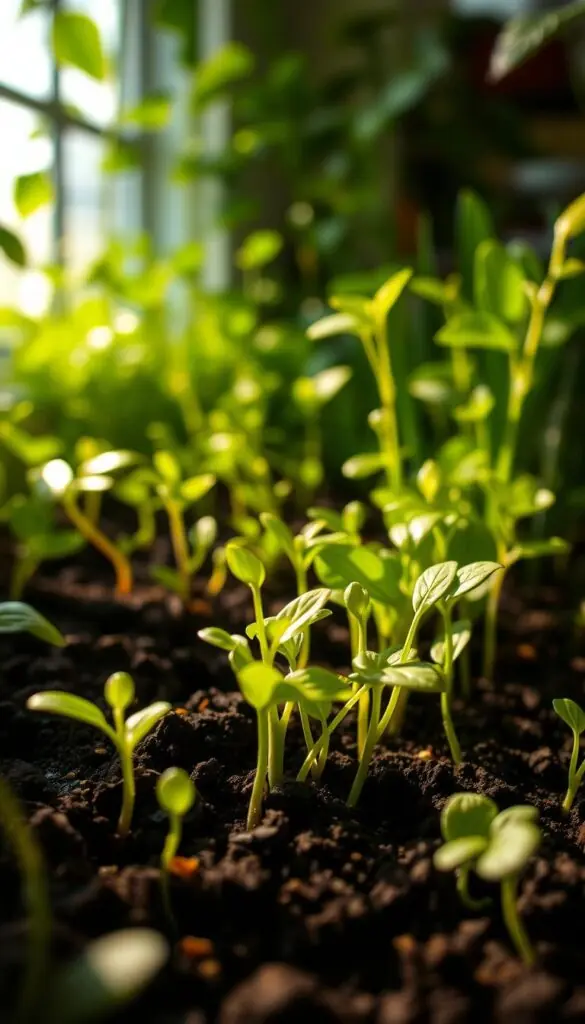
Encourage compact, sturdy seedlings
Add a soft breeze with a small oscillating fan after about a week. The subtle motion strengthens stems but won't chill them.
If stems stretch and lean, lower the lights or increase brightness. Stable temperature and closer lights fix legginess quickly.
Common culprits and quick fixes
- Too little light → move lights closer and keep a steady 12–16 hour schedule.
- Overwatering or cold soil → reduce surface water, use bottom heat, and lift trays off cold floors.
- Damping-off risks → improve air flow, remove fallen debris, and avoid midday watering that leaves foliage wet overnight.
"Keep notes on what you change each week—those small records make next year easier."
| Signal | Likely Cause | Fix |
|---|---|---|
| Elongated stems | Insufficient light | Lower lights, increase hours |
| Pale leaves | Overwatering / low nutrition | Lighten watering, begin weak fertilizer |
| Slow germination | Cold soil / slow species | Add bottom heat, wait a few extra days |
| Sudden collapse | Damping off (fungus) | Improve air, remove affected plants |
Potting Up and Handling Seedlings Safely
When it's time to move young plants up, a gentle touch keeps roots happy and stems safe.
Pot up into containers 1–2 inches larger than the original cell so the rootball has room without excess soil that stays soggy.
Check the cell: it should feel lightly firm when you squeeze the sides. That tells you roots have knit the soil but are not circling heavily.
Lift by the rootball, not the stem
Loosen the cell from below with a spoon or plant tag. Support the rootball as you lift it out. Never pull on the stem.
If you must steady the plant, hold a leaf. Leaves regrow; a crushed stem does not.
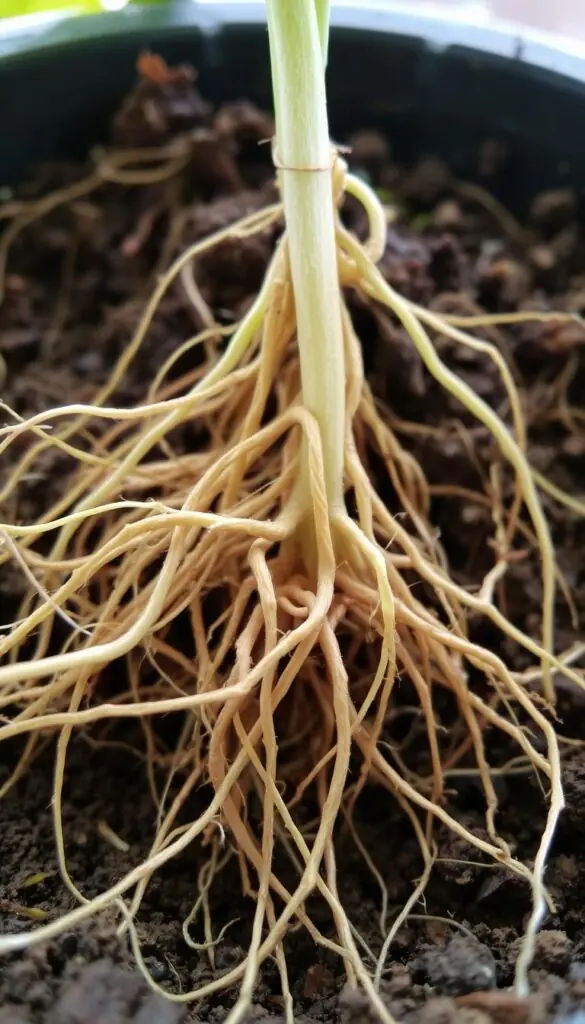
Settle into fresh mix and care after potting
Place the rootball into lightly moistened mix and backfill gently to avoid air pockets. Water once to settle the soil.
- Keep lights at the same close height after potting so seedlings stay compact.
- Label containers with variety and pot-up date to track progress.
- Space plants so leaves don't touch—good airflow keeps foliage healthy.
"For tomatoes, bury the stem up to the first true leaves; it will form extra roots along the buried section."
Move slow growers to larger pots only when needed. Extra soil stays cooler and wetter, so watch moisture and adjust watering for steady growth.
Hardening Off: Easing Seedlings Into the Open Air
A calm, staged plan makes the move from warm trays to the garden gentle and sure.
Two weeks before transplanting, begin by moving trays outdoors for a few hours on mild, windless days. Start with bright shade and bring the plants in before the evening chill. Add time each day so by the end of two weeks they spend most daylight outside.
Two-week schedule: shade to sun, calm to breezy
Choose mid-morning or late afternoon when temperature and light are steady. On day one keep exposure to a few hours; by day seven add partial sun. By day fourteen aim for full sun and longer exposure. Watch leaves closely—paler foliage means reduce sun and slow the pace.
Using a cold frame and row cover for gentle transitions
A simple cold frame speeds this work. Vent the lid a little more each day so the air inside warms and cools like the garden. On cool or windy days use a lightweight plastic row cover to buffer gusts and keep mats and root zones cozy.
- Water before you set trays out so plants don't wilt.
- Pick calm hours and keep pets away for a peaceful transition.
- Bring seedlings in at night until frost risk has passed.
"Slow, steady exposure builds stockier plants with leaves that feel tougher and ready for the garden."
Planting Outdoors: Final Steps for Strong Roots
Pick a soft, overcast afternoon and let the garden greet your young plants gently. In cool light the soil stays moist and roots move into place with less shock. Late afternoon or a cloudy day gives the same calm effect.
Simple planting rhythm:
- Dig holes a bit wider than the rootball and set plants at the same depth—except tomatoes, which you can plant deeper for more root growth.
- If you used peat or paper pots, trim the collar to soil level and cut a few small holes in the bottom or sides so roots escape. Peel off biodegradable pots if they stick.
- Slide seedlings from containers by supporting the rootball, set them in, then water the hole to settle soil and remove air gaps.
Pairings, protection, and timing cues
Pair peas near corn for a natural nitrogen boost and a tidy climb. Large crops like squash and cucumbers prefer roomy containers if you choose to start seeds indoors for a few extra weeks.
Use a lightweight row cover on cool or windy nights and keep trays and tools close so you work slowly and with care. Check in the next morning; a little wilt often fades as the garden warms.
"A calm planting day—cool soil, soft sky, and a gentle soak—gives new plants the best chance to thrive."
Conclusion
Conclusion
Keep it simple, steady, and joyful.
You now have the key information to make indoor gardening a reliable part of your year. With a small shelf, steady lights, a fluffy mix, and warm trays when needed, seeds become sturdy seedlings that move outdoors with ease.
Mind the soil moisture, bottom-water gently, trim peat collars, and label trays with dates and weeks to transplant. Store extra seed packets airtight and cool so they last into the next growing season.
Most of all, savor the quiet work: soft soil under your fingers, bright lights over green leaves, and the slow, wonderful growth that brings your garden to life.
🌿 Related Reading
FAQ
How early should I start indoors if I want tomatoes and peppers ready for spring?
Count back from your average last frost date. Tomatoes generally need about six to eight weeks under lights, while peppers take eight to ten weeks. Use your local frost date and work backward to pick planting and light schedules.
Why start plants in late winter instead of waiting until spring?
Starting indoors gives you a head start on the growing season. You can choose from more varieties, produce earlier blooms and harvests, and develop stronger plants that resist pests and weather once transplanted outdoors.
Which crops should I avoid starting indoors?
Some root vegetables like carrots, radishes, and parsnips don’t transplant well. They do best sown directly in the garden when soil conditions permit.
Where in the house makes the best growing area?
A spare room, basement, or garage corner that stays draft-free works well. Avoid spots near frequent door openings, vents, or pet paths to keep temps steady and plants undisturbed.
Is a sunny windowsill enough light?
Natural light from a window often causes temperature swings and weak, leggy growth. Use LED grow lights 12–16 hours daily, placed 2–4 inches above the foliage for sturdy stems.
What kind of containers should I use?
Use cell flats or small pots with drainage holes to encourage clean root systems. DIY options like yogurt cups and milk cartons work in a pinch but ensure good drainage and consider transplanting sooner.
Are biodegradable pots a good choice?
They’re convenient for direct transplanting. Peel or loosen them if they stay soggy or restrict root growth; otherwise the pot can be planted with the plant in many garden soils.
What should the growing mix be like?
Pick a sterile, fluffy mix with peat or coir and vermiculite. Avoid dense potting soil that holds too much moisture. Pre-moisten the mix so it feels like a wrung-out sponge before filling containers.
How deep and how many seeds per cell should I plant?
As a rule, sow to about twice the width of the grain. Plant two to three per cell, then thin to the healthiest one using scissors to avoid disturbing roots.
How should I label trays and why does it matter?
Mark variety and sow date on each tray. Clear labels save time and confusion later, especially when different varieties mature at different rates.
When is bottom heat useful and what temperature is best?
Bottom heat accelerates germination for warmth-loving crops. Keep temperatures around 70–80°F for best results, using a heat mat designed for horticulture.
When should I use a clear dome, and when should I remove it?
Domes keep humidity high during germination. Remove or vent them once you see first true leaves to prevent fungal problems and to encourage stronger stems.
How do I water without overdoing it?
Mist lightly before sprouting, then switch to bottom-watering in trays once leaves appear. Always drain excess water and let the surface dry slightly between waterings to avoid damping off.
When should I start fertilizing young plants?
Begin with a quarter-strength balanced fertilizer after the true leaves appear. Gradually increase strength as plants grow, watching for any signs of nutrient imbalance.
Why are my seedlings leggy and how can I fix it?
Legginess usually means too little light or excess heat. Increase light intensity, lower the lamp closer to leaves (2–4 inches), and give a gentle fan breeze to strengthen stems.
How do I move seedlings into larger pots without damage?
Handle plants by the rootball, not the stem. Lift from the container and place into a slightly larger pot filled with fresh mix, firming gently around the roots to remove air pockets.
Any special tips for transplanting tomatoes?
Bury the stem up to the first true leaves when planting outdoors or potting up. This encourages extra root formation along the buried stem and yields a sturdier plant.
How do I harden off indoor-grown plants?
Gradually expose them to outdoor conditions over about two weeks. Start with a few hours in dappled shade and calm air, increasing sun and time each day to build tolerance.
Can a cold frame or row cover help with transition?
Yes. A cold frame or lightweight row cover eases exposure to wind and sun, extending protection during chilly spring nights and making the hardening-off process gentler.
When is the best time to transplant outside?
Plant on a cloudy afternoon or in late afternoon to reduce transplant shock. Ensure soil is workable and nighttime temperatures match the needs of your varieties.
Any quick planting pairings or timing cues for common crops?
Peas prefer cool soil and can go out earlier than frost-sensitive crops. Corn, squash, and warm-season vegetables need warmer soil; plant them after your last frost or when soil temps rise consistently.