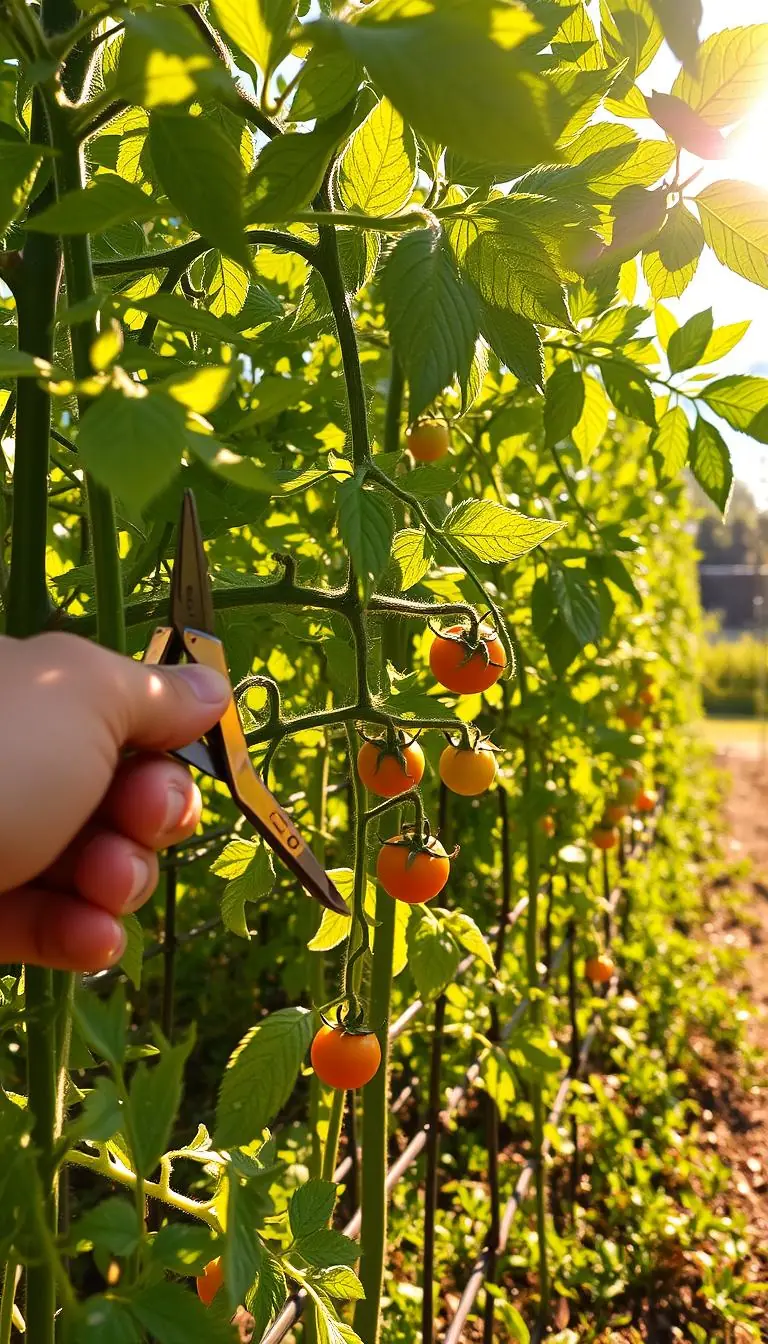
Imagine the soft rustle of straw underfoot, a neat bed of cocoa-brown bark, and the clean scent of pine after a light rain. Do you wish your outdoor beds looked tidy and felt easier to care for? You’re in the right place.
Here we promise clear, step-by-step methods anyone can follow. You’ll learn simple actions—edge, weed, water, and spread—with real tools to keep on hand: a mulch fork or scoop shovel, wheelbarrow, edging tool, gloves, hose or soaker hose, tarp, and a compost bin.
Applied the right way, a cover layer helps soil hold moisture, cuts back on weeds that steal nutrients, and adds organic matter as it breaks down to support steady growth and better fruit. We’ll also point out common pitfalls, like fresh clippings that can root or straw that may carry seeds.
Short, seasonal tips will show when to switch from plastic for early warming to organic later in the season, and why leaving a 1-inch gap at stems prevents rot. By the end, you’ll know how to cover the soil surface with confidence so your plants thrive and your landscape looks beautiful.
Key Takeaways
- Covering the soil surface helps retain moisture and suppress weeds for healthier plants.
- Use aged, clean organic materials and keep cover 1 inch from stems to avoid rot.
- Simple tools—fork, wheelbarrow, edging tool, hose—make the job quick and tidy.
- Place soaker hoses under the layer for efficient, gentle water delivery.
- Time your application by season to warm soil in spring and support steady growth and fruit.
Why Mulch Matters: Beauty, Plant Health, and Water Savings
A tidy cover layer gives you faster wins: less work, steadier soil moisture, and a neater landscape you’ll enjoy every day.
Core benefits backed by research
Conserves moisture: A 2–3-inch layer on the soil surface reduces evaporation so you water less and plants stay steadier between irrigations.
Suppresses weeds: Blocking light keeps seeds from sprouting, cutting hand-weeding time and lowering competition for nutrients.
Stabilizes temperature: The cover insulates roots—cooler in summer and less prone to spring swings that stress young roots.
Form meets function
Beyond health, this finish improves how your beds look and function. Rich wood tones make foliage pop and fine vs. coarse textures change the overall landscape feel.
Cleaner paths and beds mean less mud splash on leaves and fewer dirty walkways after rain. That tidy edge also reduces escapes from beds and makes maintenance faster.
- Keep the layer 2–3 inches thick and pull it a bit away from trunks to prevent rot.
- Avoid dyed shredded bark; choose untreated materials when possible.
- If you want self-sown flowers, leave small bare pockets so seeds can reach the soil.
Choosing the Right Mulch: Organic vs. Inorganic Materials
The right cover starts with matching material to purpose. The choice between living, decomposing layers and stable, inert surfaces shapes water retention, weed control, and soil life.
Organic mulches — like shredded bark, pine needles, compost, shredded leaves, straw, and grass clippings — feed the soil as they break down. Woody bark lasts longest around trees and foundation beds. Compost and shredded leaves give quick, earthy benefits to vegetable rows and new plantings.
Inorganic mulches — gravel, recycled rubber, landscape fabric, and plastic sheeting — block weeds and stay put. Gravel gives a crisp, crunchy walk and suits hot, sunny borders and Mediterranean plantings. Fabric under stone helps later removal; plastic can warm early-season vegetable plots but may harm soil life over time.
- Use straw in edible rows to keep fruit clean and welcome helpful insects; avoid clippings treated with herbicides near vegetables.
- Avoid dyed or uncertain sources; seeds in straw or low-quality wood can introduce weeds, and high-carbon wood can tie up nitrogen near hungry roots.
- Choose pine needles for an airy, forest-fresh look that rarely changes soil pH significantly.
| Type | Best Use | Pros | Cons / Safety Notes |
|---|---|---|---|
| Shredded bark | Trees, shrubs, foundation beds | Long-lasting, neat look | Slow to decompose; can tie up nitrogen near new plantings |
| Compost / leaves | Vegetable rows, new beds | Feeds soil, earthy scent, fast breakdown | Needs regular replenishment; avoid unshredded leaves that mat |
| Straw / pine needles | Edible rows, naturalistic beds | Light, airy texture; reduces splash | Check for seeds; fresh grass clippings can mat and smell |
| Gravel / fabric / plastic | Hot, sunny borders, paths, rain gardens | Durable, low maintenance, good drainage | Hard to remove; plastic can overheat soil and fragment over time |
How to Mulch Garden Beds Step by Step
Start with a few clear steps and the right tools, and you'll finish with crisp edges and healthier soil. Gather a hand weeder, spade/edger, rake, wheelbarrow, hose or soaker hose, mulch fork, pruning shears, and knee pads before you begin.
-
Prep the bed
Pull weeds by the roots, prune dead growth, and level the surface with a rake. Lightly water so the soil settles and won’t puff dust as you work.
-
Edge for crisp lines
Use a spade or edger to form a shallow trench. This keeps the ground material from drifting onto paths and lawn.
-
Place irrigation first
Lay a soaker hose or drip line at the planting level and test flow. Hidden irrigation under the layer saves water and delivers cool moisture to roots.
-
Apply at the right depth
Most materials: 2–3 inches. Fine options like shredded leaves or compost: 1–2 inches. Coarse wood chips: 3–4 inches.
-
Keep stems and trunks clear
Leave a 1–3 inch breathing ring around stems and trunks. This prevents rot and keeps pests from hiding at the base of your plants.
-
Feed high-carbon materials first
If you use woody material, add a nitrogen source per package directions so plants don't get deprived while the material breaks down.
-
Finishing touches
Tuck and shape material around planters, border stones, and path lights for a polished look. Sweep stray bits from hardscaping so edges read crisp.
-
Settle and smell
Water thoroughly to settle the layer. Enjoy the soft footfall and warm, earthy scent as the surface drinks in the moisture.
-
Vegetable rows and timing
In vegetable plots, wait until seedlings are established or use side-strip placement to keep young stems clear while keeping pathways dry.
-
Final clean-up
Blow or sweep stray pieces from patios and paths. A tidy finish makes the whole space feel calm and cared for.
Seasonal Timing Across the United States
Timing your cover layers by season makes a big difference to plant health and your to-do list. Follow a simple, zone-aware plan so you can protect roots, conserve water, and reduce chores.
Spring
Cool climates (Zones 4–6): wait until the soil feels no longer cold to the touch before you apply a layer. For early vegetable starts, lay narrow plastic strips to warm rows, then remove or slit them once daytime highs regularly hit the 70s.
Warm climates (Zones 7–9): you can usually skip the plastic and move straight to an organic topping once seedlings are up. This helps hold moisture as the days heat.
Summer
Refresh thin spots to your target depth, especially before heat waves. Check airflow around foliage to reduce fungal pressure in humid spells.
Fall
Add an insulating layer after dry stretches to conserve moisture and buffer roots from freeze-thaw cycles. This step helps prevent frost heave in perennials and young shrubs.
Winter window
If winter is the only time you have, go ahead and apply. Expect slower soil warming next spring; pull back from sun-warmed areas earlier to speed thawing.
Plant examples by use
- Tomatoes: use plastic early for warmth, then switch to clean straw to keep fruit clean and paths dry.
- Herbs: gravel suits hot, sunny herb borders—lavender, thyme, and rosemary thrive there.
- Shrubs & trees: a ring of bark looks tidy and insulates roots; keep a small breathing gap at trunks to prevent rot.
Tip: With a cover in place, reduce irrigation slightly and water deeply but less often; a soaker system makes this easy. Leave small bare pockets in spring if you want seeds to self-sow.
Maintain, Refresh, and Avoid Common Mulching Mistakes
Small, steady checks prevent big problems and keep soil thriving all year. Each spring and again in mid-summer, check the top layer depth and add a light top-up to keep it at 2–3 inches. Use a rake and hand fork for spot repairs and a hose timer to avoid overwatering.
Always hand-weed before topping up. Smothering live weeds often leads to regrowth that pierces the surface. If you spot fungal blooms or soggy ground, thin the layer and improve airflow immediately.
- Skip volcanoes: keep material 1–3 inches away from trunks and stems to prevent rot and pests.
- Balance nitrogen: when using high-carbon wood or bark, fertilize first so plants don’t starve while decomposition happens.
- Leaves and clippings: shredded leaves work well; apply grass clippings thinly or compost them first to avoid matting and odors.
- Avoid dyed products, plastic, and long-term fabric in mixed beds—plastic overheats soil life and fabric clogs over time.
Use newspapers under the layer for extra suppression, and keep a compost bin nearby for used clippings and shredded leaves. Lift and reset edges with a rake to keep lines crisp. With these simple steps you’ll protect soil nutrients, reduce weeds, and keep trees and beds healthy.
Conclusion
A few calm hours doing one tidy bed can pay back months of easier upkeep and happier plants.
Start where you are: edge a single bed, pick a safe, undyed material, and apply an even 2–3 inch top. strong, steady results follow when you protect stems with a small breathing ring and water under the layer.
With the right layer in place, soil holds moisture longer, weeds drop off, and plant growth becomes steadier through summer and winter. Choose bark for trees, straw for edibles, or gravel for hot borders to match look and function.
Take it slow. Refresh lightly, watch changes underfoot, and enjoy the calm of a tidy landscape. You’ll spend less time on chores and more time enjoying the view.
FAQ
What are the main benefits of adding a layer to your beds?
A good surface layer helps retain moisture, suppresses many weeds, and evens soil temperatures so roots avoid hot spikes and cold snaps. It also tidies paths and plantings for a neater, low-maintenance look that saves you time and water.
How do I choose between organic and inorganic materials?
Match the material to the job. Organic materials like shredded bark, compost, and leaves add nutrients and improve soil structure over time. Inorganic options such as stone, landscape fabric, or recycled rubber last longer and suit pathways or dry, hot borders. Consider maintenance, plant type, and whether you want long-term soil benefit.
How deep should I apply different materials?
For most long-fiber materials, aim for about 2–3 inches. Fine-textured materials work at 1–2 inches, and coarse bark or straw can be 3–4 inches. Too thin lets weeds through; too thick risks moisture trapping and slow soil warming.
Will organic material steal nitrogen from my plants?
Fresh high-carbon materials can temporarily tie up nitrogen as they decompose. Avoid piling thick, uncomposted wood chips against stems. Use composted materials or add a light top-dressing of compost or a balanced fertilizer if you use lots of fresh clippings or wood debris.
How close should the layer come to tree trunks and plant stems?
Keep a 1–3 inch clear ring around trunks and main stems. Leaving that breathing space prevents rot, pest hiding spots, and disease pressure while still protecting roots and conserving moisture further out.
Can I use grass clippings from my lawn?
Yes—if they’re dry and applied in thin layers to avoid matting and odors. Fresh, thick layers can compact and block water and air. Mix clippings with leaves or compost or let them wilt first for best results.
Should I put down fabric or plastic before adding material?
Landscape fabric and plastic can reduce weeds short-term but may block water and organic breakdown over time. Use fabric under paths or patios, and reserve plastic for early-warmth needs in vegetable rows. Always allow water access and plan to replace or remove fabric later if soil health is a priority.
When is the best time of year to apply or refresh a layer?
Spring is ideal after soil warms; summer refreshes help retain moisture in heat; fall applications protect roots and prevent frost heave; a light winter application is OK when busy but may slow spring warming. Tailor timing to your local season and plant needs.
How do I water when there’s a layer in place?
Water before you add a new layer or place soaker hoses on the soil and cover them. Deep, infrequent watering works best; the right surface lets moisture move downward while keeping the top cooler and slower to dry.
Are there plants or areas where certain materials work best?
Yes. Use bark or shredded wood around trees and shrubs for long-lasting coverage; straw or compost works well in vegetable rows; gravel suits Mediterranean herbs and hot, sunny borders. Match texture and drainage to plant type for healthy growth.
How often should I refresh the top layer?
Inspect annually. Organic materials break down and often need topping every 1–2 years; inorganic products rarely need replacing. Refresh thin areas, replenish compost where nutrients are low, and fluff compacted spots for good airflow.
What are common mistakes to avoid?
Don’t pile material against stems or trunks, avoid overly thick fresh wood-chip layers, and don’t rely on fabric forever in planting beds. Also steer clear of dyed or contaminated products that can harm soil life and choose materials suited to the plants’ water and nutrient needs.