You step outside and the yard feels hush and crisp, leaves like paper underfoot. Have you noticed a corner where kitchen scraps pile up in jars and bins, promising better soil when spring comes? This guide talks to you like a helpful neighbor and shows a calm way to keep your compost active through winter without extra fuss.
It’s possible to keep decomposition going even as temperatures drop. A right-sized pile holds a warm core, so heat and life carry on. You’ll learn simple tools—like a locking-lid bin or tarp—and seasonal timing so the process fits your routine.
We explain how to balance kitchen scraps with dry browns, when to pause turning, and how to store finished compost so it stays dark and crumbly for your garden. By the end, you’ll have a neighbor-approved routine that saves time and builds richer soil.
Key Takeaways
- You can practice cold weather composting with a few smart steps.
- Keep a larger, insulated pile so the core keeps heat and decomposition continues.
- Store browns in fall to balance food scraps and prevent odors.
- Avoid turning the pile in mid-winter to protect its warmth.
- Finished compost is dark, crumbly, and ready to amend garden soil in spring.
Why Winter Composting Works When It’s Freezing Outside
Under a crust of snow, a compost pile often hides a quietly warm center that keeps microbes working. That inner heat comes from tiny lifeforms—bacteria, fungi, and other decomposers—slowly breaking down material even as the surface hardens.
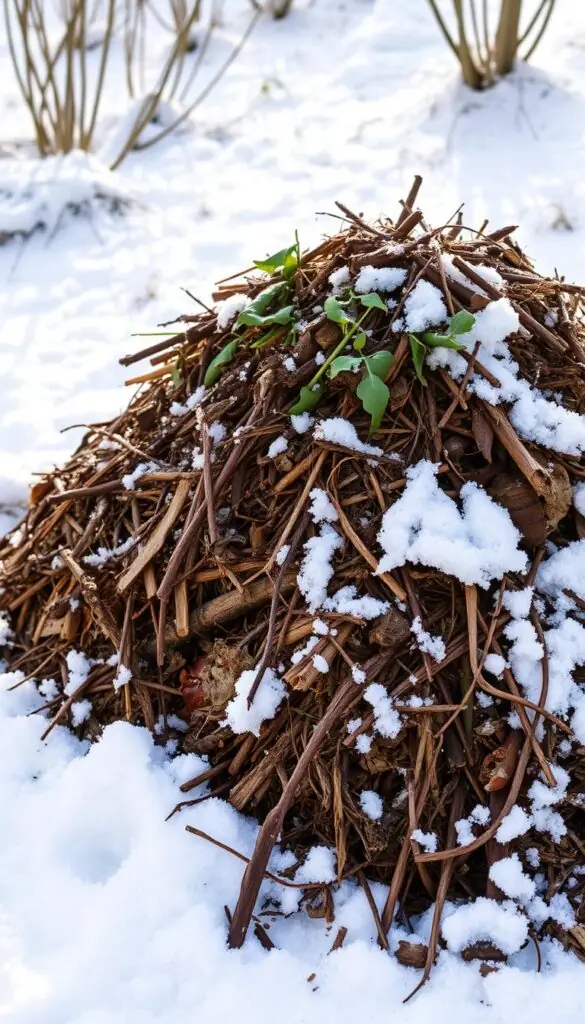
When temperatures fall below 32°F, many microbes enter dormancy. They don’t vanish; they pause and wake during thaws. During brief warm spells you might smell earth or see a wisp of steam—that's active decomposition and heat building in the core.
Size matters. A compact, well-fed pile holds heat better than a thin spread. Freeze‑thaw cycles also help: frozen bits crack and soften, so fibers break apart and decompose faster once microbes resume work.
- Think of the pile as a quiet winter kitchen—work slows, but it doesn’t stop unless everything freezes solid.
- Avoid turning mid‑winter; flipping dumps heat and delays recovery.
- Watch for thaws to add fresh greens or check moisture; small cues tell you when to act.
Smart Fall Prep: Stock Up Now for Easy Composting All Winter
A weekend in late fall spent raking and bagging saves you work for the whole winter season. Start by sweeping your yard for dry leaves, pine needles, and straw. The dry rustle of leaves in a bag is a small, satisfying sound that means future soil health.

Gather and store browns. Shred a stack of paper or cardboard and stash it in a lidded tote by the back door. Fill breathable leaf bags and keep one near your path for easy access on gray mornings.
If your pile or tumbler is nearly full, harvest finished compost now. Finished compost is dark, crumbly, and smells earthy. Move it to a covered bin or under a tarp so spring moisture won’t make it soggy.
Quick checklist
- Rake and bag dry leaves and pine needles for airy structure.
- Keep shredded paper in a lidded bin for quick additions with kitchen scraps.
- Store enough brown materials to last a few months; winter additions add up slowly.
| Storage Option | Best For | Pros | Cons |
|---|---|---|---|
| Breathable leaf bag | Leaves, straw | Airy, light, easy to grab | Can tear if overloaded |
| Lidded tote | Shredded paper, cardboard | Keeps dry, close to the door | Less airflow—shake contents before use |
| Covered bin / tarp | Finished compost | Protects from moisture, stacks well | Needs occasional airing to avoid sogginess |
Choose the Right Winter-Ready Container: Bins, Tumblers, and Buckets
Pick a container that makes dropping kitchen scraps feel as easy as rinsing a cup. A sensible setup keeps your compost working and reduces trips in snow. Below are practical choices that fit most yards and routines.
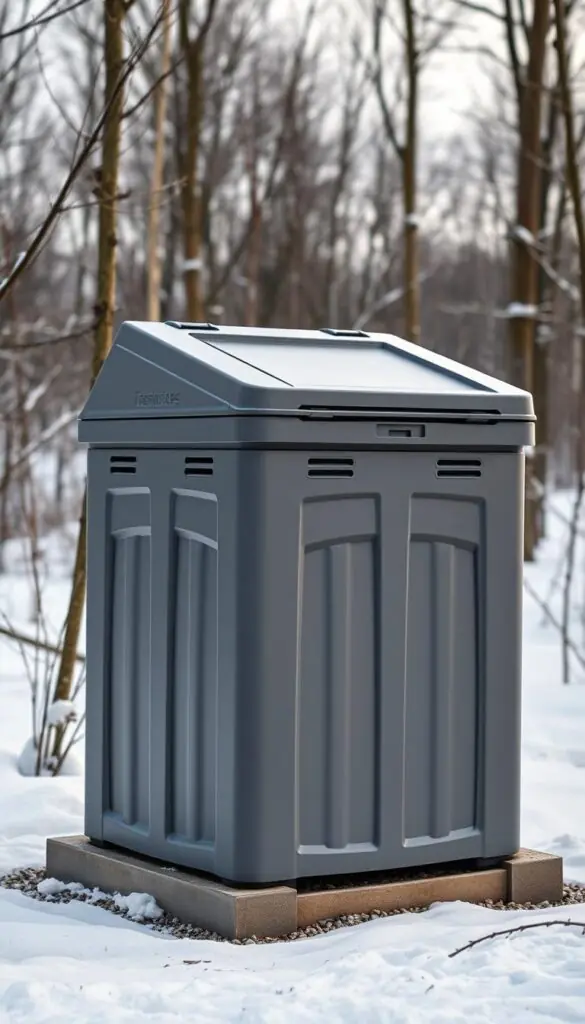
Animal-proof options
Sturdy and sealed wins. If wildlife visits, use a locking-lid galvanized trash can, a well-sealed compost tumbler, or a five-gallon food-grade bucket with a gamma-seal lid. These keep scent in and critters out.
Set up for access
Place a bin near a side door or garage so you won’t skip snowy days. Keep a small caddy in the kitchen for daily waste, and make one quick trip outside.
Ventilation and moisture
Vent holes help aeration, but they can also broadcast scent. Keep holes small or choose sealed containers if raccoons are a problem. During mild thaws, give a tumbler a few turns and add a splash of water if the mix feels dry.
"A mid-sized tumbler is often the best balance of heat retention and easy handling."
- Think size for easy lifting—mid-sized units move better at low temperatures.
- Store finished compost under cover; protect fresh additions from rain and pests.
- This simple setup helps people keep compost working all season with no fruit-fly fuss in the kitchen.
🌿 Related Reading
Build and Insulate a Compost Pile That Holds Heat
Build a thoughtful pile now and it will hold a warm center all season long.
Start with size
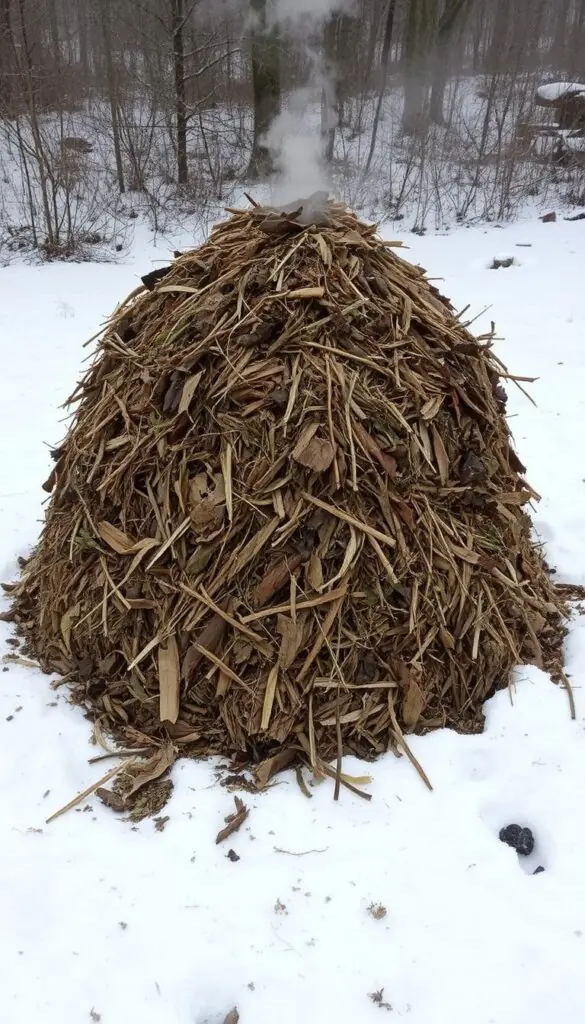
A large compost pile retains heat best. Aim for a generous mass so the core stays active and cushions swings in outdoors temperatures.
Layering 101
Layer one part kitchen greens to several parts dry browns. Think vegetable scraps under a thick blanket of leaves or straw.
This ratio stops spring stink and keeps moisture balanced.
Insulation tricks
Tuck leaf bags or straw bales around the sides for a wind‑blocking ring. You’ll hear a soft rustle and the light thud as you stack them.
Line the inner wall with 6–12 inches of woodchips or dry leaves to form a cozy collar. Top with a tarp to shed sleet and hold in a bit of warmth.
Chop it small
Cut vegetable peels and yard bits into small pieces. Smaller pieces speed decomposition by giving microbes more surface area to work.
"A snug, well-layered pile asks little of you and rewards the garden come spring."
| Insulation Option | Best Use | Pros | Cons |
|---|---|---|---|
| Leaf bags | Side ring | Light, breathable, easy to move | Can compress when wet |
| Straw bales | Wind barrier | Good insulation, tactile crunch when placed | Takes space, may attract pests if loose |
| Woodchips / sawdust | Inner lining | Stable collar, long-lasting | May need mixing to balance nitrogen |
- Build a wide base, add alternating layers of greens and browns.
- Line walls with 6–12" of dry materials, then surround with bags or bales.
- Chop scraps small and resist turning until a thaw to keep heat inside.
Cold Weather Composting: Your Simple Day-to-Day Routine
A simple daily habit lets you collect kitchen scraps without mess and keep the pile fed. Start with a heavy-duty freezer bag or a small lidded bucket in the freezer. This stops smells and keeps fruit flies out of the kitchen.
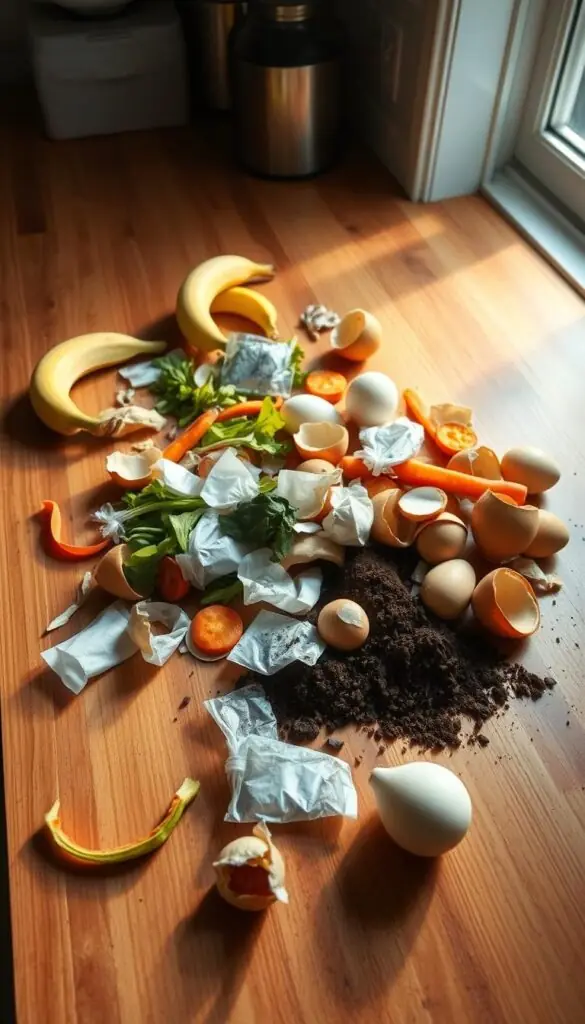
Kitchen flow: freeze, store, and drop
Each day or two, carry your frozen scraps outside. Lift the lid and add them to the pile with a handful of dry browns.
Tip: If you like fewer trips, batch runs two or three times a week. The routine is quick and keeps your counters tidy.
Add in thaws, pause in deep freezes
When mild thaws last a few days, give a tumbler a few turns or gently fork the top layer. Check moisture—if materials look dry and papery, add a splash of water.
During true freezing spells, keep lids closed and add thin layers only. Turning in deep freezes releases heat; wait for warmer periods to turn pile activity back on.
"A tidy, tiny ritual—freeze at night, drop by day—keeps your system calm and ready for spring."
- Keep a freezer bag or small bucket for kitchen scraps to stop fruit flies.
- Every day or two, add scraps with a handful of browns; the action takes a minute.
- On mild thaws, turn a tumbler and add water if dry; avoid turning when freezing.
- In spring, move winter contents to your main system and add extra browns for balance.
| Step | Why | How often |
|---|---|---|
| Freeze or store scraps in a bag/bucket | Prevents odors and fruit flies | Daily or as needed |
| Add scraps + browns to outdoor bin | Maintains balance and avoids sour smells | Every 1–3 days |
| Turn or mix during thaws | Reactivates microbes and evens moisture | When temperatures rise a few days |
Avoid These Winter Pitfalls That Stall the Process
Keep an eye out for common mistakes that quietly slow down the pile’s work. A few small corrections now save you a smelly scramble in spring.
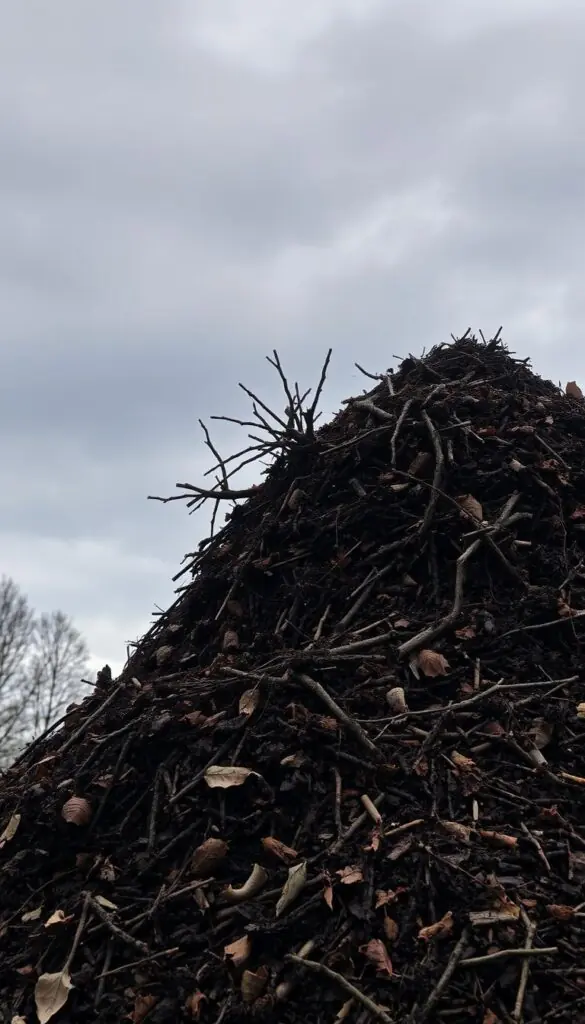
Too many greens, not enough browns
If your pile leans heavy on greens like kitchen scraps, it can go swampy and sour by spring.
Fix it: Add generous dry browns—leaves, shredded paper, or straw—until the mix feels fluffy and loose.
Turning at the wrong time
Do not turn pile during deep freezes. Flipping vents heat and slows microbial recovery.
Fix it: Save big mixes for milder spells. Wait for a thaw to turn pile, then add small additions of browns as you go.
Skip the wood ashes
Wood ashes raise pH and make life tougher for good bacteria that do the work in compost.
Fix it: Leave ashes out of the bin. Use a light sprinkle on icy walkways instead, and keep the lid snug in storms to protect the pile.
"When in doubt, add browns — it's the simplest way to steady the mix."
- If the mix is dense or slick, sprinkle leaves or shredded paper until it loosens.
- If critters visit, switch to sealed containers and bury scraps deeper to reduce scent.
- These small avoidances keep your compost on track so it wakes up fast in spring.
From Snow to Soil: What to Do Come Spring
Come spring, a quick empty-and-layer routine gets your pile cooking again and turns winter work into usable soil.
Empty winter bins into your main system. Add a thick layer of stored leaves or shredded paper so the materials warm and breathe faster.
Watch the pile for signs of life. When the pile slowly shrinks and gives off an earthy scent, microbes are awake and the pile is ready for more attention.

Once thawed, gently turn pile with a garden fork to mix winter contents and fresh browns. Aim to re-create loose, airy layers so heat can build evenly.
If the mix feels dry after windy days, add light watering until it feels like a wrung-out sponge. Keep a tarp handy to shield the pile from heavy spring rain while you work.
"A shrinking pile and that rich, earthy smell are your green light—life is back in the heap."
- Empty bins into main pile and layer fresh browns.
- Turn pile gently with a garden fork when thawed.
- Moisten if dry and cover with a tarp on rainy days.
- Plan where finished compost will feed your garden beds.
With steady layering and occasional turns, you can have dark, crumbly compost in a few months. Use it to top-dress beds, enrich planting holes, or tuck around perennials for a thriving garden.
Conclusion
A modest plan—store browns, shield the pile, and drop scraps—keeps the process moving until spring.
Keep a small bin or bucket by the door so kitchen scraps make one quick trip outside. Stockpile leaves and paper for weekly additions; these materials keep the mix airy and ready when temperatures rise.
Let a large compost pile hold heat in its core and skip big turns during deep freezes. Freezer storage for fruit and vegetable trimmings makes kitchen life tidy and makes winter drop-offs simple.
Over the months those few neighborly habits turn waste into rich compost. When the pile settles and smells earthy, you’ll know the process worked—ready to feed your garden and greet spring with lush color.
🌿 Related Reading
FAQ
How does composting continue when temperatures drop below freezing?
Microbes slow down but don't all die at freezing. In a large, insulated pile the core stays warmer from microbial activity and trapped air. During brief thaws and when you add new warm layers, decomposition picks up again. The process is simply much slower than in summer.
What should I stockpile in fall to make winter composting easy?
Gather plenty of dry "browns" like fallen leaves, straw, pine needles, and shredded paper. Also harvest finished compost to free space. Having these on hand helps you keep the right green-to-brown balance and maintain insulation all winter.
Which containers work best for winter use?
Choose animal-proof options such as tumblers, locking-lid trash cans, or gamma-seal buckets. Place the bin near an entry so you’ll actually use it on chilly days. Small holes give ventilation, but seal or minimize openings in areas with rodents.
How big should a winter compost pile be to hold heat?
Aim for a larger mass — roughly 3x3x3 feet or bigger. Size traps heat better, keeping a cozy core for microbes. If your pile is small, add insulation like leaf bags or straw bales around the sides.
What layering ratio helps prevent smells in late winter and spring?
Use one part greens (kitchen scraps, fresh garden waste) to many parts browns. Aim for at least 2–3 parts browns. That prevents a wet, smelly mix that often becomes a problem when the pile thaws.
How should I handle kitchen scraps during winter to avoid fruit flies and odors?
Freeze scraps in a sealed bag or bucket until you have enough to add to the pile, or bury them deep in the center of the bin under browns. Freezing also slows fruit fly eggs and keeps your kitchen tidy.
When is the right time to turn the pile in winter?
Turn during mild stretches or thaws. Turning in deep freezes sheds heat and can stall decomposition. If the core is warm and it's above freezing for several days, a gentle turn helps aeration and speeds the process.
Can I put wood ash in my winter pile?
Avoid adding large amounts of wood ash in winter. It raises pH and can inhibit beneficial microbes when the system is already stressed by low temperatures. A light dusting occasionally is fine, but skip heavy doses.
How do I insulate a pile without smothering it?
Use breathable insulation: dry leaves, straw bales, or wood chips around the sides and a tarp or burlap on top to shed moisture. Leave some airflow so microbes can breathe; complete sealing can cause anaerobic conditions.
What signs show the pile is active again in spring?
The pile will shrink, feel warmer in the center, and develop an earthy smell. Breaking down materials will be softer and darker. Those are clear signals microbes have reawakened and decomposition is underway.