Feel the cool morning air and the soft crumble of soil plugs underfoot after a light shower. Have you noticed thin, hard patches where grass struggles to breathe?
In plain terms, core aeration opens pathways so air, water, and nutrients can reach the root zone. This simple process helps grass resist heat and low rainfall by strengthening roots and improving soil structure.
Use a core/plug aerator, mark irrigation flags, and bring a rake for loose plugs. Aim for moist soil the day before — not soggy or bone-dry — and expect plugs roughly 2–3 inches deep, 0.5–0.75 inches wide, spaced 2–3 inches apart.
Timing matters: cool-season yards do best in early fall or spring, while warm-season grass responds in late spring to early summer. After you finish, let the plugs dry and crumble back; it’s a perfect time to overseed and fertilize.
Key Takeaways
- Core aeration lets air, water, and nutrients reach roots for stronger growth.
- Work when soil is moist — water a day before if needed, avoid extremes.
- Use a core aerator, mark irrigation, and rake; overlap passes for full coverage.
- Cool-season grass: early fall or spring. Warm-season: late spring to early summer.
- Let plugs dry and crumble, then overseed and fertilize for best recovery.
Why Aeration Matters: Healthier Roots, Deeper Green
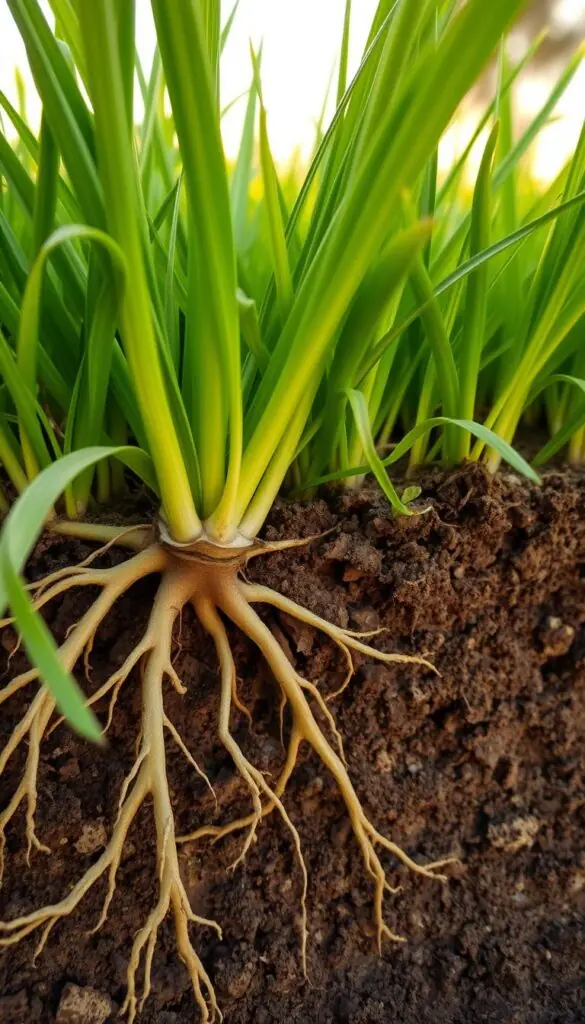
Compacted soil can act like a tight lid, keeping essentials from reaching your grass roots. A dense layer as thin as 1/4–1/2 inch will slow the flow of air, water, and nutrients, thin the turf, and dull color.
Thatch is a fibrous layer right at the soil surface. When thatch gets thicker than about 1/2 inch, it behaves much like compaction and blocks the same pathways.
Quick takeaways
- Compaction tightens soil and starves roots of what they need.
- Some grasses, like Kentucky bluegrass and Bermudagrass, build more thatch.
- Keep moisture in the sweet spot — avoid working bone-dry clay or overly soggy ground.
- Core tines in proper lawn aeration help holes let essentials reach roots.
| Issue | How it blocks growth | What helps |
|---|---|---|
| Compaction | Soil particles pressed tight; limits air/water movement | Core holes to relieve pressure and improve flow |
| Thatch | Spongy layer on the surface that stops exchange | Core tines or dethatch when layer > 1/2 inch |
| Dry clay | Hard to penetrate; can worsen compaction if worked | Moisten lightly before working; avoid heavy passes |
| Healthy soil | Loose, crumbly, lets air and water reach roots | Regular care, correct moisture, occasional core work |
How to Tell If Your Lawn Needs Aeration
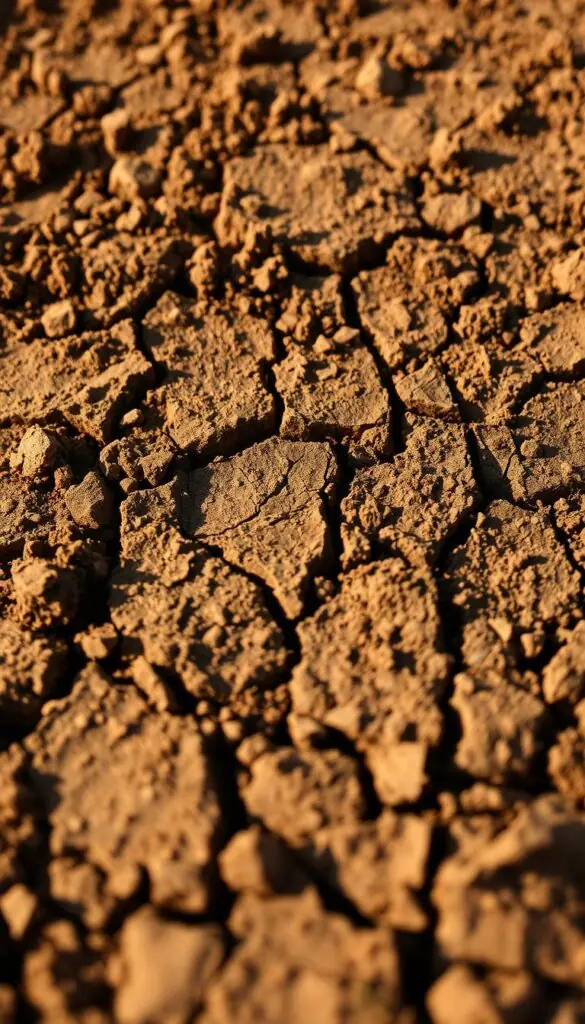
Start simple. You don't need fancy gear to spot trouble. Try a screwdriver test: a standard screwdriver should slide into the soil fairly easily. If you must push hard, that strong resistance points to compacted soil that needs attention.
Watch your yard after rain. If water puddles where it used to soak in, the soil may be tight beneath the surface. High-traffic areas — kids’ play zones, pet paths, and driveway edges — often show the problem first.
The 4-inch slice and other checks
Peel back a 4-inch turf slice to inspect the top profile. If thatch is thicker than half an inch, plan to act soon. Sod layering — fine sod over coarse native soil — can also block drainage and root growth.
New-build homes frequently rest on compacted subsoil. Heavy clay spots resist digging and often need more than one pass. Knowing your grass helps too: some cool-season grasses tend to build thatch faster.
- Try the screwdriver test in several areas to compare firmness.
- Note spongy patches, frequent puddles, or worn paths — these signal a problem.
- If you find compacted soil or thick thatch, it’s a good time to plan treatment.
Best Time to Aerate by Season and Grass Type
Timing is the secret: choose seasons when growth will fill the openings fast.
Cool-season lawns recover best in early fall or early spring. Those windows give grass time to grow new roots and blades before summer heat or winter cold. Early fall is often the top choice because soil still holds warmth and weeds slow down.
Warm-season grasses do best in late spring into early summer, once they are actively growing and daytime warmth is steady. Aim for that late spring early summer sweet spot so recovery is quick and the turf thickens through summer.
Plan for the moisture sweet spot. Water lightly the day before, or wait a day or two after steady rain. The soil should be pliable, not muddy or bone-dry. This helps equipment penetrate and the grass to knit back fast.

- Skip extreme heat or hard freeze days — choose calm weather.
- Prioritize high-traffic areas if time is limited.
- Avoid working on dormant grass; it won’t recover well.
Tools and Methods: Choosing the Right Aerator for Your Yard
Picking the right tool makes the whole process smoother and more effective. Start by matching equipment to your yard size, soil type, and goals.
Core and plug machines
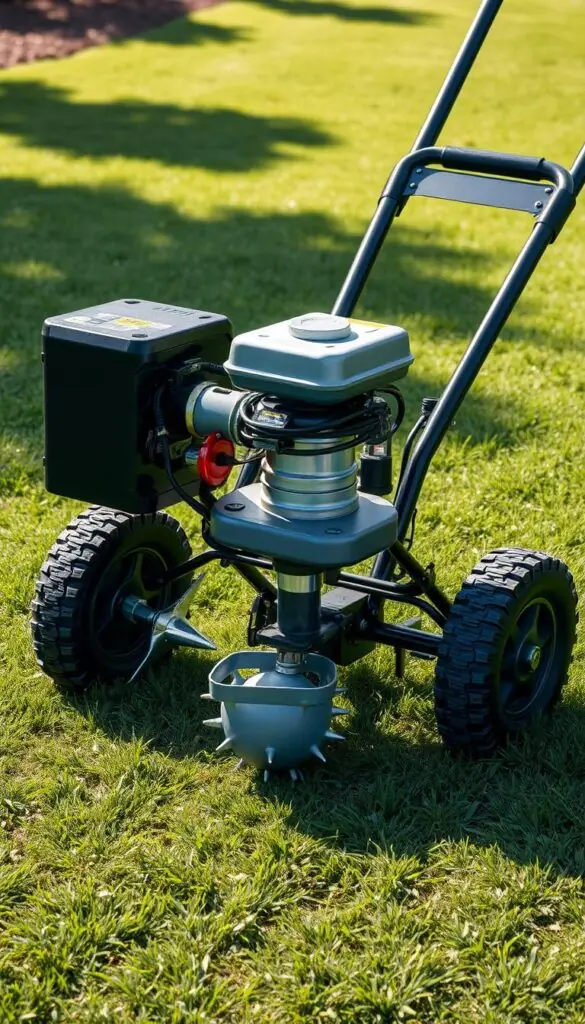
Core or plug aerators remove cylinders of soil to open real channels for air and water. Aim for plugs about 2–3 inches deep, 0.5–0.75 inches wide, and spaced 2–3 inches apart. A walk-behind core aerator gives even coverage; a manual corer works for tight spots.
When spike tools help — and when they hurt
Spike aerators poke holes without removing soil. On light, sandy ground they can work. But on tight clay they may press soil sideways and increase compaction. Use spikes cautiously.
Slicing machines and slice seeders
Slicing aerators cut slim channels into the surface. A slicing seeder drops seed into those slits for efficient overseeding. This is a great way to combine seeding with opening the soil.
Rent or hire?
Rent a walk-behind core aerator from a home center for medium or large yards. Expect a steady hum as the machine moves — and earthy plugs dotting the surface when you pass. For small patches, a manual corer is fine.
"Core tines help break through thatch and relieve pressure, so results last longer."
- Choose core when possible — it removes soil instead of just shifting it.
- Make multiple passes over compacted areas for best results.
- Hire a pro if you want tidy passes, quick cleanup, or haul-away of plugs.
Step-by-Step: How to aerate lawn like a pro
Lay out your flags and hose first — good prep makes the whole process smoother. A little planning saves time and keeps your yard tidy.
Prep the space
Mark irrigation heads, shallow cables, and roots with bright flags so you avoid them. Rake leaves and sticks away so the aerator sits flat on the surface.
Lightly water the day before so the soil feels pliable. Avoid working soggy spots that smear or rock-hard soil that resists tines.
Make your passes
Start along a straight edge and move in slow, steady rows. Overlap slightly to prevent unworked areas.
Give compacted areas two or three passes. Then run a second set of passes perpendicular to the first to open more holes and even coverage.
What to do with the plugs
Let the plugs dry in sun and crumble back. Their soft patter and earthy scent after a light watering are signs the process is working.
Crumbled plugs return organic matter to the soil and feed roots. Finish by rinsing the aerator, storing flags, and enjoying the tidy yard.
After Aeration: Overseeding, Fertilizing, and Simple Seasonal Care
Once the holes are open, use that moment to feed, seed, and set your grass up to thicken fast.
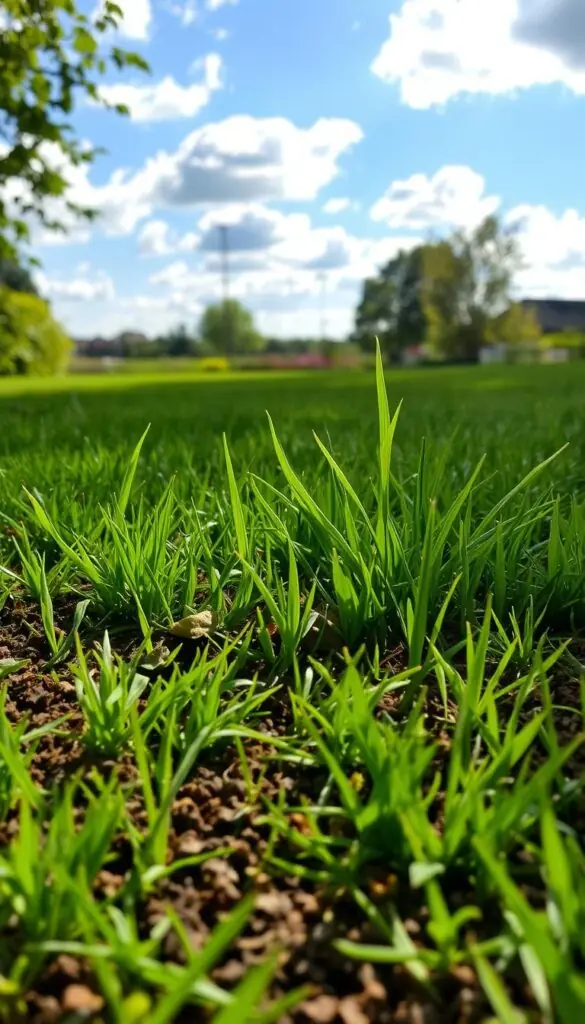
Overseed into the openings. Drop seed directly into holes so it has soil contact and stays moist. In warmer regions choose Bermuda or Zoysia. In cooler areas pick Kentucky bluegrass or tall fescue.
Fertilize for quick recovery
Apply a light starter fertilizer to give nutrients that help new shoots establish and reach roots quickly. Don’t overdo it; a balanced, low‑salt mix works best.
Watering and mowing
Keep the seedbed consistently moist with light morning waterings. Avoid heavy soaks that wash seed away. Continue regular mowing on schedule — steady mowing helps create a thicker turf and reduces thatch over time.
Common myths and quick tips
"Aerating won't break spring pre‑emergent barriers for crabgrass control."
That worry is unfounded. You can overseed and maintain pre‑emergent plans. If clay soil is common where you live, avoid working when it’s bone‑dry; dry clay clods and can recreate compaction.
- Timing: In early fall, feed after seeding so grass knits before winter; in spring, ease into heavier watering as temperatures rise.
- Moisture cue: Soil should feel pliable, not soggy or rock hard.
- Don’t overwork: Multiple light passes beat grinding at dry clay.
Conclusion
A few simple passes with the right tool can reset compacted soil and invite brighter growth. When you aerate your lawn at the correct time, holes and plugs give air, water, and nutrients direct access to roots.
Choose core/plug methods when you can. They lift tidy plugs and ease compaction, even in heavy clay or other compacted soil areas.
Work moist—not soggy—ground, focus on high-traffic areas, and trust the season: cool-season grasses rebound in early fall or spring; warm types recover best from late spring into summer.
This is simple, confident lawn care: a rental aerator, steady passes, and a little patience. Enjoy the sunlit, thriving grass you create.
FAQ
What does soil compaction do to air, water, and nutrients?
Compacted soil squeezes out the tiny air spaces roots need, slows water infiltration, and blocks nutrients from reaching deep roots. That leads to shallow growth, poor color, and more runoff after rain. Loosening the surface helps roots access oxygen and moisture so grass can grow thicker and stronger.
How can I tell if my yard has compaction or thatch problems?
Use a screwdriver or soil probe: if it’s hard to push in, the soil is compacted. Look for spongy areas (thatch), puddling after rain, heavy foot-traffic paths, or new build yards with topsoil packed down. Layers of sod that don't integrate also signal trouble. Each issue needs a slightly different fix.
When is the best time to work the soil for cool-season grasses?
For cool-season grasses like Kentucky bluegrass and tall fescue, early fall is ideal — the grass is actively growing and recovers quickly. Early spring can work too, but fall offers warmer soil and less stress from heat and drought.
What about warm-season grasses — when should you do this for Bermuda or Zoysia?
Wait until late spring to early summer when warm-season grasses are actively growing. That timing helps these varieties recover fast and fill in holes, giving you dense summer turf instead of thin patches.
Should I wet the yard first? What’s the moisture sweet spot?
Water a day or two before if the ground is dry so the machine or tool penetrates easily. Avoid working when soil is soggy — wet soil compacts more and plugs stick together. Aim for firm but workable soil.
Which tool is best: core/plug, spike, or slicing models?
Core (plug) machines are preferred because they remove small soil plugs, relieving compaction without creating more problems. Spike tools can worsen compaction by pushing soil aside. Slicing tools cut channels and work well when combined with overseeding.
What plug size and spacing should I look for with core machines?
Plugs about 2–3 inches long and spaced 2–4 inches apart in each pass give good results. Overlapping passes perpendicular to each other covers compacted spots. Denser spacing helps heavy clay yards more than sandy ones.
Can I rent equipment or should I hire a pro?
Renting a core machine is cost-effective for most homeowners and gives good control. Hire a pro if your yard is large, severely compacted, or you prefer hands-off care. Professionals also know timing, depth, and follow-up seeding best practices.
How do I prepare before running a machine or tool?
Mark buried irrigation and utility lines, mow to a shorter height, remove debris, and water lightly if needed. Clear toys and garden furniture so you can make even passes without interruptions.
How should I make my passes for best coverage?
Make overlapping passes and work across the yard twice in perpendicular directions. Spend extra time on compacted pathways and high-traffic areas. Keep a steady pace to ensure even hole depth.
What do I do with the soil plugs afterward?
Leave the plugs to dry and break down naturally — they return nutrients to the soil. Raking to spread them speeds decomposition, and light watering helps them settle back in.
When should I overseed and what varieties work by region?
Overseed right after making holes so seed contacts soil. In northern areas choose Kentucky bluegrass or fine fescue; in southern yards use Bermuda or Zoysia varieties. Seed placed into open channels establishes faster than seed on a hard surface.
Do I need to fertilize after working the soil?
Yes, apply a starter fertilizer low in salt and tailored for new growth to support recovery and encourage dense roots. Follow label rates and water lightly to move nutrients into the root zone without runoff.
Are there common mistakes to avoid during this process?
Don’t work bone-dry or waterlogged soil, avoid spike-only tools on clay, and don’t apply strong pre-emergent herbicides right before overseeding. Also, avoid overworking small yards — too much disturbance stresses grass.
How often should high-traffic or clay-heavy areas be treated?
Heavily used spots or dense clay soils may need attention every year or every other year. Less-stressed lawns often do well on a two- to three-year schedule. Monitor soil resistance and surface water behavior to guide timing.
Will this help my watering needs and reduce runoff?
Yes. Loosening compacted soil improves infiltration so water soaks in rather than running off. That means more efficient irrigation, healthier roots, and less puddling after storms.